When Ignorance Costs You Both Money and Time

Valve guides are a very hardworking part of internal combustion engines. These small bearings keep the poppet valves moving freely and center them in their seats. Valve guides play a large part in the impressive longevity of valves and cylinder heads in modern, high-rpm engines. Perhaps due to their relatively low rate of failure, valve guides are not brought up much in discussions between mechanics. This might have been why I decided to replace the valve guides on my Honda XR250R motorcycle engines at home. It did not go smoothly.
How Hard Can It Be?
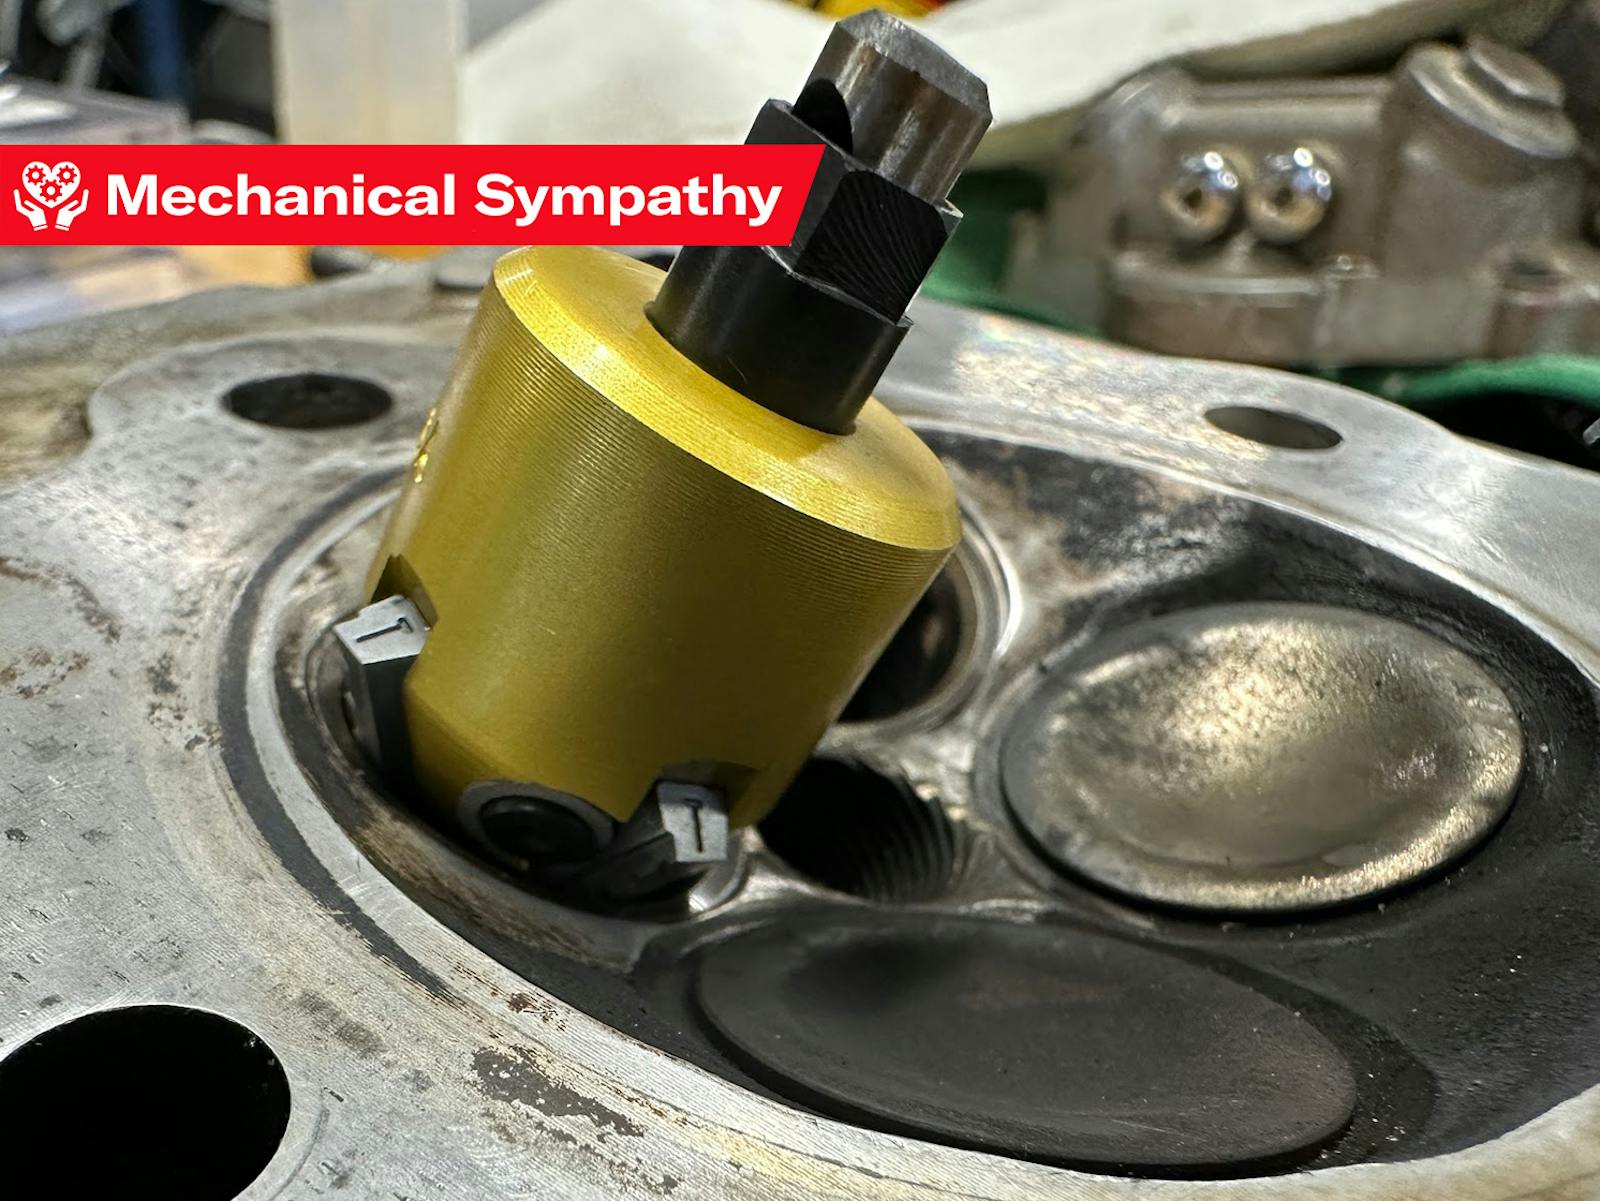
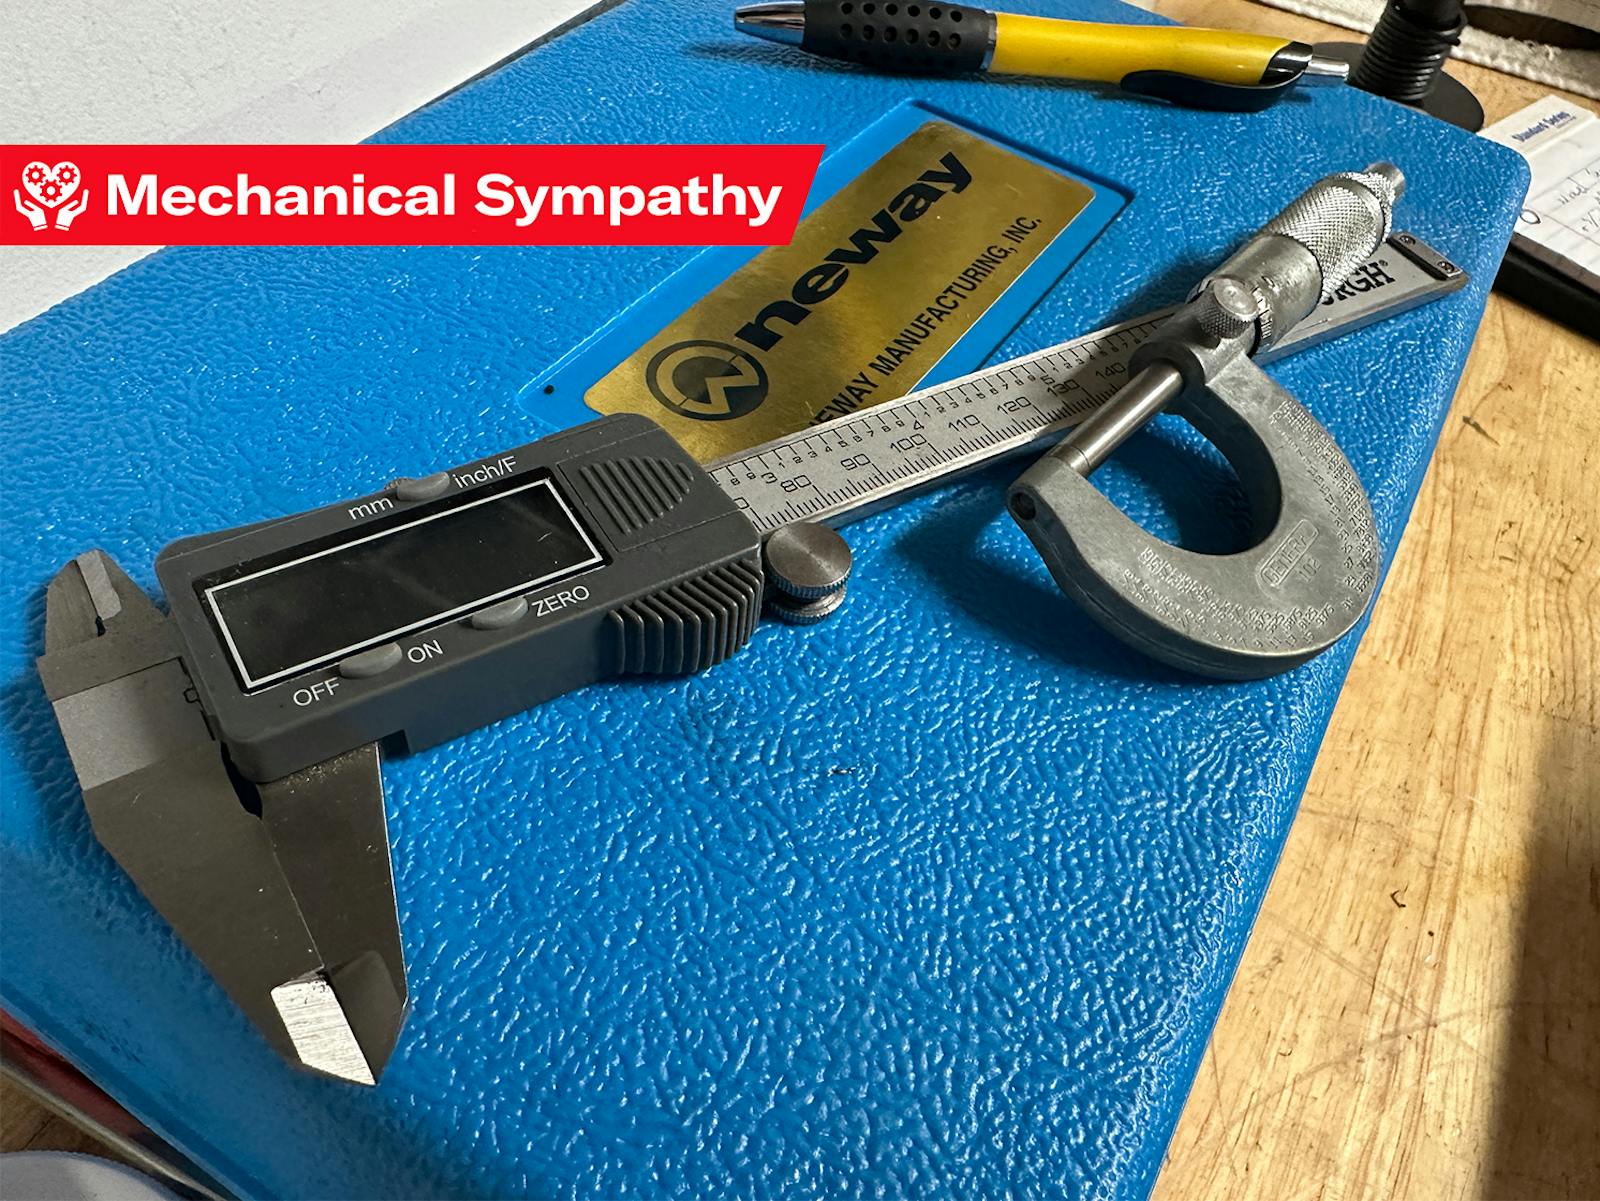
In the simplest terms, a valve guide is not much more than the precisely sized sleeve that holds the intake or exhaust valve in the cylinder head. To make manufacturing easier, guides are often made from a material different than that of the cylinder head and pressed into place within it. That press-fit often means that the final inside diameter of the guide needs to be machined to a proper slip fit of the valve after the guide is pressed into the head. Valves, guides, and cylinder heads are each manufactured to a range of tolerances, and those tiny variations can add up to be problematic; machining the guides with those pieces assembled essentially allows you to correct for those flaws when they would potentially be at their worst.
In the aluminum cylinder heads on my Honda XR250Rs, the valve guides are machined from bronze. For the last two engines built on my bench, I had the cylinder heads done by in outside shop but selected C63000 bronze valve guides for their durability. The C63000 formula includes bronze, nickel, and aluminum, a combination that makes the material very stable at higher temperatures, such as those that the cylinder head of an air-cooled dirt bike sees during slow-speed, low-airflow trail slogs.
All that is fine and dandy, but this alloy is also really difficult to machine. The same traits that make this metal hold up well in an engine make it difficult to make the small cuts that bring the inside diameter of the valve guide to that perfect fit with the valve stem. We are getting ahead of ourselves, though; before we make things the right size, we have to get things assembled.
Installing the Guides
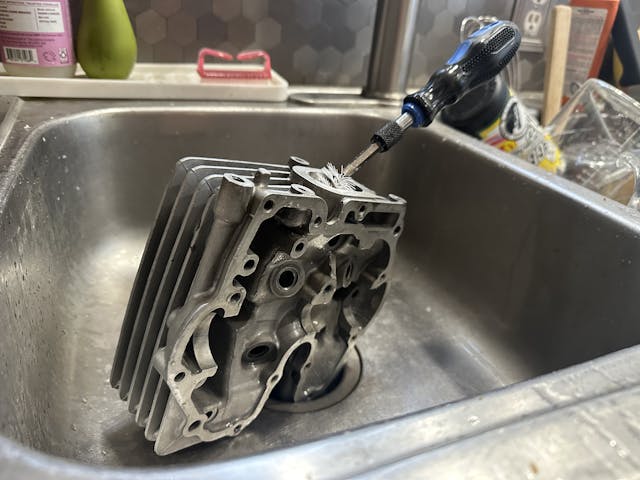
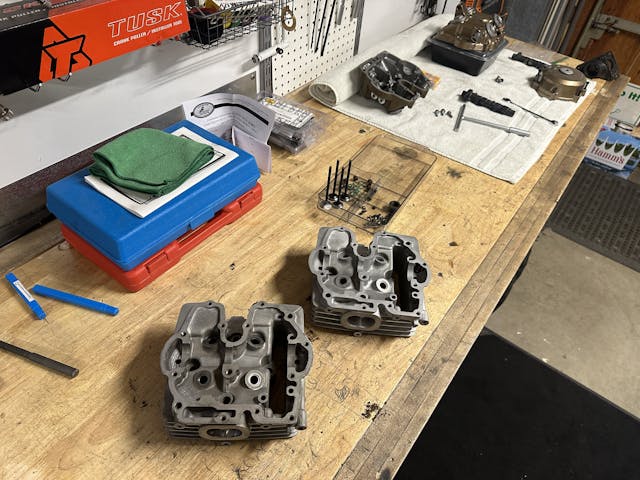
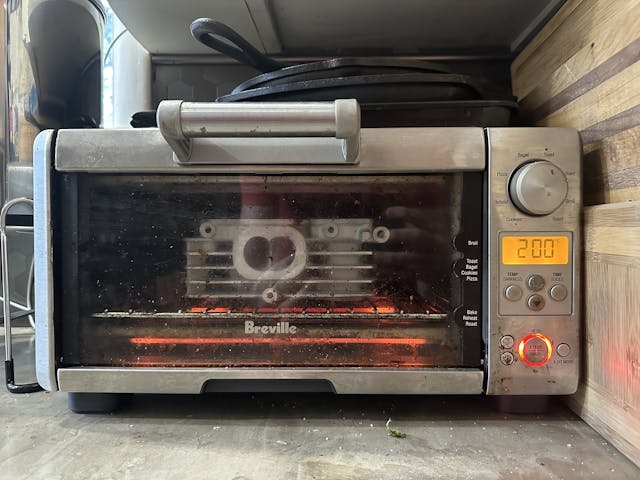
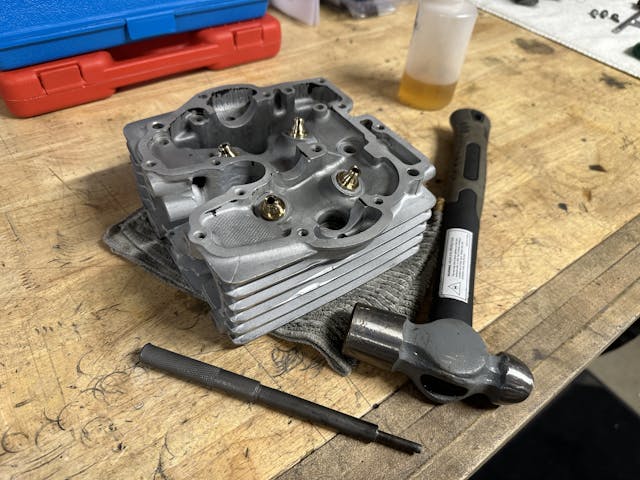
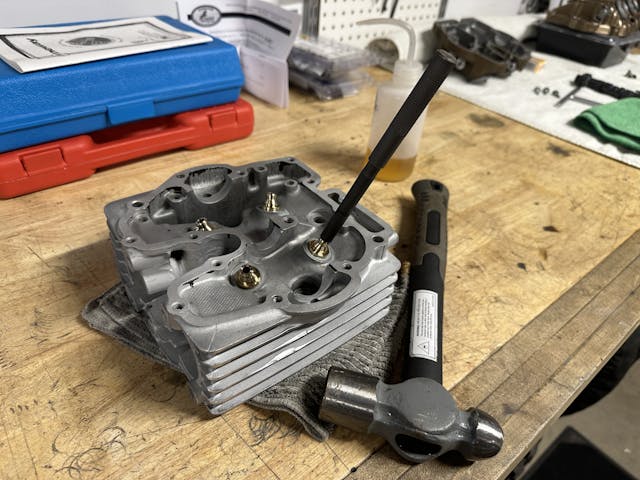
This is actually the easiest step in the process on these heads; it only requires a little patience. The first step with anything related to building an engine is cleanliness, so I kicked things off with a deep scrub after putting the valve guides into the freezer on Friday night. After breakfast on Saturday I popped the bare cylinder head in the toaster oven for a little pre-heating. The temperature differential made the guides shrink ever so slightly in outside diameter while the bores in the cylinder head expanded ever so slightly to make the job of driving the guides into place just a little easier. For all the precision work that happens as part of this process, this step requires nothing but brute force, a big hammer, and a special driver to prevent damaging the guides.
First Attempt at Reaming

One of the things that is virtually always free and saves so much stress in doing projects like this is simply finding, reading, understanding, and following the instructions that come with the products you are using. There is something addictive about the feeling of successfully reverse-engineering the thing without needing the instructions, but as fun as that is, reading the instructions also keeps you from making ignorant moves. I’ll let you guess which route I took when it came to my high-speed reamer.
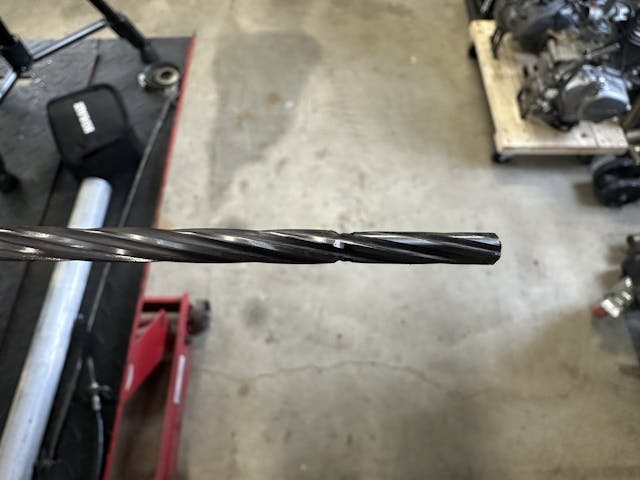
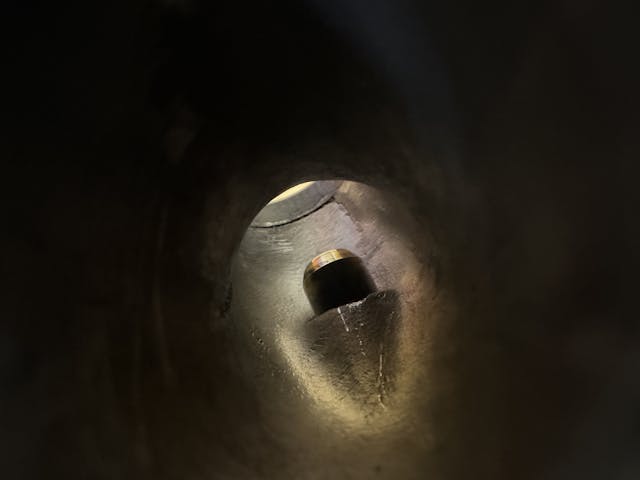
A high-speed steel reamer is the cheapest way to size valve guides, because reamers are single-size, but a fluted reamer is not the correct tool to size the C63000 guides I purchased: The manufacturer tells you as much if you take the time to find the information on their website. I didn’t, and on my first attempt, the guide dulled the reamer, got hot, and grabbed the reamer in a hug like your grandma used to give you—tight, and potentially inseparable.
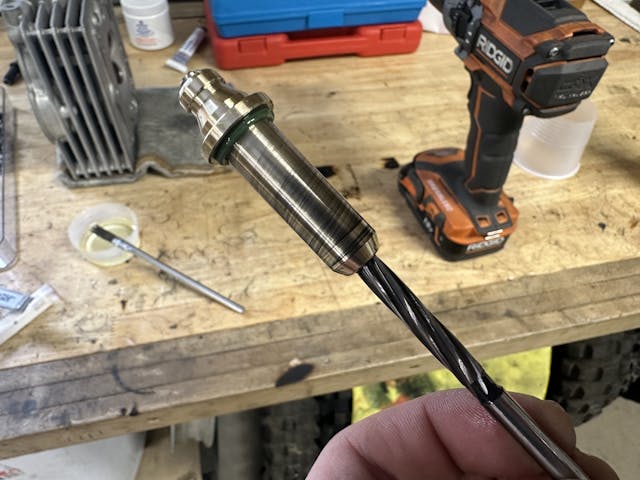
Separating the two was not even worth the effort. The reamer was a total loss and so was the guide. They will live on as an artistic reminder to do the damn research. After consulting the valve guide manufacturer with an inquiry regarding the method or process they recommend, I learned that my plan to save any money on this project was gone. Learning costs money sometimes, but the $2200 in tooling that the manufacturer suggested was a tough pill to swallow. Two grand would have been about the total cost to have a pro handle these heads completely—not just the guides, but everything—and the project would have been done four weeks ago.
With my tail between my legs, I set these two cylinder heads on the oily front desk of the local machine shop. Joey, the man behind the counter, took one look at them and said, “Nope.” He denied the work not because he didn’t want to do it, or because I wouldn’t pay his price, but because his shop didn’t have the tooling for the teeny, tiny valve guides used in the XR250R. Most of the engines this machine shop sees are traditional V-8s which have valve stems significantly larger than the 5.5-mm toothpicks in these Hondas.
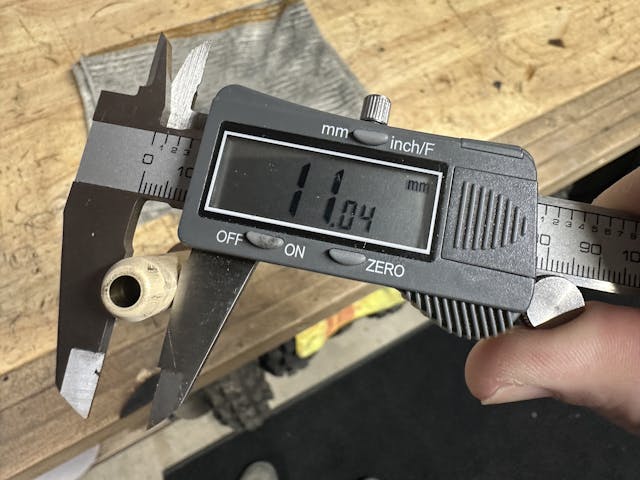
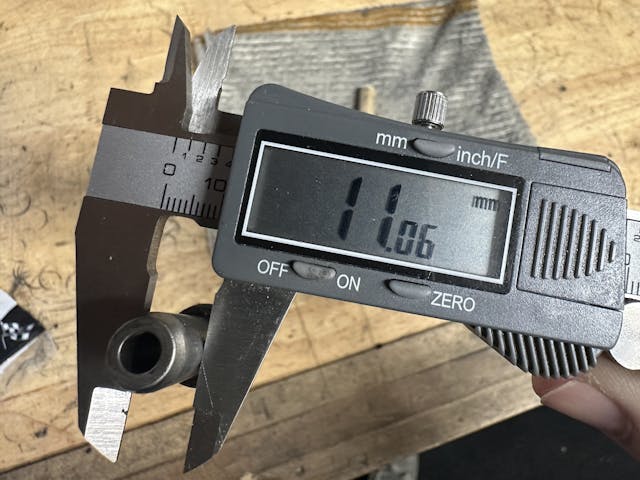
I was in a bind. Luckily, Joey’s advice was free, and the machine shop did have a solution, or at least part of one., It wasn’t going to come easily or cheaply, though. Joey and I put a replacement valve guide on order, along with a new tool. When the mail truck drops it all off, it’ll be time to try again… this time, significantly more prepared. You know, like I should have been the first time. Even the tasks that appear the simplest—remember, all of this was to make eight 0.216-inch holes for valves to slide into—are rarely what they seem, and occasionally we need to be reminded of that.
***
Check out the Hagerty Media homepage so you don’t miss a single story, or better yet, bookmark it. To get our best stories delivered right to your inbox, subscribe to our newsletters.
I generally do all of my work myself. The one thing I stay away from is machine work. If a cylinder head needs anything beyond a lap… off to the machine shop it goes. Why? they have the tools and they do it day in and day out.
I might end up the same way after all this. Had to try and learn it for myself though.
I certainly understand the desire to want to do it yourself
I admire your bravery. When the cost of me potentially screwing up gets to a certain point, I tap out. 🙂
Ah, the old “Read the Instructions” lesson. Real men everywhere are letting out a collective groan, and saying “Jeez, Kyle, you sound just like my wife!”
How do you think I feel giving myself the speech just to walk inside and hear it again! Ha!
The precise, small holes in various motorcycle parts have caused many grief over the years.
My mistake came when cleaning the carb on my Honda CT70. I was cleaning out the jets, using the same cleaner used on oxy-acetylene torches, spiraled cleaners.
This would have worked great if I’d not gotten greedy in my cleaning frenzy and accidentally changed the size of the orifices by jamming ever larger cleaning tips through.
The bike never did run right after that. It sits in my dad’s garage, with over a decade of dust on it now. Waiting for an older, wiser me to correct the mistakes of my youth.
Those torch tip cleaners are dangerous! I’ll admit I have told people that trick but it was always followed with the warning you give. Most of the time I use old guitar strings these days. Brass-wound acoustic guitar strings are as soft or softer than most jets yet still have a little bit of abrasiveness that makes them effective.
To fix your oversize jet, you solder it up and redrill to the correct size.
A set of number drills is the best way to clean jets, but twist them through by hand only … no electric drill motor!
A minor point. The article said that the heat made “the guides shrink ever so slightly in outside diameter while the bores in the cylinder head expanded”. Heat only makes things expand. In this case the trick is that bronze does not expand as much as aluminum. So heating the head made the bronze guides expand a bit but the aluminum expanded a bit more making the interference fit between the two less.
He put the guides in the freezer and the heads in the oven.
David R, whilst you are totally correct in your description of how things work, I think the article, as written, was also correct, if you reread it.
The full quote would be “the heat differential”, being bewteen the cooled guides and the heated heads.
I don’t have the right tools so I have never tried something like this. I’ll have someone do it for me.
I can’t even figure out why my snowblower won’t start!!!
I see in the picture of the seized reamer and guide, your drill. There’s the problem. With over 30 years as a Toolmaker I’ve reamed thousands of holes for press fit dowel pins. Reaming must be done at a slow RPM. With lots of good cutting oil, not water based coolant. In and out, similar to honing till the full length of the hole is sized.
I was running slow speed in said drill, and the source I purchased that reamer from confirmed it was suitable for what and how I was using it. I failed to use proper amounts of cutting oil, but even proper cutting oil was not going to keep this situation from happening.
The rule of thumb for reamers is half the speed, twice the feed. Brass and bronze are particularly challenging for their habit of grabbing cutting tools. With all my experience I can still be victimized if I’m not very careful. No shame in attempting a task most DIYers wouldn’t, you’ve just passed a masterclass in the school of hard knocks.