My XR250R racing project has turned into a spring snowball

The plan for building my tired XR250R into a do-it-all race machine was simple: Replace only what was needed, repair what I could, and ride as much as possible as soon as I could. I can’t pinpoint the exact moment that minimalist plan went wildly off the rails, but it certainly has. Despite the arrival of spring in Traverse City, there is a snowball in my garage that grows by the day.
The departures from my carefully-laid plan were rooted in a mix of good intentions and well, what about that? The AHRMA rulebook guiding me safely through this six-event race season is surprisingly flexible. If I wanted to throw together an engine and take the battered Honda to the track I would be welcome, so long as I made sure to safety-wire the critical components and bolts that keep the oil in the engine and not on the track. That said, the idea of sacrificing my dignity for public amusement isn’t appealing, so I elected to take this whole thing seriously—and thus had to open my wallet as wide.
There is no cheap way to race. It simply doesn’t exist. I held out hope that, at the end of this year, I’d could reflect on a frugal, low-budget race effort. It’s barely April and I already have had to wipe that scenario from my mind. Make no mistake, I knew that tackling all six disciplines in the AHRMA calendar would cost money—and a good amount, too—but I hadn’t been that unrealistic, I thought; I had outlined a budget that most would consider reasonable for the amount of experience the year would hold. I haven’t even hit the track, though, and I’m reevaluating my spending to ensure I’m avoiding frivolous upgrades and prioritizing safety.
Smart spending, it turns out, does not always mean minimal spending. The best examples are the engine and the wheels.
The engine
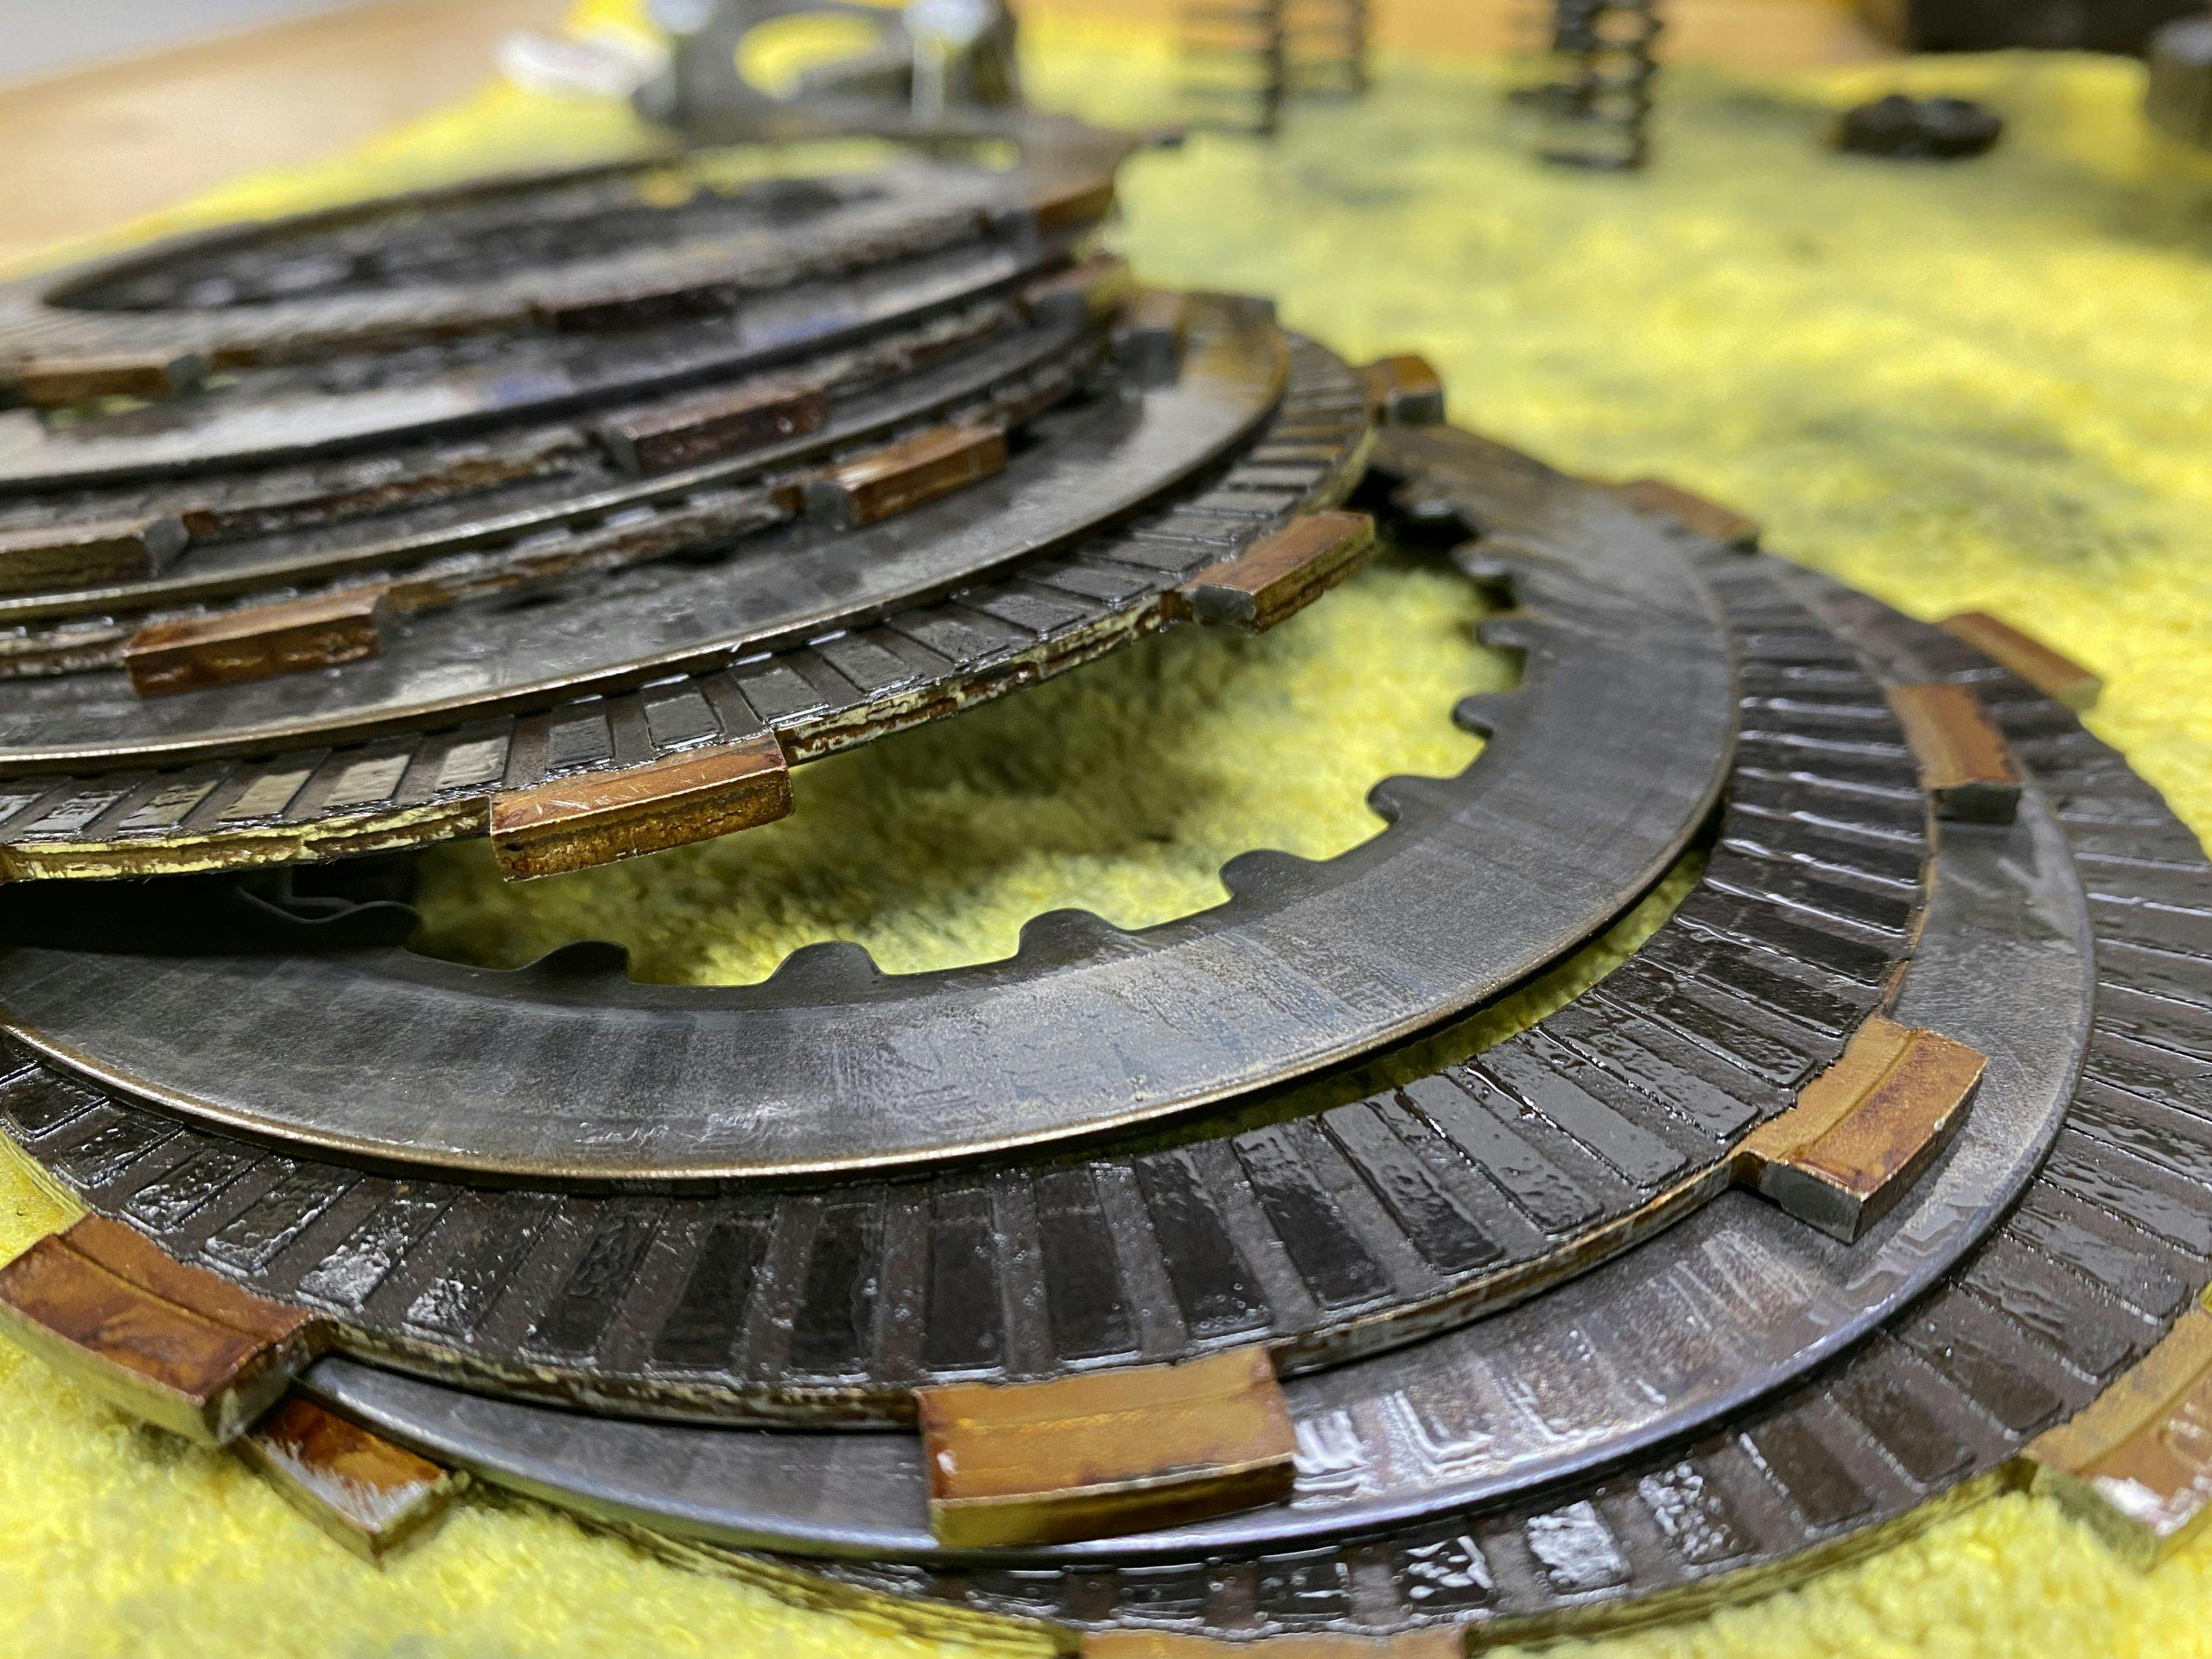
The engine for this bike was in sad shape at the start of the year. (Regular readers will be familiar with the saga of the crashed valve.) What caught me off-guard was the rebuild. When I chose this Honda, I knew that the head and cylinder would need machine work; somewhere in the process of teardown and general maintenance, I was suddenly looking at bare case halves. My phone lit up with an email receipt for bearings, seals, and gaskets, all on a UPS truck headed for my garage. What had happened?
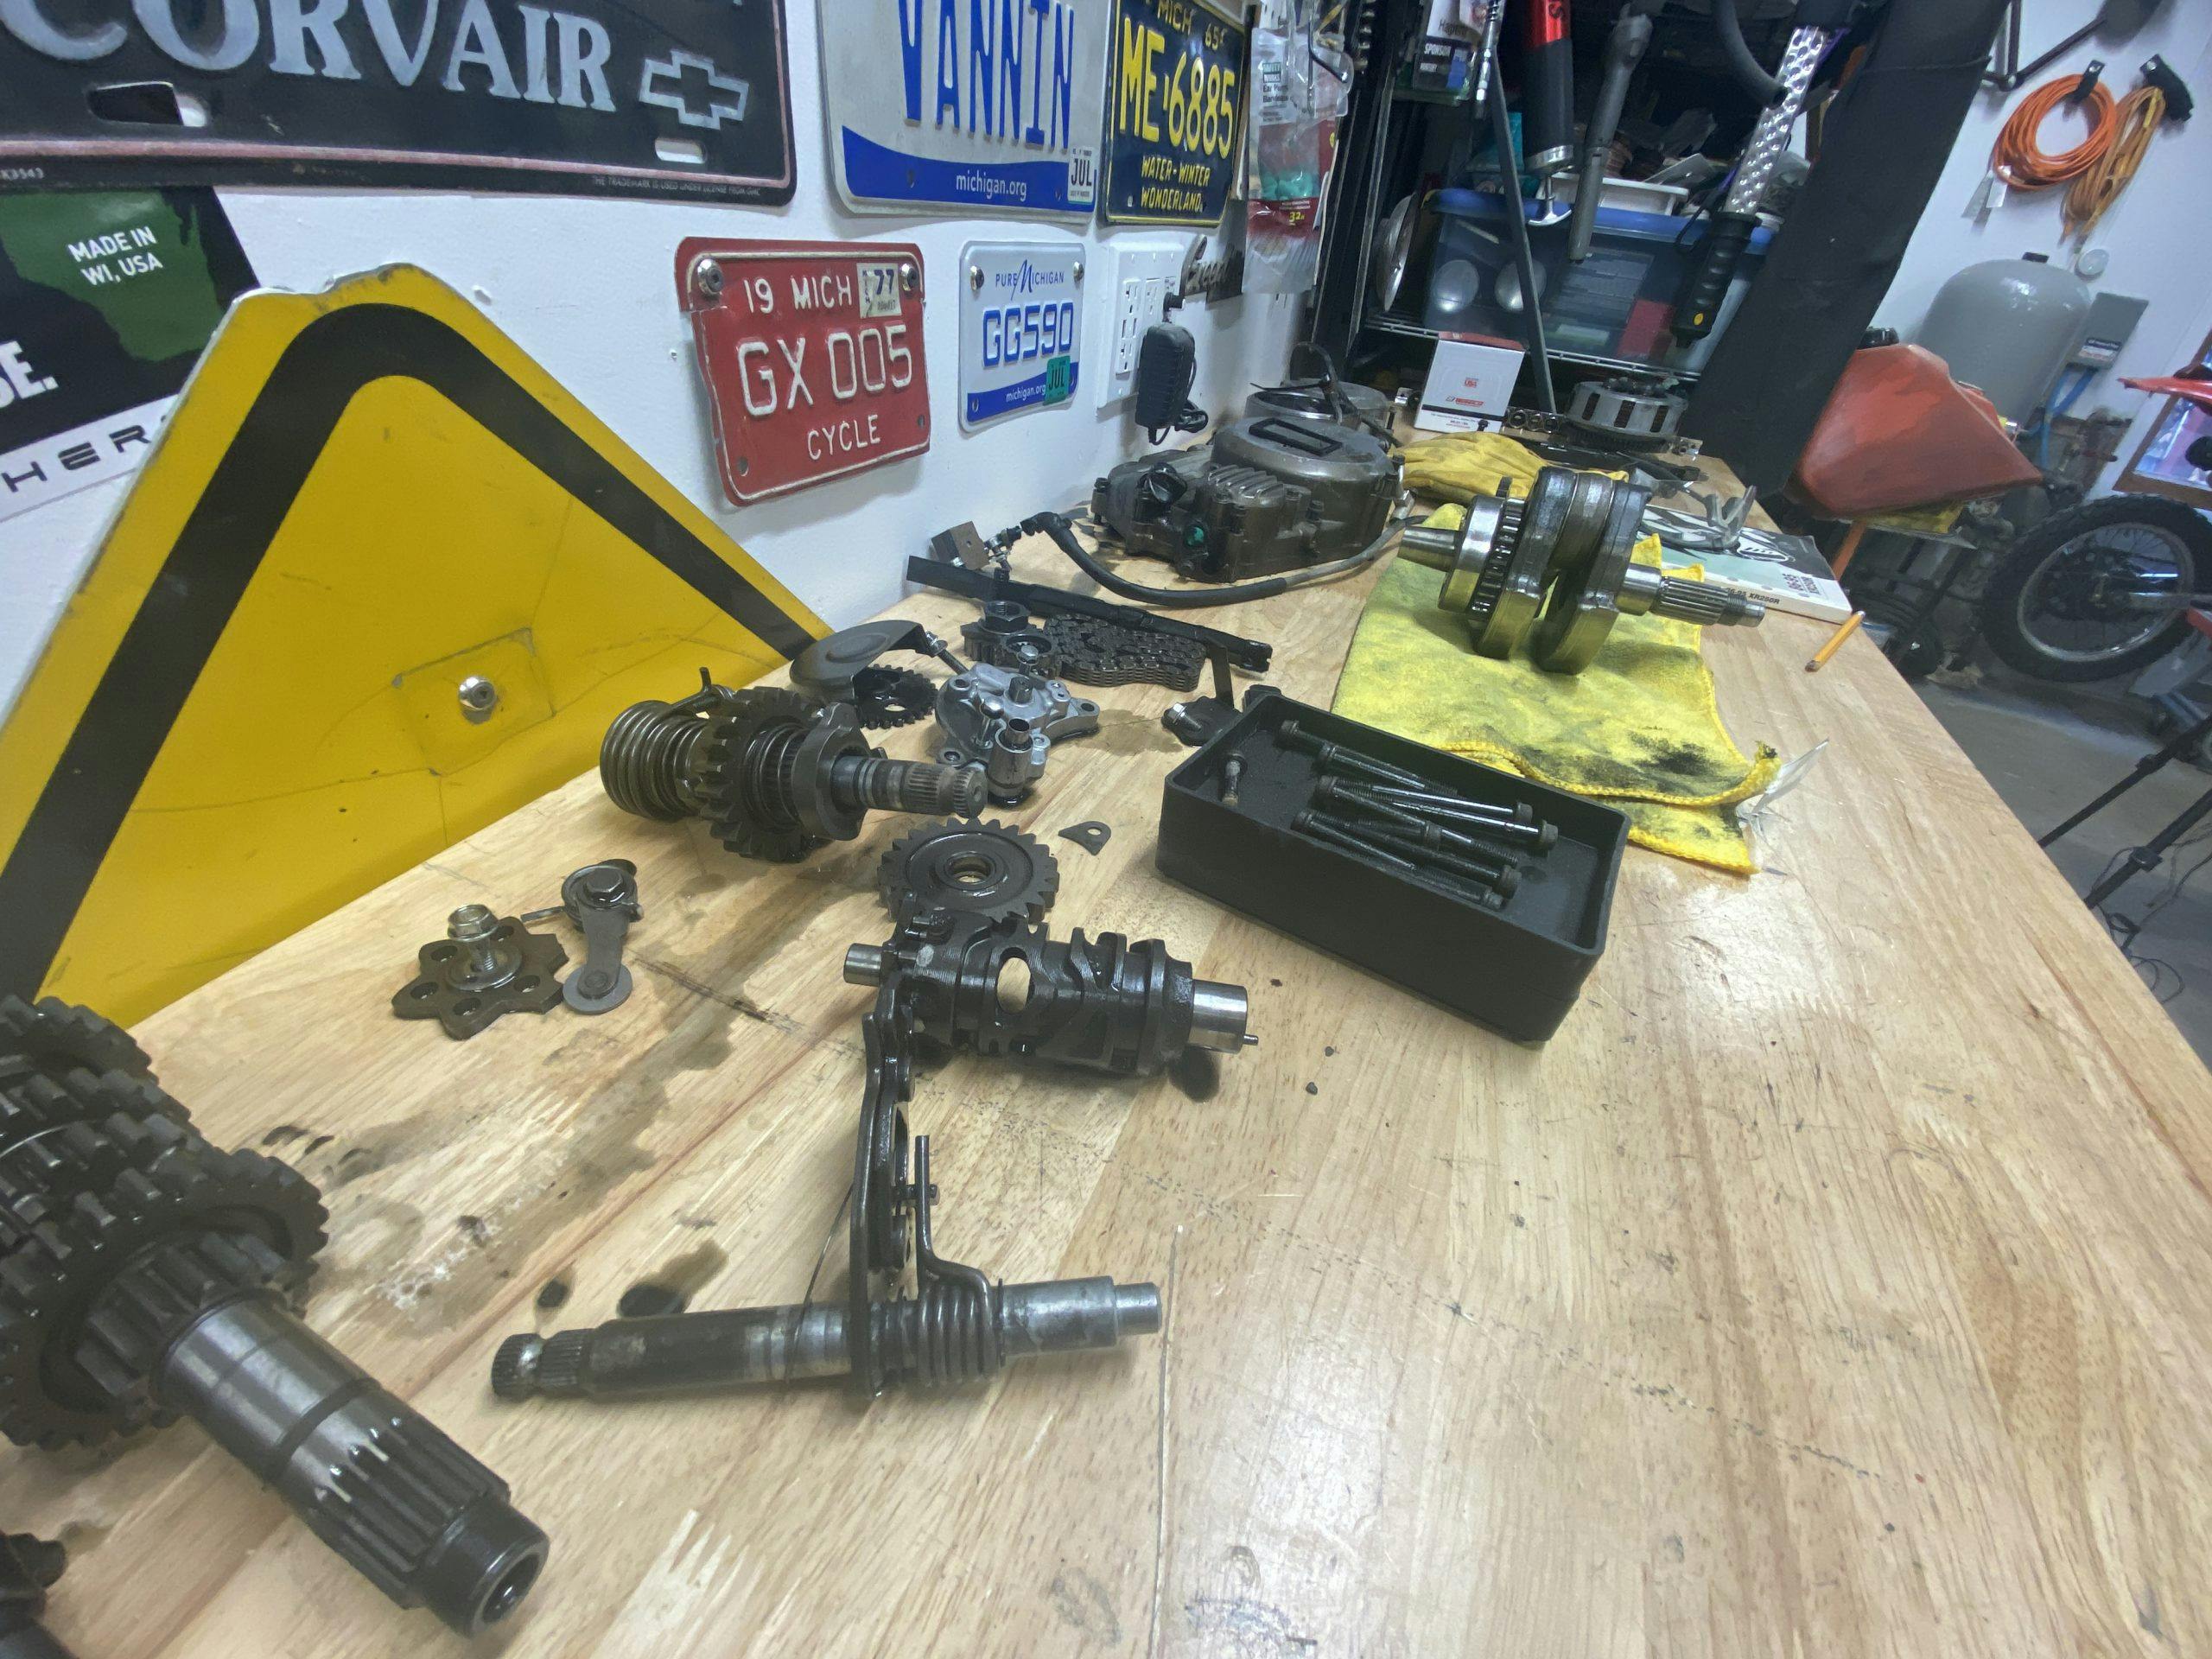
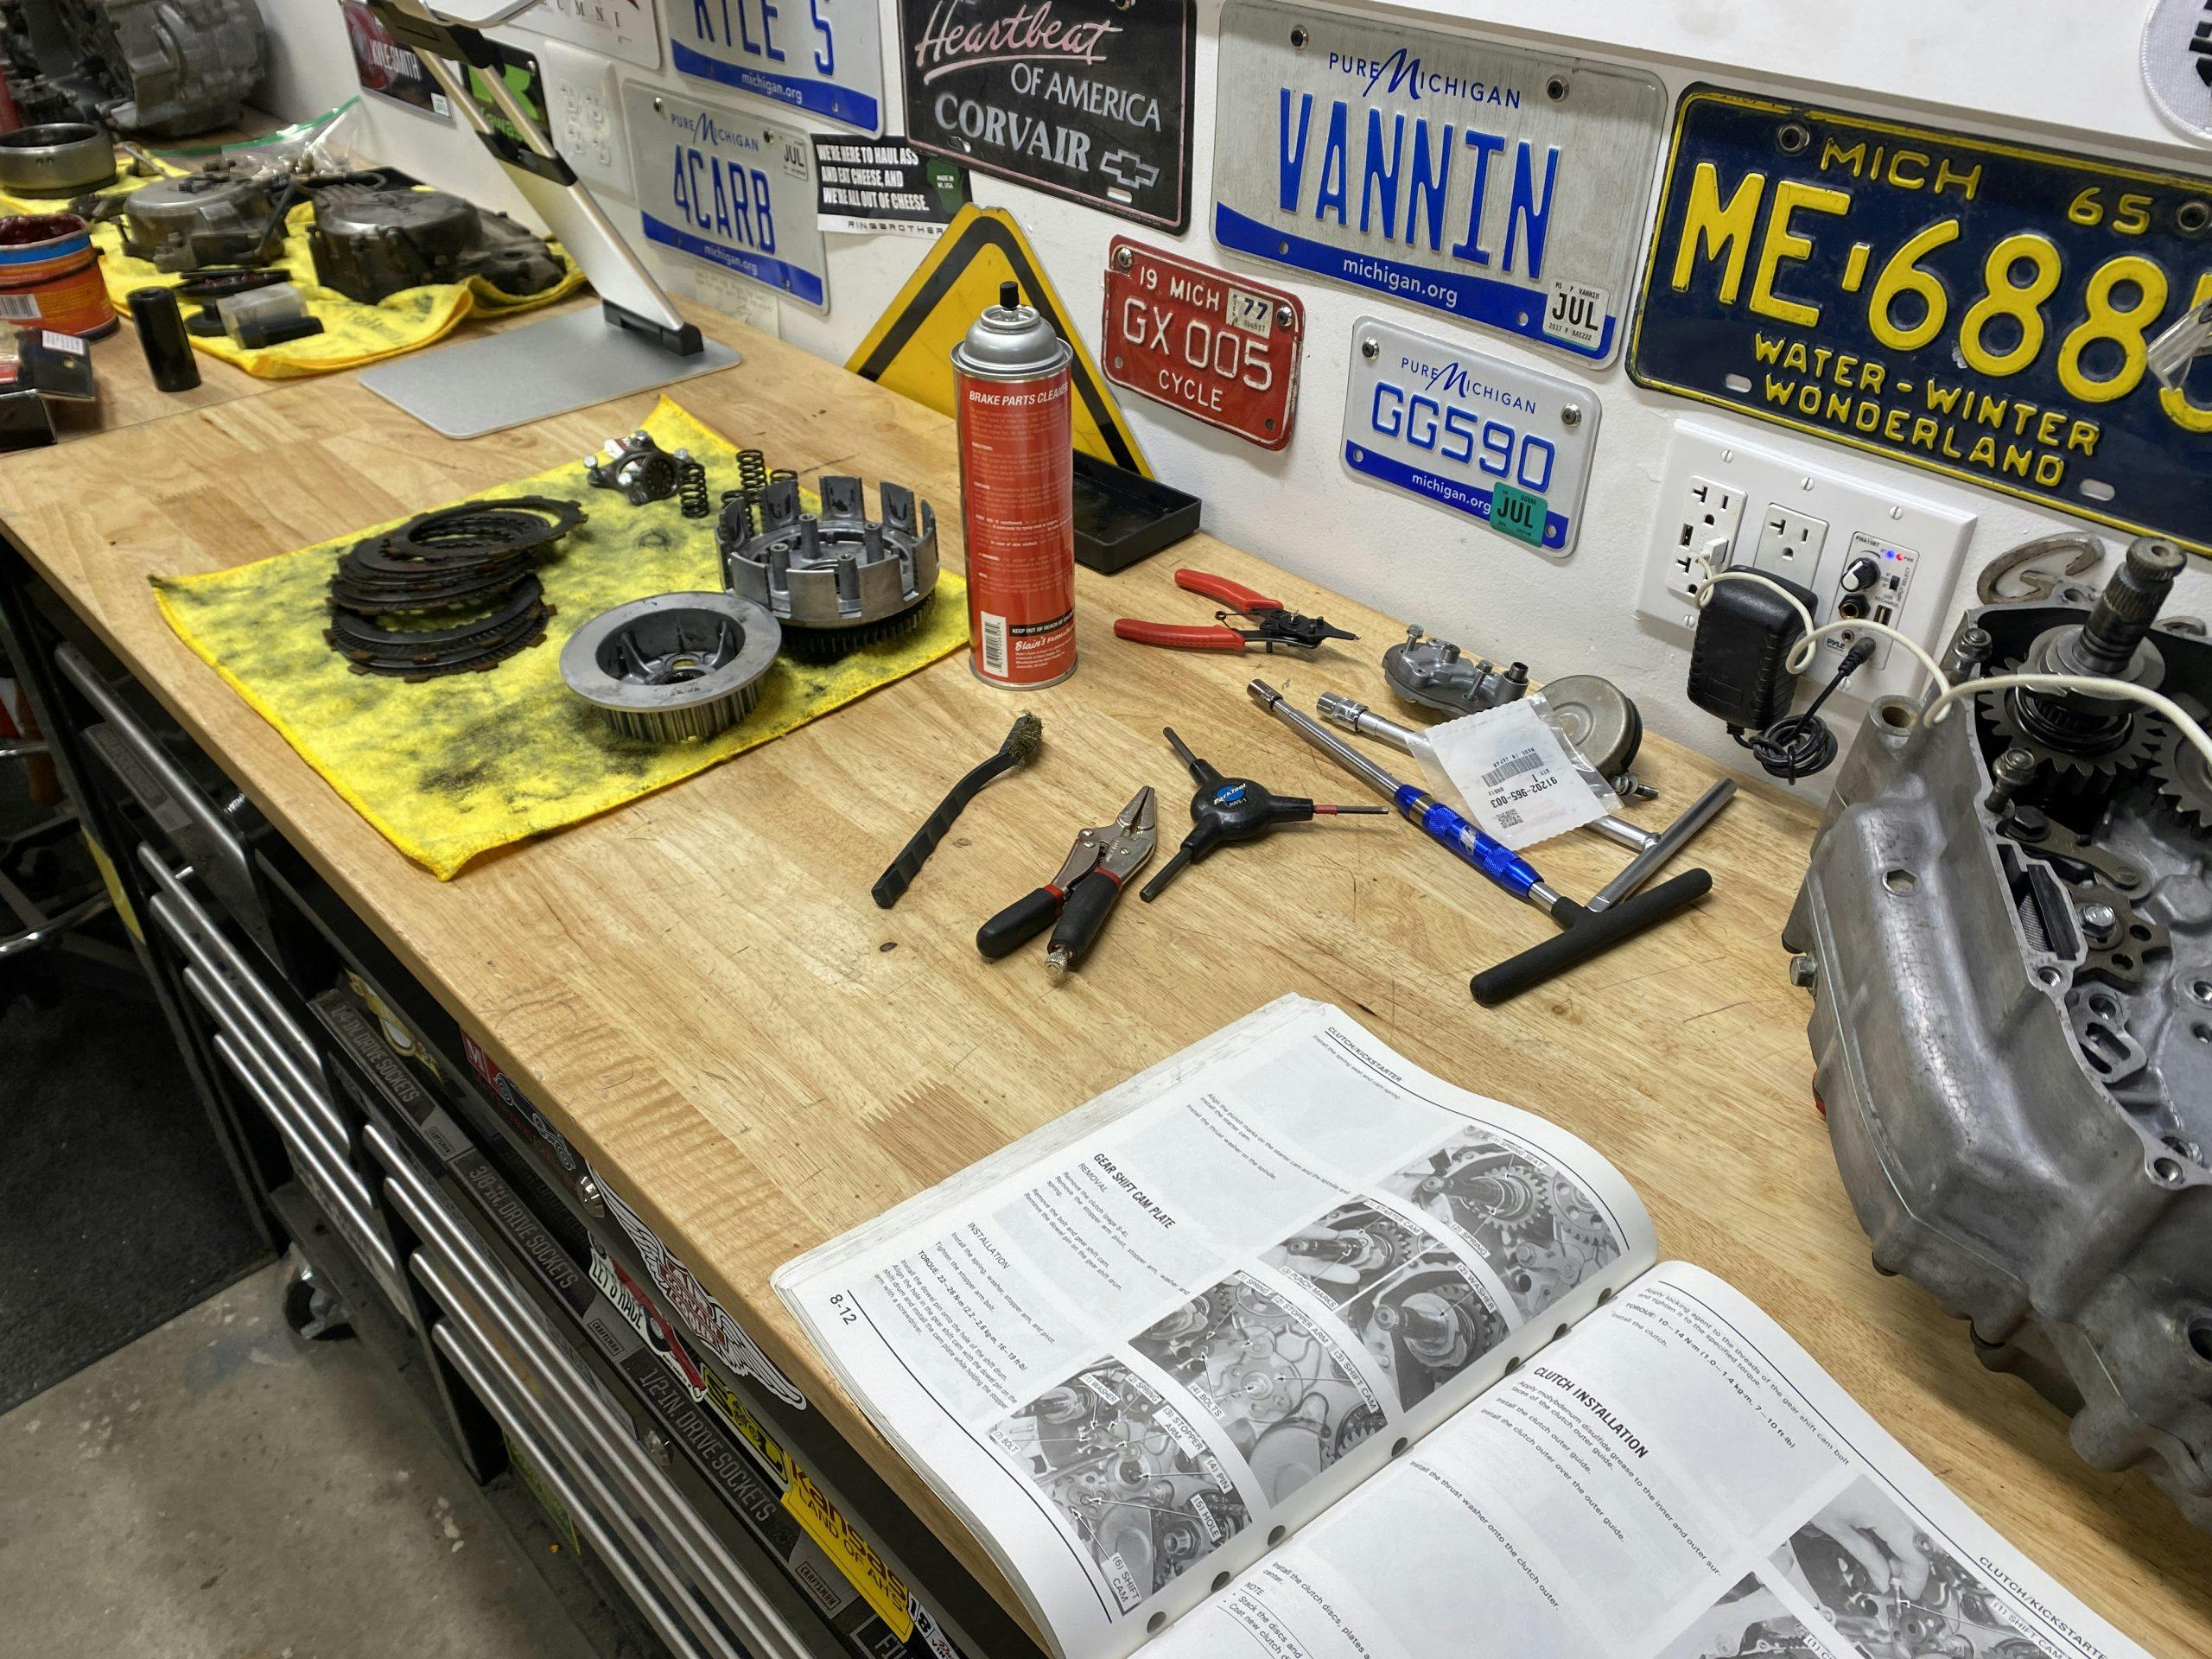
This was a classic case of “while I’m in there” purchasing. If I’m spending $500 to re-machine the cylinder head, why neglect an $8 transmission bearing? How embarrassing it would be to do all that work on the top end of the engine to be left sitting in the pits over a broken bottom end … Thus the snowball grew.
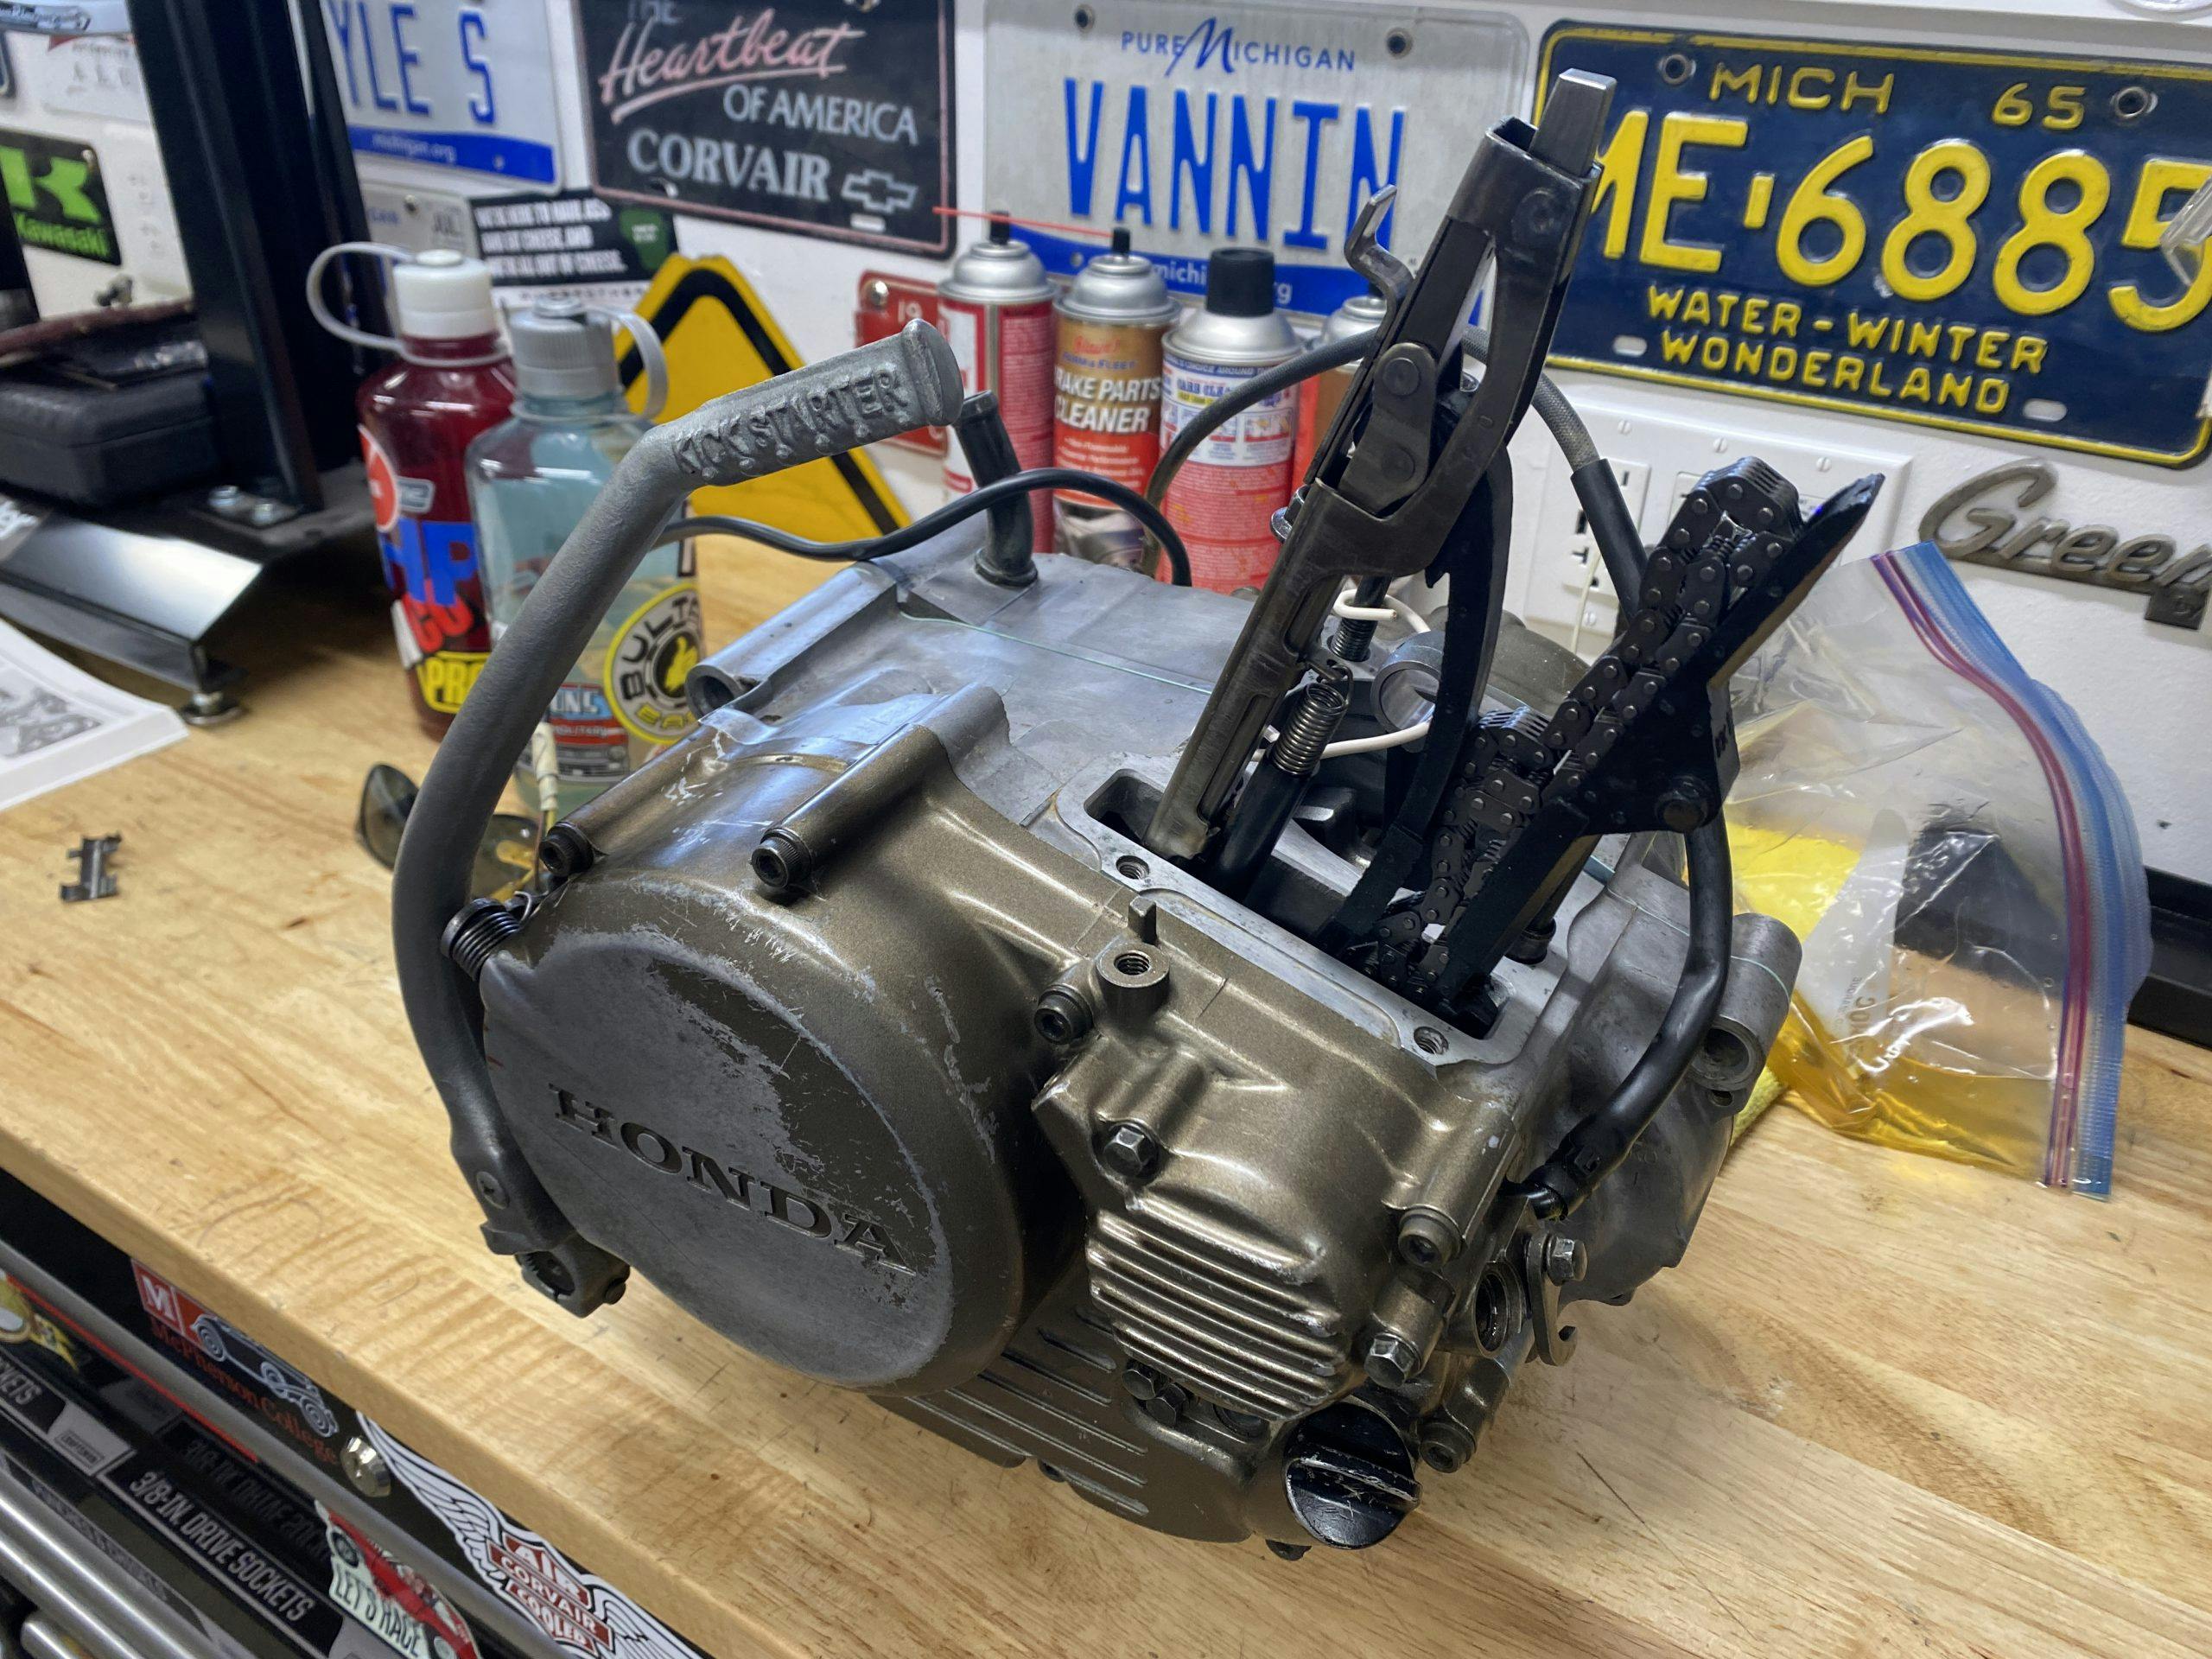
Tearing the engine down to bare cases took maybe 30 minutes. Reassembly has been more tedious but just as rewarding, even if my fiancée is pretty sure I am now muttering torque specs in my sleep. In hindsight, I wish I would have spent a little bit of money to vapor blast the engine case halves and covers. Millennium Technologies blasted the crankshaft when they pressed it apart to replace the connecting-rod bearing, and I know the cylinder and head are going to come back just as pretty. The snowball rolls.
The wheels
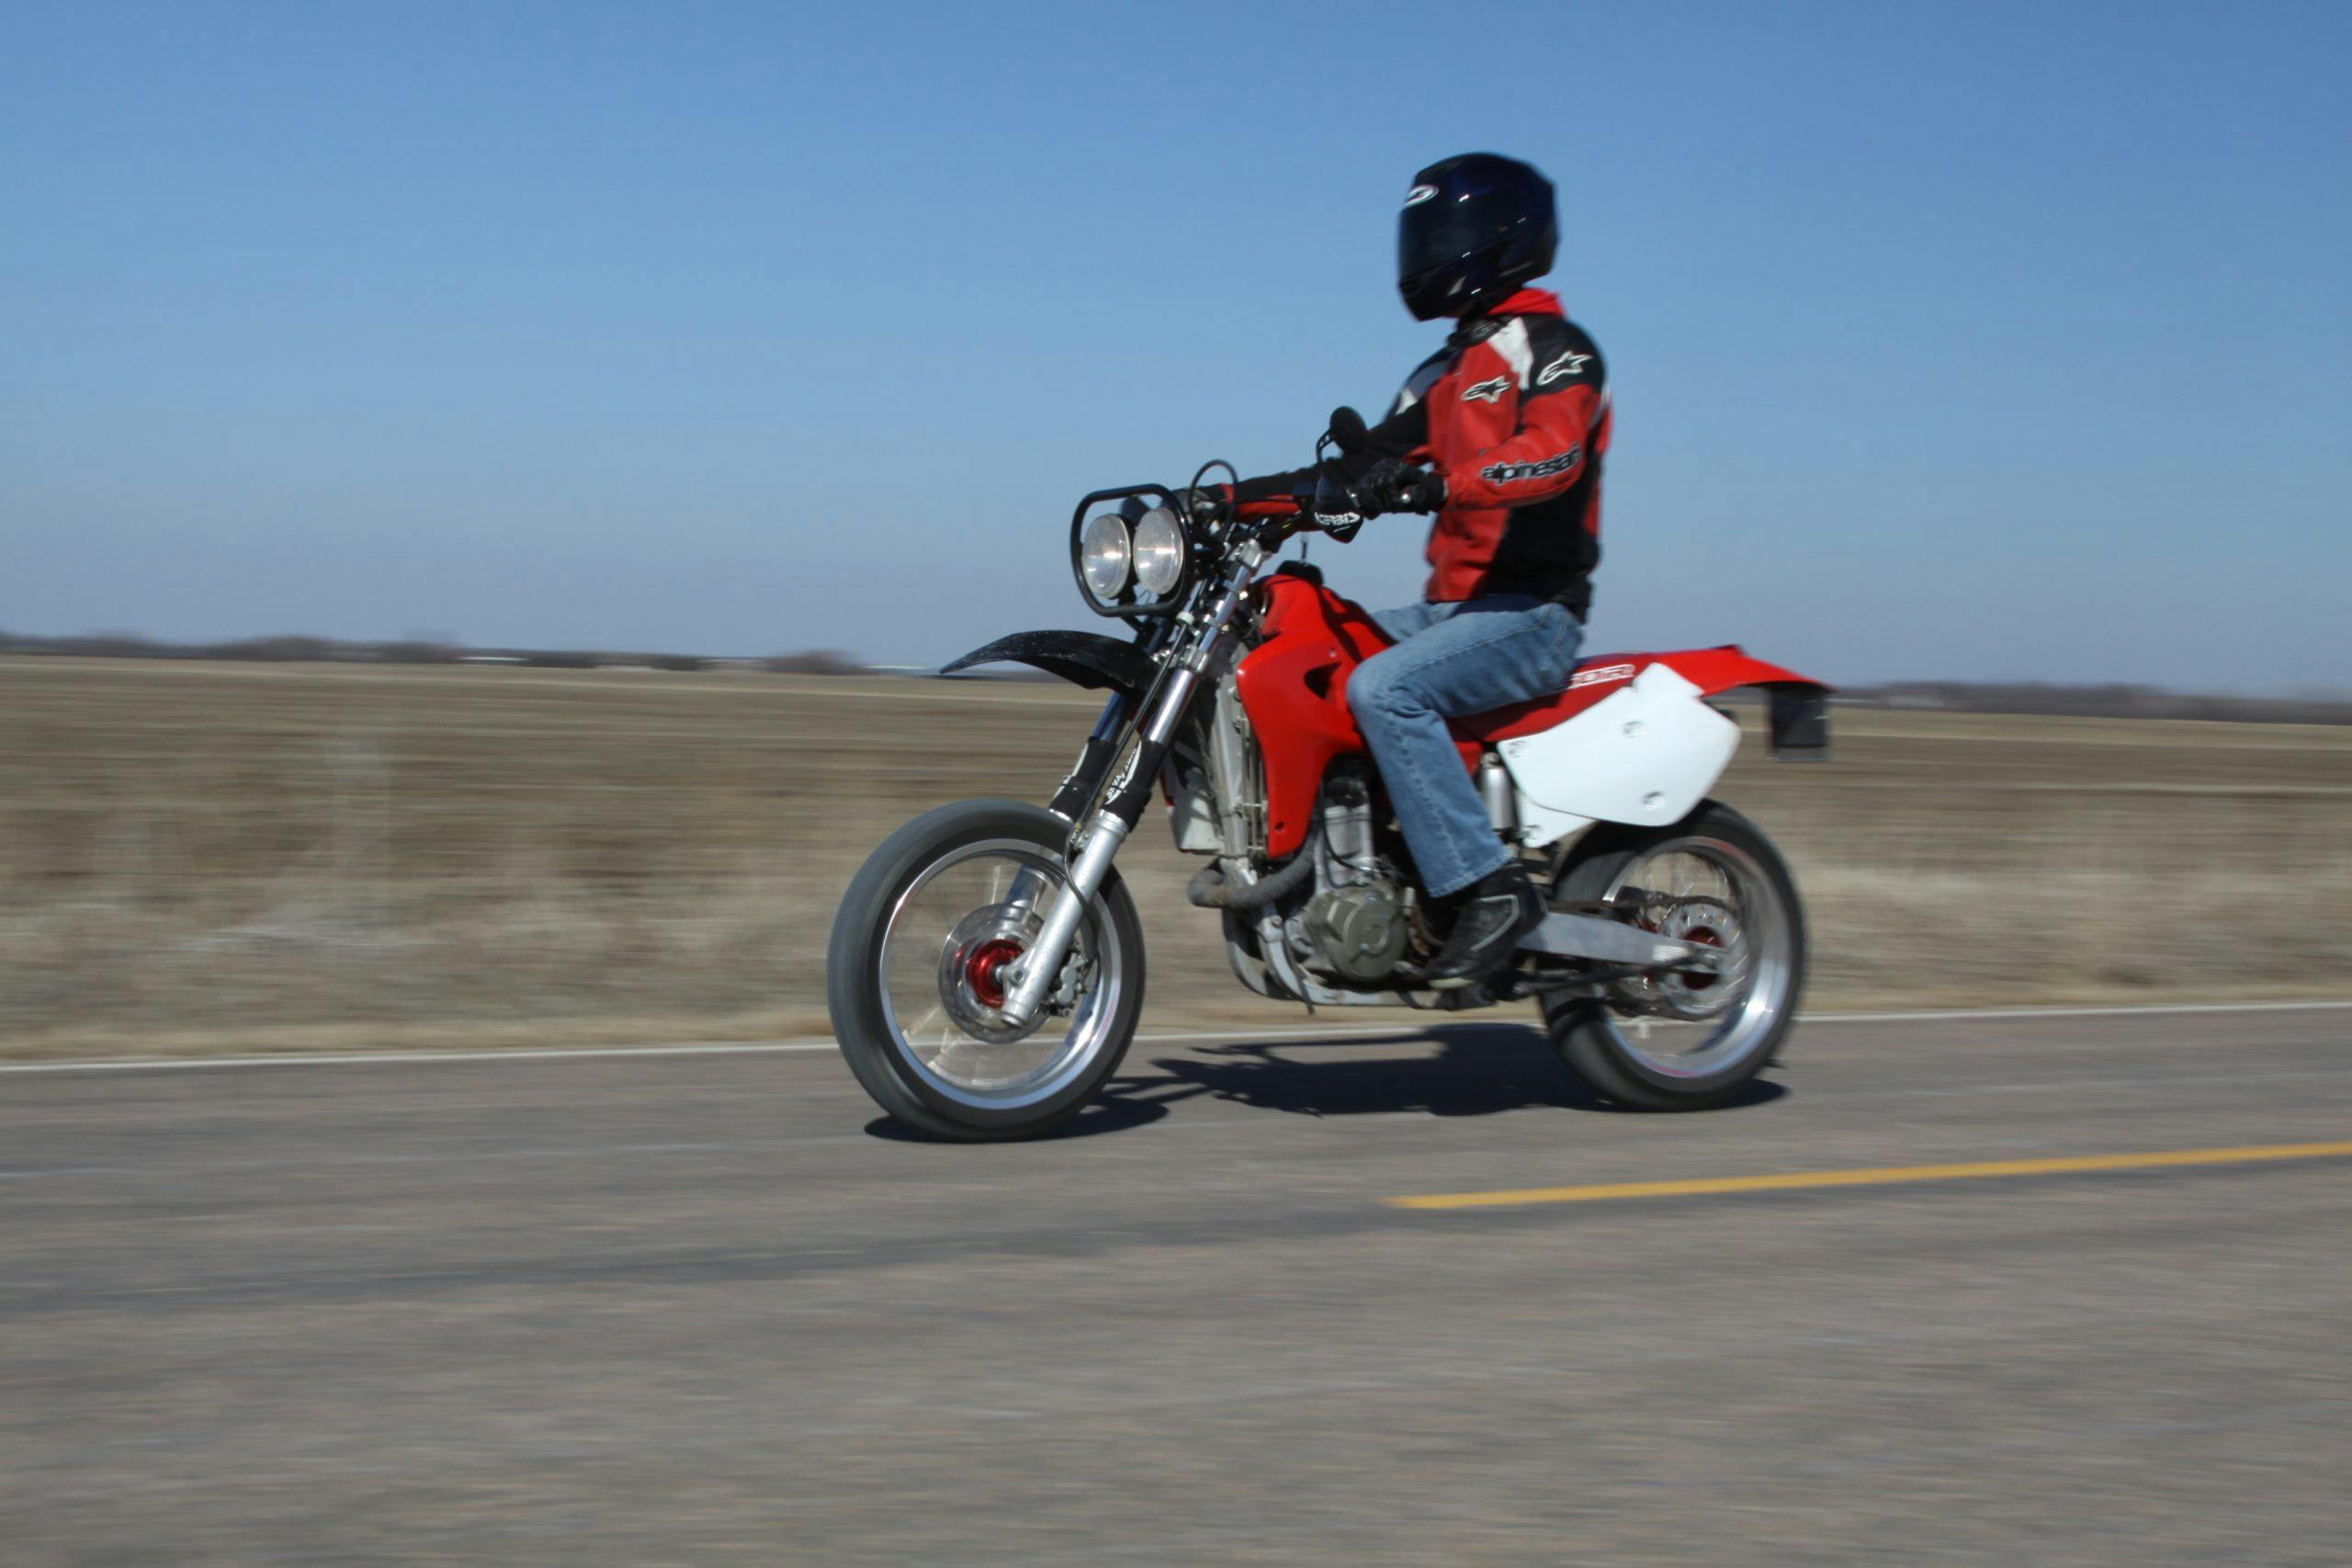
Conveniently, five of the six disciplines on the racing docket utilize the XR250R’s stock 21-inch front and 18-inch rear-wheel setup. The exception is road racing, for which the XR needs 17-inch wheels front and rear to qualify for the “motard” class. (Another name for this event is supermoto, and it’s a set of modifications with which I’m familiar, since I built a few supermotos about eight years ago. This style of bike is wildly fun to ride on the street.)
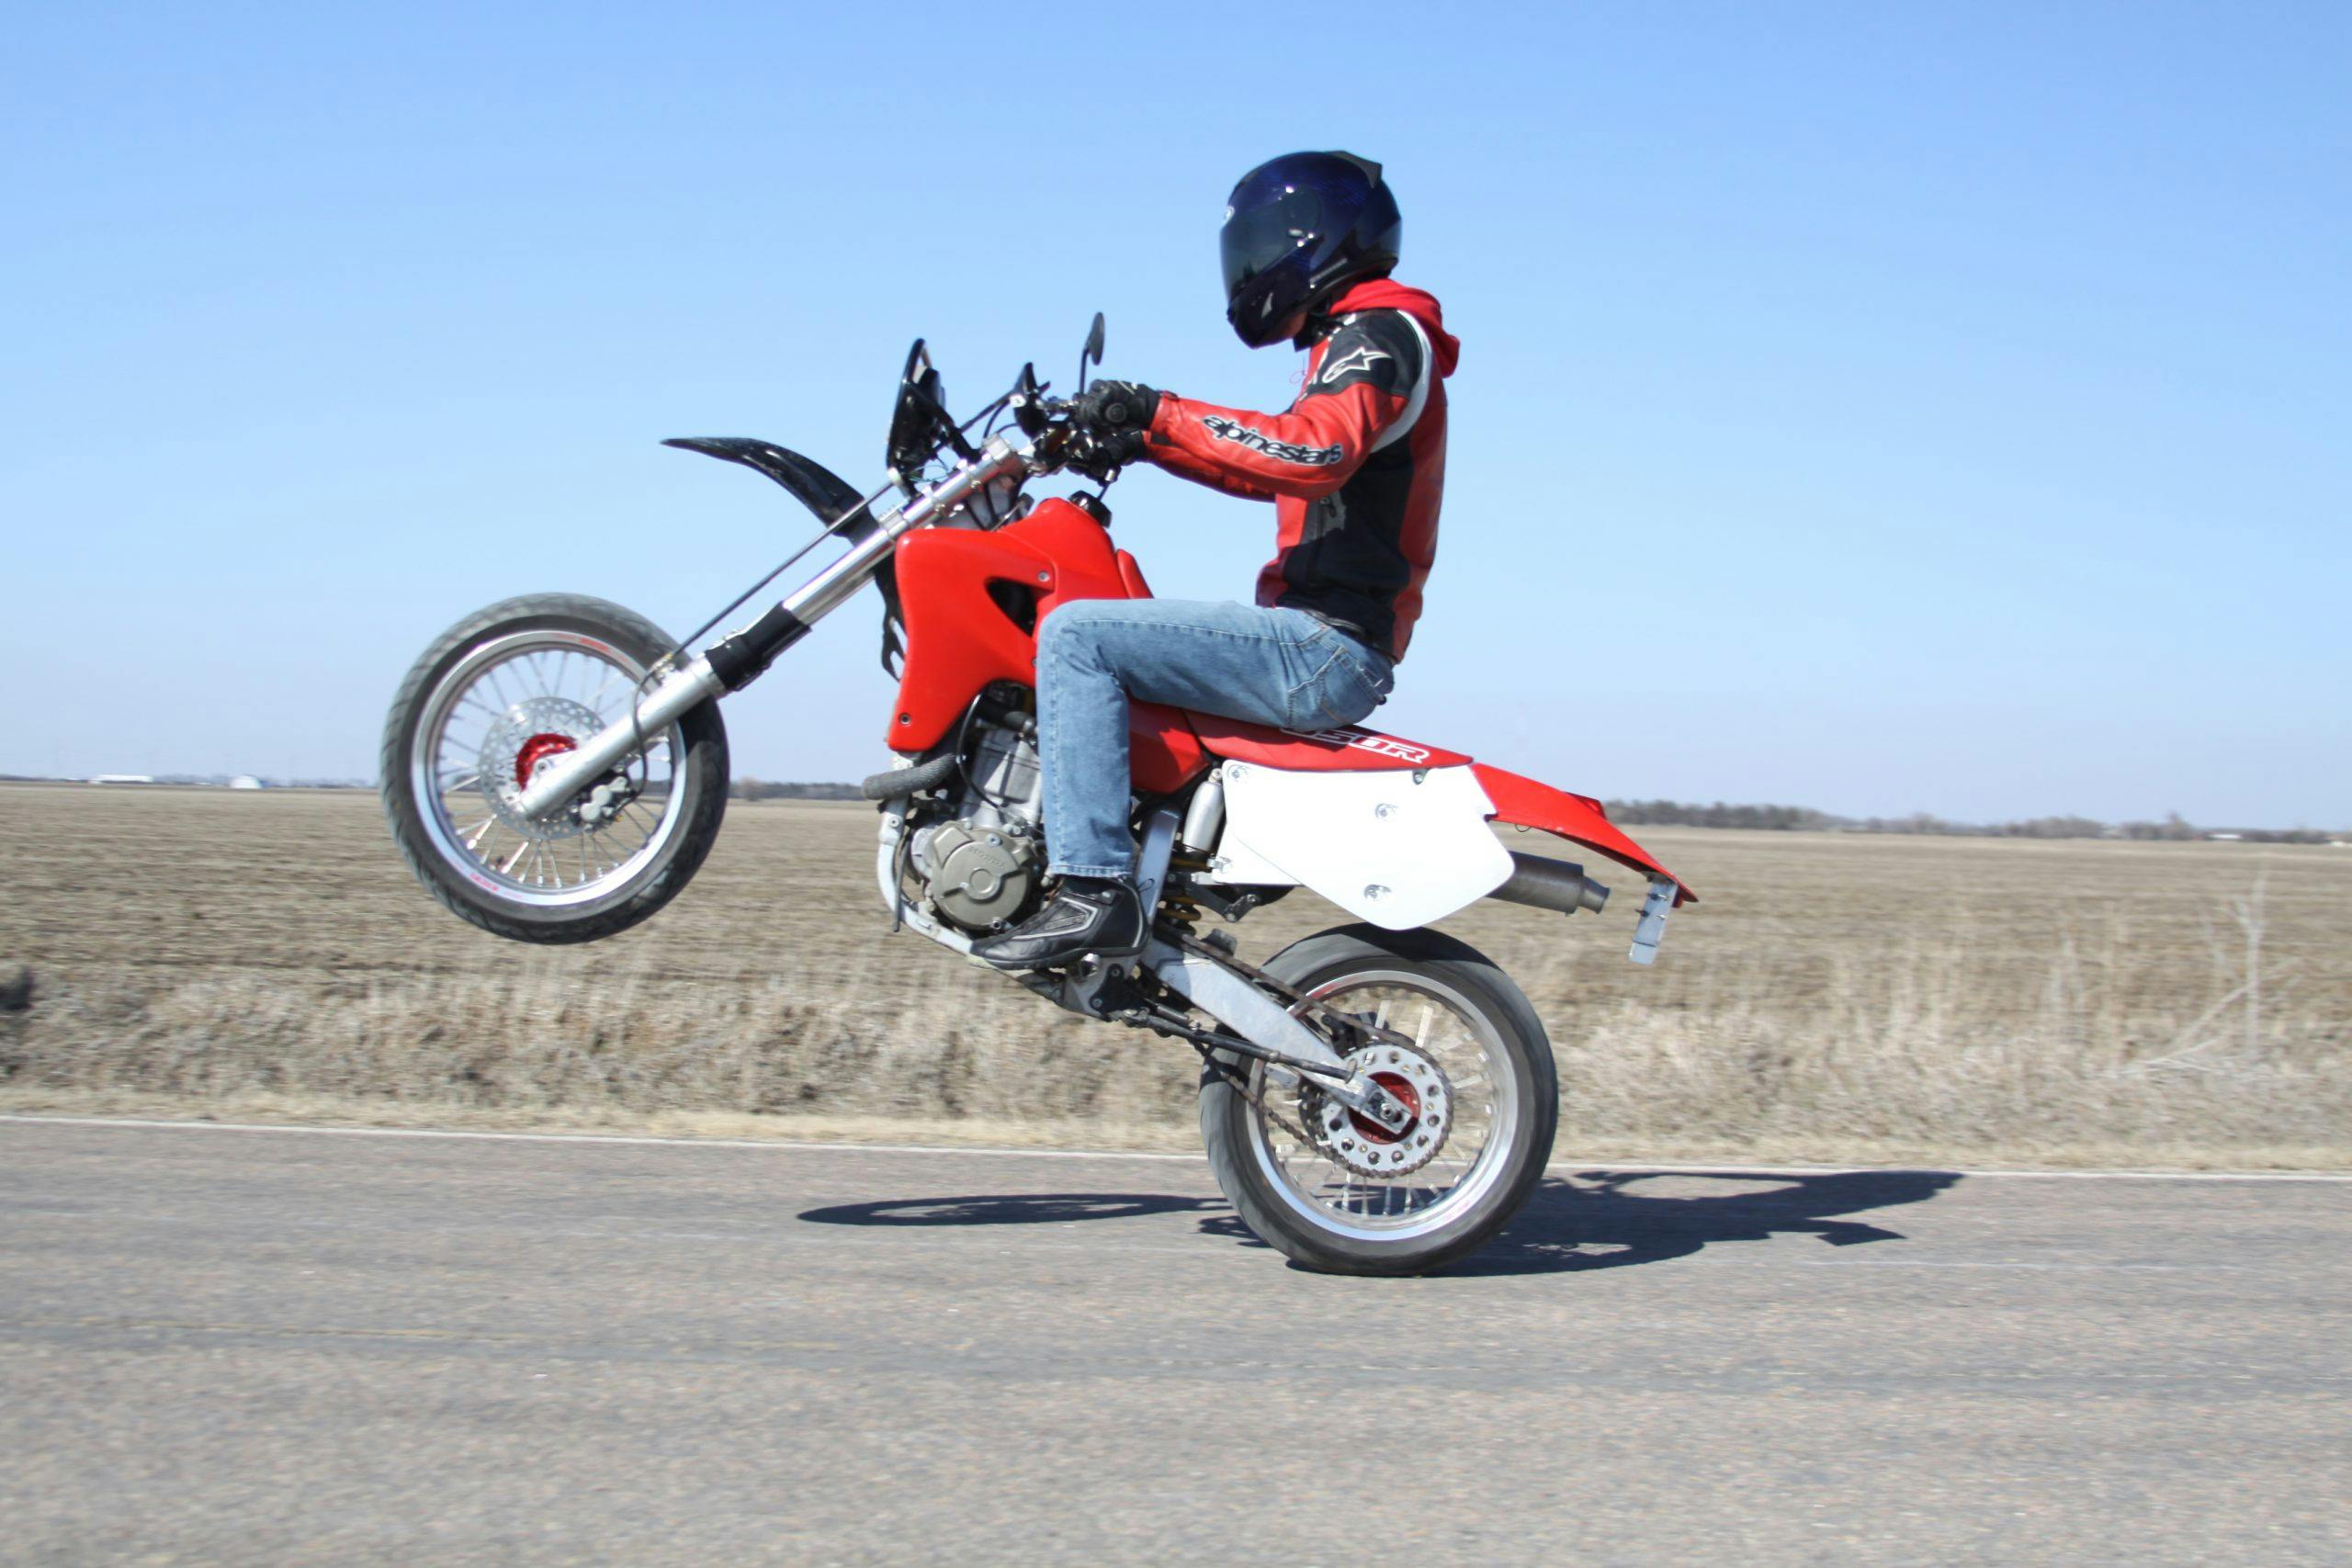
Rather than swiping the credit card for a really slick set of wheels, I paid for this upgrade in sweat equity. My hand was also forced a bit because aftermarket hubs for the XR250R’s rear drum brake are nonexistent. I ordered rims and spokes, preparing to dissect a spare set of wheels and build exactly what I needed. This process requires patience and accuracy, which is why the supermoto bikes I built nearly a decade ago either used aftermarket wheels or hubs that I had sent off to a vendor to lace and true. This time, I was determined to make the wheels myself.
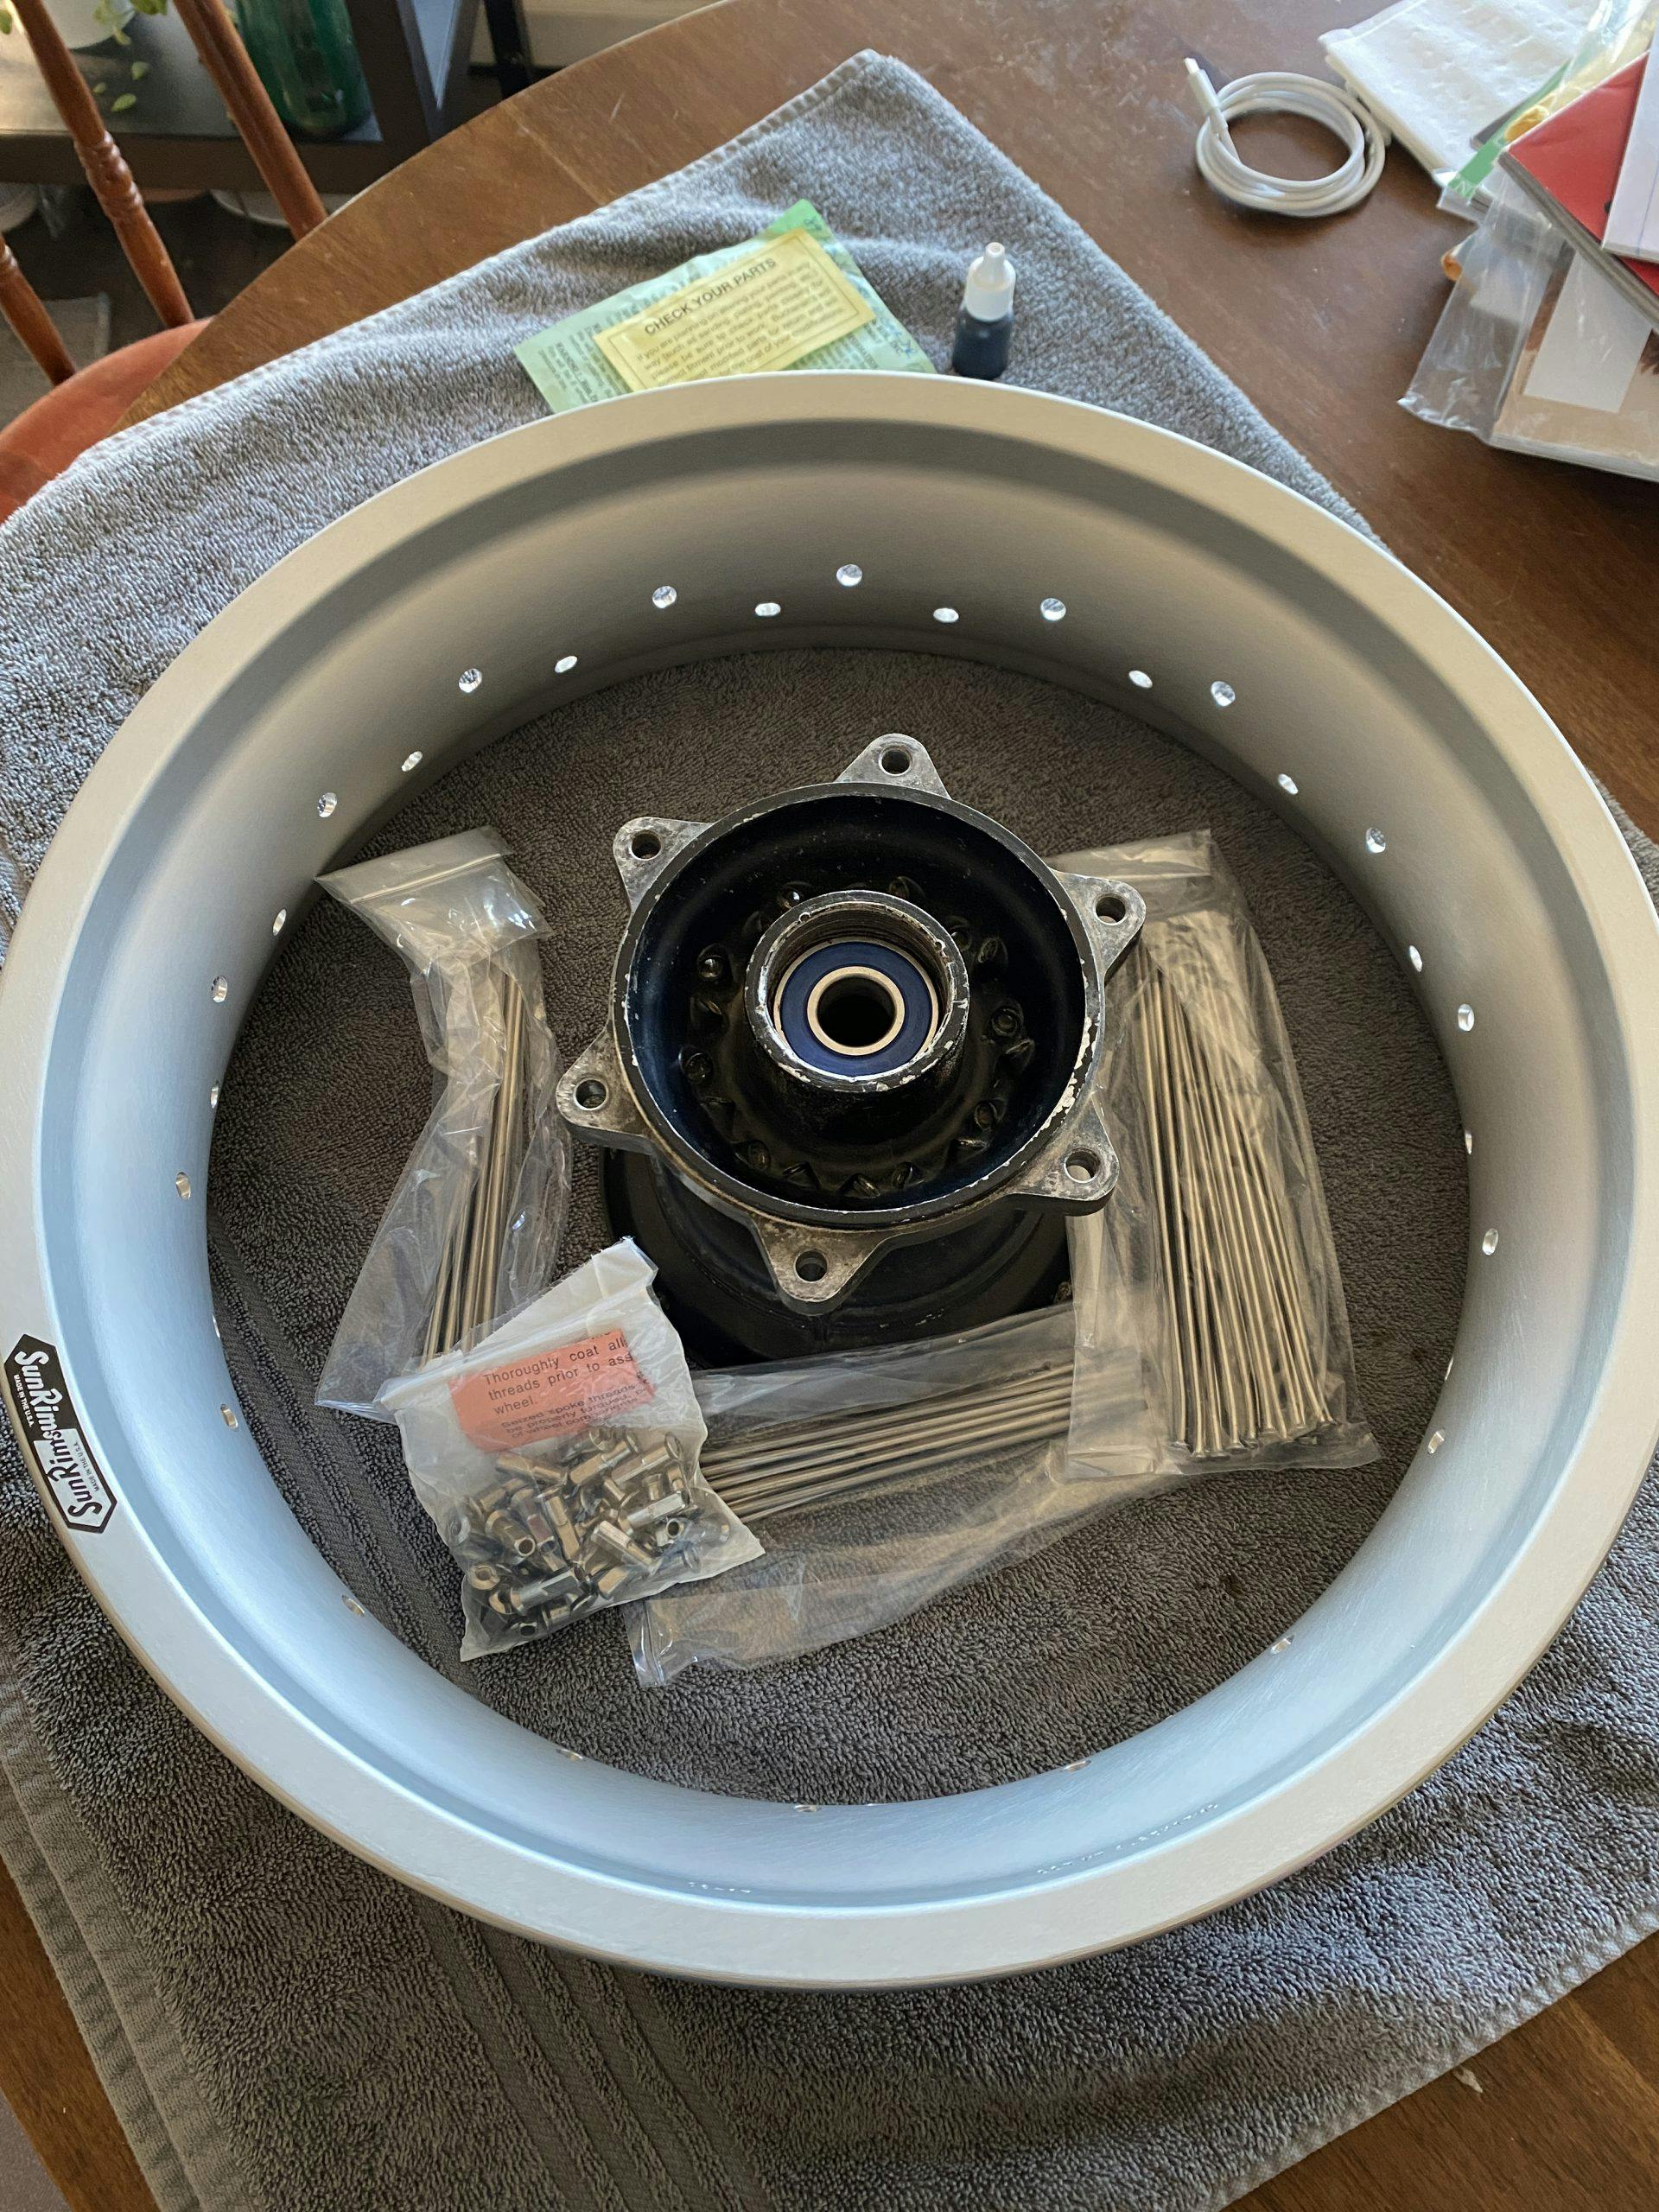
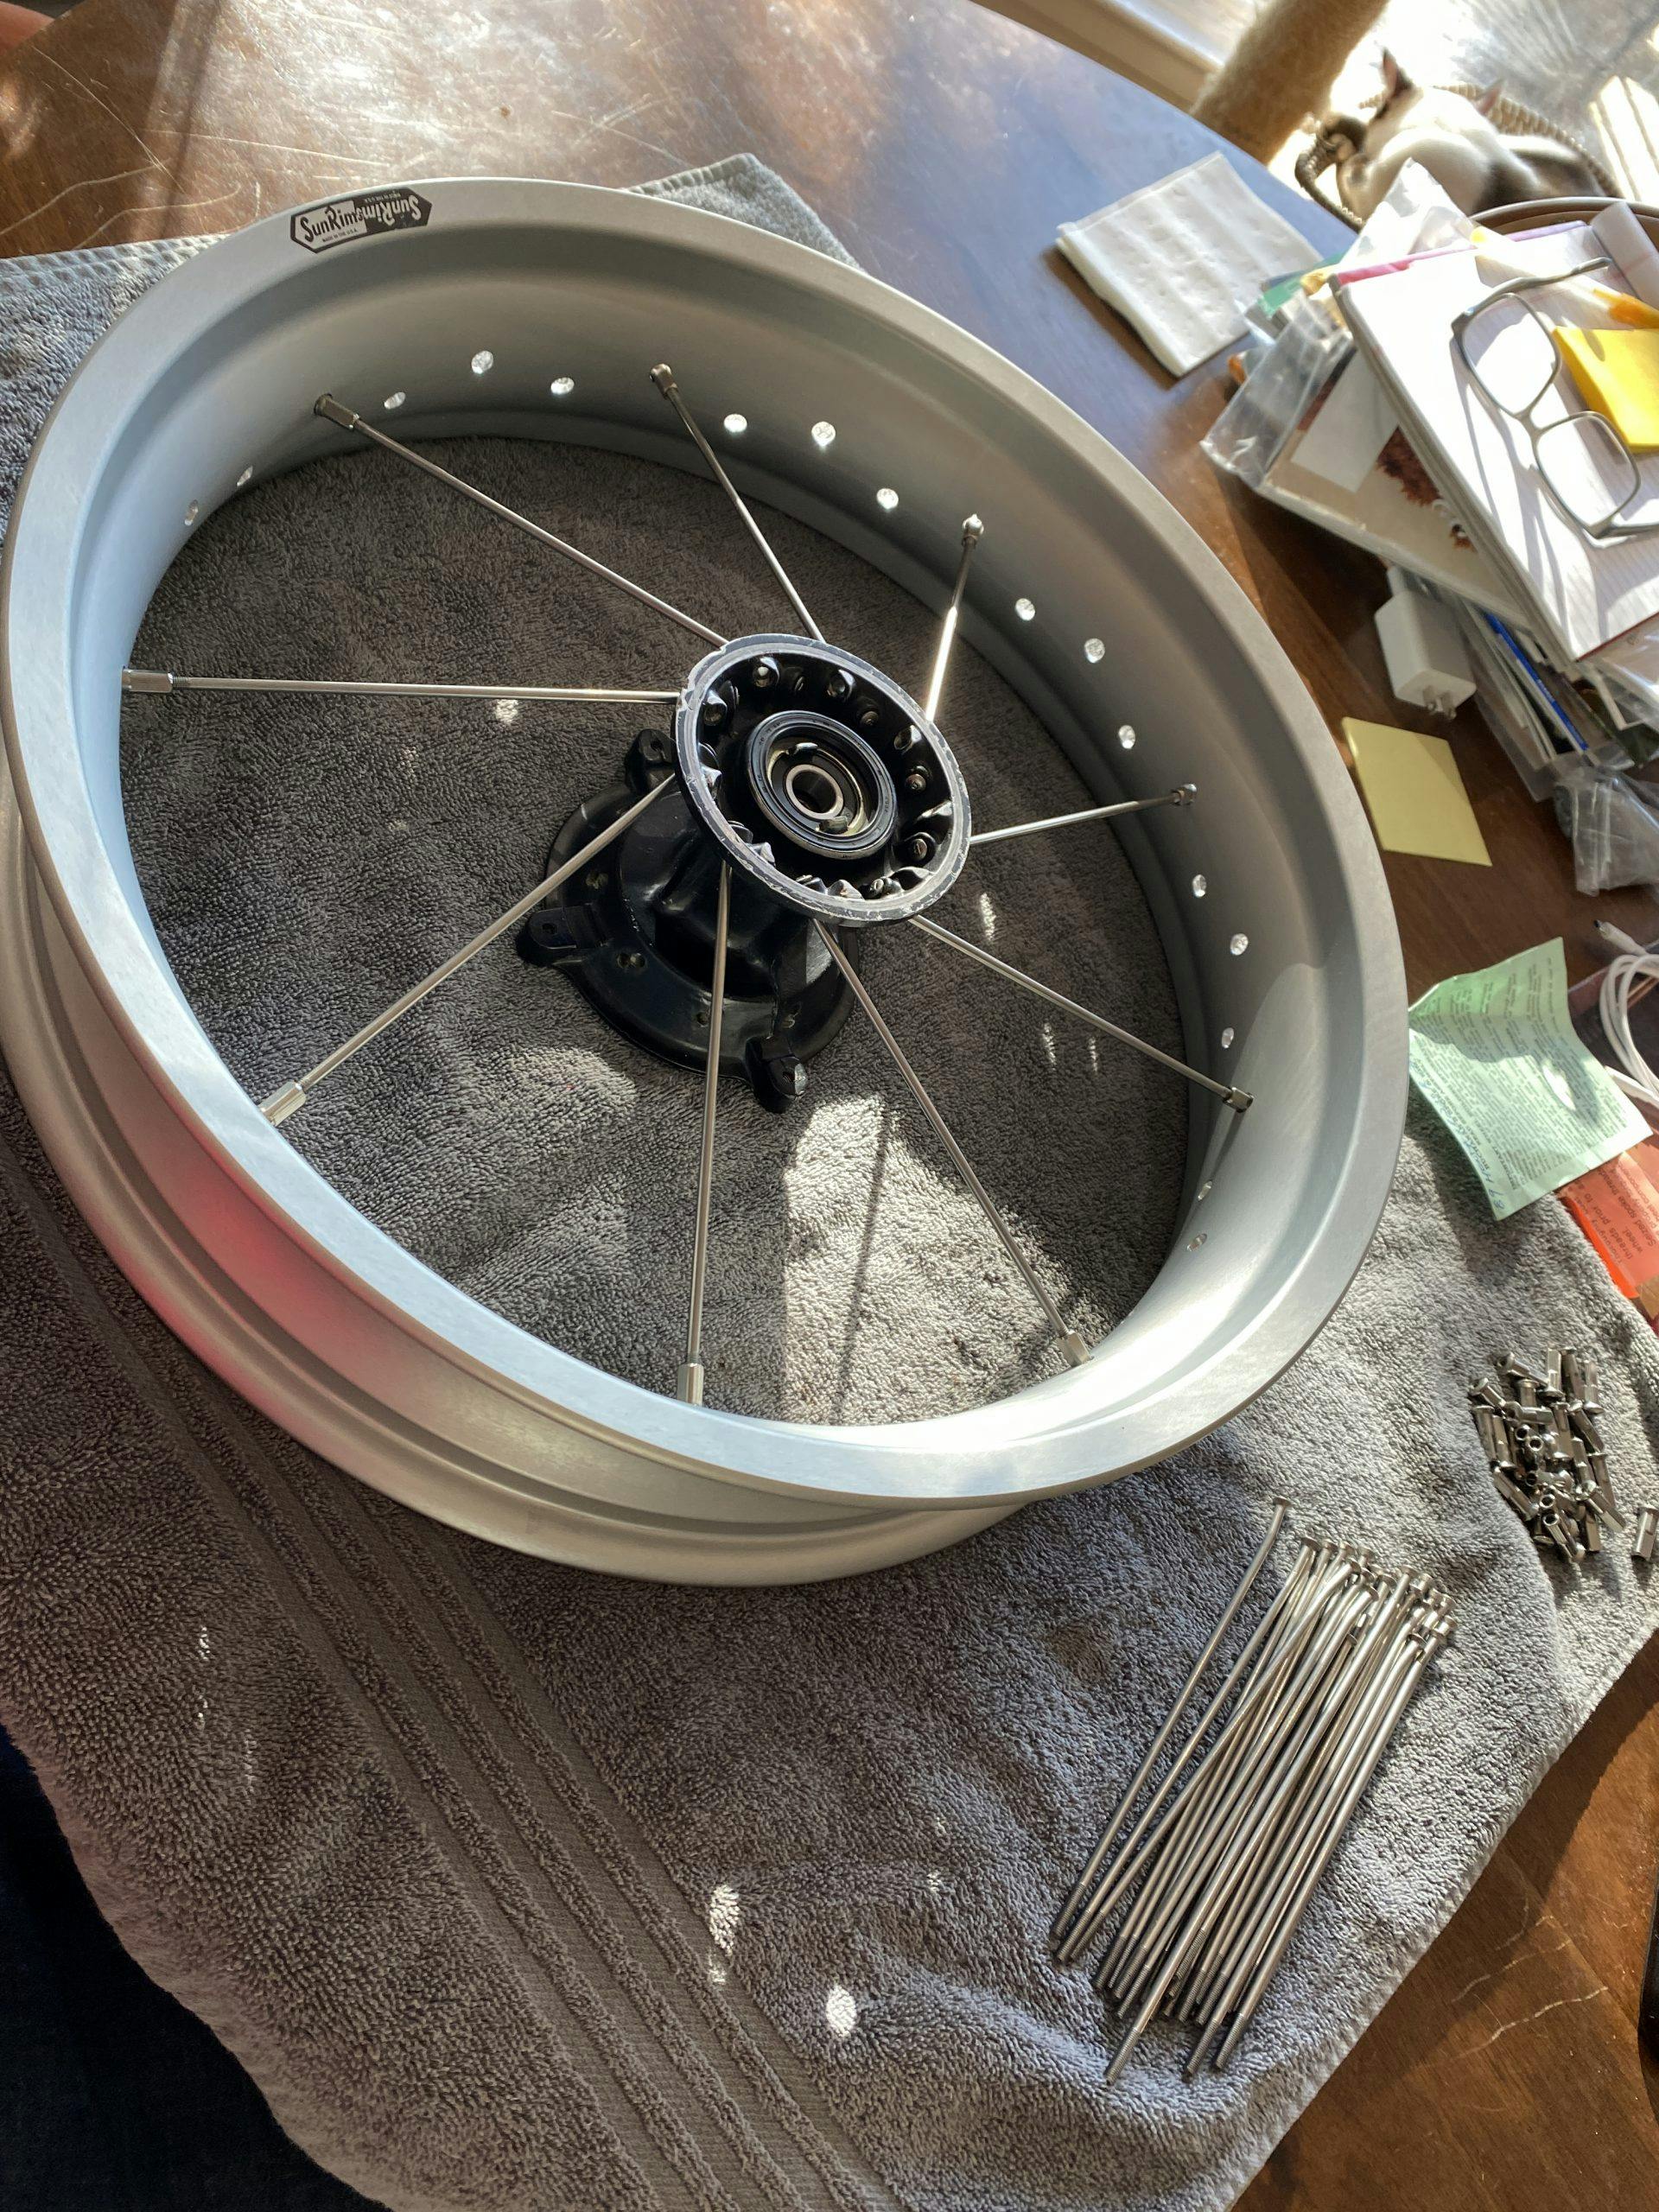
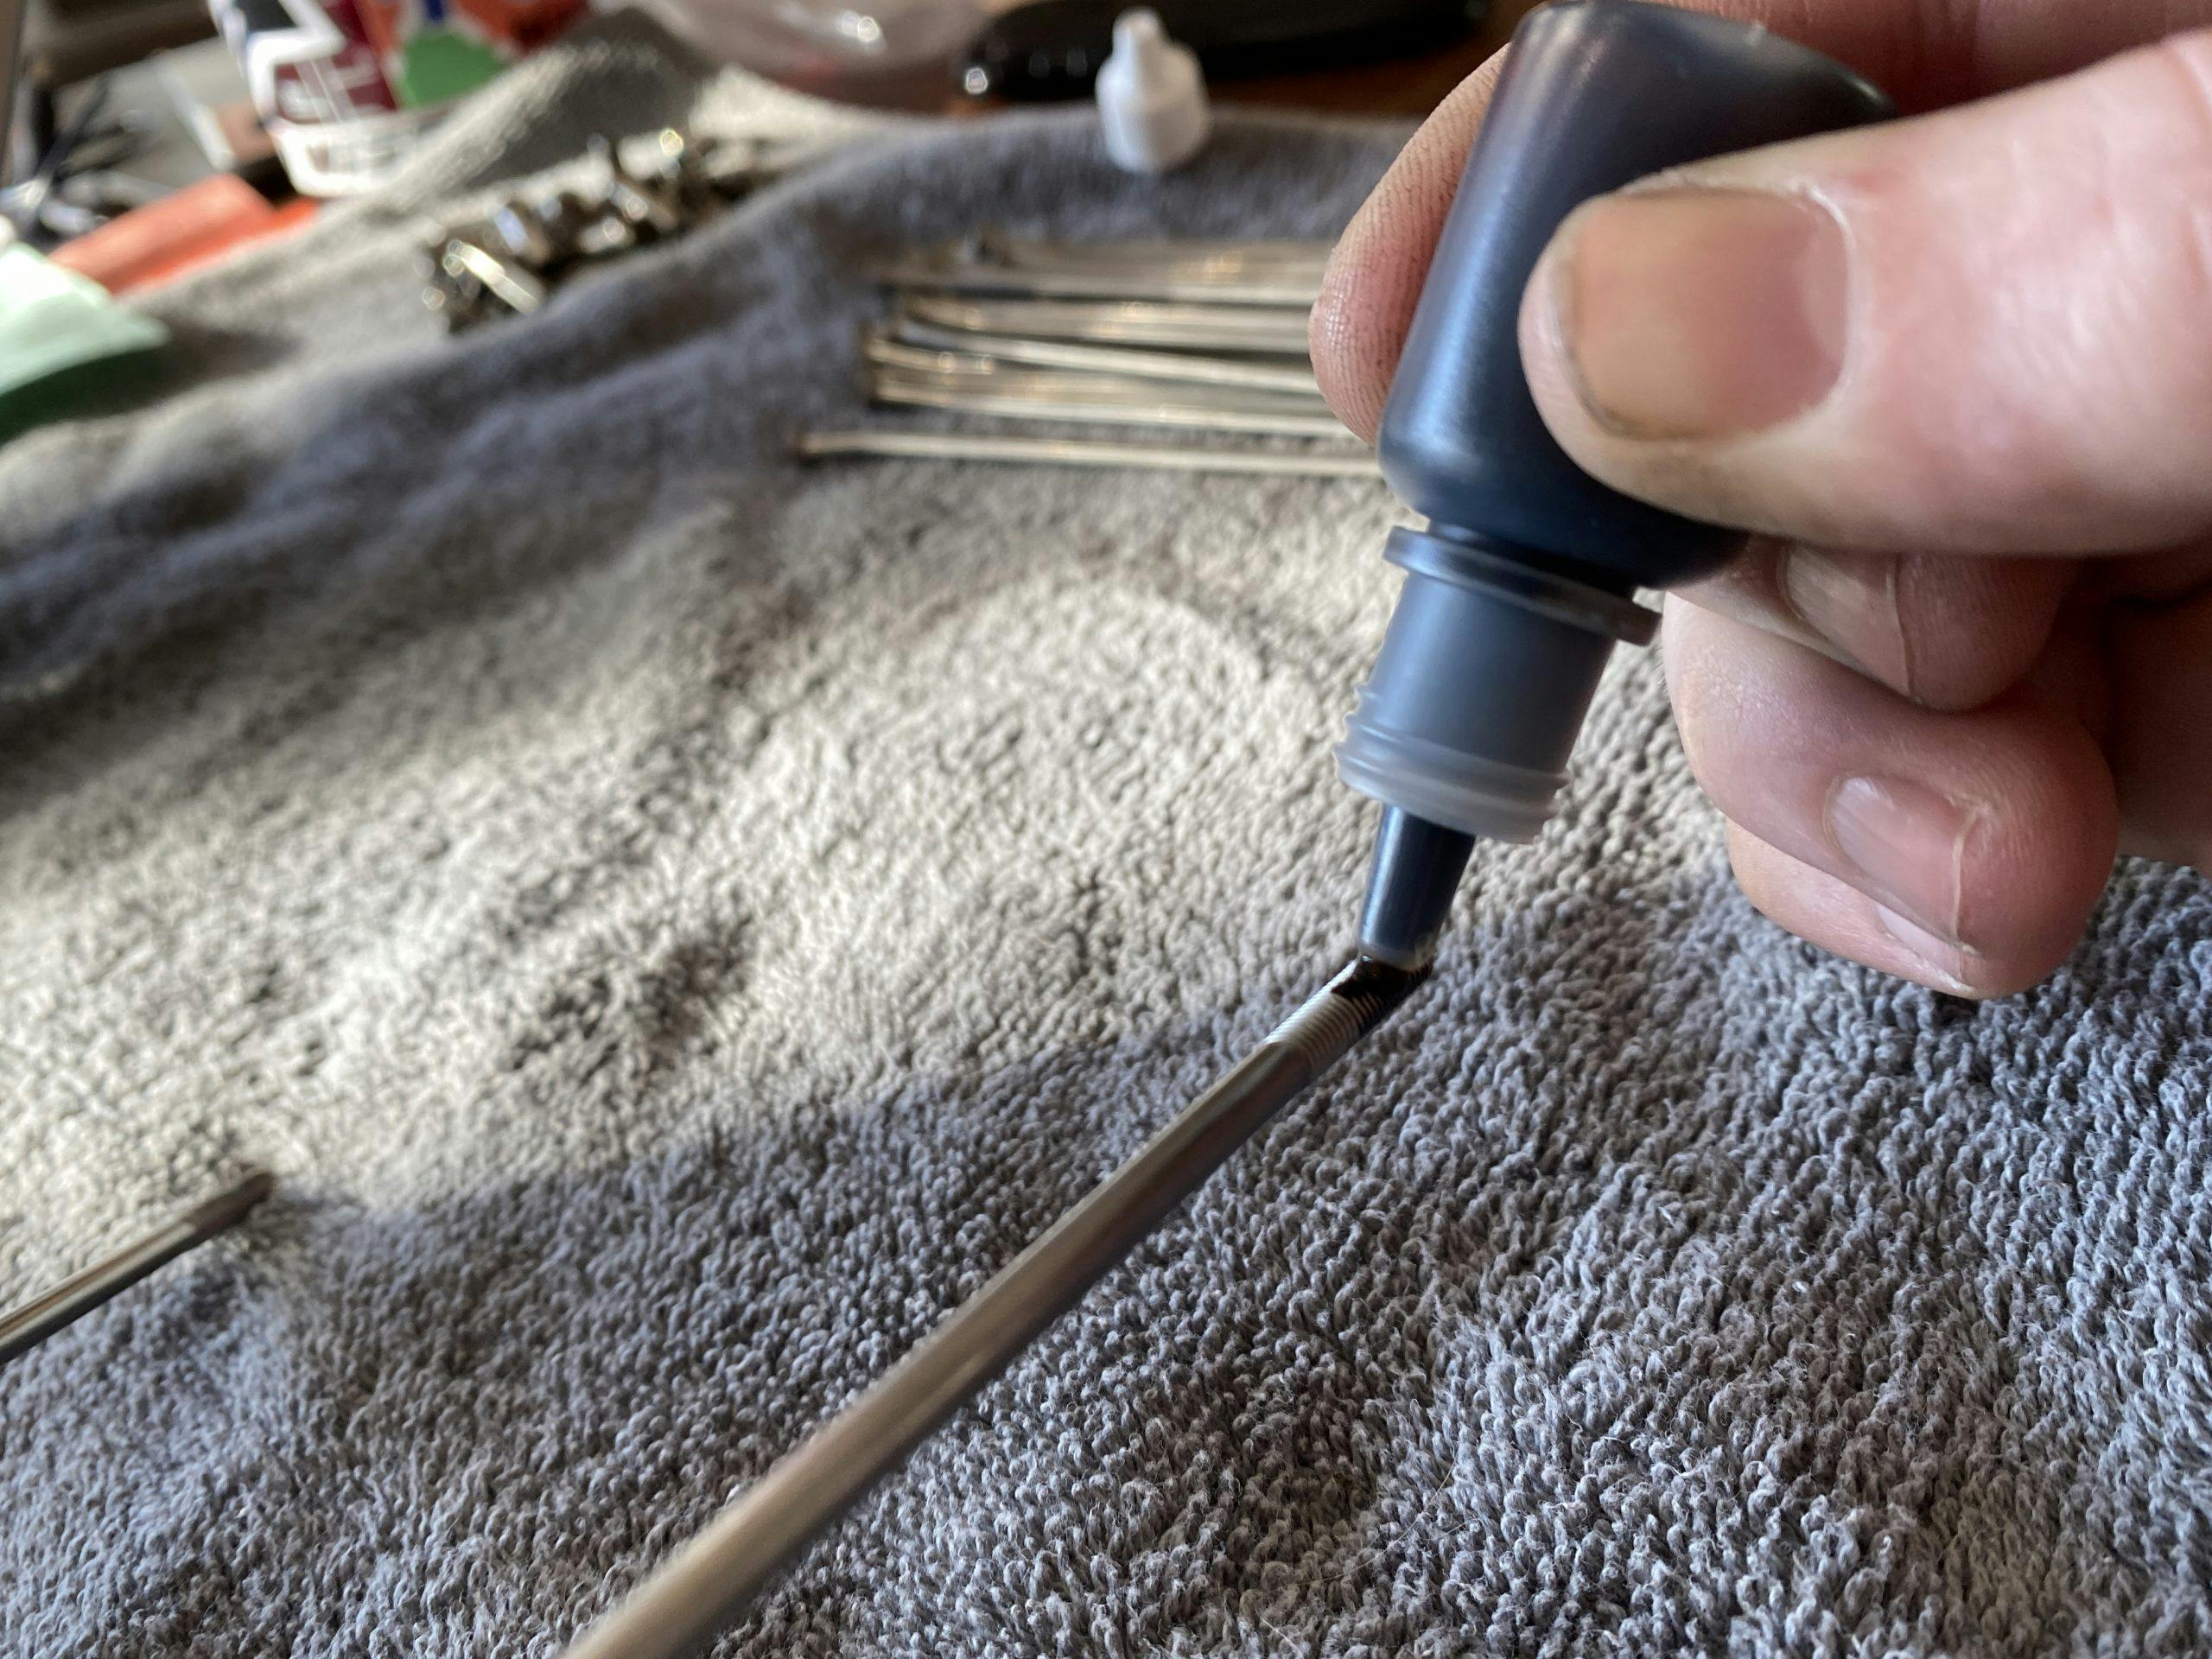
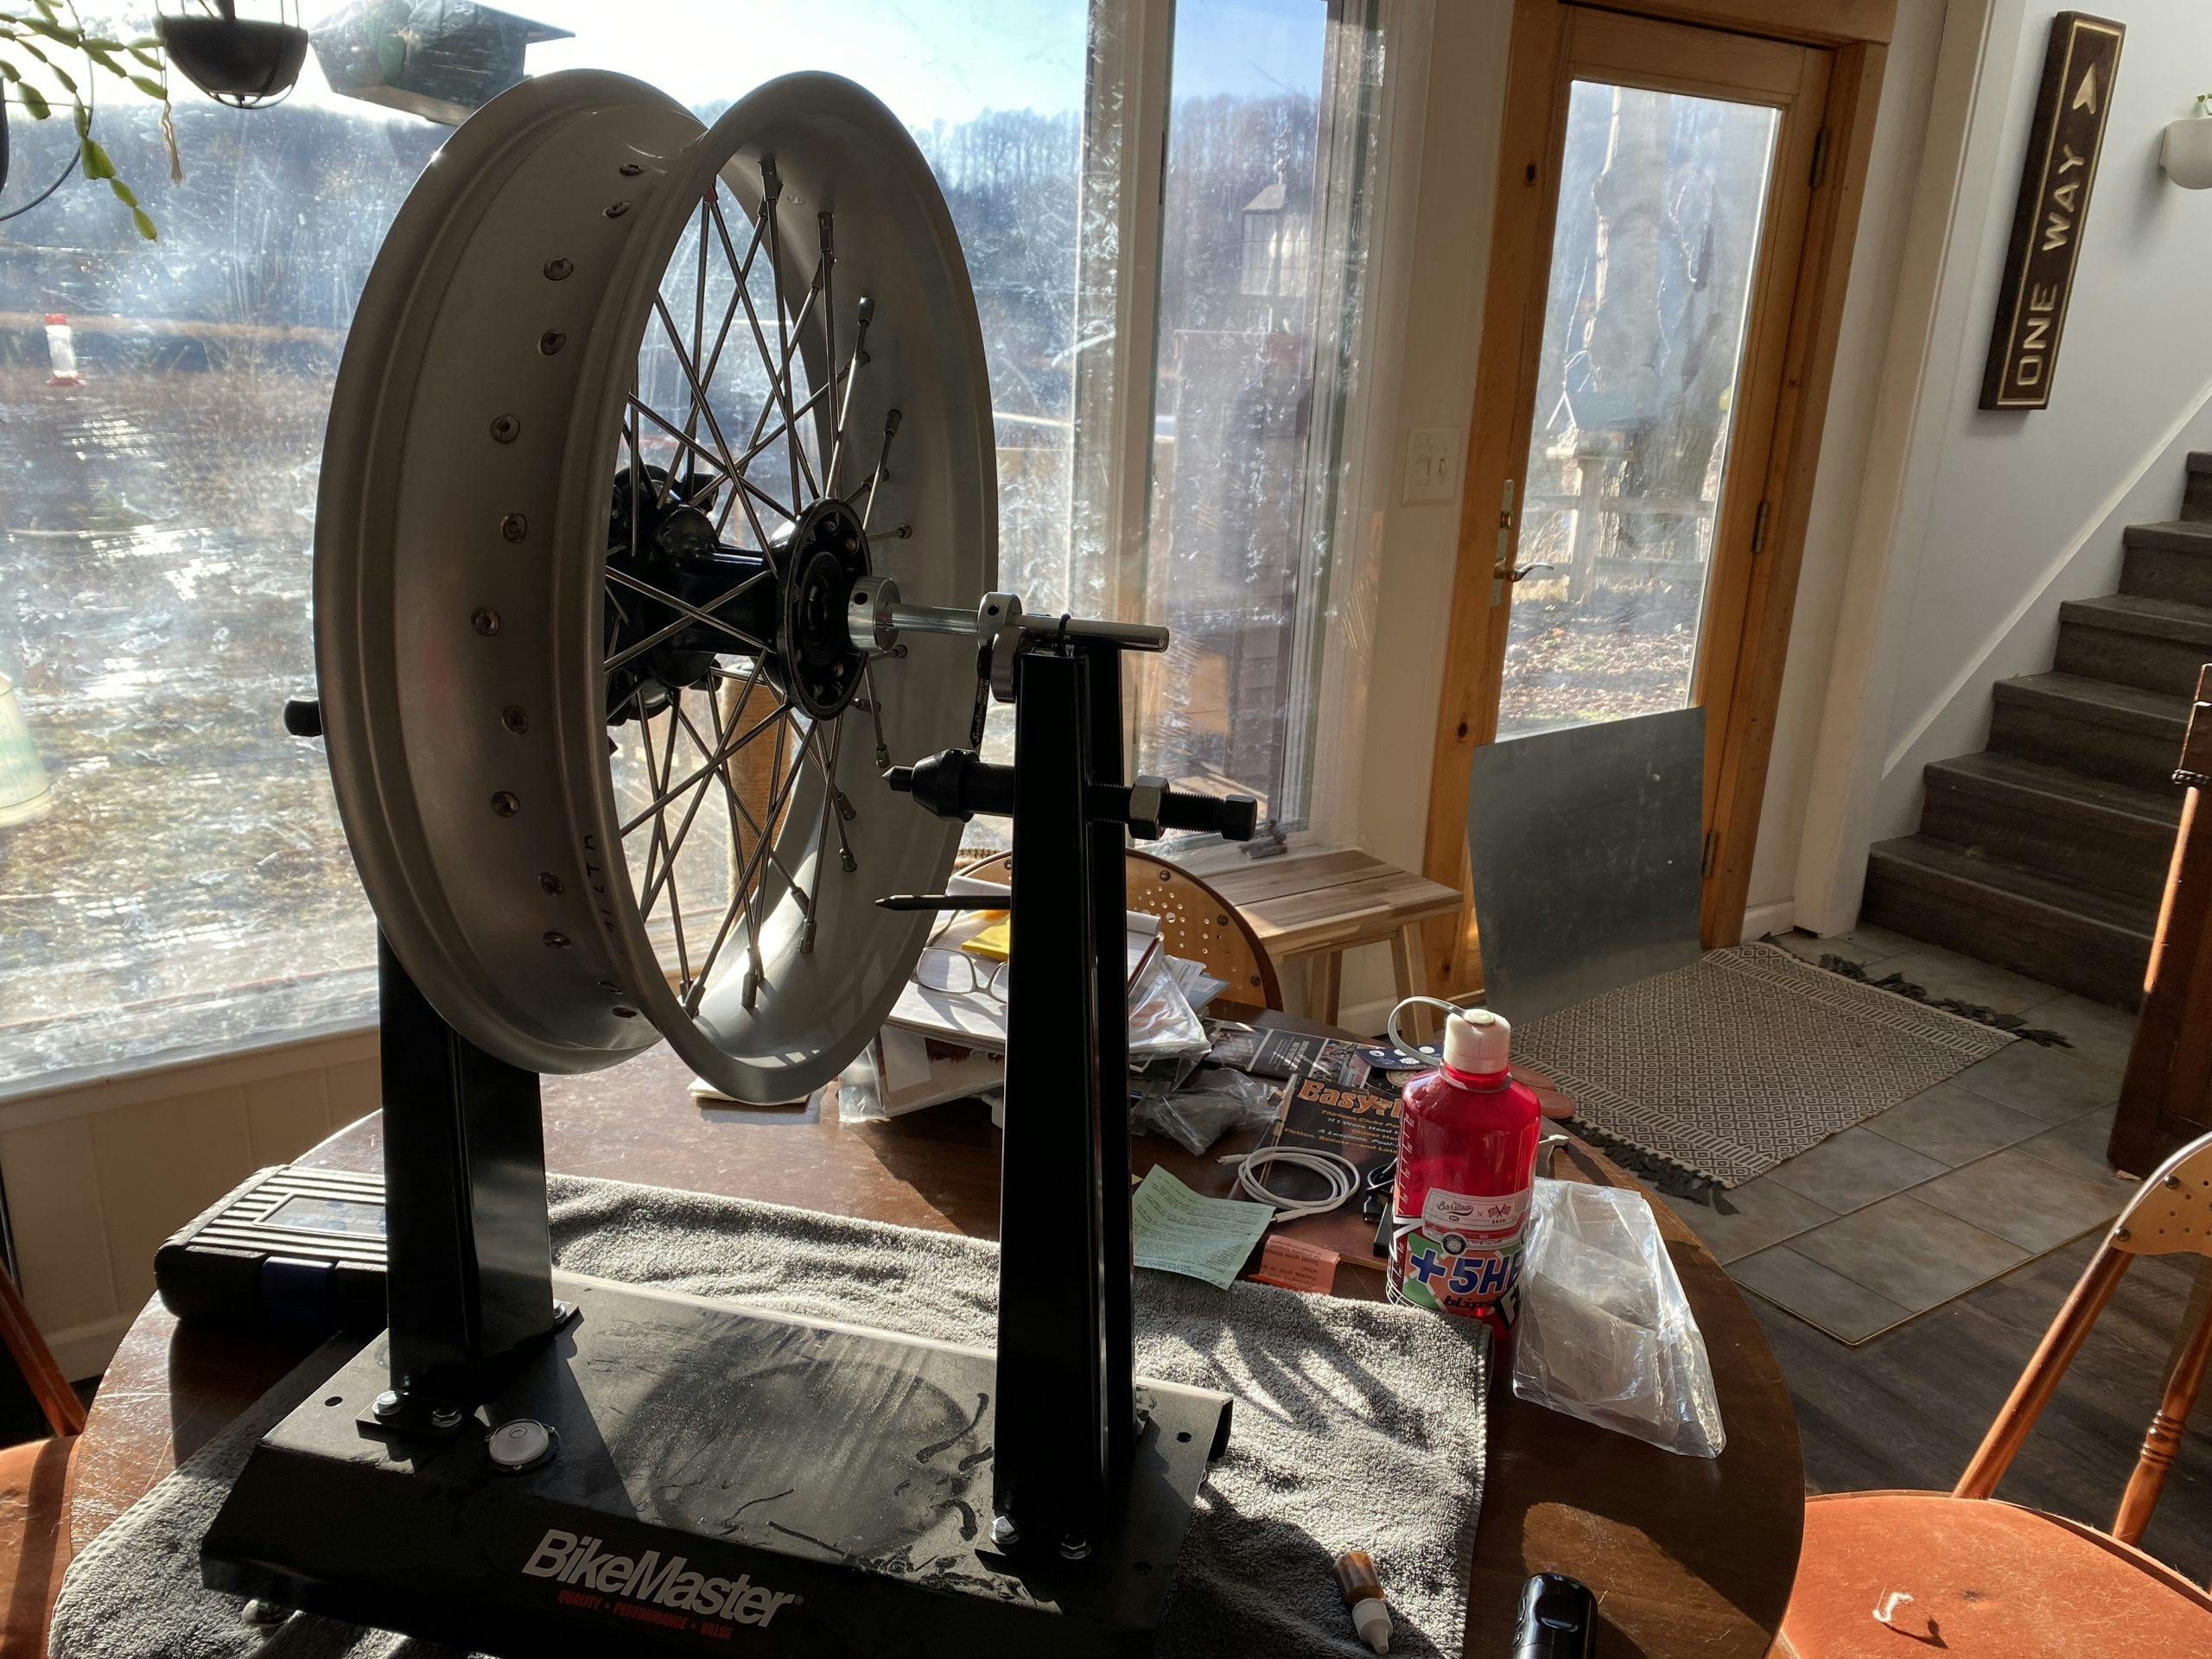
I bought a nice spoke wrench and truing stand, then rang up Buchanan’s Spoke and Wheel in California and told them what I was building and what I needed. The experts in the Buchanan shop bent, cut, and threaded one set of spokes for each wheel. The front spokes are all one size; the rear wheel requires three different spoke lengths and bends to accomodate the hub’s drilling pattern. Unfortunately, the math was off a bit on the first set of rear spokes and I had to mail them back to be shortened before they fit properly.
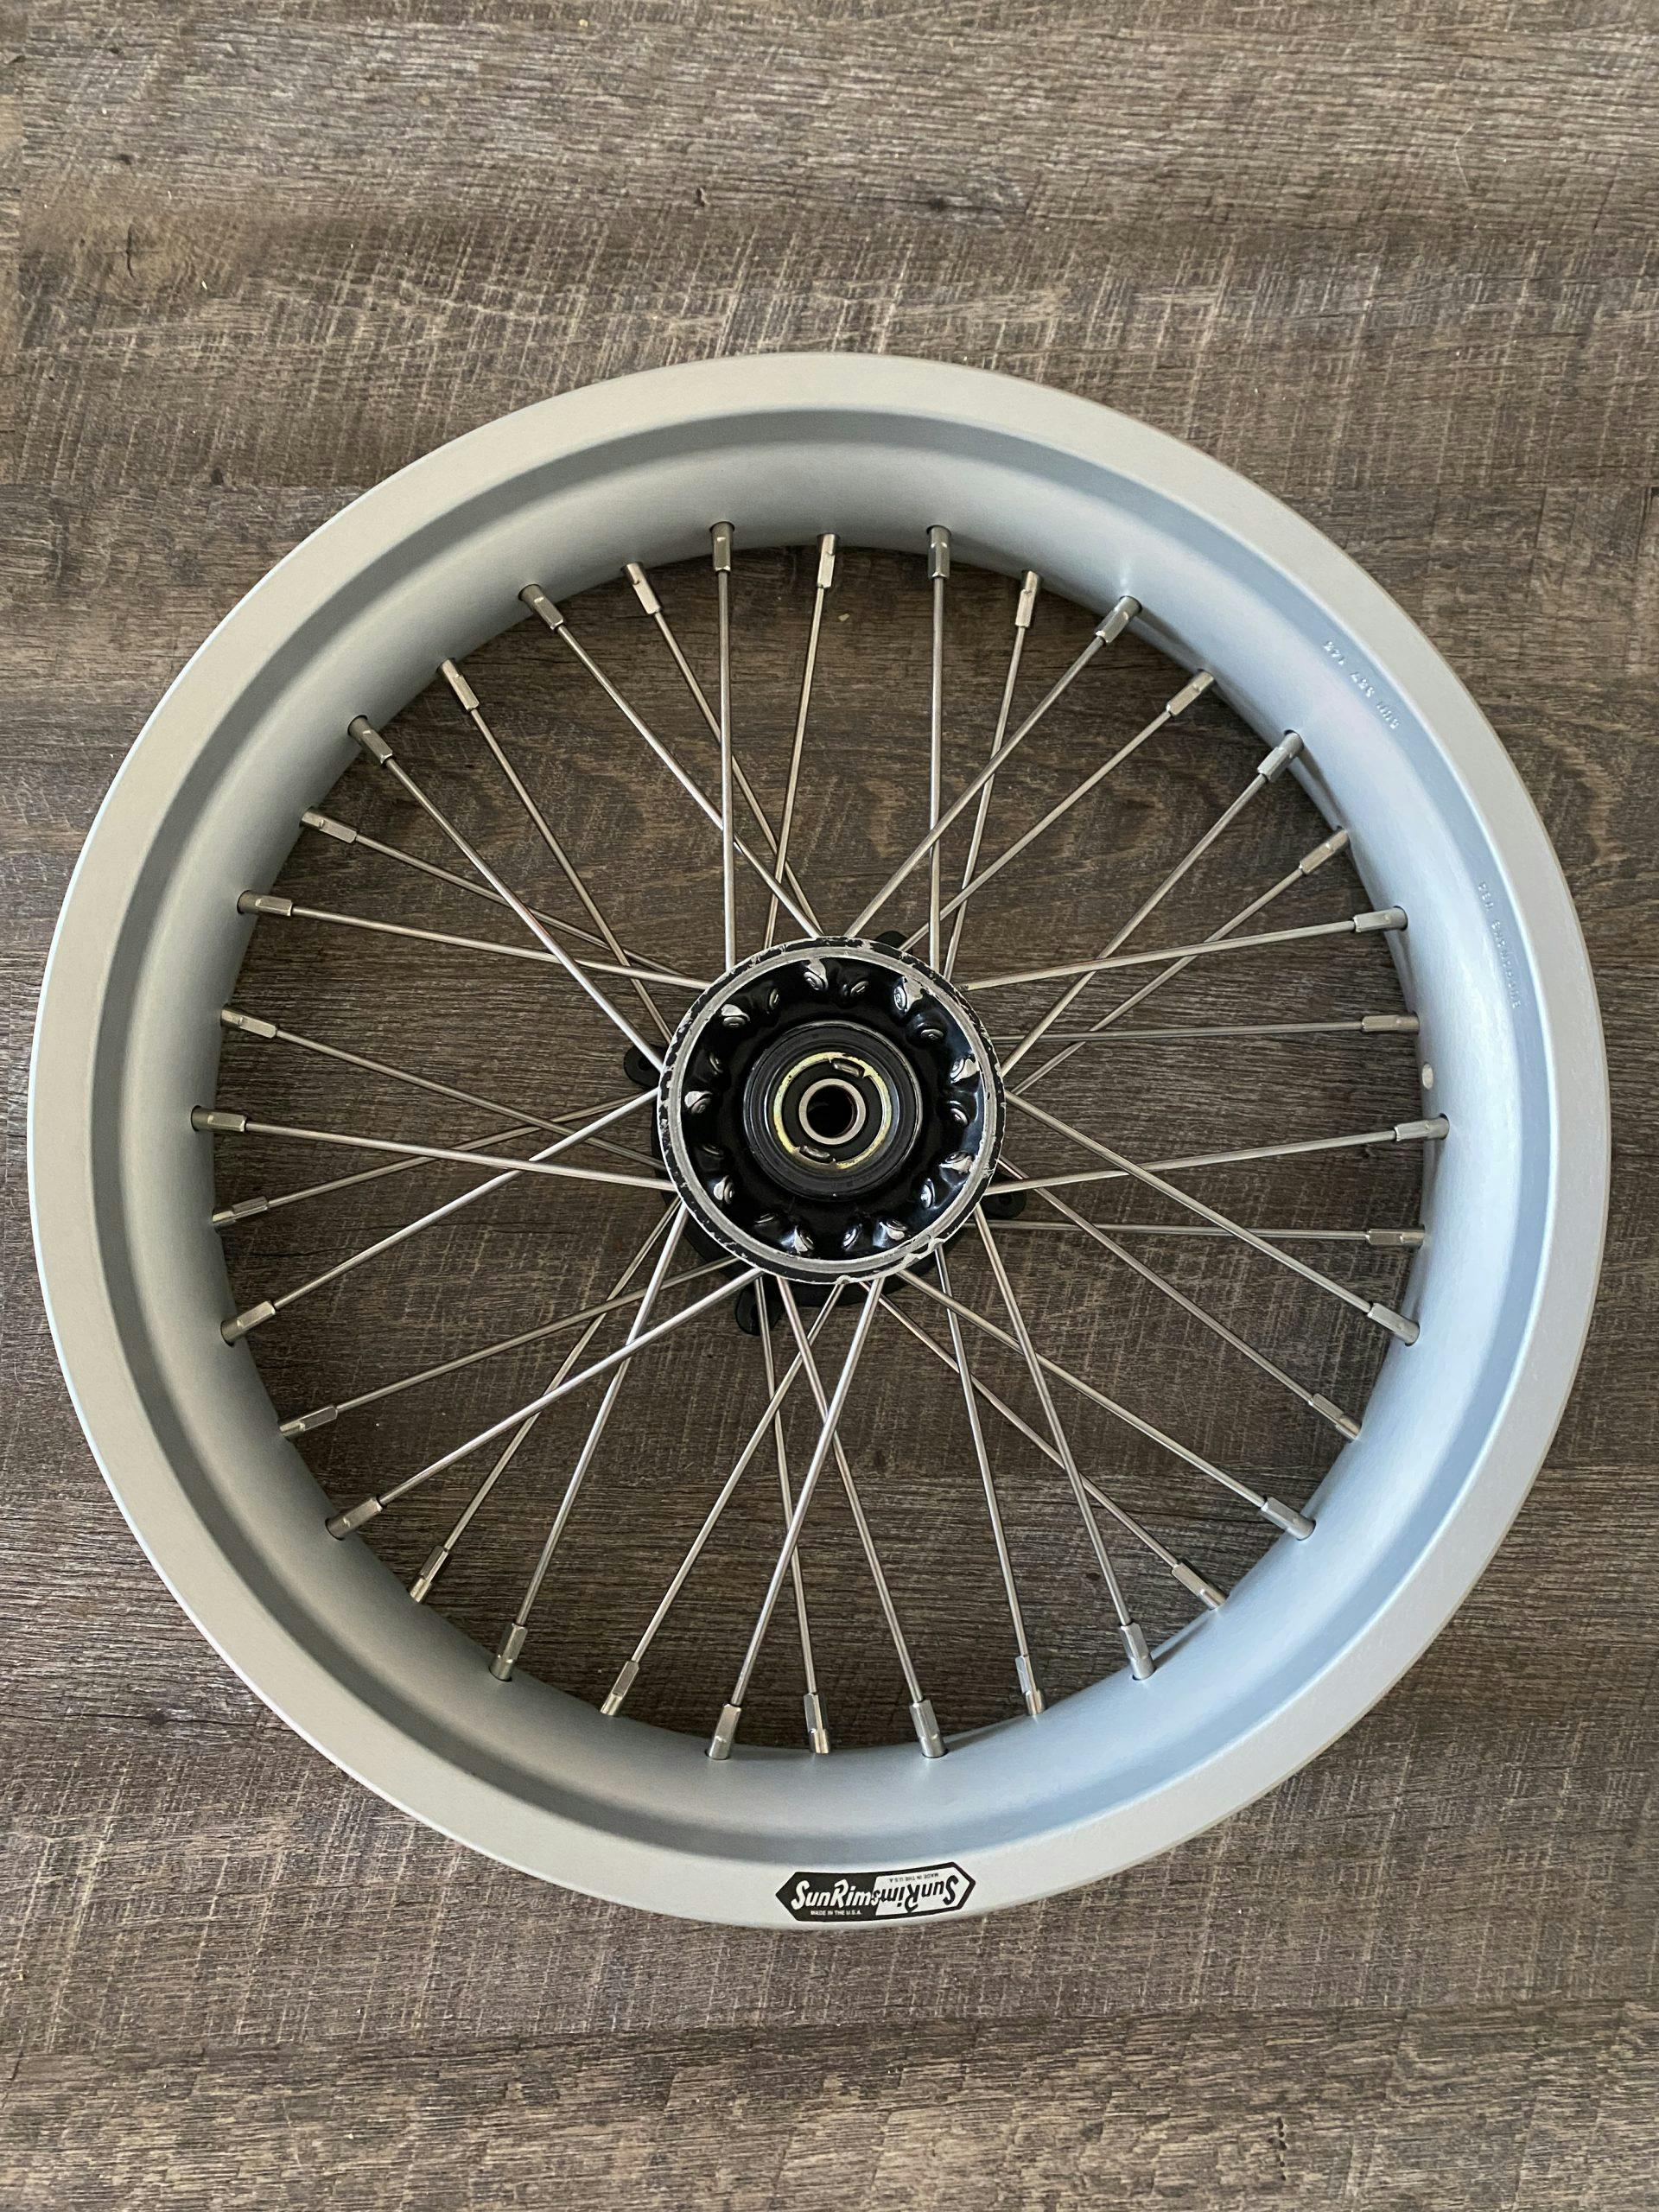
The rims themselves were also a careful choice. The matte silver Sun Rims are just the Buchanan house brand, but in my experience they are top-notch pieces produced proudly in the U.S. that, crucially, won’t break the bank. By lacing up my own wheels and selecting the Sun Rims, I saved roughly $400 and got to learn a new skill. The even tensioning of the spokes and final checks for both true and vertical roundness proved extremely rewarding, and I cannot wait to mount up a set of slicks and see the bike sitting in that goofy but badass supermoto stance.
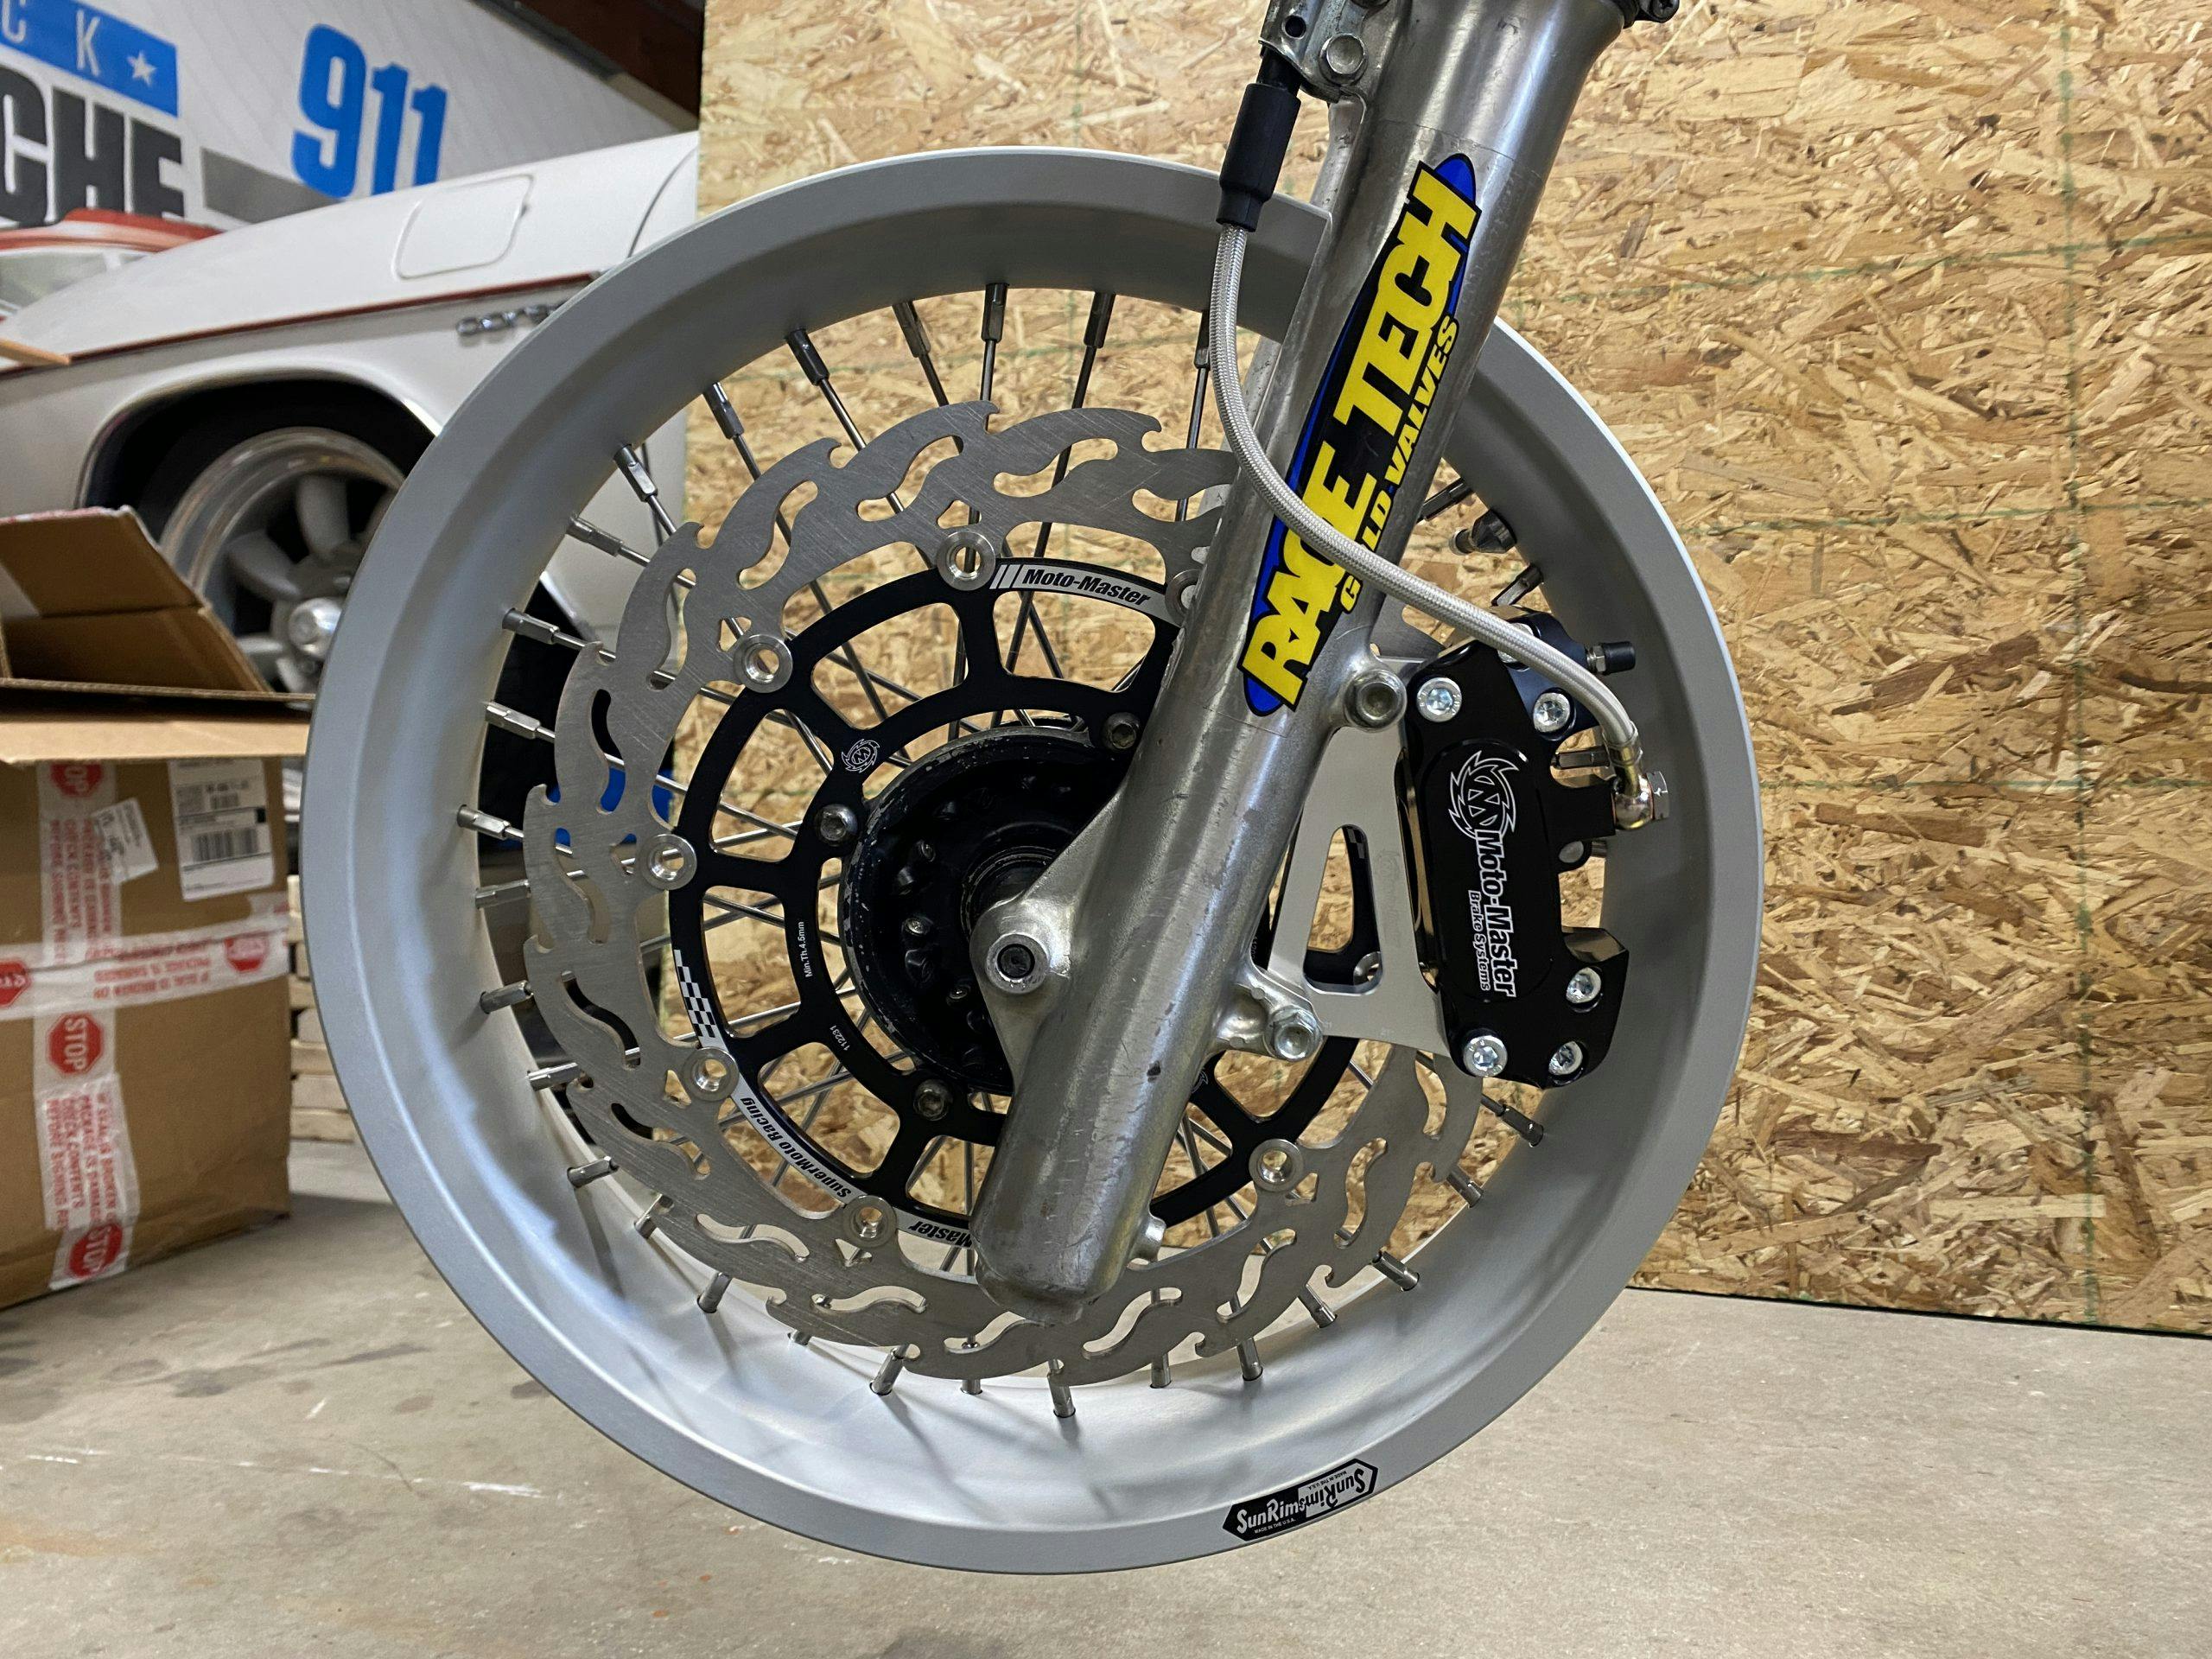
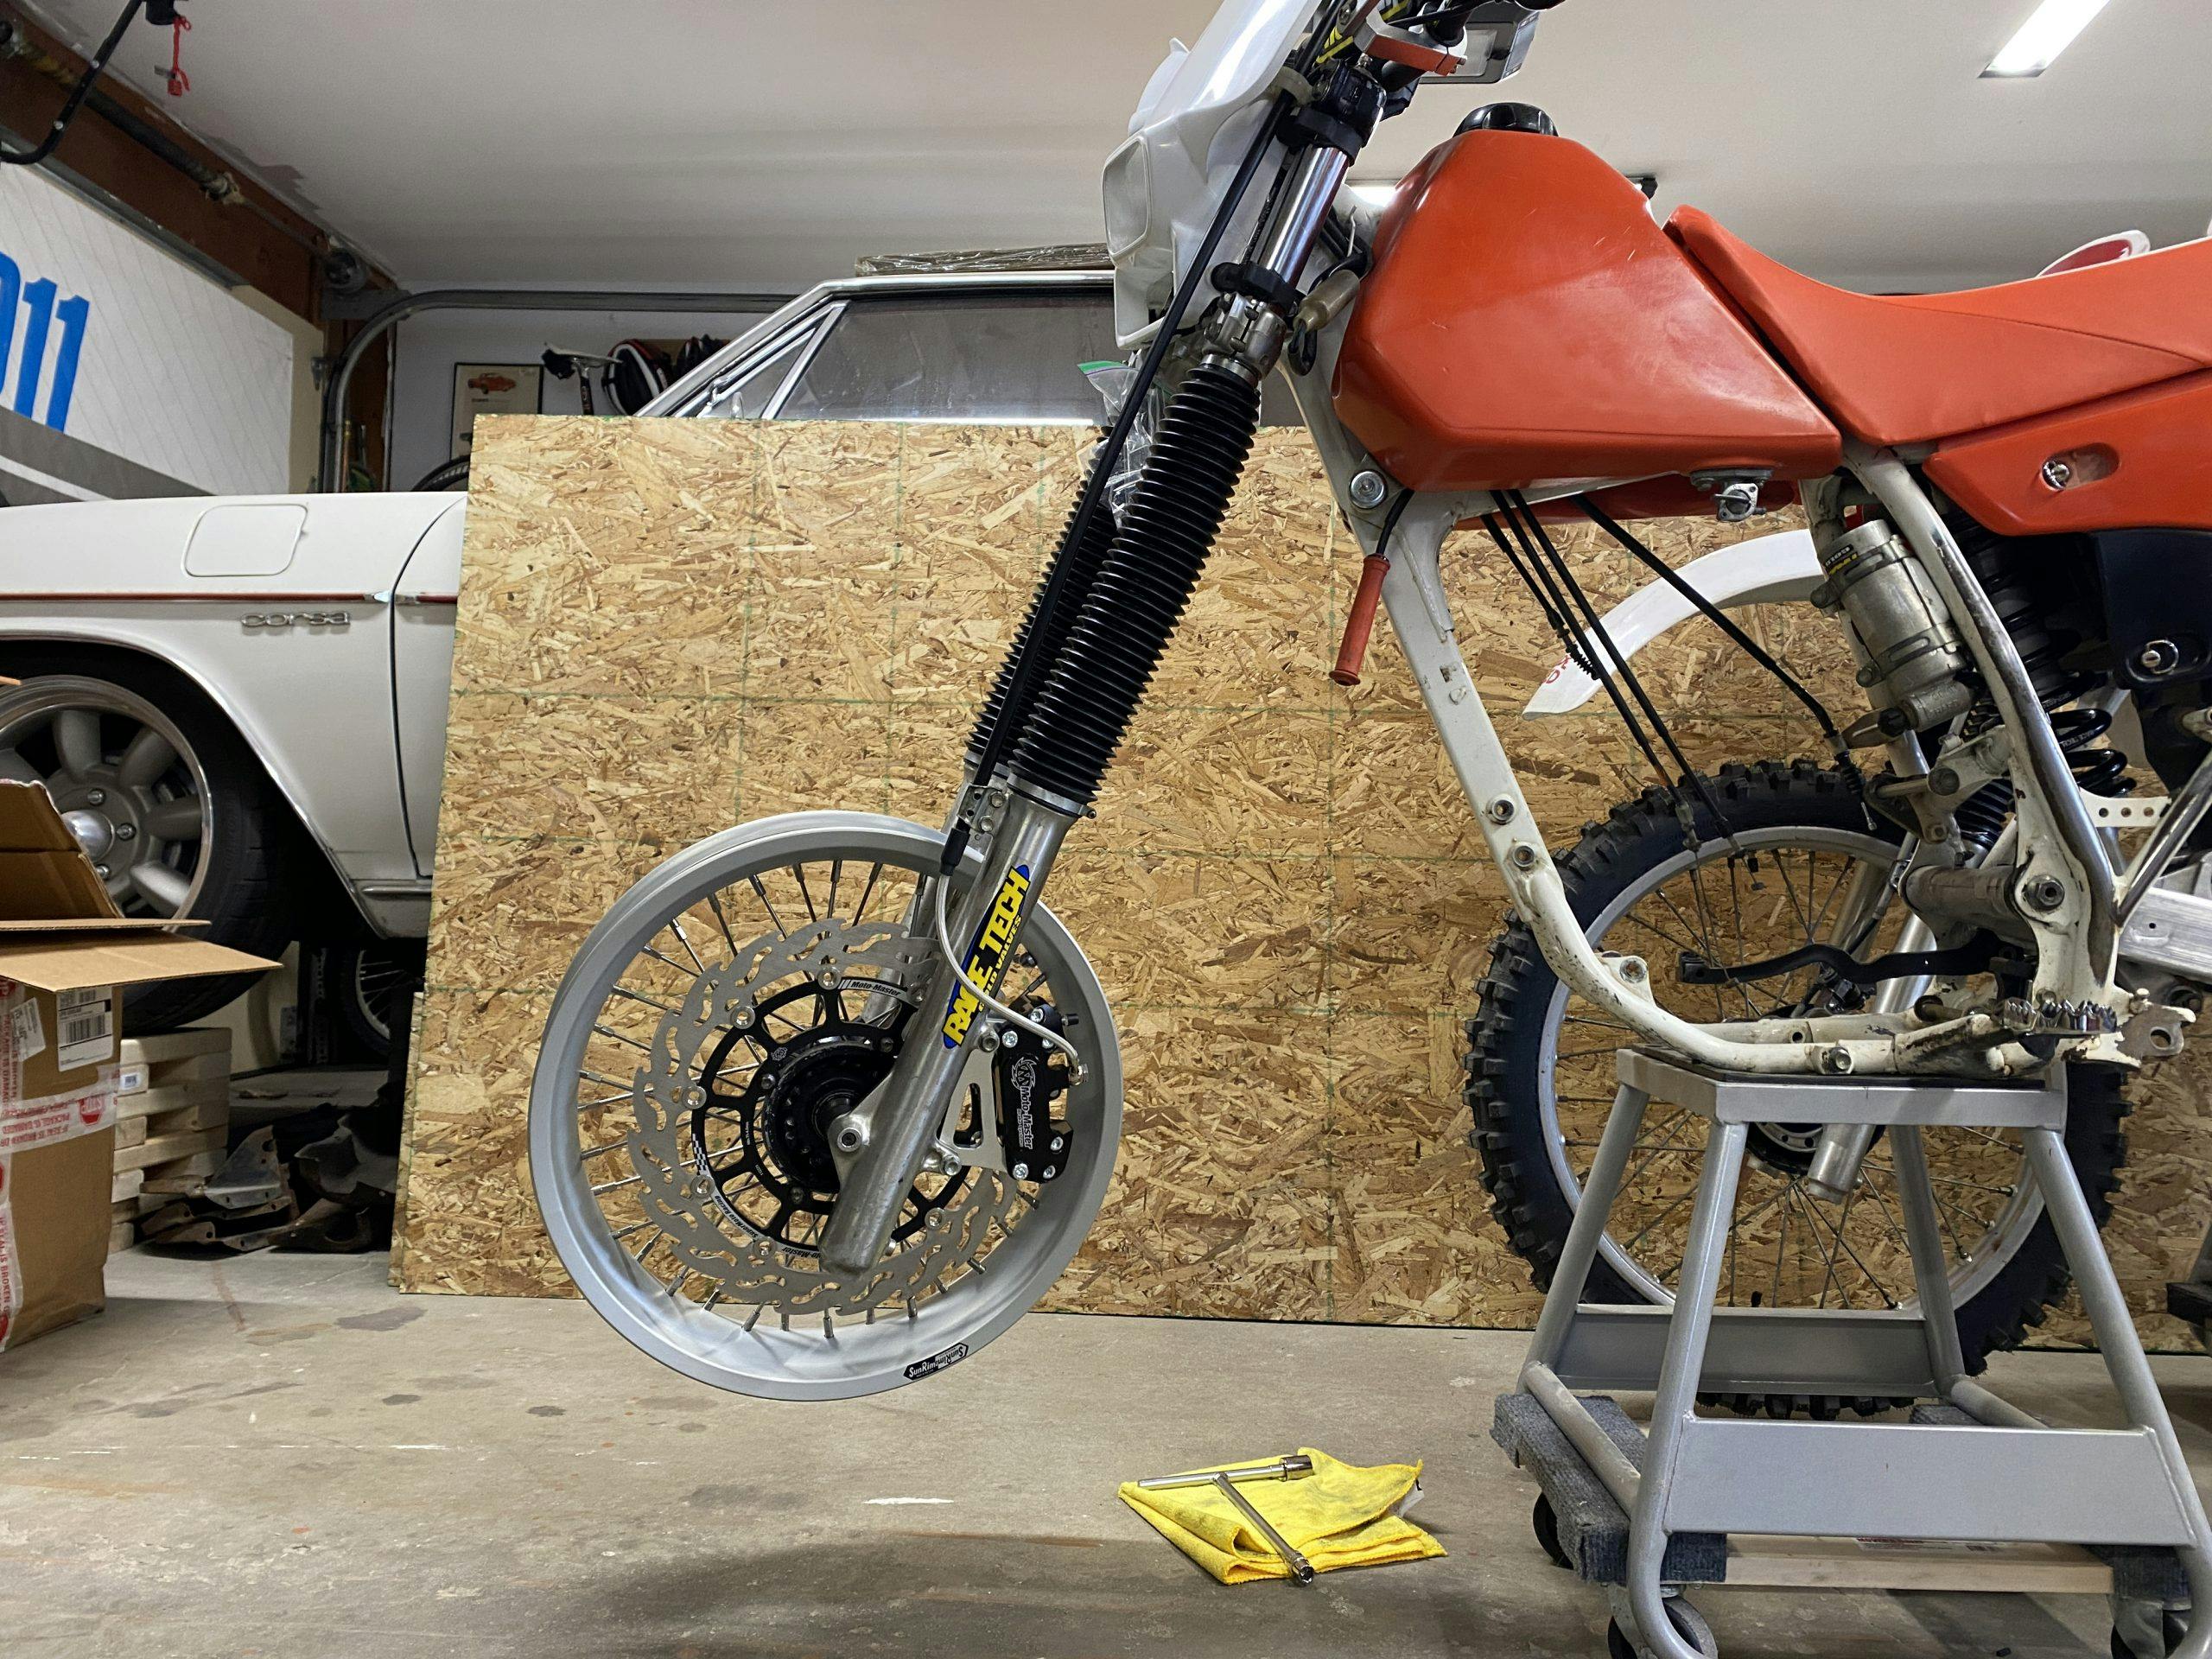

That saved $400 meant I could splurge a bit on the road-racing setup and opt for a bigger front brake caliper and rotor. The stock two-piston caliper and 220-mm rotor are sufficient for medium-speed off-road shenanigans, but I worried that they would quickly become overwhelmed in high-speed, high-traction road-course events. The 320-mm rotor and four-piston caliper will haul the whole package down to turning speed more reliably and, hopefully, with less lever effort.
Thankfully, I haven’t had to mortgage the house yet and, since the first event is right around the corner, I won’t need to. Now that the bike is truly shaping up, I’m mostly left with nickel-and-dime purchases. The one exception, of course, concerns safety. Compared to the contents of the next box headed to my doorstep, all other safety considerations have been tangential—but I’ll dive into that discussion in the next update. Stay tuned.

