Why it's important to clean and chase your threads | DIY - Hagerty Media
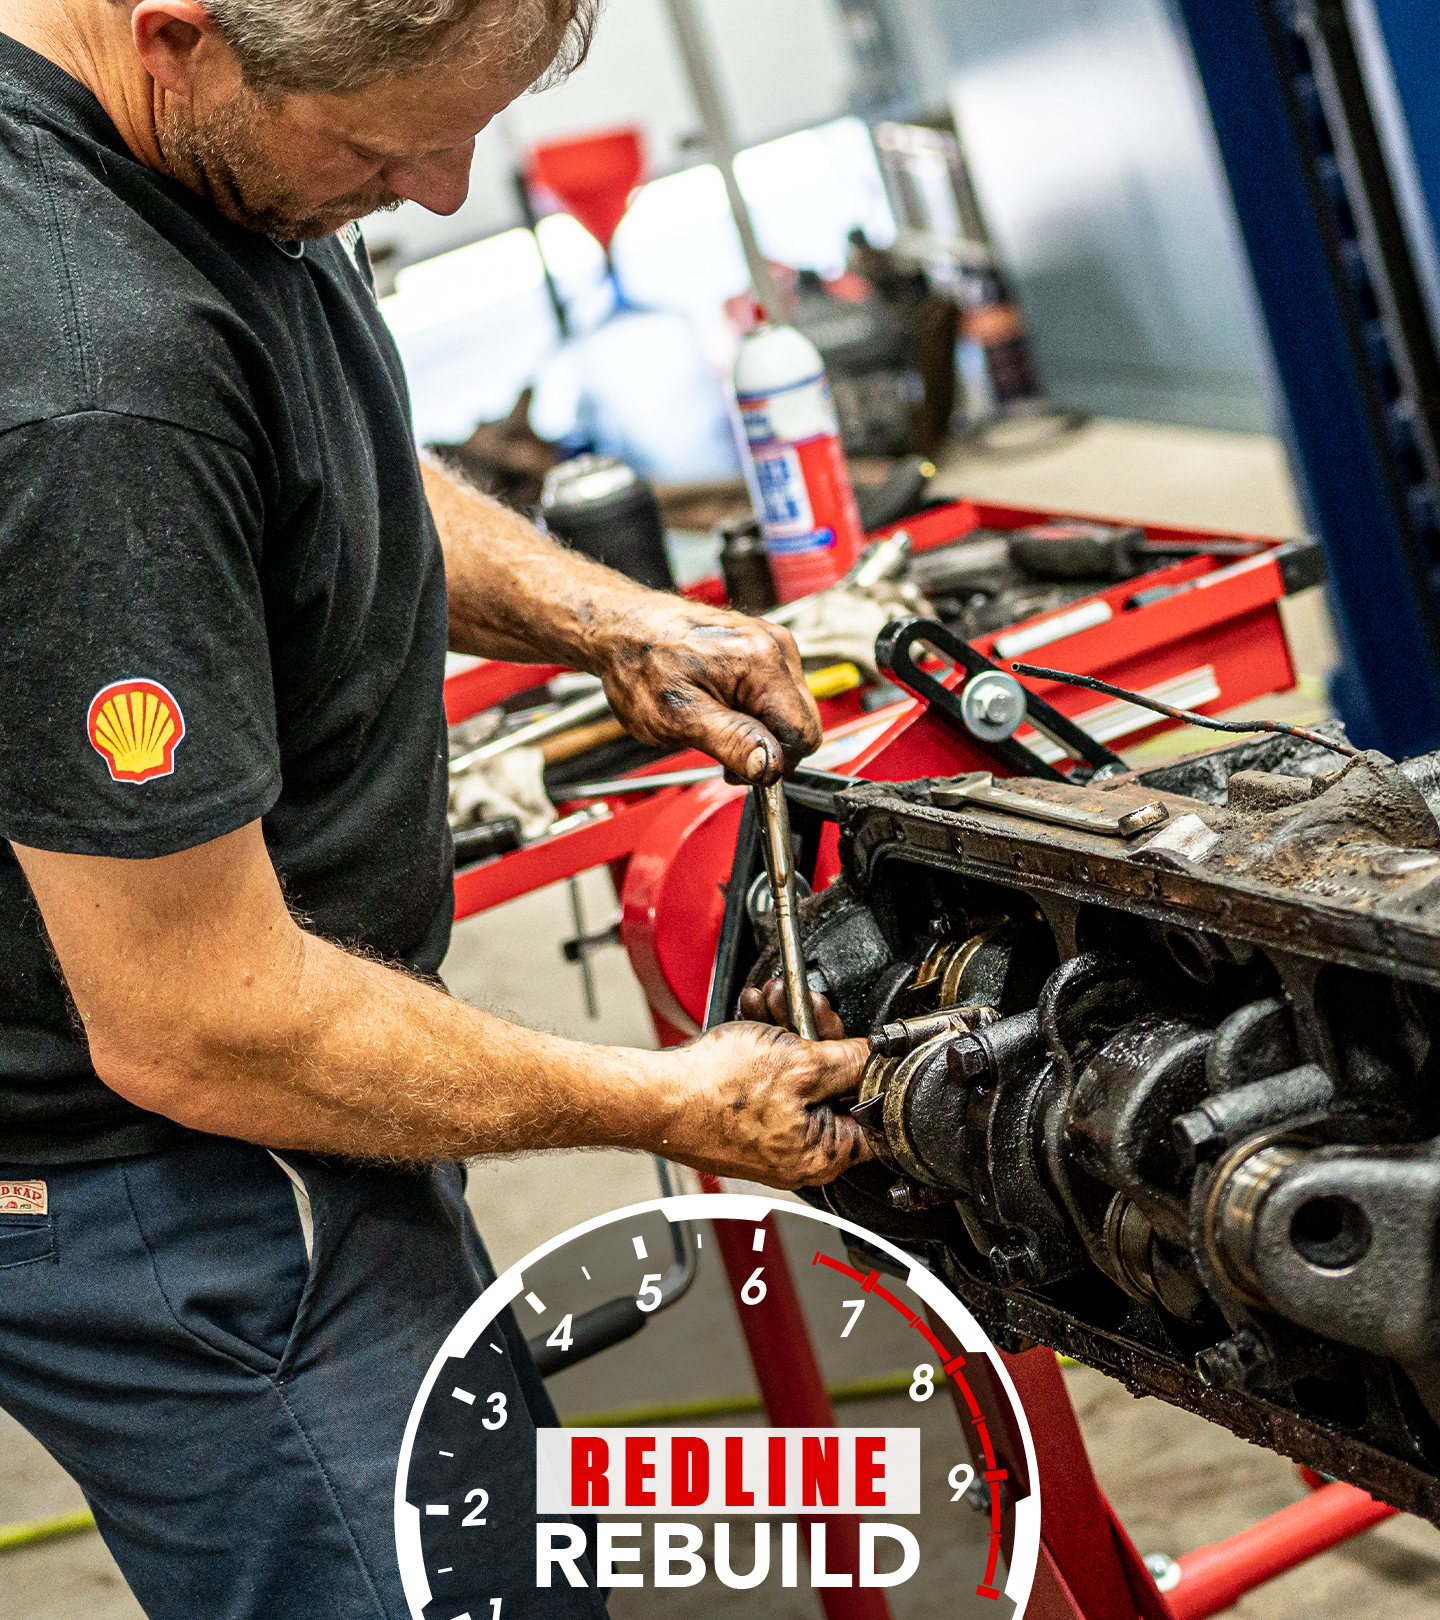
Last week, Davin (that’s pronounced Dave-in) walked through the basics of cutting new threads in stock materials. That is all but necessary for fabricating new parts and pieces for a project, but what about threaded holes that already exist in parts you need to salvage? Then it’s time to talk about chasing threads. While it’s a simple process, there are a few tips that Davin thinks are important to keep in mind.
The reasoning
Even on an engine block fresh from the machine shop, Davin goes through and cleans all the threaded holes. This is key to make sure when installing bolts that the clamping force is correct. If the threads are full of junk, or are rough or have a catch in them, the torque will not accurately reflect the clamping load. Clean threads are also less likely to strip or jam up and cause other problems during assembly.
The tools
While it is possible to use standard taps and dies to complete this process, those tools are made for cutting and run the chance of taking material out and creating weaker threads. Instead, purchase a set of designated thread chasers or make your own by filing a few grooves in grade-8 hardened bolts. The grooves give the debris in the thread a place to go as the bolts thread down and clean out the hole.
On the inverse, if it is a external diameter thread that needs cleaned up there are thread files that at cut to match various thread pitches which can be used to quickly and easily reform any damaged threads and also remove built up corrosion or debris. As Davin points out, this is less for easily replaceable bolts and more for threads formed onto parts that might be financially reasonable to replace due to one damaged thread. The example he has on the workbench is a GM pinion gear that would be hundreds of dollars to replace, but thread files are far cheaper and can revive this part easily.
The process
Using thread chases is as easy as tightening a bolt. Get the chaser started straight and true by hand, and thread it carefully either by hand or with a ratchet or wrench if a bit more torque is needed. If the amount of gunk in the threads is substantial, it might be prudent to start with a blast of brake cleaner or compressed air to try and remove as much of the big material as possible.
The thread file is also simple to use, but it requires a bit more care to keep from inadvertently damaging the part. Davin recommends placing the file on the damaged threads but offsetting it slightly so it has a good thread to guide the cutting. Even with badly folded-over thread it only take a couple passes with the file to remove enough material to make the part new again. Also worth noting is that files are design to cut in one direction, so proper use is to only put pressure on the file while on the forward stroke. Any pressure while retracting the file is just acting to dull the file prematurely.
These are two tools that don’t make sense to purchase until you need them, but as Davin shows there isn’t a great substitute for the proper tool to accomplish this task. Keep the threads clean and your next project will go together much smoother. Of course, but sure to subscribe to the Hagerty YouTube channel for more DIY tips and tricks every Wednesday.