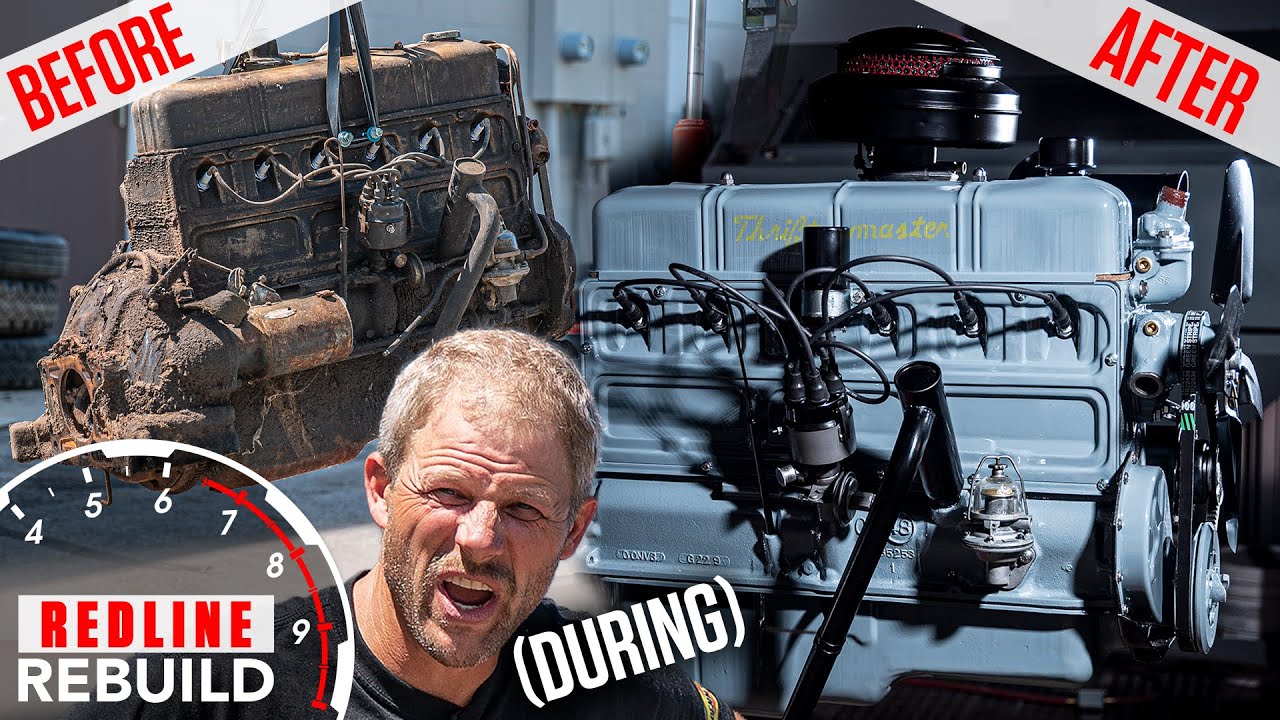
Setting valve lash on a Buick Straight 8 | Redline Update - Hagerty Media
Hydraulic lifters are a gift from above when it comes to keeping an engine running reliably for years on end. However, that only stays true if said lifters are properly set up during assembly. That is precisely what what Davin intends to do today, so let’s see how it’s done in this week’s Redline Update.
There are two types of lifters that concern us here—solid and hydraulic. (There are also roller and flat-tappet lifters, but for this discussion we are concentrating on the first two.) The difference lies in the body of the lifter. A hydraulic design fills with a cushion of oil that allows for the expansion and contraction of parts that happens with heat and wear. Solid lifters are, well, solid, which means that these lifters require maintenance at regular intervals to check for proper tolerance and prevent a catastrophic meltdown.
The Buick’s 16 lifters are all hydraulic, which means assembling the valvetrain can go fairly quickly. The key is to have the camshaft rotated to the appropriate place, so that the lifters are on the base circle of the cam when adjusting the final settings. This process can be unique to each engine, and as such, Davin had to check the procedure on the Buick a few times to make sure it all went to plan.
“On this Buick the trick is to adjust the intake just as the exhaust valve starts to open, and adjust the exhaust just as the intake starts to close,” says Davin, while locking the adjusters atop the bare rocker arms. “That’s because of how the lobes on the cam are positioned and overlap.”
With the cam and roller relationship straightened out, the next step is to tighten down the adjuster until there is zero lash on the pushrod. Typically this is done by rotating the pushrod between two fingers while tightening the adjuster, when there is just a bit of drag in the rotation. That’s zero lash. Then, add one-half turn to the adjuster, lock it down, and move on to the next one. That extra half turn is to preload the hydraulic portion of the lifter so that it works properly across the temperature and oil pressure range that the engine will see during use.
Yes, this is one of the easier steps of engine assembly, but there is still room for error. Take it slow and check your work as you go. If you’re at this stage on your project car, it likely means that means the first start-up is in sight, but we won’t hear the sound of our ol’ Buick roaring to life just yet. You’ll have to subscribe to the Hagerty YouTube channel and keep an eye out for when that episode hits our channel.


Wonderful video. I have a 42 Buick. Seeing some smoke from oil filler cap. Took off valve cover and ran. Some push rods seem to rotate and lift. Some just lift. Some are covered in oil some care not. I believe I need to clean rocker arms assembly for oil flow issue. Is the push rod motion expected?