How to read micrometers | DIY - Hagerty Media
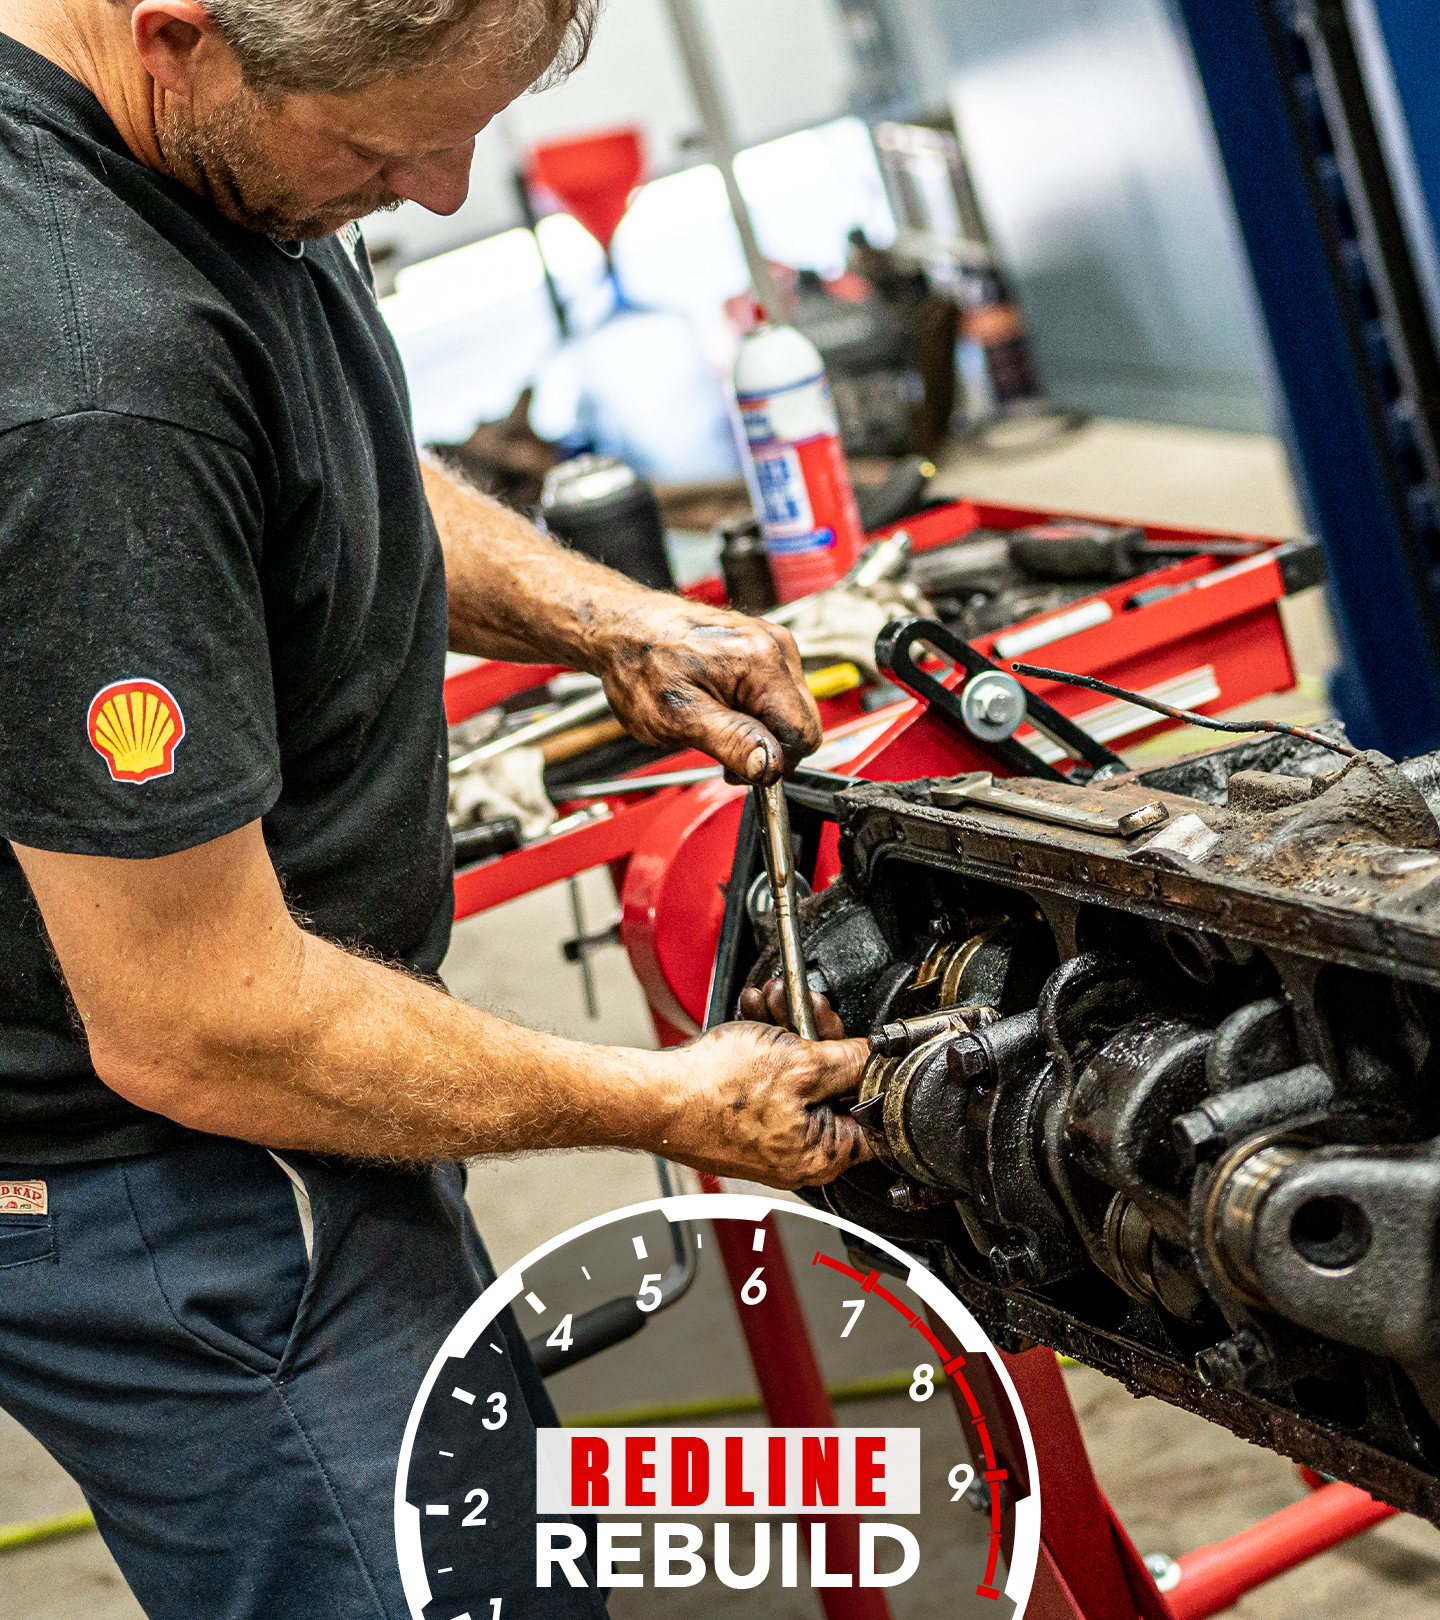
There are two types of projects when working on cars: those that require accuracy and precision, and those that don’t. The best mechanics can determine these jobs on the fly, but most DIY enthusiasts can learn which is which by consulting a shop manual. Trying to treat either of them as the other is a recipe for a bad time, which is why Hagerty’s go-to engine builder Davin Reckow thought it a good idea to help folks out with how to read a micrometer for this week’s DIY video.
Precision measurement is critical while assembling engines, transmissions, and differentials. One of the best tools for getting accurate sizes of objects is also one of the most intimidating to use: the micrometer. This is a simple tool that can read out to the ten-thousandths of an inch. Used improperly though, the number you come up with is meaningless.
Before Davin gets to how to read the tool, he reviews the parts. While this seems extremely basic on the surface it is actually quite important to understand the individual parts in order to properly maintain the tool. The frame determines the measurement range capability. The one Davin places in a clamp is the 1-2-inch version, meaning that the zero on the measurement barrel indicates that the precision-ground anvil and spindle are exactly 1″ apart. Adjusting the thimble moves the spindle and also provides the readout of the gradations on the sleeve. A ratcheting grip provides the perfect tension for precise, accurate measurements and prevents the part being measured, or the tool, from being distorted during the process.
That process is fairly simple. Place the piece to be measured between the anvil and spindle, then tighten the thimble until the thimble ratchets. Then use the lock to hold the measurement, remove the part, and you can start reading. The gradations on the sleeve are your first spot to look, as this tells you the measurement to the rough thousandths place. Then add the number that aligns on the thimble, and if you need the ten-thousandths place, go up on the sleeve to the first set of lines that line up and that will indicate the fifth significant figure.
If that sounds a bit complicated, well, that’s because it kind of is. This is a process that takes a bit of practice to do consistently correctly. That just means it is something to practice from time to time or trust to your local machine shop who does it day in and day out. Most are happy to confirm measurements and they often have properly calibrated tooling to double-check your work if you are nervous. In fact, next week’s DIY video is how to measure up an engine block before or after machining. Be sure to subscribe to the Hagerty YouTube channel to be notified when that one—and all our great videos—goes live.