DIY: How to install Positraction and give your muscle car tire-frying capability - Hagerty Media
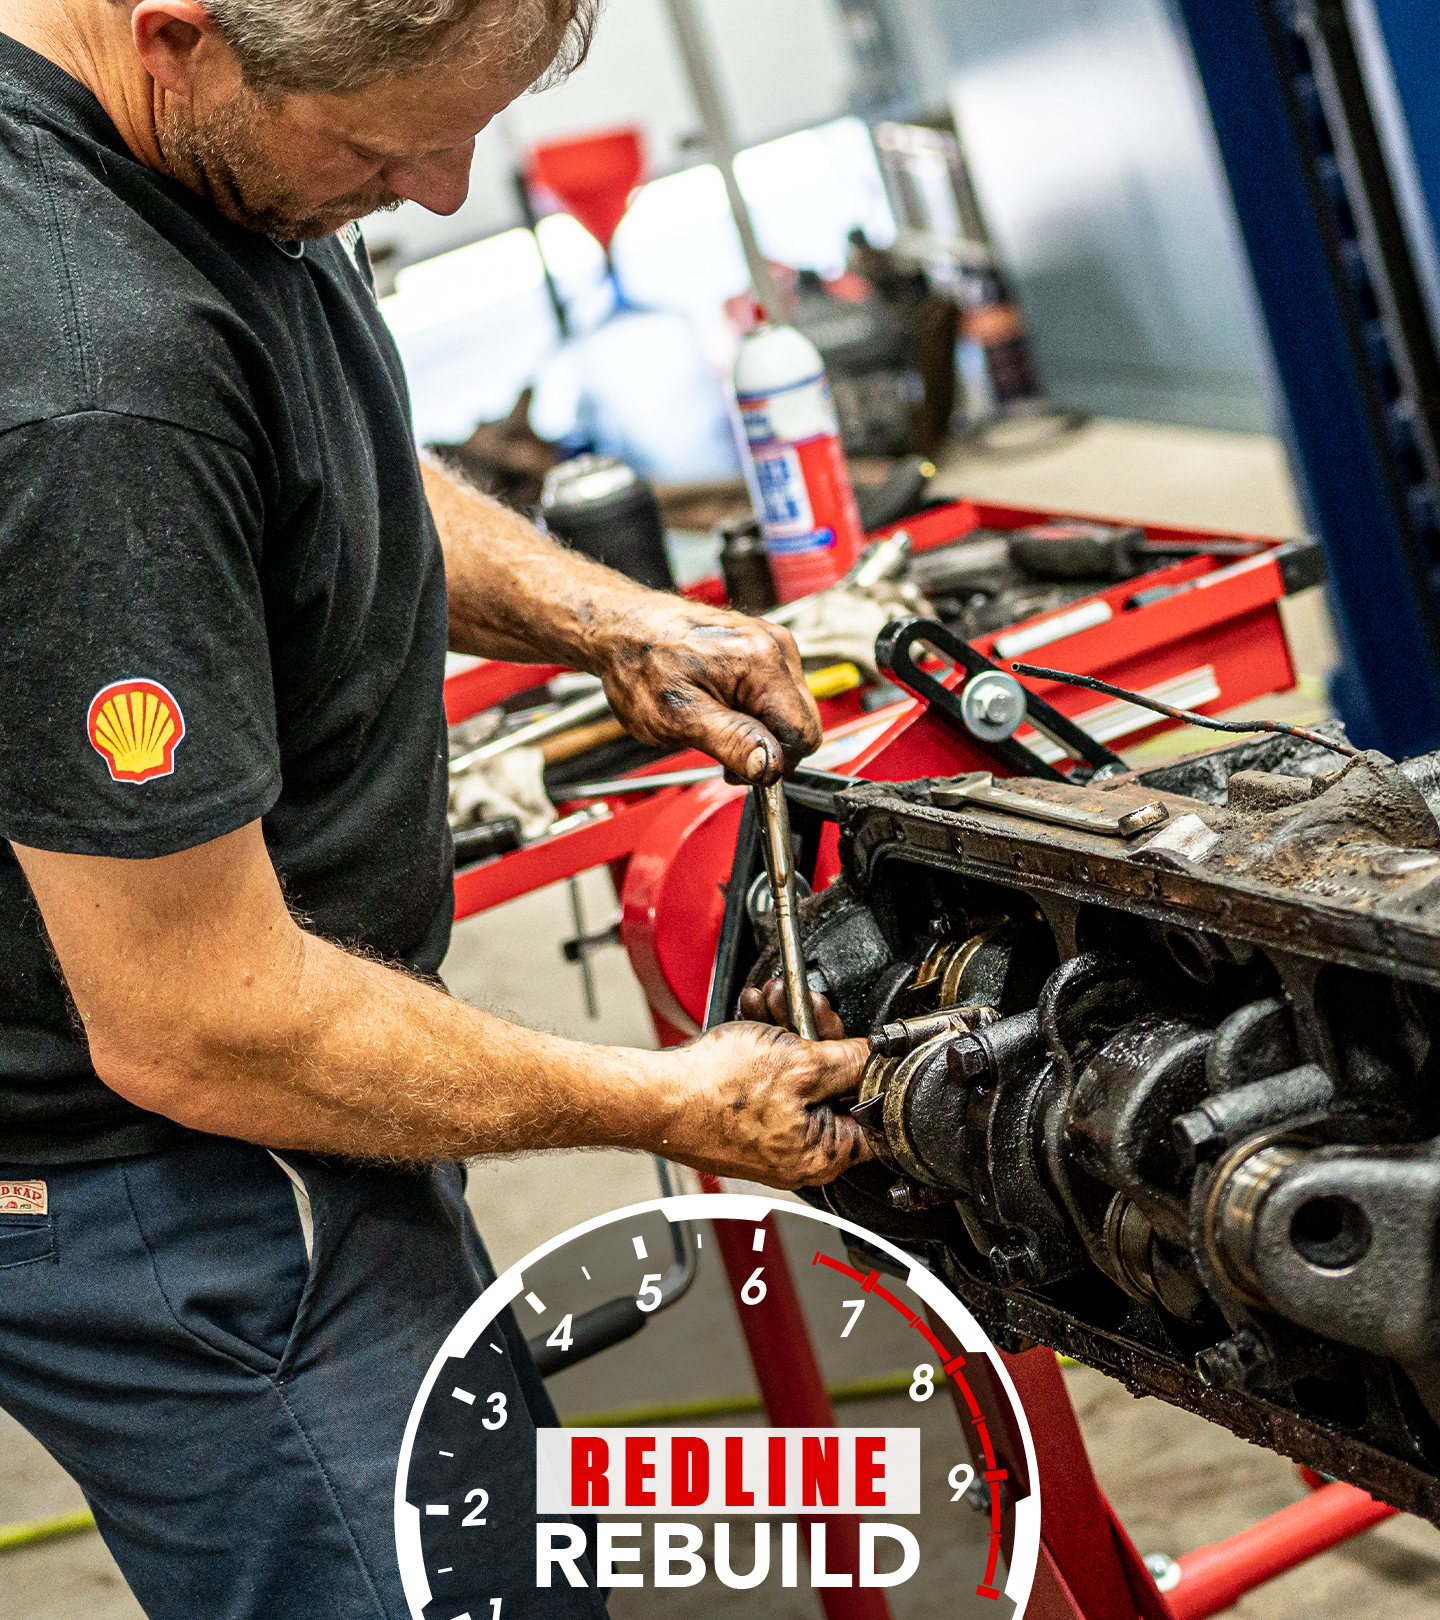
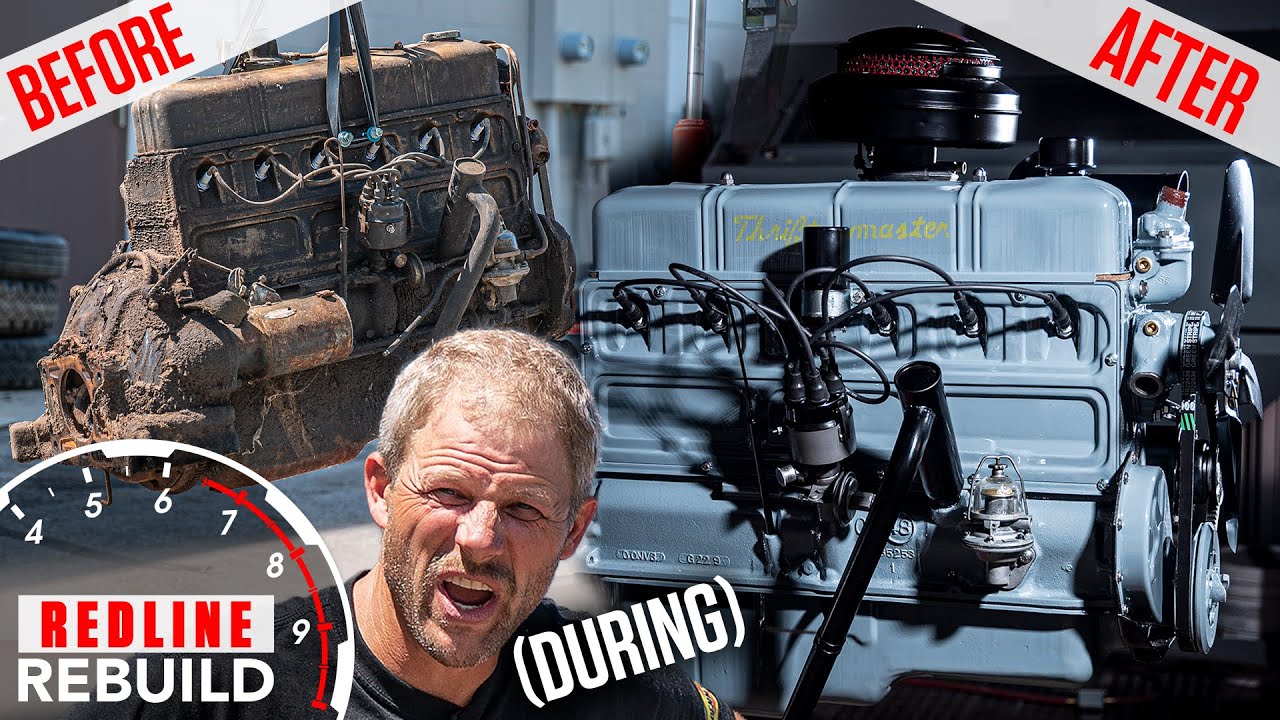
Following the Redline Rebuild of its big-block 396, Hagerty’s 1969 Chevrolet Camaro could finally do the tire-smoking burnouts that it should have been capable of all along. The only problem was the peg-leg nature of said burnouts. Davin vowed to fix that and let this poster-image pony car show off the muscle under the hood by installing a limited-slip differential. In GM speak, that’s known as Positraction, and it works by linking both sides of the differential with clutch packs when one wheel starts spinning, distributing power across both wheels. (This excellent 1937 educational film explains the concept well.)
Changing the gear and carrier on a rear differential isn’t rocket science, nor does it require any truly special tools beyond a dial indicator and set of calipers. However the setup needs to be completed properly to ensure the rear end functions quietly and without self-destruction. Fortunately, Davin walks us through the process to help you decide whether or not to tackle this project in your own garage.
A Positraction is a nice addition to any muscle car with an open differential. A factory option on some models, it is more common to find a car with an open differential. The good news is that the aftermarket has just about any gearhead covered, so you can add a limited slip to nearly any rear-wheel-drive car.
Disassembling the existing rear end is straightforward, with only a handful of bolts holding the critical parts together. One thing to be sure of though, is to keep track of the shims which properly space the carrier inside the differential casting. Though Davin was assembling the unit with all new parts, these shim stacks still represent a good starting point rather than starting at square one for setting the gear lash during assembly.
One key trick Davin uses to bypass using expensive tools is repurposing the toaster oven he uses to heat his lunch. The bearings on the pinion gear require a roughly two-thousands of an inch press fit. Rather than use a press, which requires careful use so as to not damage the bearing, Davin heated it at 450 degrees for 20 minutes.
Once hot, he quickly popped the hot bearing on the pinion, where it slipped right into place. The heated bearing expanded ever so slightly, allowing that small press fit to be overcome with just hand pressure. You can also make this even easier by freezing the pinion gear prior to heating the bearing, shrinking it slightly.
Assembly entails careful measurement and shim placement. Once completed though, a quick 20-mile break-in drive followed by an overnight rest was all the differential needed to be ready for Davin’s test. The Hugger Orange coupe left two dark stripes, confirming this car is ready to cruise.