8 DIY projects to make any car feel more luxurious
Not all of us can afford luxury cars. Heck, some of us can’t even afford nice versions of plebeian cars from 50 years ago. But even a tight budget doesn’t mean we can’t have nice things, though, and luxury is in the eye of the beholder. Instead of replacing your current ride with a luxury vehicle, you’re probably best served by making whatever you already own into the best version of itself.
Some enthusiasts may not think of DIY projects beyond those necessary to keep a vehicle running and drivable. Branching out into cosmetic and functional improvements is both fun and less stressful than the highly mechanical nature of projects under the hood.
Tackle a few of these eight ideas to add a little more comfort to your ride—and have the fun of accomplishing a new project, too.
Sound deadening
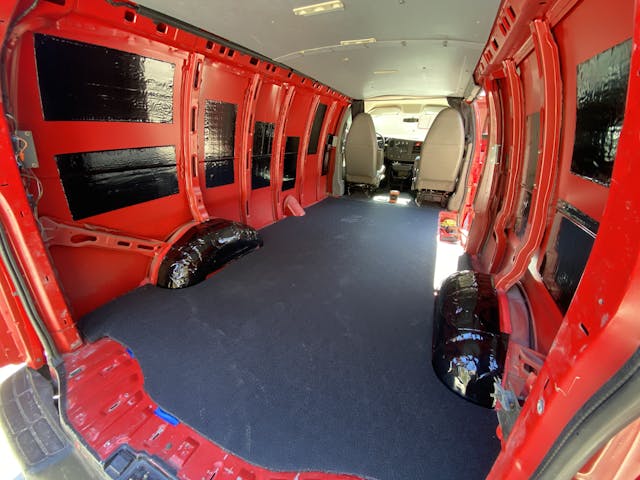
Often, a luxury car is one of the vehicles most disconnected from the road. Take, for instance, its lack of road noise. The difference between the sound of a door closing—a tin-can sound, in a tired economy car, or the bank-vault whump of a luxury car’s—is just the start.
With just a few sheets of stick-on sound-deadening like Dynamat or Kilmat can eliminate a surprising amount of noise for minimal effort. Remove door panels, stick sound deadener to the sheetmetal surfaces, reassemble, and off you go, quieter than ever.
You don’t need to cover every square inch of metal to notice the effects: you’ll actually experience diminishing returns past 60 percent coverage. Plan to add sound-deadening at least 25 percent of your interior sheetmetal to hear a difference. That 60 percent coverage will often remove 95 percent of the noise you want it to, so save a few dollars and some effort by not going too crazy.
New weatherstripping
Leaks are not luxe, whether they’re admitting wind noise or water. New weatherstripping can be fitted easily on the vast majority of cars and can make a dramatic difference in how the car feels. Doors shut tighter, windows seal better, and trunks are weathertight again.
New weatherstripping often also makes doors, windows, hoods, and trunks close better and more solidly. It can also get rid of rattles around windows and doorframes. For the effort it takes to put new foam rubber in place along the seams, the return is huge.
Refinished (or new) steering wheel

There are really only three touch-points in a car for the driver: seat, pedals, and steering wheel. Replacing upholstery can be complicated and expensive, and refreshing pedals is even more work, but changing a steering wheel is not bad.
Removing a vintage wheel is likely to require special tools but those can often be easily borrowed (with a deposit) from chain auto-parts stores. Even just sanding down, filling cracks, and painting a wheel can go a long way. Be sure, if you do this, to use the appropriate paint and clearcoat. You want durability and proper feel, neither of which is likely to come out of a traditional rattle can.
Fixing torn seats
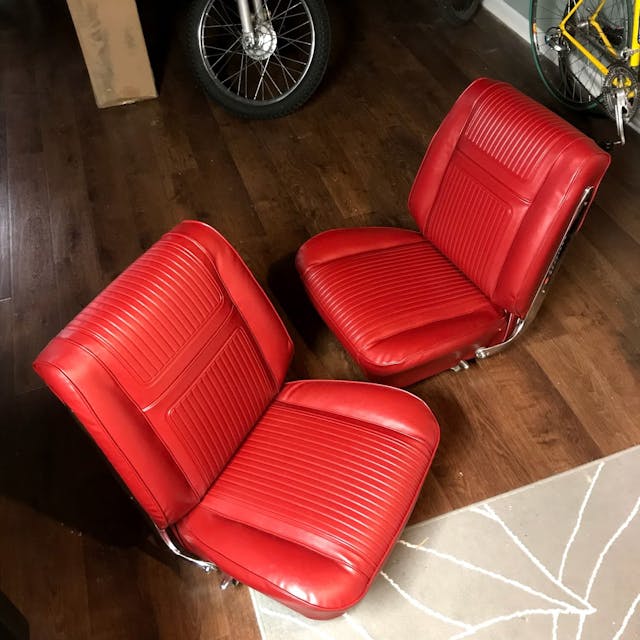
Only five sentences ago I said re-upholstery can be difficult, but for the right DIY person, it is absolutely doable. New foam under original covers, or new covers alone, transform a seat and make driving enjoyable again. Having seat foam cling to your pants after you arrive at cars and coffee is not luxurious, after all.
Removing seats and dropping them off at an upholstery shop is DIY enough to qualify for this list, but if you are feeling adventurous, we encourage you to research doing seats yourself. Get those hog-ring pliers out and make that interior one that not only looks good but becomes something you can point at with pride.
Look into OEM+ mods

This term came into my life from the man who is better at it than anyone else: Sajeev Mehta. Simply put, OEM+ upgrades use parts that were built for your model but not installed on your particular car at the factory. For modern cars, think nicer stereos, or steering wheels with radio controls. For more vintage cars, a logical OEM+ changes could be switching your vintage bumpside Ford truck’s rear suspension to lighter duty leaf springs, because it isn’t used for work anymore and the factory-installed 3/4-ton leafs just make for a harsh ride.
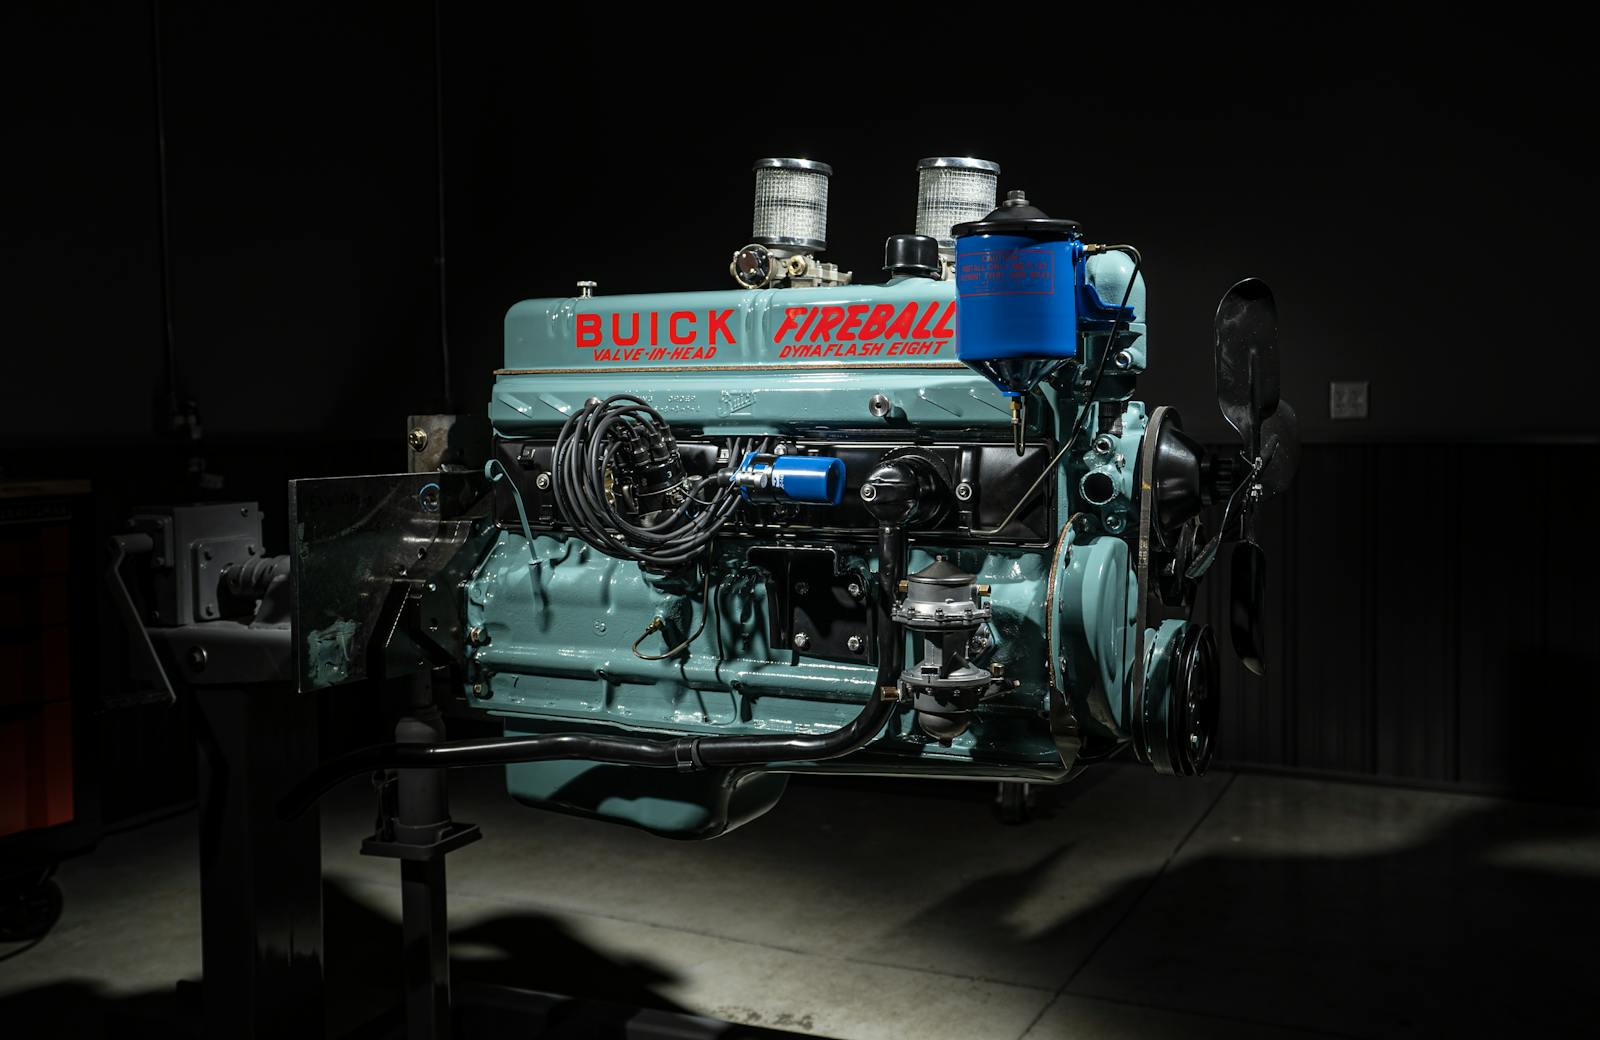
Or maybe change from a two-barrel carb and manifold to a factory-spec four-barrel for period-correct fit and finish—and easy assembly, since you can follow the factory service manual. Beat that, aftermarket.
Weighted shifter/short shifter

So maybe I lied earlier when I said that a driver only has three touch-points. Some enthusiasts prefer four, since they want a transmission that requires manual persuasion to shift gears. If that’s your thing, than an upgrade to the shifter can totally change the driving experience.
I went OEM+ by using a three-speed shifter on a four-speed transmission in my Corvair, which equated to a short-throw unit and factory fit, but not everyone is so lucky. Your DIY upgrade could be as easy as a weighted shift knob in modern cars, or adding a new Hurst T-handle to your muscle car. Whatever it is, this could be the easiest bit of wrenching that will change how your car feels from the driver’s seat.
Fixing little rattles and squeaks
That loose piece of trim should be annoying: there is no reason for it to be loose. Items like this can be low-hanging fruit, and transform a beater into a vehicle to be proud of. Having a rattle- or squeak-free driving experience immediately changes your perception of any car, so taking the time to track down and properly affix or lubricate small parts and pieces is well worth your time.
A quick tip: The most common cause I’ve seen for squeaky suspension is when people tighten all the suspension bolts while the suspension is hanging. Many suspension bolts and fasteners should be tightened with the weight of the car on the suspension. Get everything snug, set the car down, and only then break out the torque wrench.
Stereo upgrade
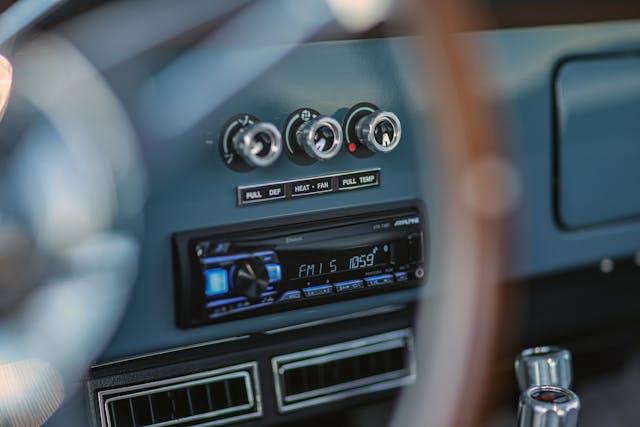
Last but not least is an upgrade that is easier than ever to hide. Vintage cars have vintage audio, but modern speakers can be fit behind original speaker grilles, and Bluetooth receivers and amplifiers can be hidden in glove boxes or under seats. Totally stock appearance with modern or upgraded sound is attainable and not nearly as expensive as it once was.
Combine that with a few other items on this list and your car is going to feel nearly new, or at least a little more luxurious than what you are used to.
Check out the Hagerty Media homepage so you don’t miss a single story, or better yet, bookmark it.
Weatherstripping! Yikes!
Back in the late 70’s I bought an invisible car. Let me explain. The Dodge Dart was retired in 75. And the Dodge Aspen was its replacement. And between the Aspen and Volare they sold a ton of them.
Seems now looking for aftermarket parts. Everything stops at 1975. They act like 76 thru 81 does not exist. So my search for a weatherstripping kit for a
T-top 78 Super Coupe. Is impossible.
Did find on u- tube. The Busted Knuckle Garage in Tennessee ( I think) that has a complete extra set. Have tried to reach out to him. No replies.
Also try and find a garage/ mechanic to work on her. Does not exist. They either ignore or show me the door. One garage asked if it has an OBD plug. Oy-vey.
So I don’t know where everyone else gets repairs done. But this one seems impossible. oh, and Happy Motoring.
For radio upgrade, there are several companies (check the internet) that reconfigure your original radio, i.e. my 65 GTO AM radio, to an AM/FM, Bluetooth, Sirius capable system and you still maintain the original radio look because you still have you original radio just new guts!
The problem with new body to door weatherstripping is having to slam the door until hopefully it finally fits right.
And yes the door is adjusted right.
Just do a search for new weatherstripping and slamming door and you will see it is a common problem.
Does not matter which manufacturer you get it from.
Would really like to know how vehicle manufacturers install it because you do not have to
slam new vehicle doors.
Sort of related, when I get sick of my daily driver, a 2011 4runner, I wash it and clean it up really good- vacuum, wipe down the inside, clean the windows, shine up the tires…
In ’18, I bought my Dream Car, a new Mustang GT. Of course with the Coyote V8 and a 6 spd stick. It already had all the options I needed/wanted……except for one thing: I wanted that nice Euro Burl dash and trim. I hunted around until I found a high quality vendor and sent my VISA info. Within a short time I was installing the kit and now, when I slip into the driver’s seat, I have that “Mona Lisa” smile and feeling! Only took 50 years……college/marriage/children/more college/weddings and all the etc’s that happen in life!