8 DIY projects to make any car feel more luxurious
Not all of us can afford luxury cars. Heck, some of us can’t even afford nice versions of plebeian cars from 50 years ago. But even a tight budget doesn’t mean we can’t have nice things, though, and luxury is in the eye of the beholder. Instead of replacing your current ride with a luxury vehicle, you’re probably best served by making whatever you already own into the best version of itself.
Some enthusiasts may not think of DIY projects beyond those necessary to keep a vehicle running and drivable. Branching out into cosmetic and functional improvements is both fun and less stressful than the highly mechanical nature of projects under the hood.
Tackle a few of these eight ideas to add a little more comfort to your ride—and have the fun of accomplishing a new project, too.
Sound deadening
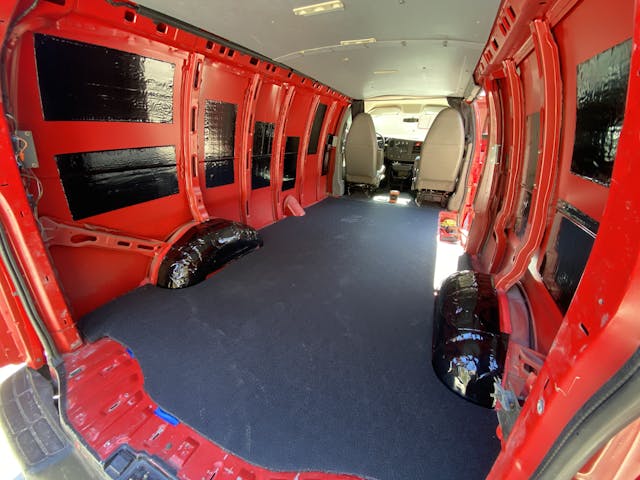
Often, a luxury car is one of the vehicles most disconnected from the road. Take, for instance, its lack of road noise. The difference between the sound of a door closing—a tin-can sound, in a tired economy car, or the bank-vault whump of a luxury car’s—is just the start.
With just a few sheets of stick-on sound-deadening like Dynamat or Kilmat can eliminate a surprising amount of noise for minimal effort. Remove door panels, stick sound deadener to the sheetmetal surfaces, reassemble, and off you go, quieter than ever.
You don’t need to cover every square inch of metal to notice the effects: you’ll actually experience diminishing returns past 60 percent coverage. Plan to add sound-deadening at least 25 percent of your interior sheetmetal to hear a difference. That 60 percent coverage will often remove 95 percent of the noise you want it to, so save a few dollars and some effort by not going too crazy.
New weatherstripping
Leaks are not luxe, whether they’re admitting wind noise or water. New weatherstripping can be fitted easily on the vast majority of cars and can make a dramatic difference in how the car feels. Doors shut tighter, windows seal better, and trunks are weathertight again.
New weatherstripping often also makes doors, windows, hoods, and trunks close better and more solidly. It can also get rid of rattles around windows and doorframes. For the effort it takes to put new foam rubber in place along the seams, the return is huge.
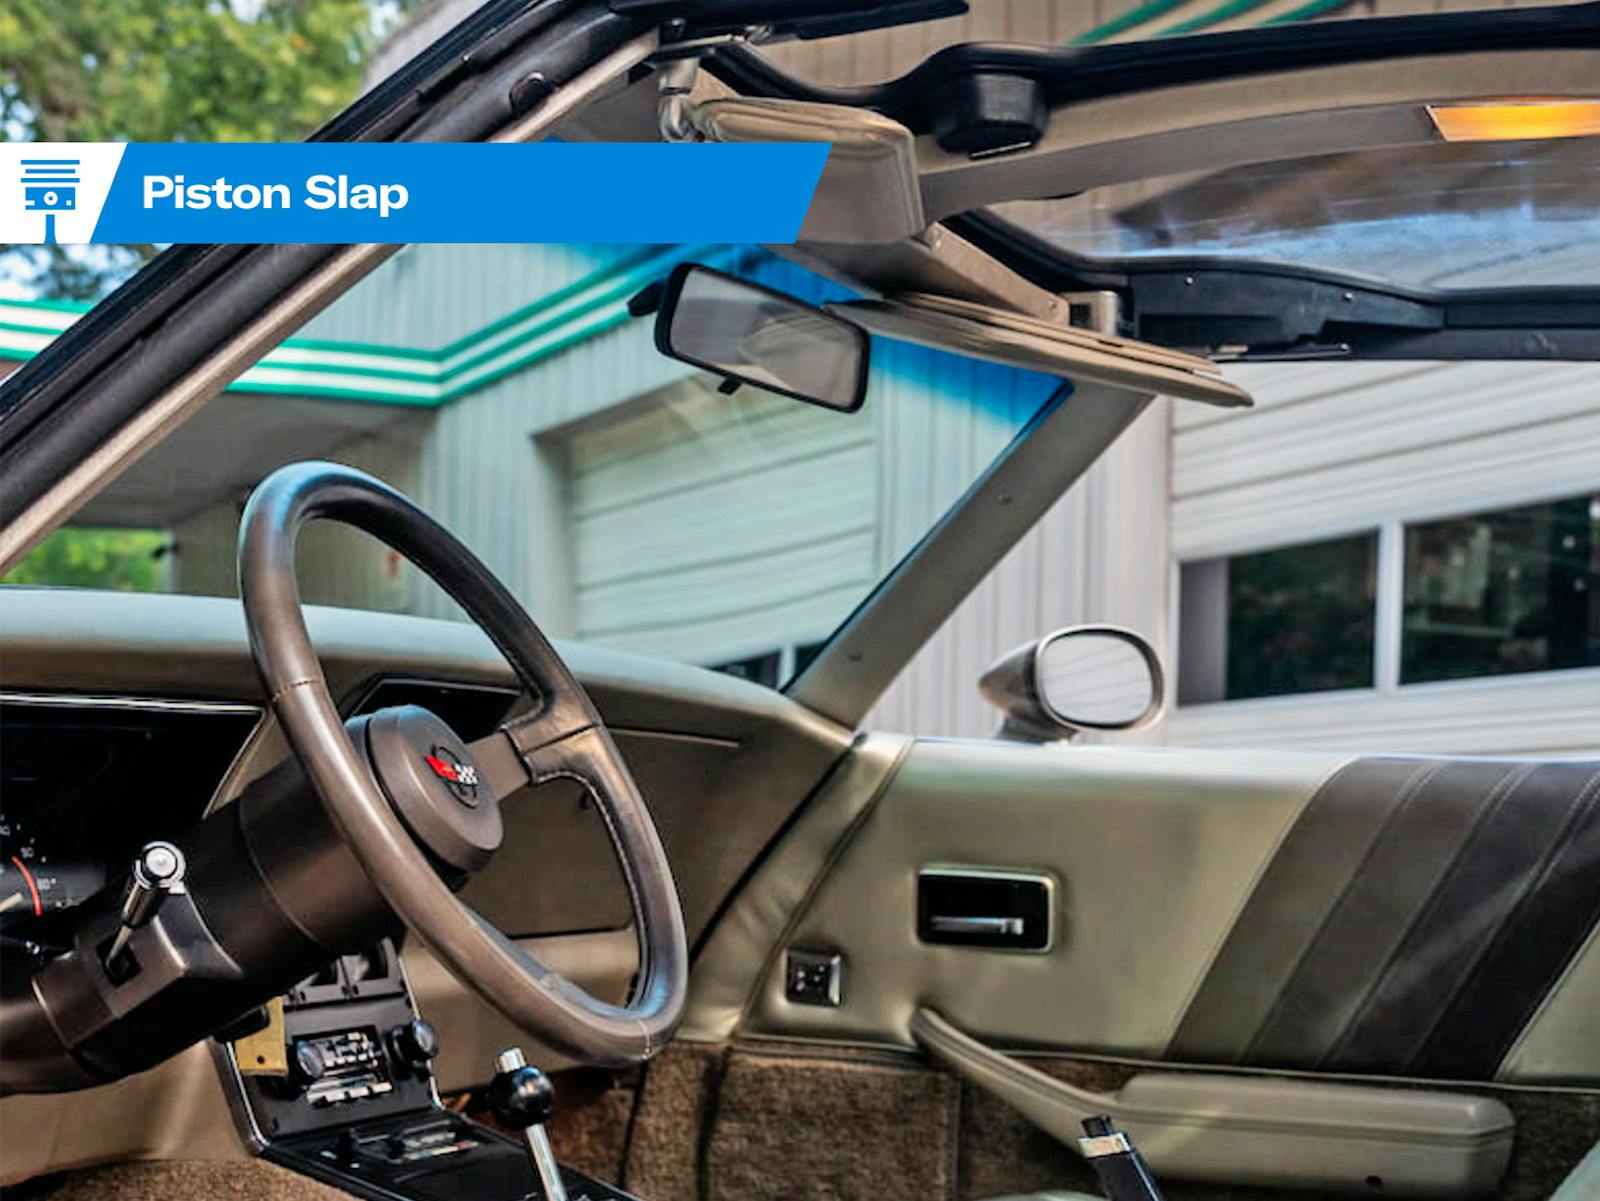
Refinished (or new) steering wheel

There are really only three touch-points in a car for the driver: seat, pedals, and steering wheel. Replacing upholstery can be complicated and expensive, and refreshing pedals is even more work, but changing a steering wheel is not bad.
Removing a vintage wheel is likely to require special tools but those can often be easily borrowed (with a deposit) from chain auto-parts stores. Even just sanding down, filling cracks, and painting a wheel can go a long way. Be sure, if you do this, to use the appropriate paint and clearcoat. You want durability and proper feel, neither of which is likely to come out of a traditional rattle can.
Fixing torn seats
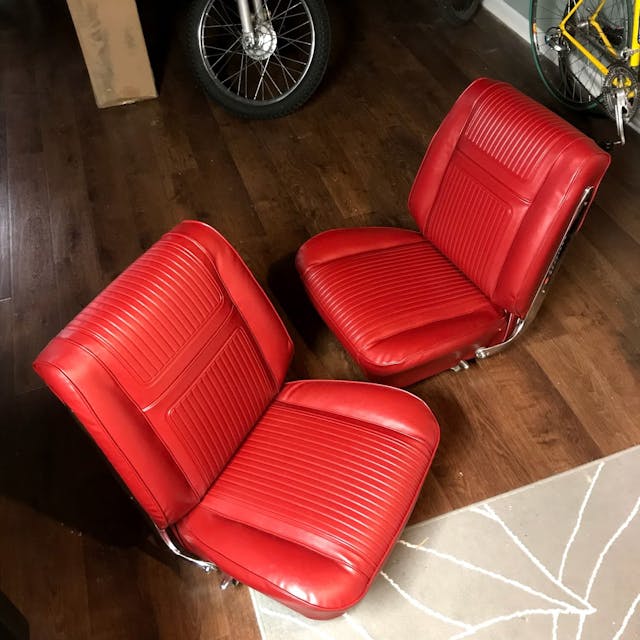
Only five sentences ago I said re-upholstery can be difficult, but for the right DIY person, it is absolutely doable. New foam under original covers, or new covers alone, transform a seat and make driving enjoyable again. Having seat foam cling to your pants after you arrive at cars and coffee is not luxurious, after all.
Removing seats and dropping them off at an upholstery shop is DIY enough to qualify for this list, but if you are feeling adventurous, we encourage you to research doing seats yourself. Get those hog-ring pliers out and make that interior one that not only looks good but becomes something you can point at with pride.
Look into OEM+ mods

This term came into my life from the man who is better at it than anyone else: Sajeev Mehta. Simply put, OEM+ upgrades use parts that were built for your model but not installed on your particular car at the factory. For modern cars, think nicer stereos, or steering wheels with radio controls. For more vintage cars, a logical OEM+ changes could be switching your vintage bumpside Ford truck’s rear suspension to lighter duty leaf springs, because it isn’t used for work anymore and the factory-installed 3/4-ton leafs just make for a harsh ride.
Or maybe change from a two-barrel carb and manifold to a factory-spec four-barrel for period-correct fit and finish—and easy assembly, since you can follow the factory service manual. Beat that, aftermarket.
Weighted shifter/short shifter

So maybe I lied earlier when I said that a driver only has three touch-points. Some enthusiasts prefer four, since they want a transmission that requires manual persuasion to shift gears. If that’s your thing, than an upgrade to the shifter can totally change the driving experience.
I went OEM+ by using a three-speed shifter on a four-speed transmission in my Corvair, which equated to a short-throw unit and factory fit, but not everyone is so lucky. Your DIY upgrade could be as easy as a weighted shift knob in modern cars, or adding a new Hurst T-handle to your muscle car. Whatever it is, this could be the easiest bit of wrenching that will change how your car feels from the driver’s seat.
Fixing little rattles and squeaks
That loose piece of trim should be annoying: there is no reason for it to be loose. Items like this can be low-hanging fruit, and transform a beater into a vehicle to be proud of. Having a rattle- or squeak-free driving experience immediately changes your perception of any car, so taking the time to track down and properly affix or lubricate small parts and pieces is well worth your time.
A quick tip: The most common cause I’ve seen for squeaky suspension is when people tighten all the suspension bolts while the suspension is hanging. Many suspension bolts and fasteners should be tightened with the weight of the car on the suspension. Get everything snug, set the car down, and only then break out the torque wrench.
Stereo upgrade
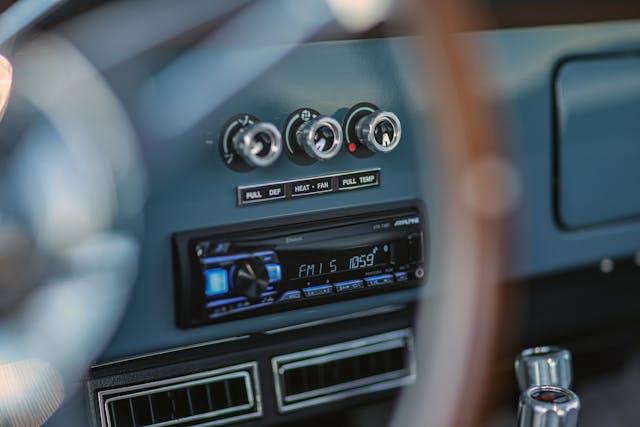
Last but not least is an upgrade that is easier than ever to hide. Vintage cars have vintage audio, but modern speakers can be fit behind original speaker grilles, and Bluetooth receivers and amplifiers can be hidden in glove boxes or under seats. Totally stock appearance with modern or upgraded sound is attainable and not nearly as expensive as it once was.
Combine that with a few other items on this list and your car is going to feel nearly new, or at least a little more luxurious than what you are used to.
Check out the Hagerty Media homepage so you don’t miss a single story, or better yet, bookmark it.
On stereo this is kind of “different”. I have a low mileage (47k) Opel GT with a pristine original interior. I didn’t want to cut up interior panels to install speakers so I found a “sound bar” that fit perfectly on the package shelf in the rear window. The car had an am radio that I removed and put controls for a small sub/ blue tooth phone adapter and some input jacks for the sound bar that runs off a DC to AC convertor. Small sub (8”) in in the boot. (Opel GT has no “trunk”) Because the sound bar is interior color you can’t even see it back there. Blue tooth connection to my phone and the sound bar also has usb input with a flash drive & about 25,000 of my favorite tunes on it if I don’t want to connect phone to it. Easy to remove the whole system & the sound bar has a wireless remote to control it. No damage to the interior this way.
I’m going to extend the definition of OEM+ a bit. In addition to upgrades that weren’t installed on a particular car:
1) Upgrades/features that were intended for another brand (e.g., Lincoln upgrades installed on your Ford)
2) Upgrades from future model years
Once the weather warms up a bit, I will be installing a Sync system upgrade in my wife’s Escape. It will be like having a much more modern experience in the older car. The effort level is about the same as a car stereo head unit upgrade–mostly plug-and-play after removing some dash trim. But the user experience, particularly with nav, will be much improved.
I used lizard skin and koolmat on my 59 MGZBV Magnette Varitone restoration and it made a world of difference in comfort from before it was in. I also used Martin McGregor’s UK car parts Bristleflex door seals on the Magnette and on my 73 MGB, Easy installation and seals very nicely. Colurs match factory interiors perfectly as well.
A new Mexican blanket to keep the springs from poking you in the rear. Better ear plugs since the headers end right under the front seat. Replace the visqueen on the driver’s door so you can see out or just change out the severely dented door so you don’t have to slide across to get out. Patch the holes in the floor to keep your lunch from falling out on the road.
Weighted shift knobs can kill many early gearboxes………Don’t do it.
Wooden shift knows look cool but amplify gearbox/engine/road noise.
LOL This one hit right at home. In 2018 after searching for 3 years (for a good one) I found may favorite “cheap”. Just pure luck on Craigslist. a 1983 Camaro Z28, zero rust (yes you read that right) and have been slowly doing virtually ALL the above. Still have the drivers seat, and some minor squiggle repairs, however, the built LS upgrade and modern 4L65E with 4 corner disc brakes has made the car a joy to drive. It will appear OEM outside and inside however, the 500 HP. will speak differently about it, just pure happiness.
Adhesive backed sound deadener is amazing. I installed sheets under the rubber mat on my 1950 F-1 pickup, under the seat and against the area by the fuel tank. Not quite silent, but one can carry on a conversation and hear the whine of the transmission and lovely sounds from a flathead V8. Also put the leftovers into my 2000 Miata with similar results, except for the Flathead sounds.
New carpet!!
This is an excellent way to improve your interior!!
On my ’84 VW Rabbit GTI, I installed a short shifter, weighted shift link, and taller leather shift knob. Also replaced all the worn bushings in the linkage. Absolutely transformed the shifting. On the same car, the vent windows lost their seal and whistled loudly at freeway speeds. As I don’t open them anyway, I sealed them with transparent silicone seal. Unobtrusive, very effective, and easily removed if wanted. Also upgraded the speakers and will add a subwoofer to the upgraded stereo. Can’t recommend the polyurethane suspension bushings, which made for a much harsher ride.
My son and I replaced a bunch of original suspension bushings and shocks on my 1973 Corvette. It really changed the road behavior as you’d expect. We also installed extended rear bolts to get the rear end down even with the front.
Interior lighting is another key area for a “luxe” feel. Make sure the existing lights all work, and consider adding lights under the dash or in the rear seating area. If updating bulbs to LEDs, be sure to match the color temperature to the era of the vehicle. If you’re a little adventurous with wiring, there are inexpensive modules available for “theater lighting” dimming and timer operations. Makes a car much more enjoyable after dark.
Sound deadner on the floor and then NEW carpet! Old ratty carpet really makes a car look old.
Surprised the article didn’t mention remote start and a heated seat cushion!
I do have a stereo upgrade radio. It is installed in the glovebox because I want the original am fm with 8 track in the dash. Most if the car is original and I want to keep it that way. It even has the factory spare still in the trunk. It’s just for looks, I wouldn’t trust a 50 year old tire on the road.
Replaced all dash/interior and running lights with LEDs on my ’74 911. Makes a huge difference with brake lights, turn signals, etc. and actually being able to read the instrument panel at night.