7 tips for cleaning car parts
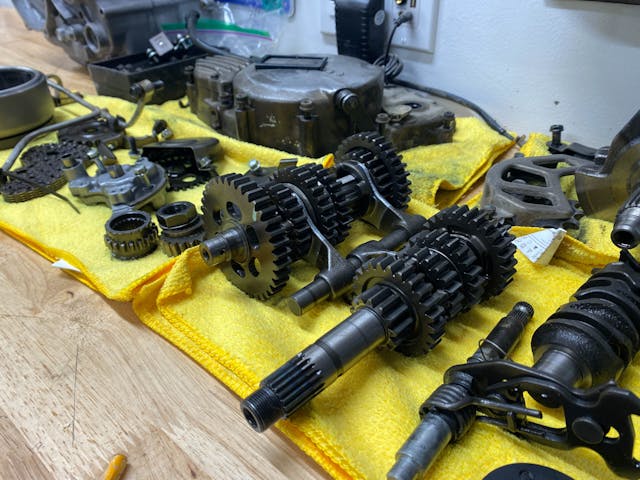
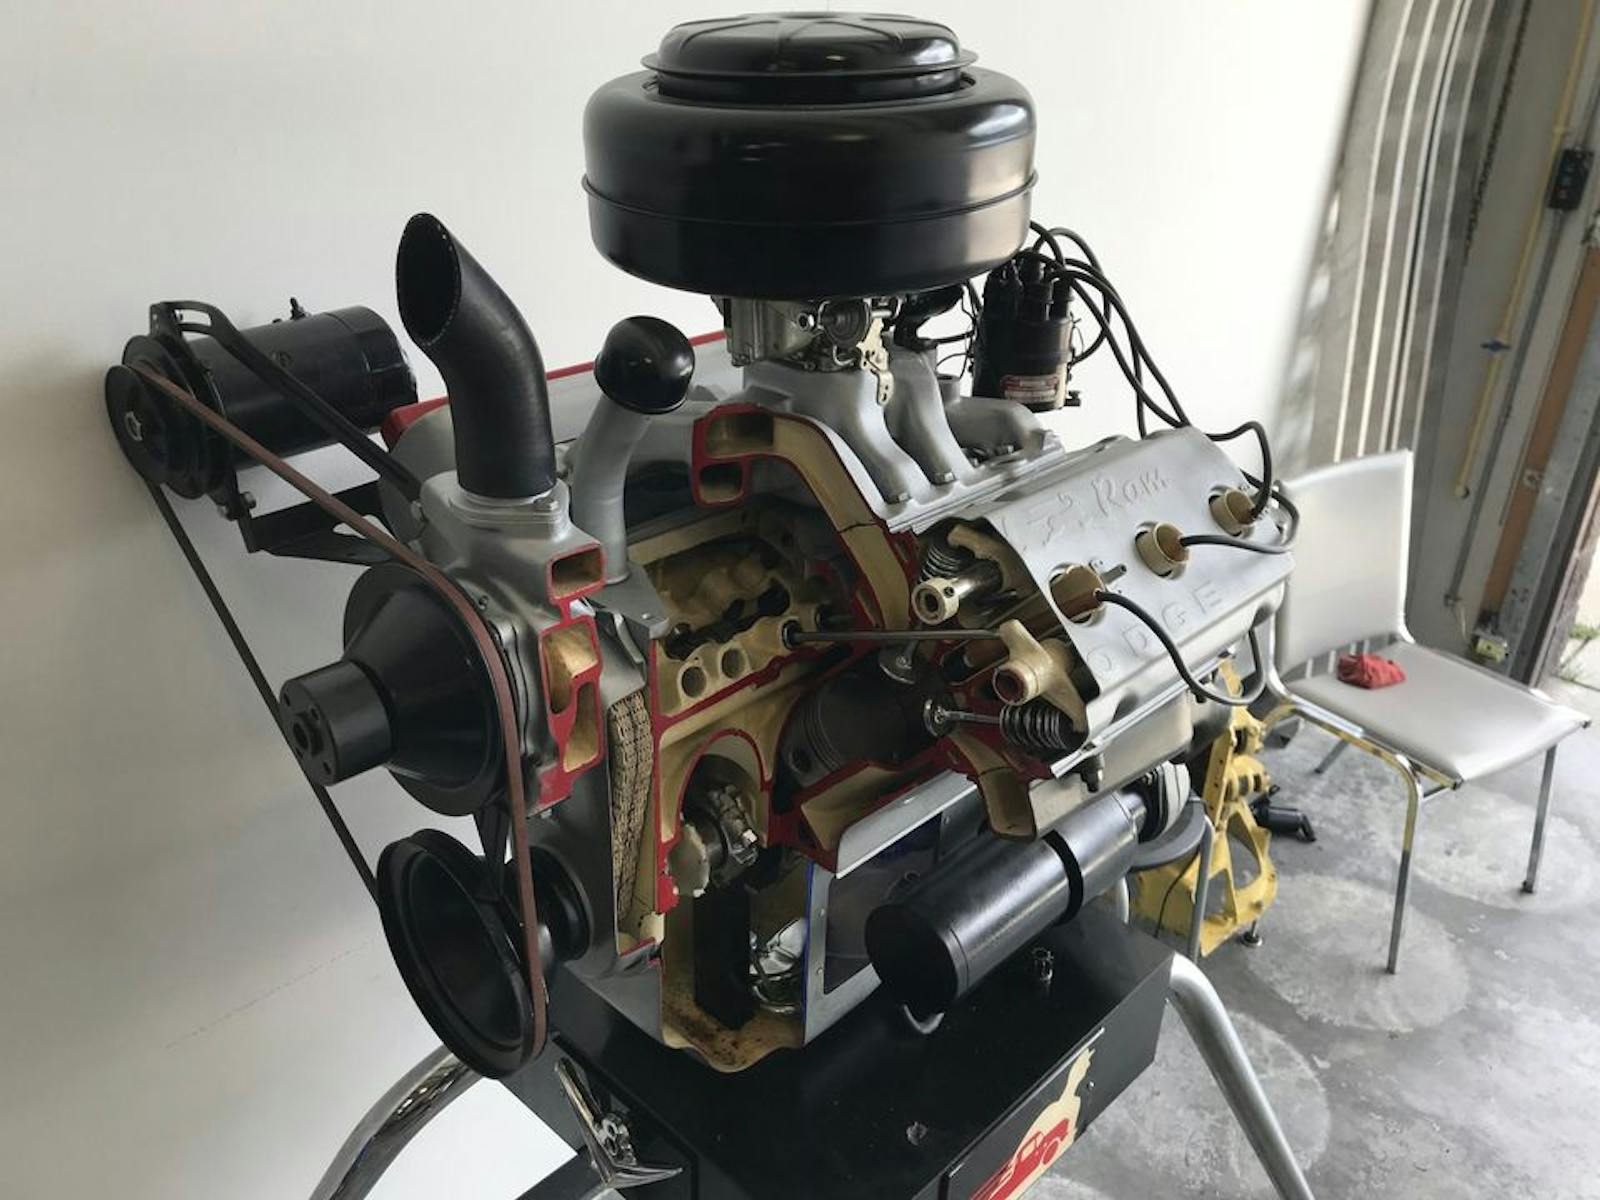
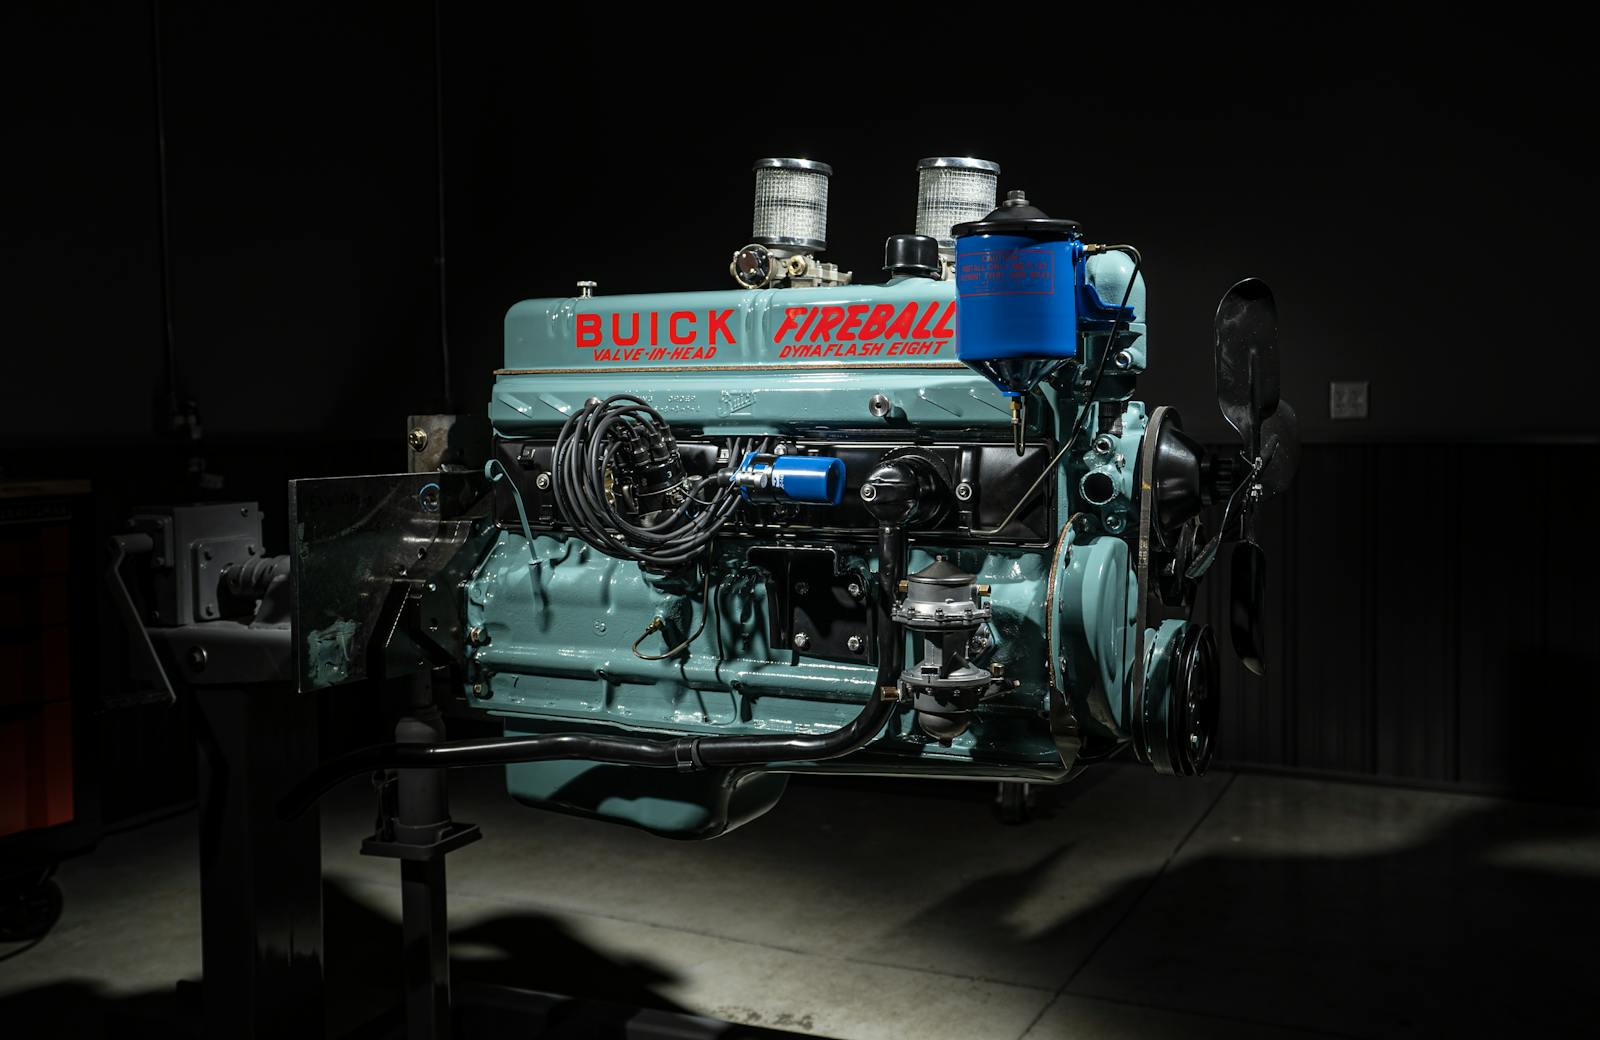
Of all the unsexy projects and tasks that comprise the step-by-step of any project or restoration, cleaning the parts and pieces while everything is apart tops the list of most un-fun. It’s a necessary evil though and a little attention to detail at this point goes a very long way in the final product. There is no sense in “saving time” by leaving everything dirty and dealing with grease and grime working its way back into places it shouldn’t be and causing you to do the task twice.
Cleaning can be simple as wiping off some schmutz and as involved as soaking a bunch of little parts in a solution overnight before a thorough scrubbing. Regardless of how deep you need to clean, here are seven tips that will make sure your final product is one to be proud of.
Start soft

Start with the easiest and safest form of cleaning first. This often means a wipe with a clean towel or rag to see just how bad the situation really is. Sometimes just a clean rag is a enough to remove everything that needs to go and leave the surface in acceptable condition. Otherwise it will tell you just how bad it is and what the right course of action might be.
Glove up
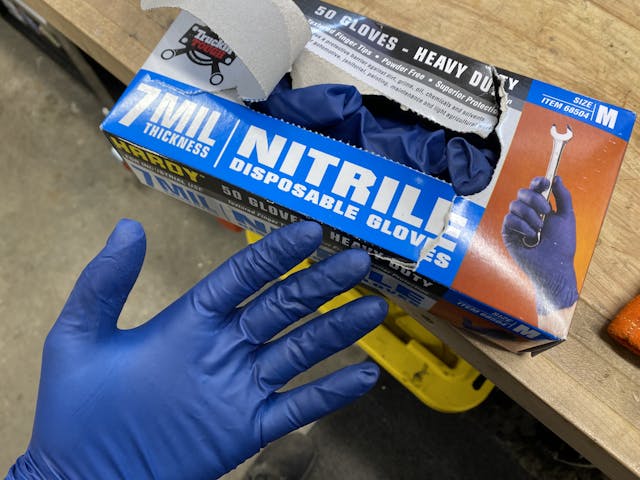
This isn’t an article about safety, but it bears a mention here. So many chemicals used in automotive processes are quite hazardous or damaging to the human body–and it might not be immediately evident. For example, brake cleaner is very common to use to remove oily residue, but it is also very rapidly absorbed by the skin and carried in the bloodstream to the liver where it sits, and sits, and sits. Our organs cannot process chemicals like carb or brake cleaner and therefore it just accumulates and can cause long-term health issues. Disposable nitrile gloves keep fluids and chemicals from being absorbed and while they can be inconvenient at times, but then again so is having to show up to dialysis on a regular basis.
Use the right stuff

There is a huge array of chemicals on the shelves of your local parts store or grocery market that claim to remove the nasty grime with a spray and rinse process. Sometimes those work easily, other times it causes chaos. One such example is a product like Simple Green, which is very useful to cut grease, but can leave residue on aluminum surfaces and cause corrosion if not rinsed thoroughly.
The same goes for rubber pieces. Warm water and a light detergent is often the best solution to prevent rubber from distorting, discoloring, or getting eaten up by aggressive solvents. On the other side oven cleaner can work miracles on cast iron pieces that have tons of baked-on grease and can only be chipped away with aggressive wire brushes before a water rinse. Match the product and process to your material for best results.
Be careful with your finish
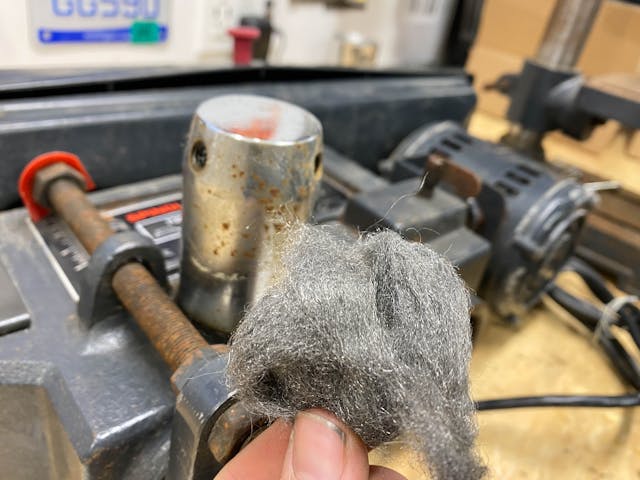
A key thing to remember when cleaning is what the final surface finish will be. If you are painting or otherwise covering the part it might not be a big deal that there are some scrub marks or a less than perfect surface finish. If you are painting or polishing the piece though, suddenly you want to exercise a lot of caution while cleaning so that any marks that happen during cleaning don’t pop through or create more work to remove later.
A steel wire brush on soft aluminum is a prime example of something that can wreak havoc quickly. Plastic or brass bristles are much softer and will prevent scoring or damaging the finish and save you work in the end despite taking a little longer to actually remove grease and grime. Even a green Scotch-Brite pad can be too much for some rubber pieces, so be sure to check in an inconspicuous area to see if your plan will leave marks of damage before going to town scrubbing.
Hide the evidence
Dry or wet blasting are easier than ever with home kits available and cheap enough that its not out of the ordinary for someone doing enough restoration work to make the investment to having a cabinet. The key to remember if you are so lucky is to make sure to blow out or rinse out all the blasting media from the nooks and crannies of whatever gets cleaned up. Having that sand, walnut shell, aluminum oxide, or glass bead pop out while painting or assembling is frustrating at best and downright damaging at worst.
Careful with the tags
It’s important to not ruin the proper bagging and tagging of all the parts and pieces you did during disassembly when you go to clean everything up. If you have tags be sure they stay legible or be sure to transfer them after the cleaning is completed doing it piece by piece. If there are adjustments that you have to remove to fully get something clean–think carburetor adjustment screws or adjustable suspension components–be sure to document the adjustment so you can use it as a ballpark during reassembly.
Under pressure leads to failure

It’s really tempting to toss that working transmission or rear axle in the truck and take it to a car wash and use the high pressure nozzle to blast away the grease and grime quarter-by-quarter. Be careful though. Many of the gaskets are not made to withstand the high pressure pinpointed in one little area and can quickly fail and allow water and soap to flood inside and cause rust, corrosion, or leaks from the damaged gasket.
If a soap-and-water wash is required often times the best course of action is to use nothing more than household hose water pressure. That pressure is low enough that it is safe for gaskets and seals while still getting things clean. It does mean you will spend more time scrubbing, but would you rather scrub or replace gaskets due to damage?
While tedious and oft annoying, cleaning your project will make for a much more satisfying assembly. Take the time to make every project something worth showing off and being proud of and it will elevate your DIY confidence far more than you might realize. Have a tip not on this list? Leave it in a comment below.
Check out the Hagerty Media homepage so you don’t miss a single story, or better yet, bookmark it.
I would advise being careful using the ‘metal steel wool’, as I have found that tiny metal filaments break off and could be lodged in a crevice. I have moved to ‘synthetic steel wool’.. like 3M red pads.
https://www.uline.com/Product/Detail/S-19266/Abrasives/3M-7447-General-Purpose-Hand-Pads?pricode=WB1233&gadtype=pla&id=S-19266
You can cut them to fit, use them with stripper and good for a varnish/sealer knock down between coats
When I had used steel pads on a wood project, say for smoothing between coats of water based poly, I found that those bits you are talking about would get lodged in the wood pores and rust with the next coat of the water based poly. First time it happened I had no idea what was going on. On wood I pretty much now just used wet/dry sand paper for next coast prep
I don’t consider parts cleaning an aweful job. I like to break down a restoration into a thousand mini restorations in order to appreciate the process. Just finished restoring a fuel pump from my ’74 TR6. I love looking at the before and after pics. I do get teased a lot for getting excited after soda blasting a nasty part or zinc coating a bolt, lol.
I have always used SOS pads on chrome. The soap not only dissolves dirt and residue but softens the tendency of the steel wool to scratch. Then a good chrome polish and even sketchy chrome can shine.
I’d love to try the dry icing method. One idea i’ve been mulling over to clean a lot of the decades of grime and gunk is to use engine degreaser/carb cleaner etc. spray the bay down really good but have a disposable tarp under the car with kitty litter – let sit overnight then carefully fold up and dispose. Not sure how effective this will be especially without following it up with a water rinse.
No one has mentioned LA’s Totally Awesome. It’s cheap and you can get it at the Dollar Store or 99 cents only. It’s not caustic so it won’t harm aluminum.
Totally Awesome worked very well removing spilt oil from the driveway. Concentrated solution left to soak for 15 minutes or so and hose the oil away. It is very drying on the skin, so wear gloves. Works well on ancient wallpaper glue as well – Lord knows what’s in it…
I too enjoy cleaning parts. Perhaps good cleaning really is the refuge of the non technical? It certainly works for me.
For years I have been using a cleaner I buy at the dollar store (now $1.25) called LA’s Totally Awesome. It requires dilution; dilution table is on the bottle. It’s a great degreaser, and cleans just about everything. I always have a couple spray bottles (10% dilution) around the house for light household cleaning and keep in the garage for use up to full strength for heavier degreasing. Also use it in the parts washer.
Cleaning tool wise, I keep a box of Q tips to get into nooks and crannies. If the tip is too big, smack it with a hammer on the vise anvil to flatten it out. I use those to clean out the grove on the paint can so it gets a good seal and is not gunked up with dried paint for the next time you open the paint. And I save everyone’s used tooth brush, nice soft bristles when you need them
Public Service Announcement: I have found some cheap “brass” brushes made in China that are actually steel wire plated with a brass color finish! Check them with a magnet before scratching your parts.
I hate the Chinese crap products that are rough approximations of real products … especially when they label something that is not what is claimed. Yes, these brushes were labeled & represented to have brass bristles.
Zepp Orange Cleaner and Zepp Purple Industrial Cleaner will remove any grease and rinse clean with water. Zepp Orange is also great for removing decal residue.
i FIND THAT THE BEST CHEMICLES FOR CLEANING TOUGH GREASE OIL AND BAKED ON HARD TO GET OFF GRIME IS EASY OFF BUT YOU CANNOT USE IT ON ALUMINUM OR POT METAL. ZEP MAKES A GOOD HEAVY DUTY DEGREASER IF YOU USE A PRESSURE WASHER AND BOTH REQUIRE GLOVES BECAUSE BOTH KINDS ARE CAUSTIC OR CAN DRY OUT YOU HANDS REAL BAD BY REMOVING ALL THE OILS FROM YOU SKIN THAT YOU NEED . I FIND TOO THAT HOT WATER DOES A BETTER JOB ,BUT DRYING THINGS OUT AFTER YOUR FINISHED ARE VERY IMPORTANT AND BEARINGS NEED TO SOAK IN A PETROLEUM BASED CLEANER LIKE GUNK OR DIESEL FUEL AND DETERGENT AND A GOOD SCRUBBING AND DRIED OFF AND RE OILED TO KEEP DOWN RUST TILL YOUR READY TO REINSTALL THE BEARINGS . SOME SEALS ARE NOT TOO COMPATIBLE WITH CERTAIN CLEANERS AND YOU SHOULD BE CAUTIOUS AND CHECK THE MANUFACTURE IF THEY ARE OK TO USE .
i FIND THAT THE BEST CHEMICALS FOR CLEANING TOUGH GREASE OIL AND BAKED ON HARD TO GET OFF GRIME IS EASY OFF BUT YOU CANNOT USE IT ON ALUMINUM OR POT METAL. ZEP MAKES A GOOD HEAVY DUTY DEGREASER IF YOU USE A PRESSURE WASHER AND BOTH REQUIRE GLOVES BECAUSE BOTH KINDS ARE CAUSTIC OR CAN DRY OUT YOU HANDS REAL BAD BY REMOVING ALL THE OILS FROM YOU SKIN THAT YOU NEED . I FIND TOO THAT HOT WATER DOES A BETTER JOB ,BUT DRYING THINGS OUT AFTER YOUR FINISHED ARE VERY IMPORTANT AND BEARINGS NEED TO SOAK IN A PETROLEUM BASED CLEANER LIKE GUNK OR DIESEL FUEL AND DETERGENT AND A GOOD SCRUBBING AND DRIED OFF AND RE OILED TO KEEP DOWN RUST TILL YOUR READY TO REINSTALL THE BEARINGS . SOME SEALS ARE NOT TOO COMPATIBLE WITH CERTAIN CLEANERS AND YOU SHOULD BE CAUTIOUS AND CHECK THE MANUFACTURE IF THEY ARE OK TO USE . ALUMINUM SHOULD BE CLEANED WITH A PETROLEUM DEGREASER, IT’S NOT HARD TO DAMAGE THE SURFACE IF IT GETS TO MUCH HARSH CLEANSERS AND SOAKING THE ALUMINUM OVERNIGHT HELPS A LOT TO LOOSEN STUBBORN GRIME. MOST ON THE SHELF CLEANERS EVEN THE NON FLAMMABLE ONES ARE TOO CAUSTIC FOR ALUMINUM SO A LITTLE STEEL WOOL MIGHT HELP IF YOU DON’T GET CRAZY WITH IT.
I use an electric turkey roasting pan for a hot degrease parts bath when I’m going to be in the shop for several hours working on other tasks. I will make up a rich mixture of Dawn to water in the roasting pan turn it up to around 220F and “cook up” a batch of small to medium size clean parts. I have a clean water bucket for rinse and then I spray Boeshield T-9 on them to prevent rust. These roasting pans are usually on sale after Thanksgiving and Christmas and it’s a “shop” pan. It is NEVER used for food. I try to pre-degrease by wiping parts on old newspaper or something before soaking in the hot bath “degrease” turkey roaster.
For safety, I won’t leave it plugged in if I’m not in the shop, so it’s something to do when you have other tasks in the shop that day.
A set of bronze gun barrel brushes and cleaning rod are good for threaded bores. They clean grit but won’t destroy the threads. Many of the gun brushes are in gauges close to our nominal thread sizes.
I’m always looking for an easier way to accomplish cleaning things, I’m a guy, not a cleaning lady. The new Dawn Powerwash, spray applicator is on the bottle. I used it on my special vehicle engine compartment, a lot of touchy feely things & hard to reach items to clean in there, I don’t need to spell that out. It is a foam, not a spray, sprayed it on everything. Let it set for a minute, sprayed it off with water, then blew off the water with air. No spots on the chrome, no residue. Hey, if they clean oiled up ducks, what’s to lose.
After cleaning rubber parts I like to apply a bit if silicone. Indeed, silicone spray can be used as a detergent of sorts.