Wrenchin’ Wednesday: Make your own flush cutters at home—for free

We’re a slightly more addicted to zip ties than we’re comfortable admitting. These handy strips of plastic are invaluable for organizing and fixing just about anything on a car. While a litany of impromptu fixes spring to mind, it’s their use in a more premeditated job—organizing things under the hood—that we’ll talk about today.
When people go to clean-up their installs by clipping the unused tails of the zip tie, they often commit a mistake. You may have done it yourself—snipping off the tail of a zip tie tidies up your engine bay and is likely a no-brainer action you do with whatever clipping tool is lying around. Usually, wire cutters are a handy choice, but their beveled cutting edges leaves a sneaky surprise for the next person who reaches into Medusa’s engine bay and painfully discovers a razor-sharp edge.
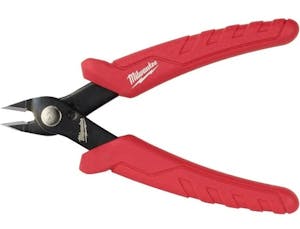
Flush cutters solve this problem with cutting edges that meet to form a flat surface. This leaves behind a blunt end on the zip tie rather than the roof-peak shape left by the beveled edges of your typical wire cutters. Flush cutters are primarily used in electronics to clip components flush with the surface of a circuit board, but they have a home in your toolbox, too.


What if you’re in lockdown, though, and it doesn’t behoove you to head into the store to grab some of these nifty cutters? Global pandemics aside, sometimes your local hardware store doesn’t carry these specialty pliers. Well, here’s where today’s Wrenchin’ Wednesday steps in.
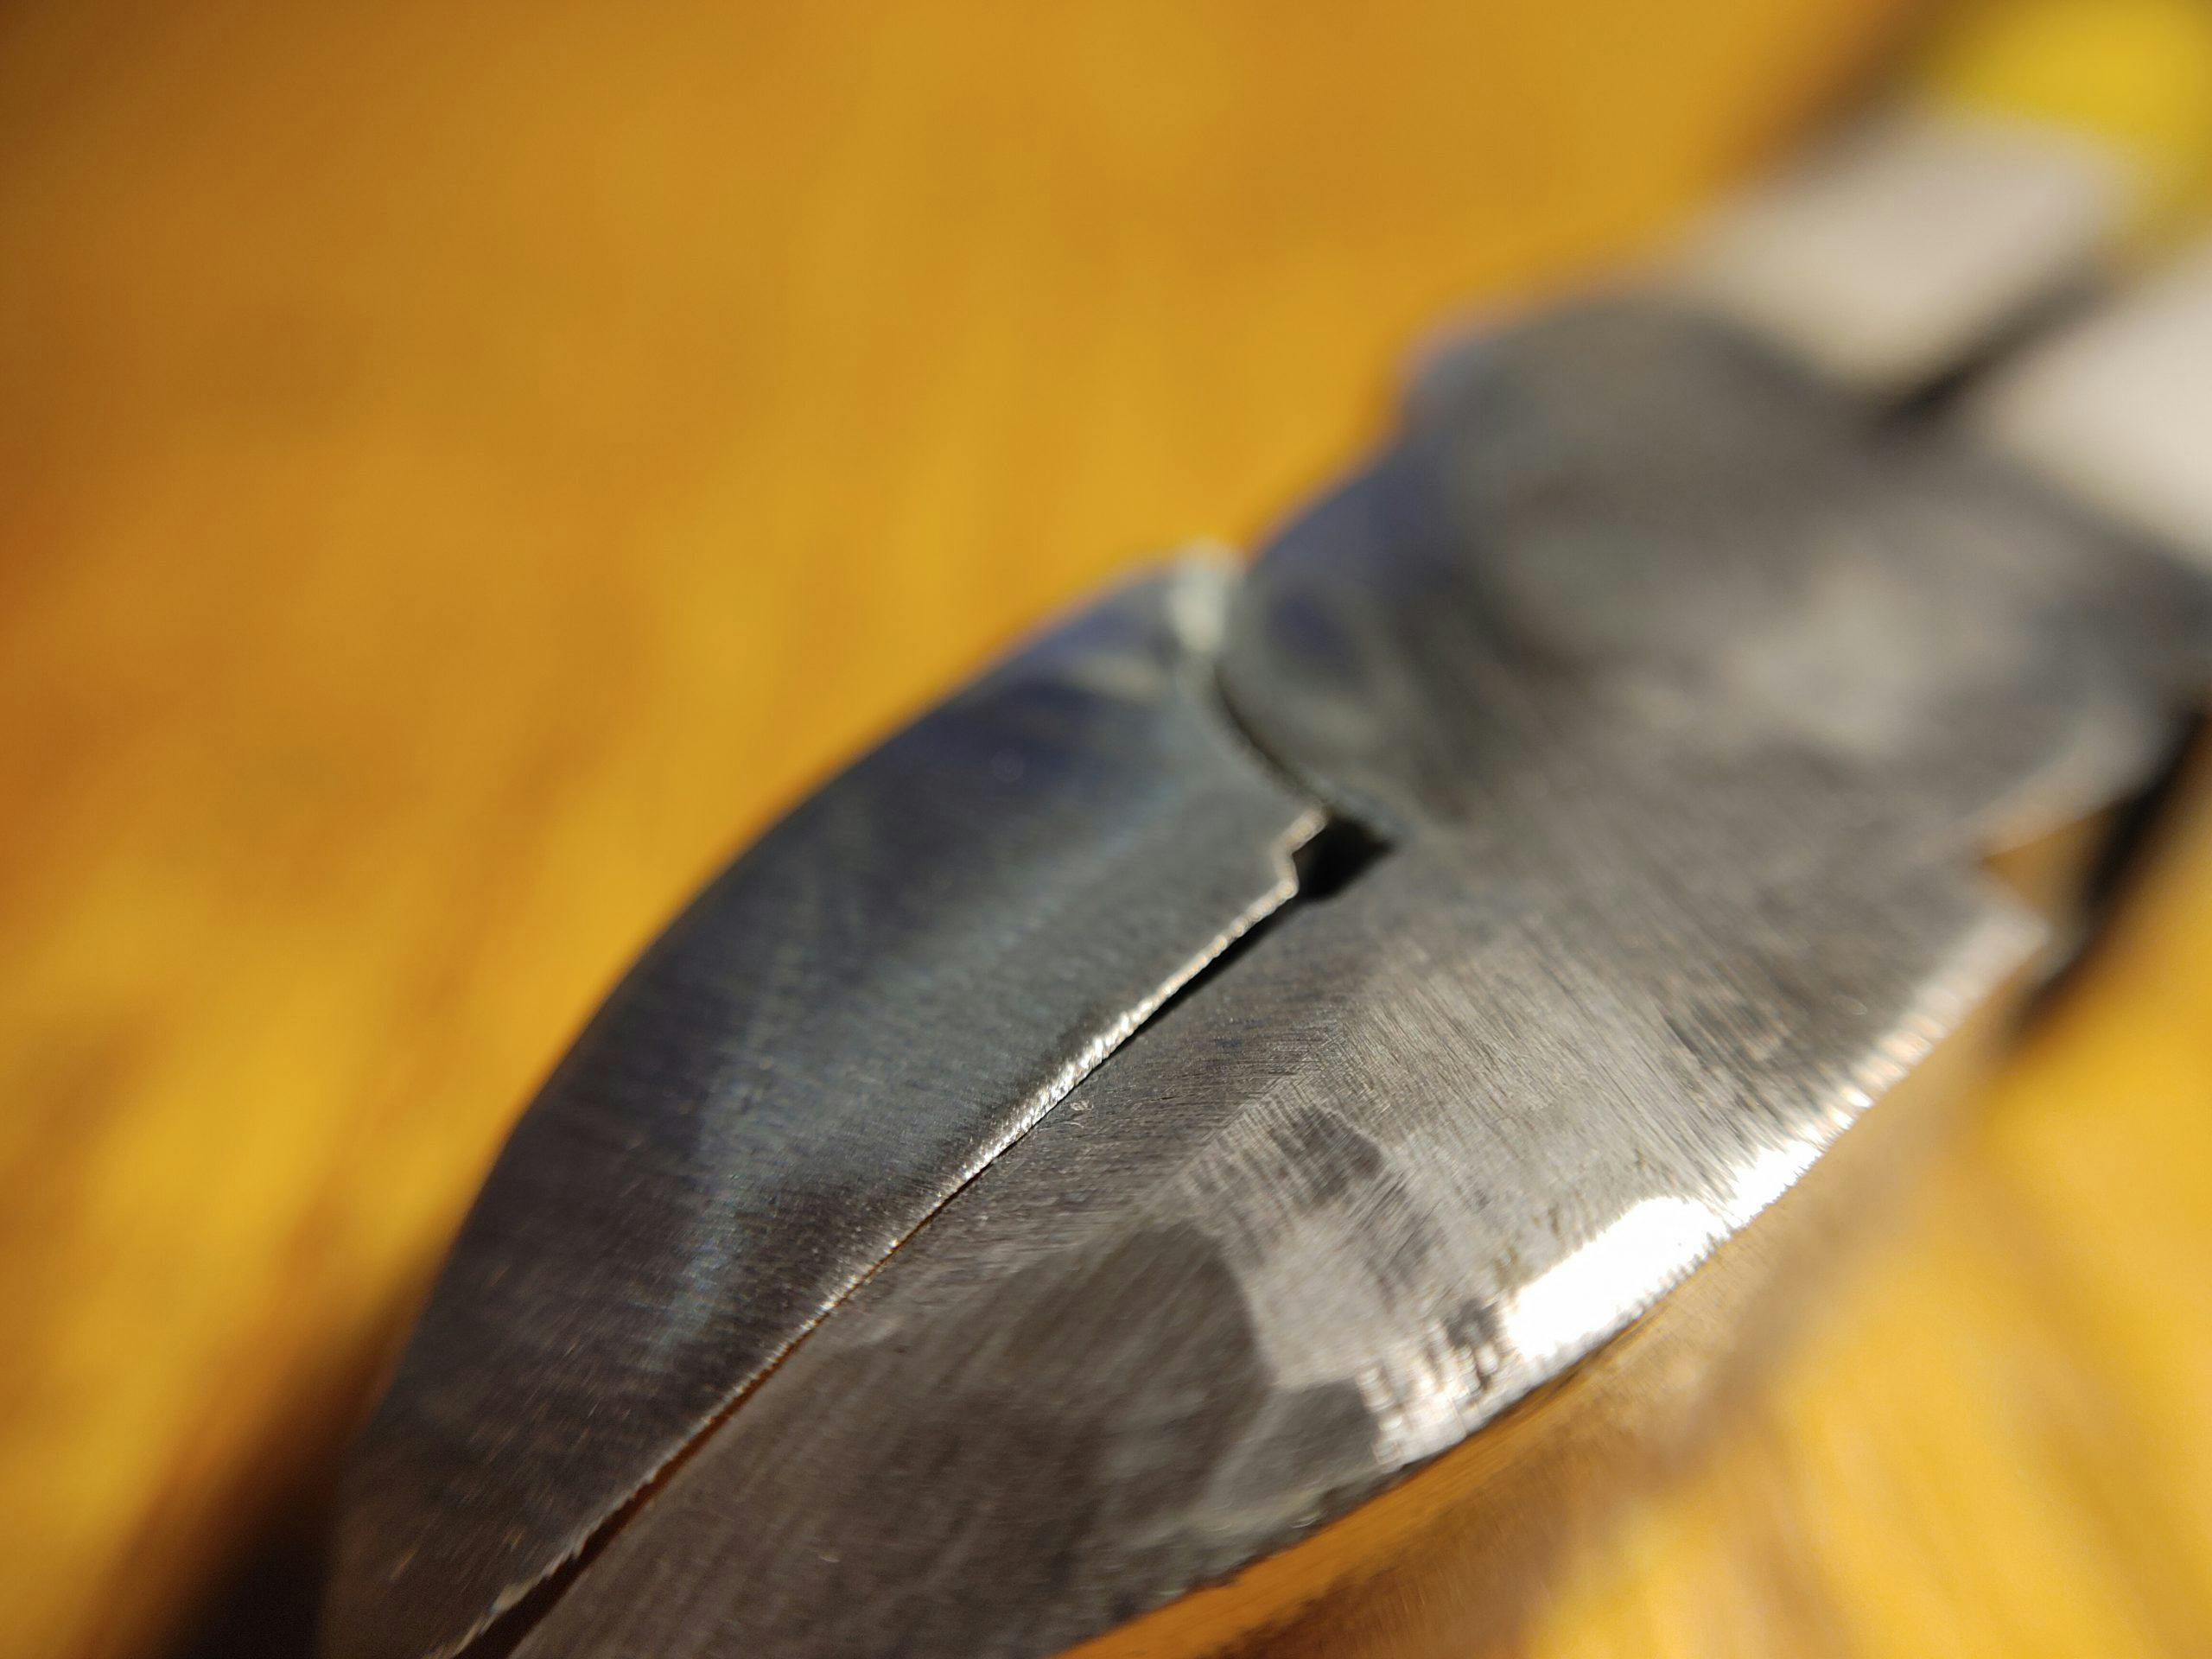
Before

What we’re going to do is grind off half of each beveled edge so that one side of our wire cutters is totally level. It’s the V-shaped tips of the teeth on wire cutters that creates the razor edge on a hastily snipped zip tie.
There’s a bevy of grinding tools that you can use for this project (including the humble hand file), but we chose to use a flap-wheel on an angle grinder; they’re excellent at removing a lot of material over a wide contact patch. Clamp down the treacherous wire cutters and brush the blunt side of the cutting edge with the grinder until you eliminate the valley where the teeth meet. Take your time here by making a few passes and checking your work. You can always take more material off—it’s really, really hard to put metal back on after you grind it into oblivion.

After
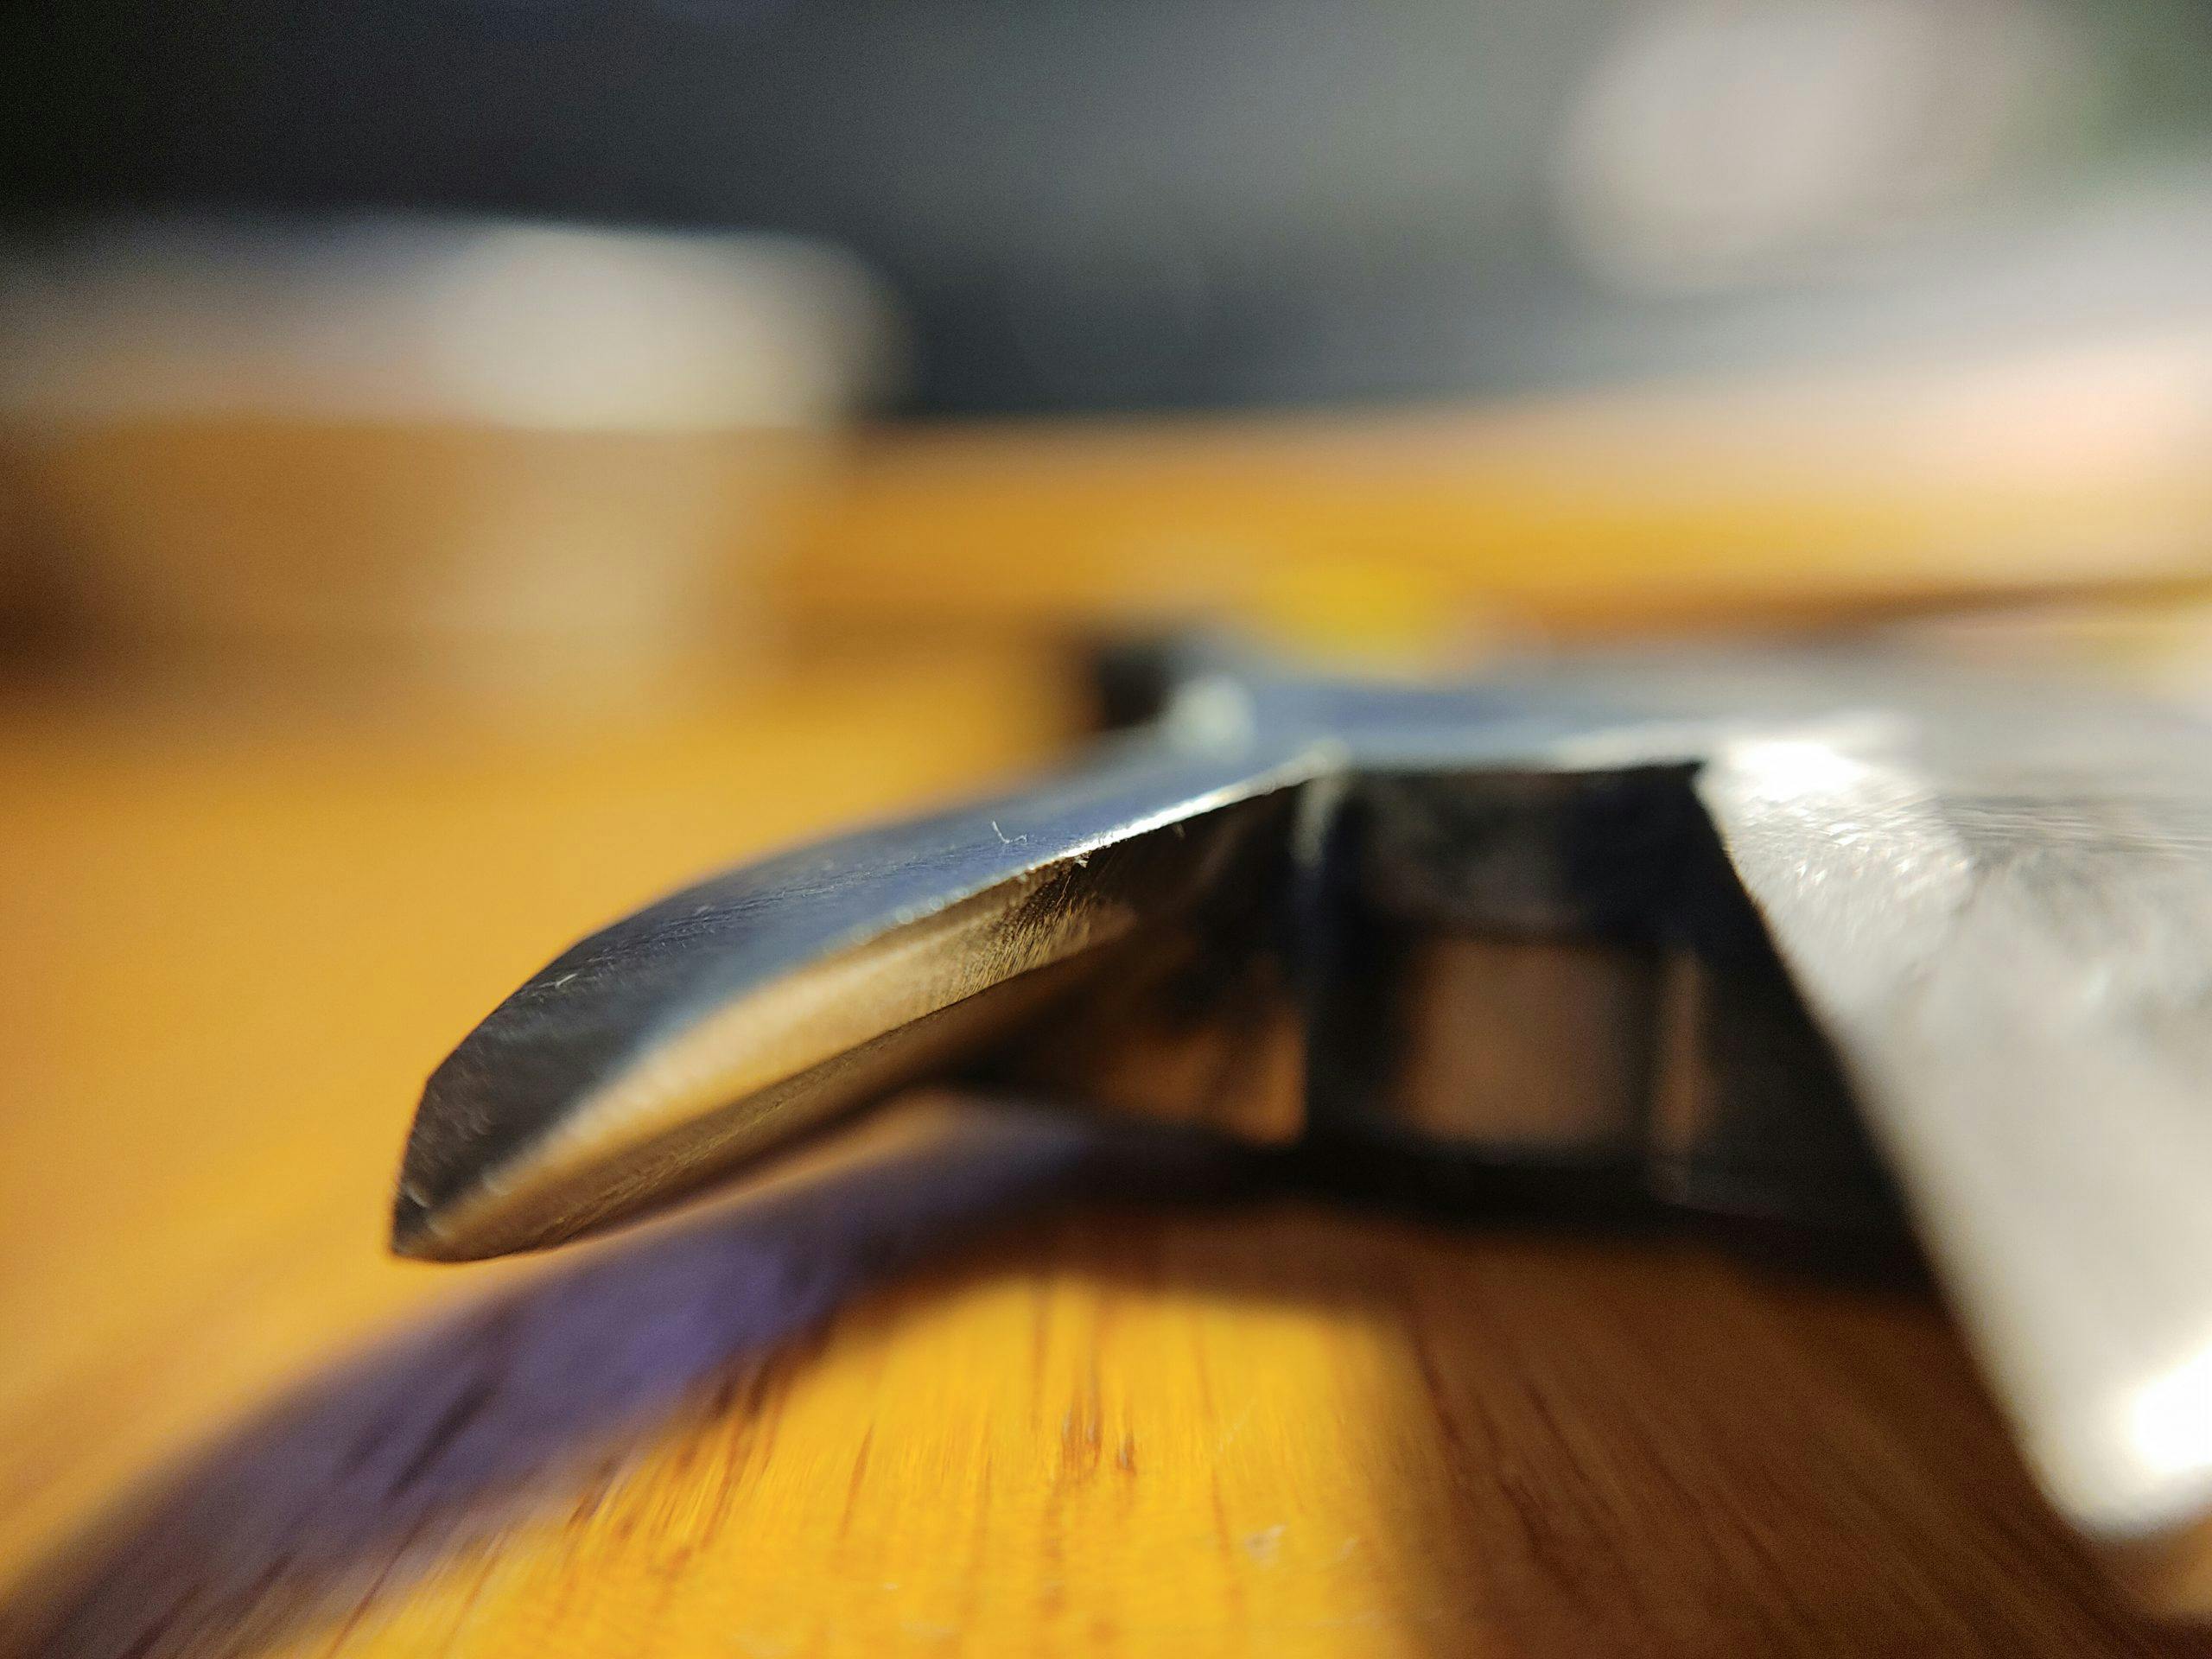
As you can see, our cutters are now flat on the top side and angled on the bottom side. What’s trick about this tip is that you haven’t junked a set of wire cutters to make a set of flush-cutters; they’ll still munch through whatever you feed them. The cutting edges are flush with the face of the pliers, and your homemade flush cutters will do just as good of a job as a store-bought pair will.


