How to fix a CV joint boot in 5 steps
The constant velocity, or CV, joint lives only as long as its grease. A blown rubber boot combined with velocity can spin grease out and let in road crud. A telltale clik-clik-clik means it’s already too late, but catch a cracked boot early, and the axle can be saved. Here’s how you can do it yourself in five steps.
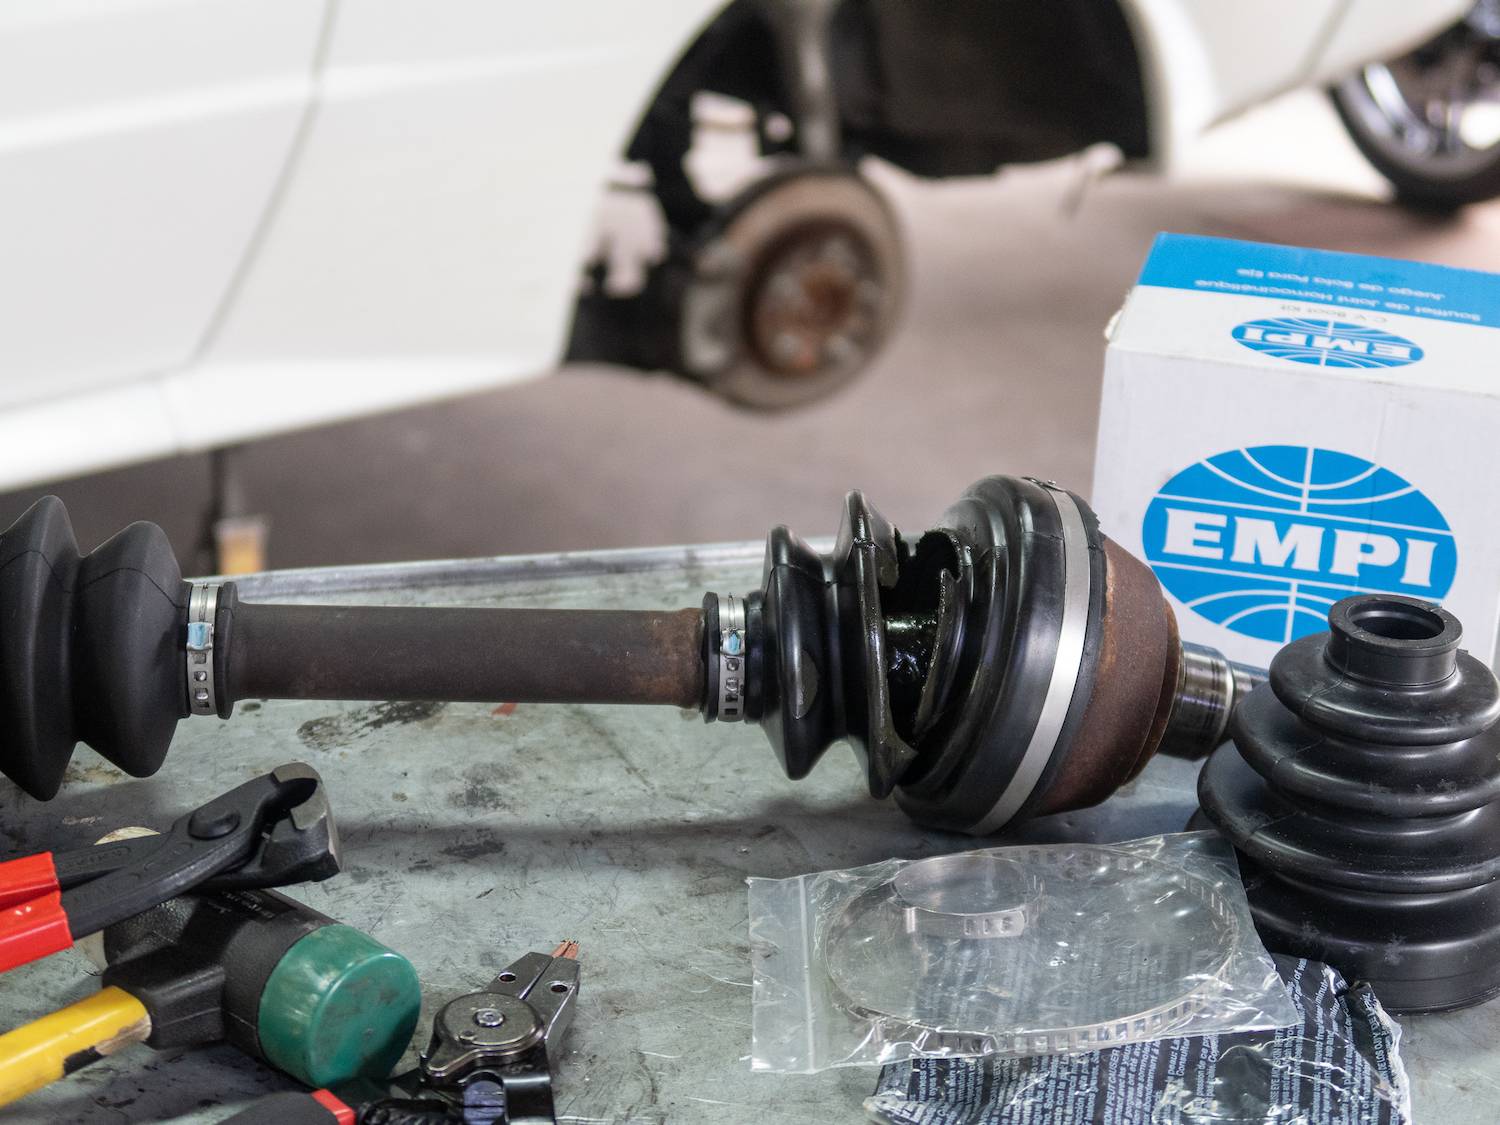
First, some things to keep in mind. An extra greasy area above the CV joint is a sure sign the boot is toast, even if it looks OK. This spent inboard boot only revealed itself with a turn of the axle. Split boot kits are a quick fix, but new boots go the distance. New or remanufactured replacement CV axle half shafts are the most efficient repair, but aren’t readily available for 30-year-old low-production turbo specialty sports cars like the 1987 Mitsubishi Starion.
Before you do anything, get the axle out. Four bolts and a few strongarm pulls freed this one, but it’s not always so easy. Factor in difficulty and the fact that specialized tools are required. After removal, clean up the outside to keep any more crud from getting inside then inspect the exposed joint. You may find Rzeppa joints like these, Tripod joints, or similar. This axle witnessed more time than hard miles and fortunately still had a lot of its grease in the joint. Order up some CV joint boot kits that include clamps, rings, clips, and a bag of grease. The inboard birfield joint (BJ) on this axle is not serviceable, so the outer double offset joint (DOJ) needed to come apart to replace the busted boot.
Here’s how to get moving on that new boot and grease:

1) Cut and remove the old clamps and uncover the joint.

A series of circular or snap rings keep the DOJ on the axle, so break out the snap ring pliers. Remove the circlip and DOJ outer race, then tie a rag around the inner cage and ball bearings. Remove the snap ring that keeps the inner race, cage, and ball bearings on the axle. Keep the rings in order and watch for bevels. These dual-purpose internal-external snap ring pliers are genius, and are shown here holding proof that the entire world is held together by string, a piece of chewing gum, or a snap ring.
2) Slide the inner race off the axle splines.

With any luck, they’ll come off with the cage and bearings as an assembly. If it puts up a fight, light tapping on the inner race with a plastic-faced hammer and/or piece of wood can help. If the cage and bearings have to come apart, then keep the ball bearings in order, so they go back in the same place. Egg crates are about perfect for this task. Remove as much grease as possible by hand with a rag. Don’t use solvents. Inspect the DOJ and BJ bearings and races for excessive wear or scoring.
3) Remove the old boots.


Tape up the axle splines with electrical tape to protect the new boots from cuts. Apply a thin coat of grease on the axle and slide on the boots. Throw the clamps onto the shaft either before or after each boot. Install the circlip, DOJ assembly, and c-clips in reverse order. A short piece of PVC pipe on the inner race and a hammer can help seat the assembly into the groove. Keep the pipe around along with a few more as you go for a versatile and inexpensive seal driver assortment!
4) Grab the kit grease.

Push about half the grease into the joints and the other half into the boots. It’s an ugly mess, so remove excess grease from the axle before positioning the boots in their respective grooves. Adjust the DOJ and axle at about half travel and put a tiny screwdriver or similar blunt tool under the boot. Move the joints around and let air in or out to balance the pressure until the bellows don’t deform or pinch.
5) Clampdown time.

The big players in CV joint boot clamps are band and ear. Either type can theoretically be installed without dedicated pliers, but chances are better than good the clamp will get bodged up in the process. Both types of clamping pliers are inexpensive, and the ear clamp pliers are also excellent for plumbing with PEX tubing. Position the new clamps on the boots and cinch them up with the respective pliers. The clamps should be tight enough to hold the boot but not deform or cut into the rubber. Install the axle and enjoy constant velocity.

