Help your car’s current affairs by building a nice set of battery cables
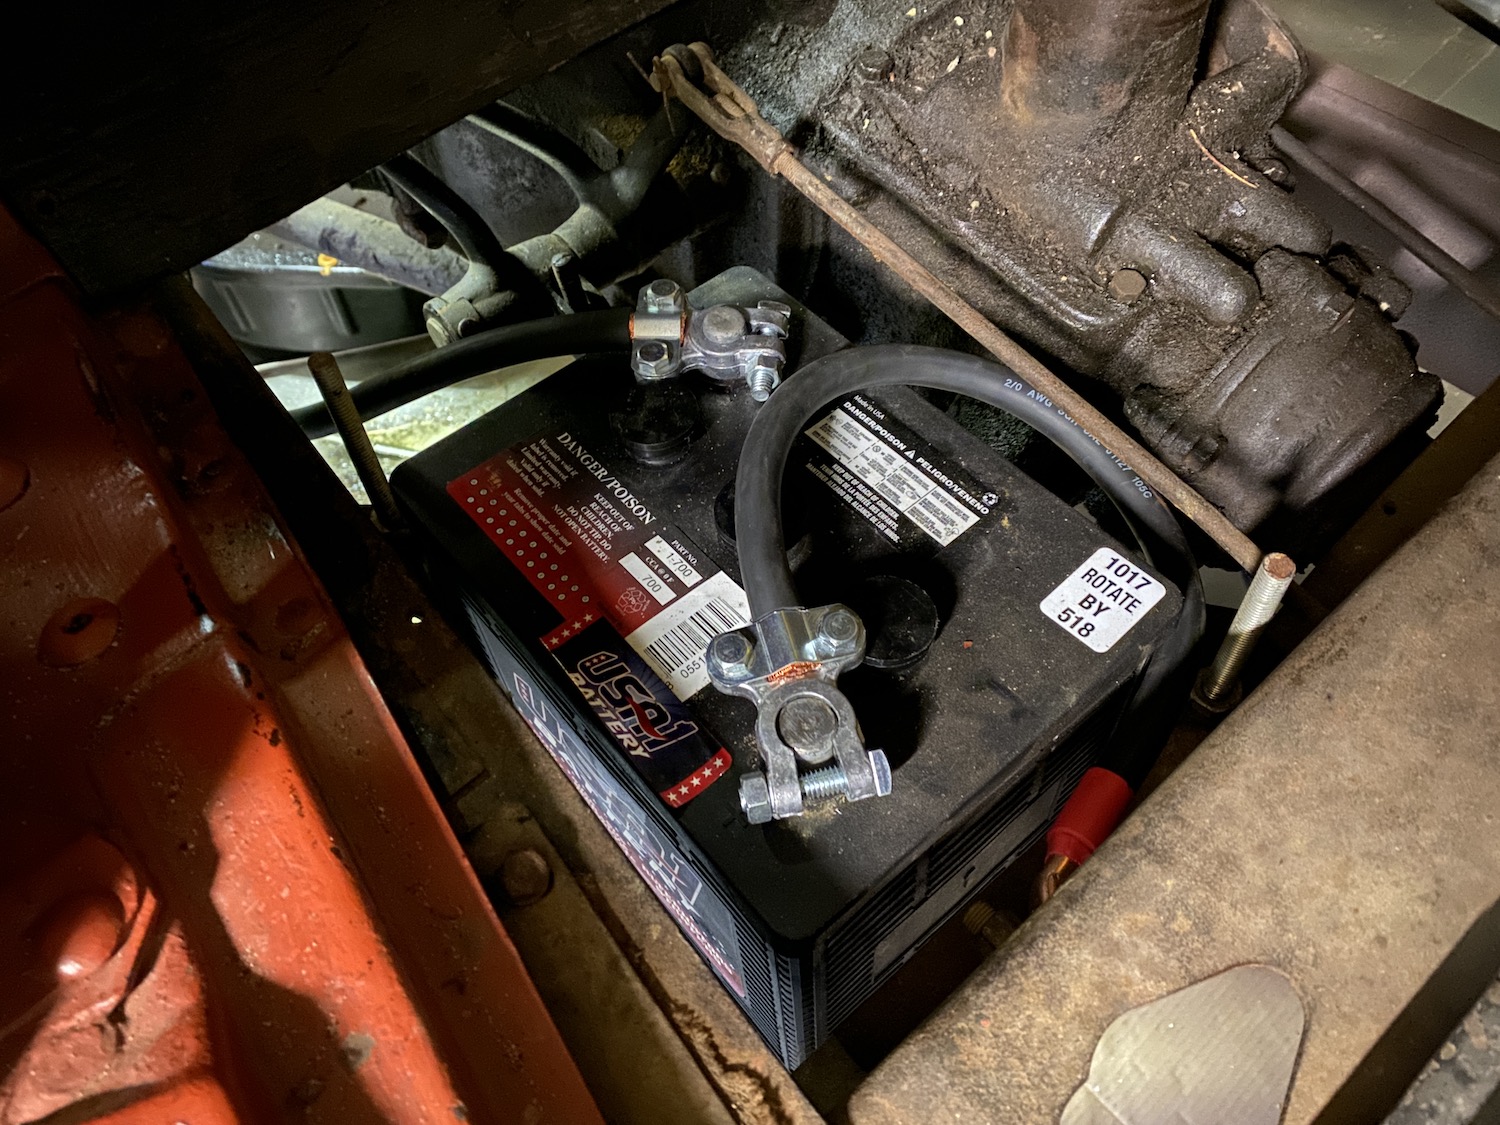
The electrical system of many classic cars is simple, but most enthusiasts seem to be scared to change much—even if it has been documented to help an issue they’re having. Upgrading the battery cables is a nice start and the results are significant. In an effort to help my Ford Model A start a bit easier, I set about upgrading from the 4-gauge battery cable to 2/0-gauge. Here is how it is done.
Let’s make one thing clear first, the 4-gauge negative cable and braided positive cable (remember, the Model A is a six-volt positive-ground system) worked. The engine started and ran just dandy, but if in the process of starting I had to hold the starter for more than a second, the starter began to audibly strain. With no intention of changing the factory six-volt system for 12-volt, the hot ticket to help the system was a bigger battery cable.

There is science behind this, and the simple thought is that a larger cable equals easier current flow. Six-volt systems have half the electrical potential (think of this as the “push”) of 12-volt systems, so the easier you can make the journey from one connector to another, the better the system will function. The material of the conductor also matters. Copper is the most popular, but aluminum is gaining ground. When using aluminum cable, it is best to use an even larger gauge than an upsized copper cable, since aluminum is a slightly less efficient conductor.
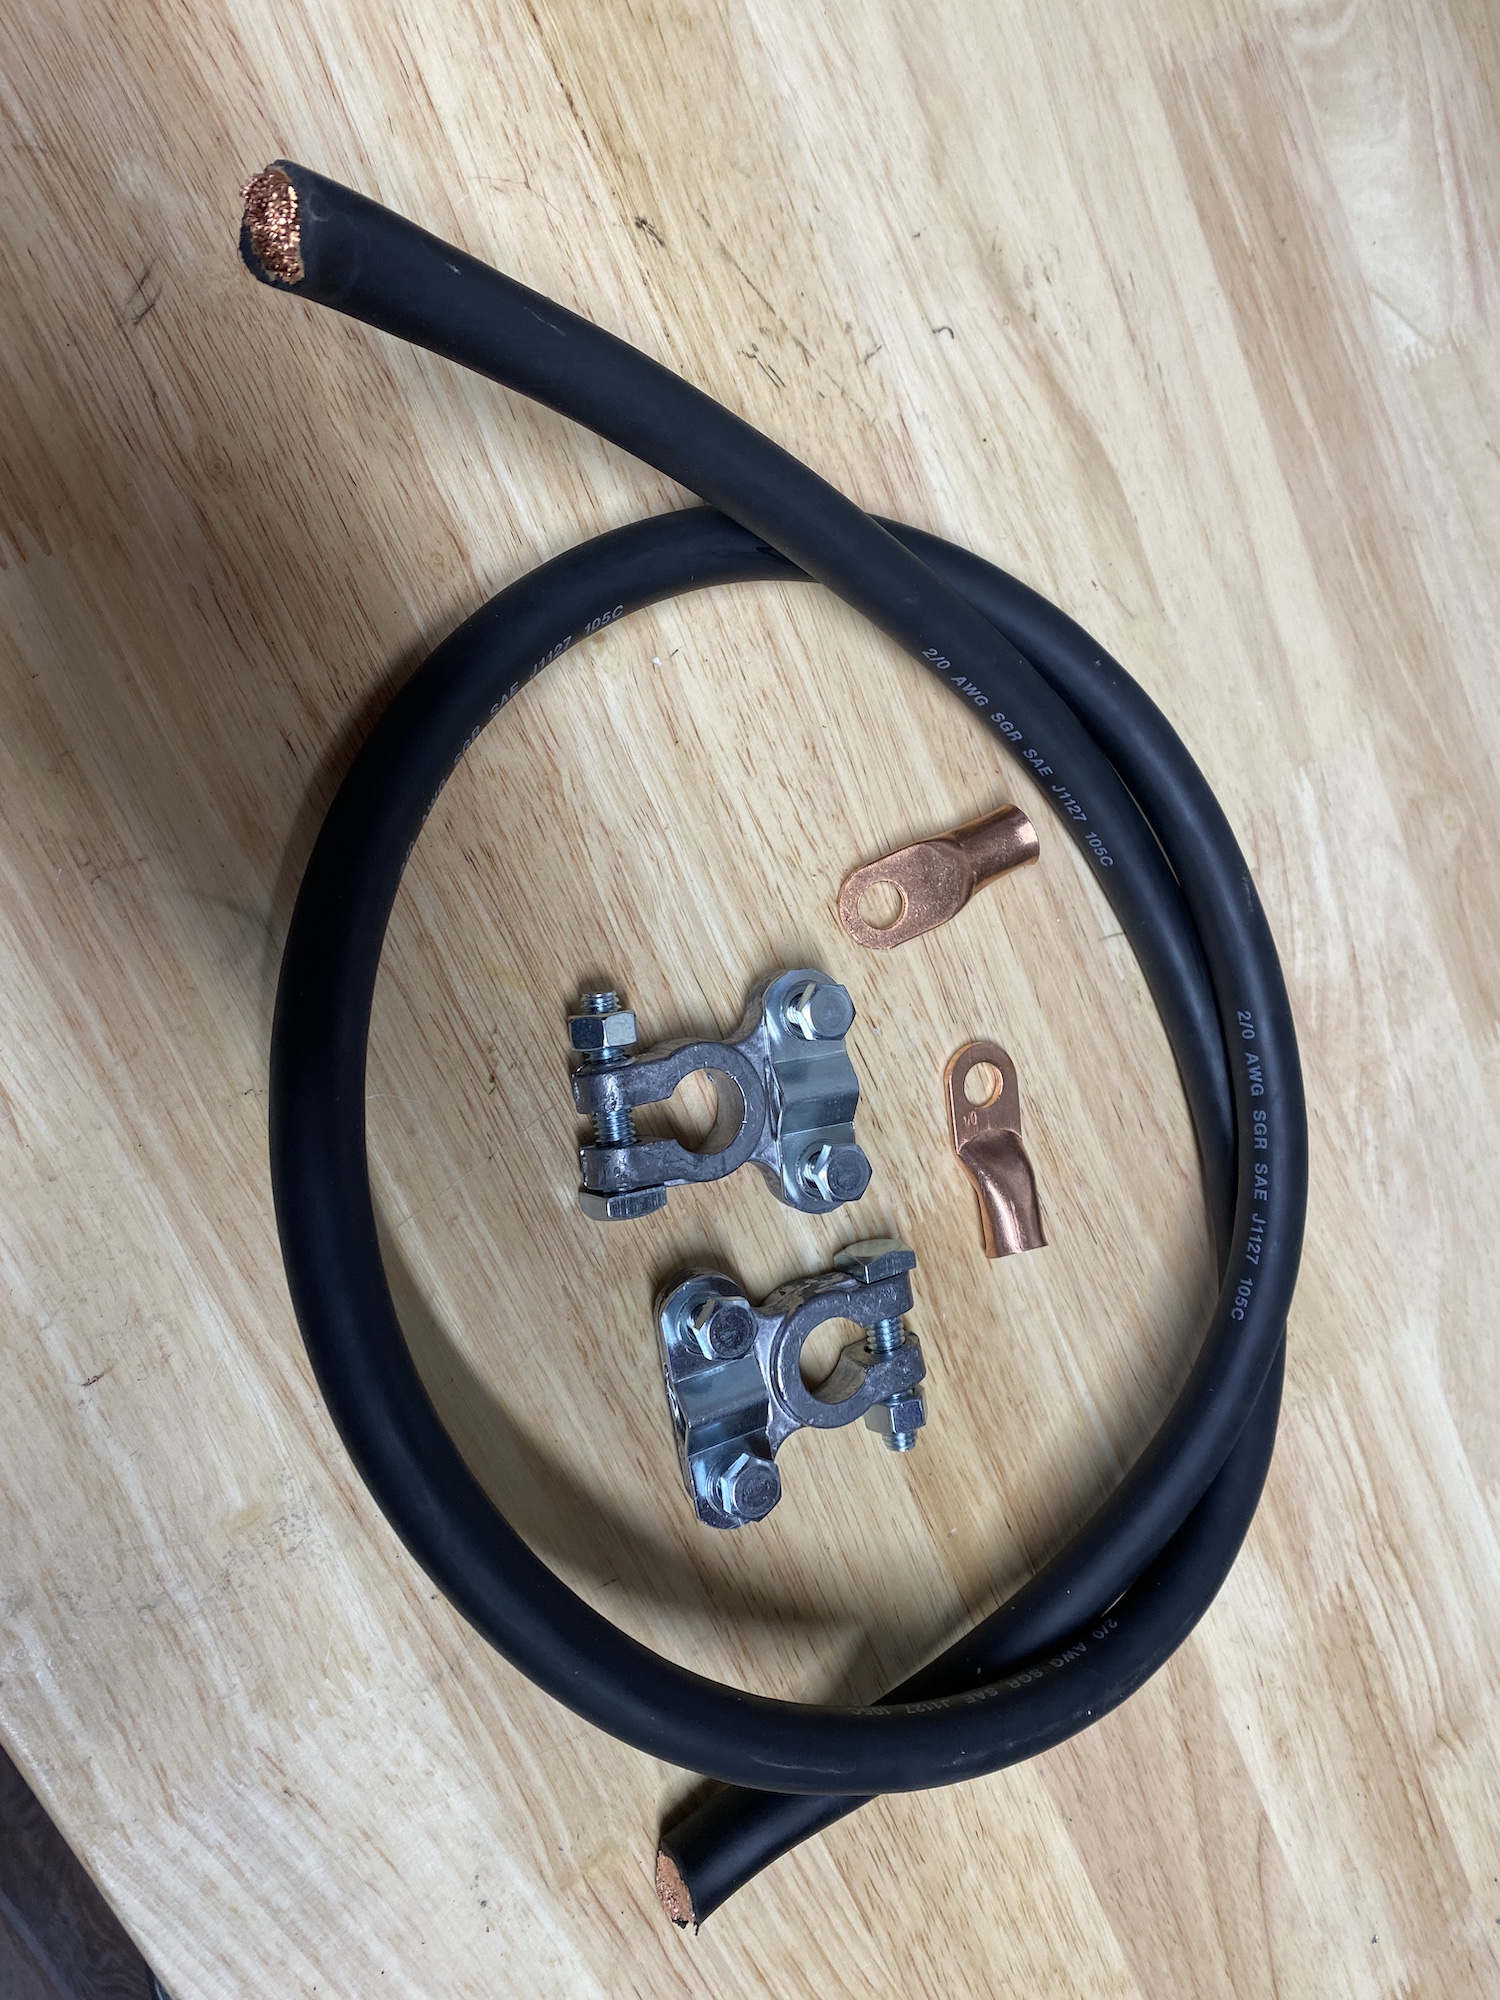
The process is pretty darn easy compared to many automotive projects. Drop into your friendly local auto parts store and ask for 2/0 (commonly referred to as two-ought) battery cable and purchase the length you need—use your stock cables as reference. Be sure to give yourself some extra room on the length when you purchase the stock, as the larger cable will not turn corners as efficiently as a small gauge. You will also need to grab properly sized cable ends, terminal clamps, and a couple of pieces of heat shrink.
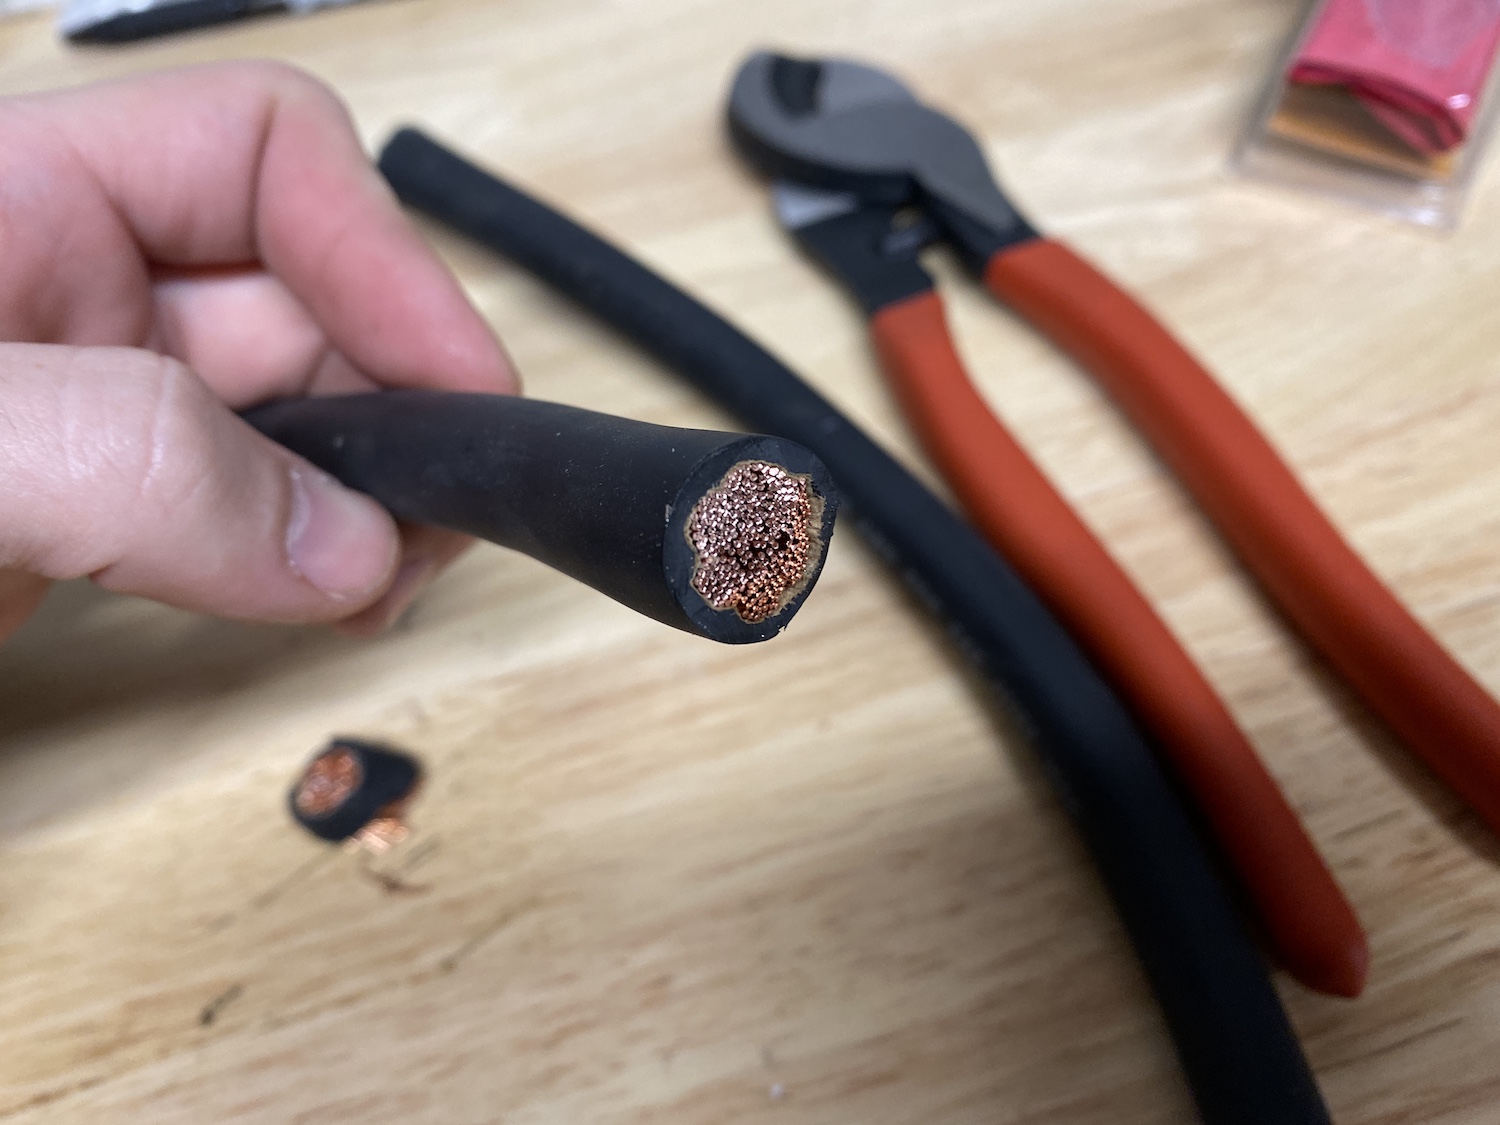
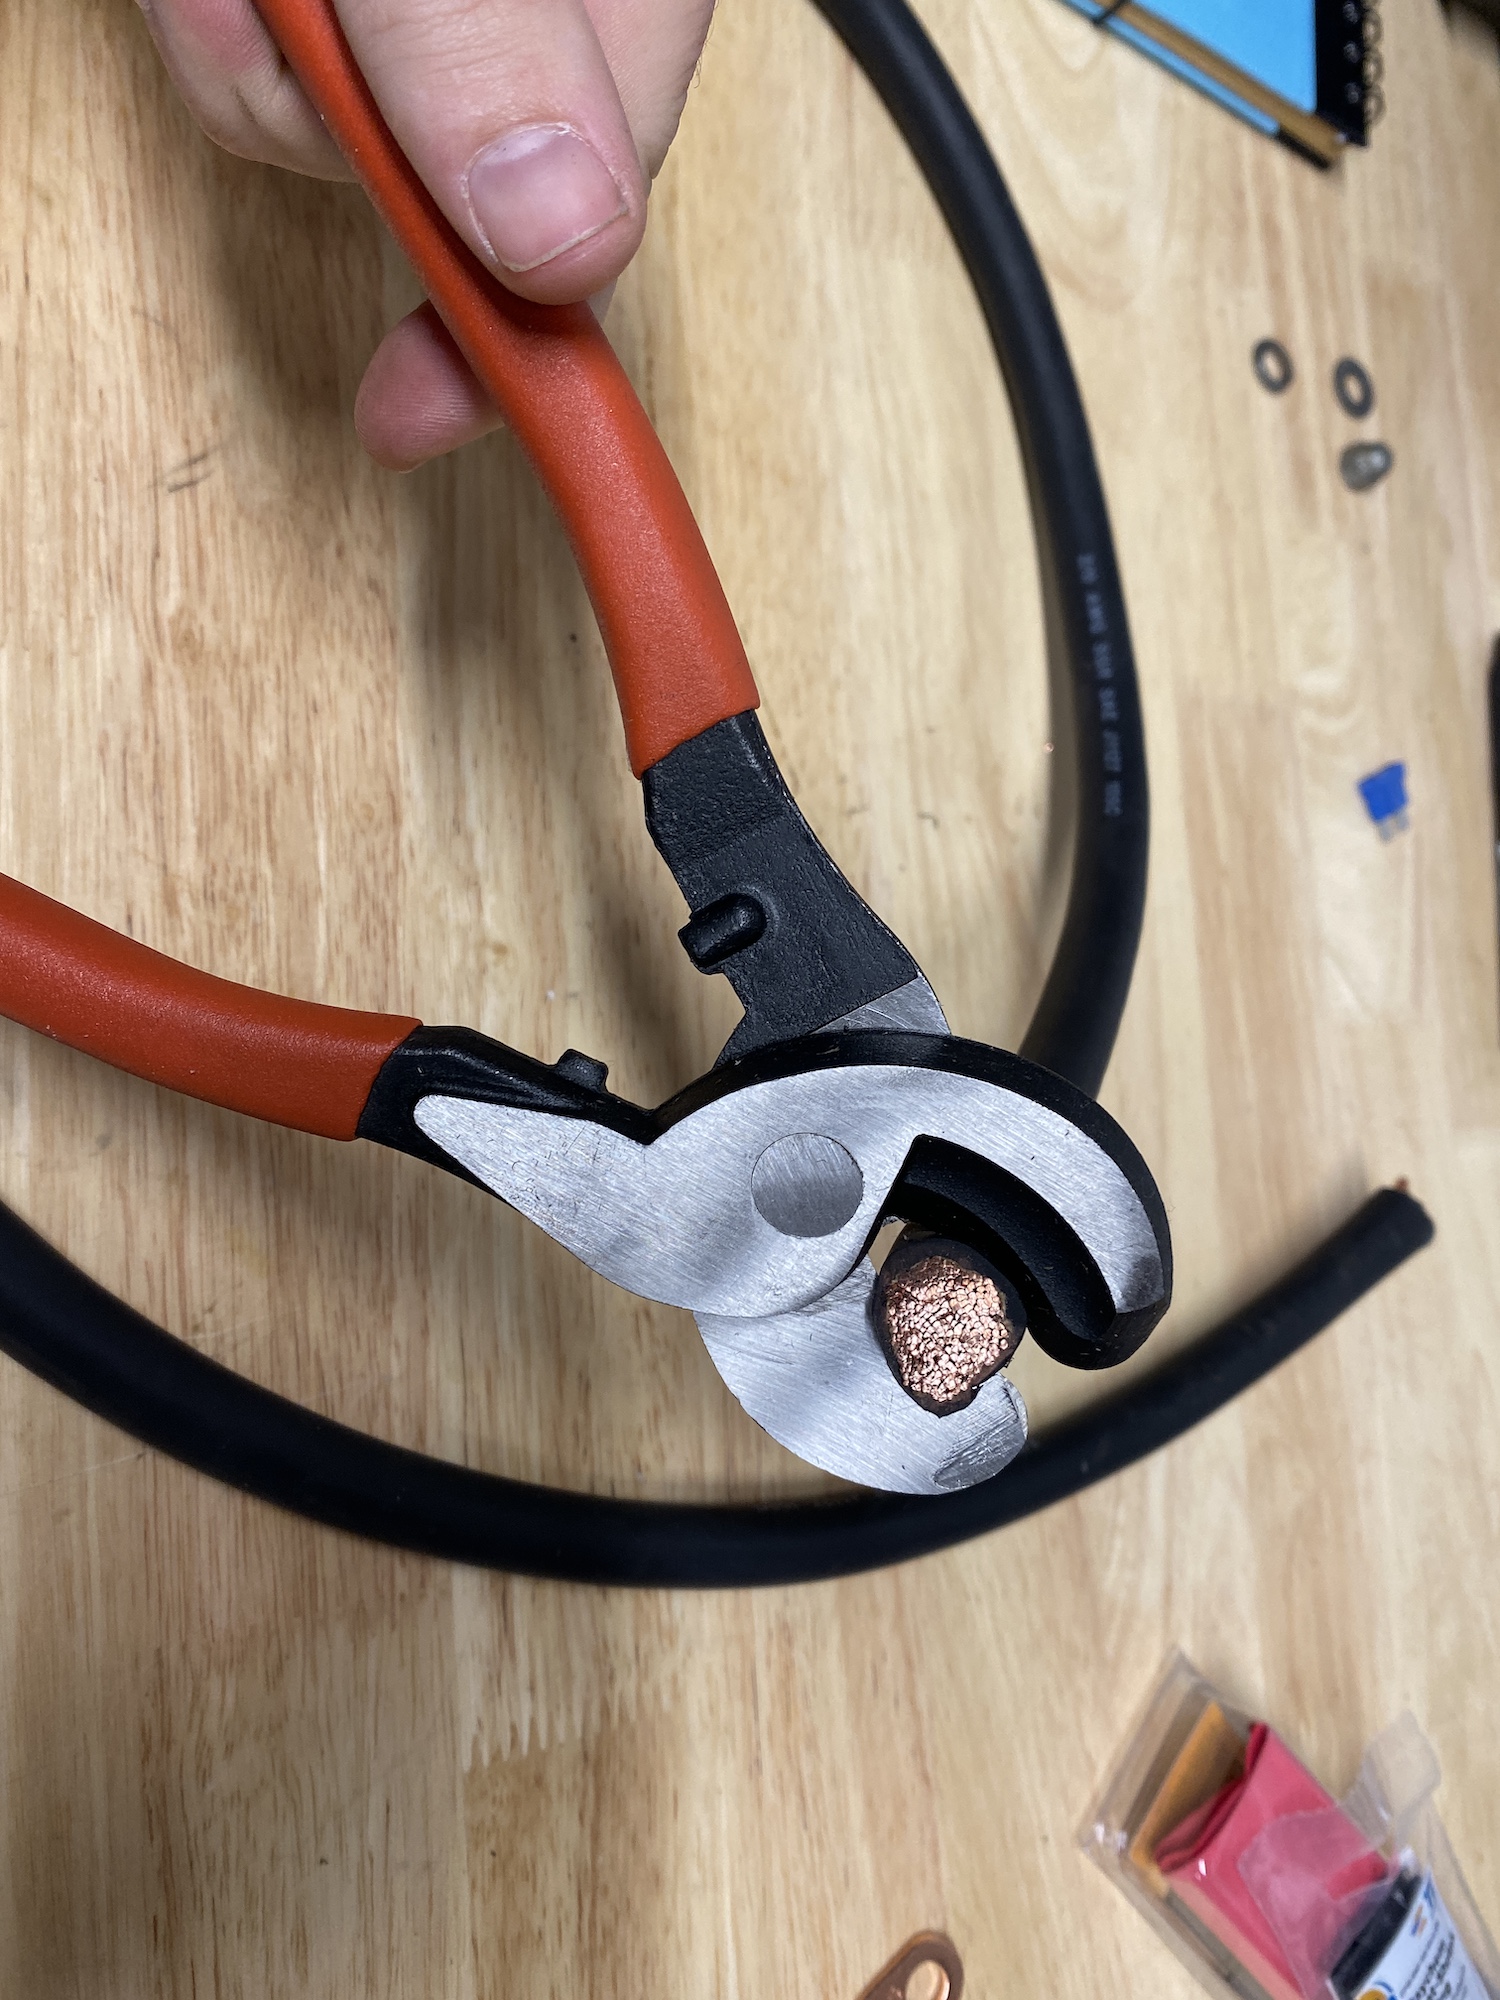
Start by figuring out the length and routing of the new cable on the car before making any cuts. Once you have the proper length, grab a good set of cable cutters and snip the end off square. I recommend investing in a good set of bypass cutters, as big cable is a bear to get through. Many of my mechanic friends make this step even easier by using a cutoff wheel in an angle grinder, but I prefer the cleanliness of the cutter’s quick snip.
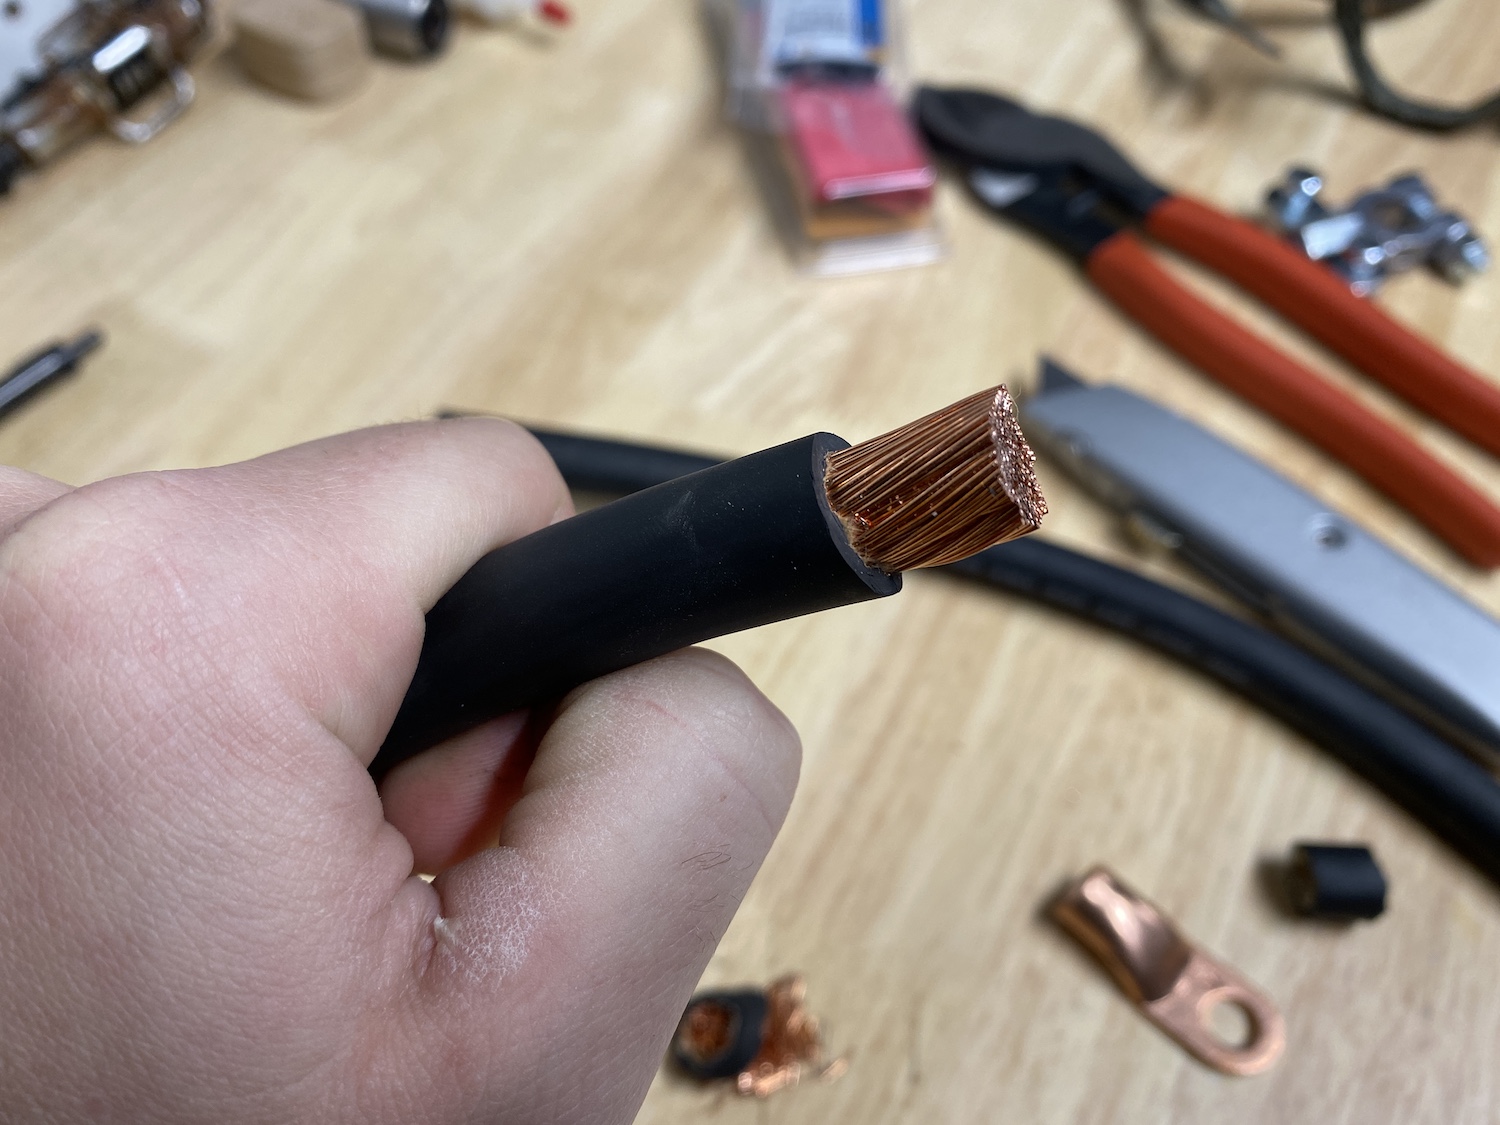
Then, carefully strip back the cable’s sheathing using a box-knife or razor blade. Use the cable end you will be attaching to determine the proper amount of insulation to strip off. Exposed copper only creates an opportunity for corrosion or arcing, so keep the insulation tight to your connector. Be careful to not cut any of the copper strands that compose the cable.
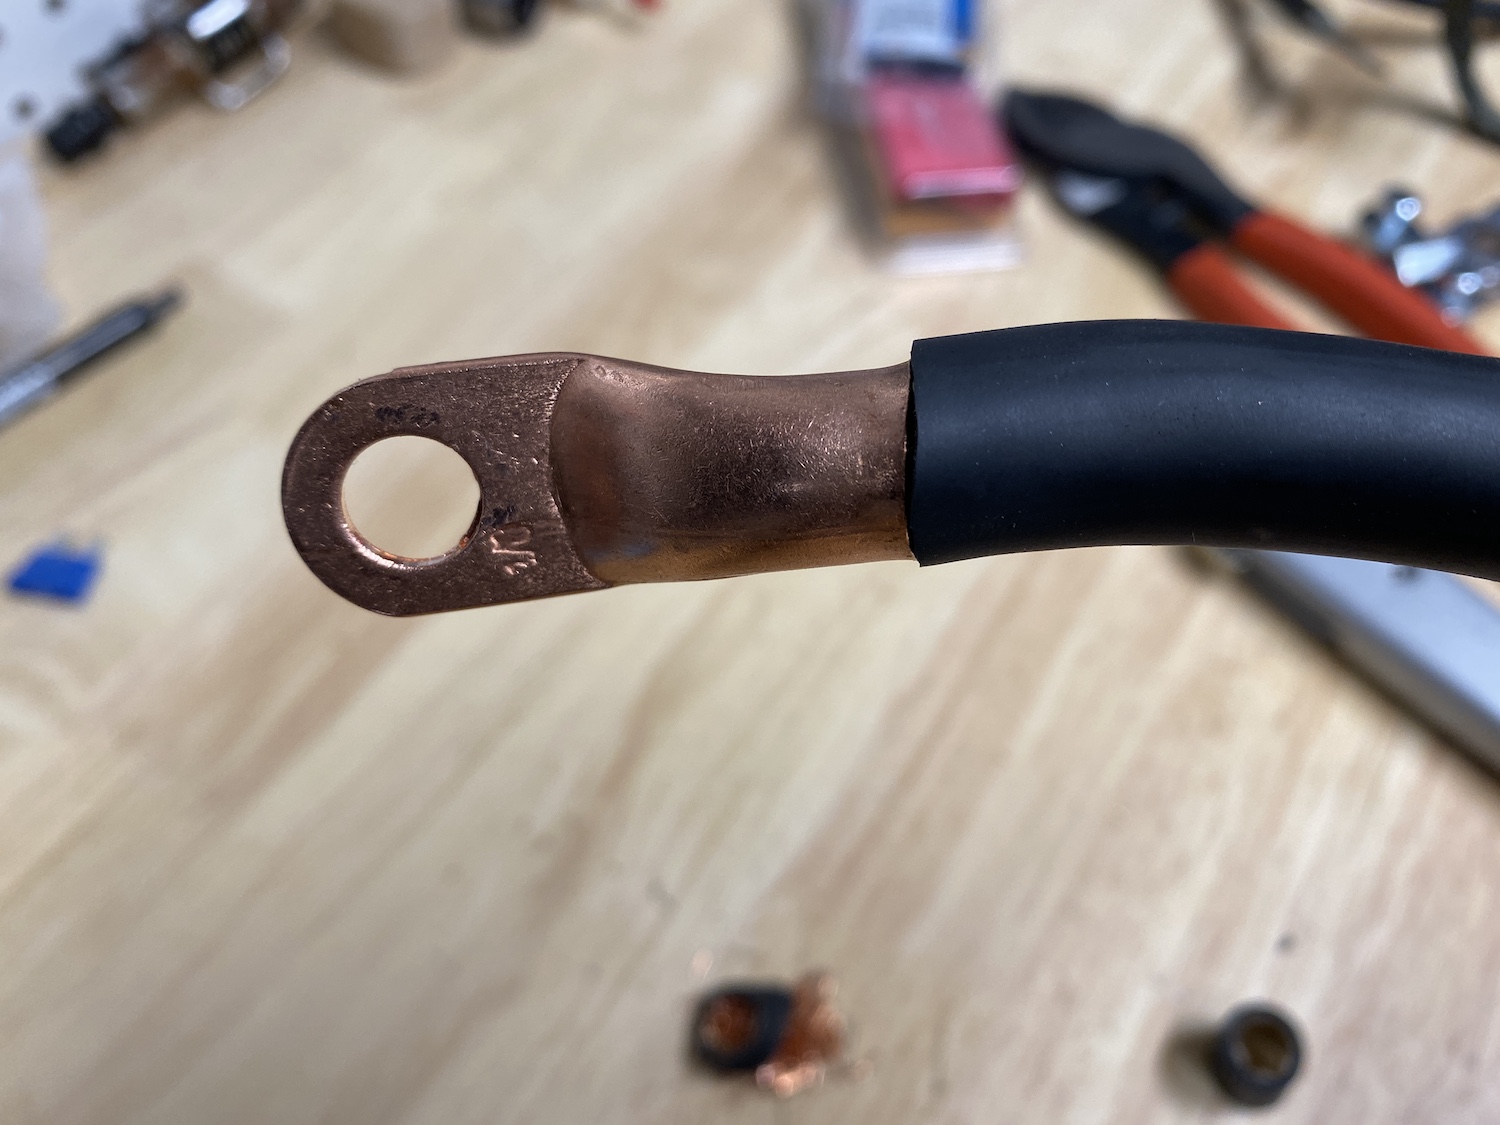
Next, attach the end of your cable. I chose to use a hammer crimp, which uses a v-shaped anvil and a punch to deform the cable end in a way which keeps it attached and creates a solid electrical connection. There are also options to solder the end in place, or use ends which use bolts to clamp the end of the cable, such as the battery terminals I used. Those terminals are something I might change to something lower profile and cleaner looking in the future.

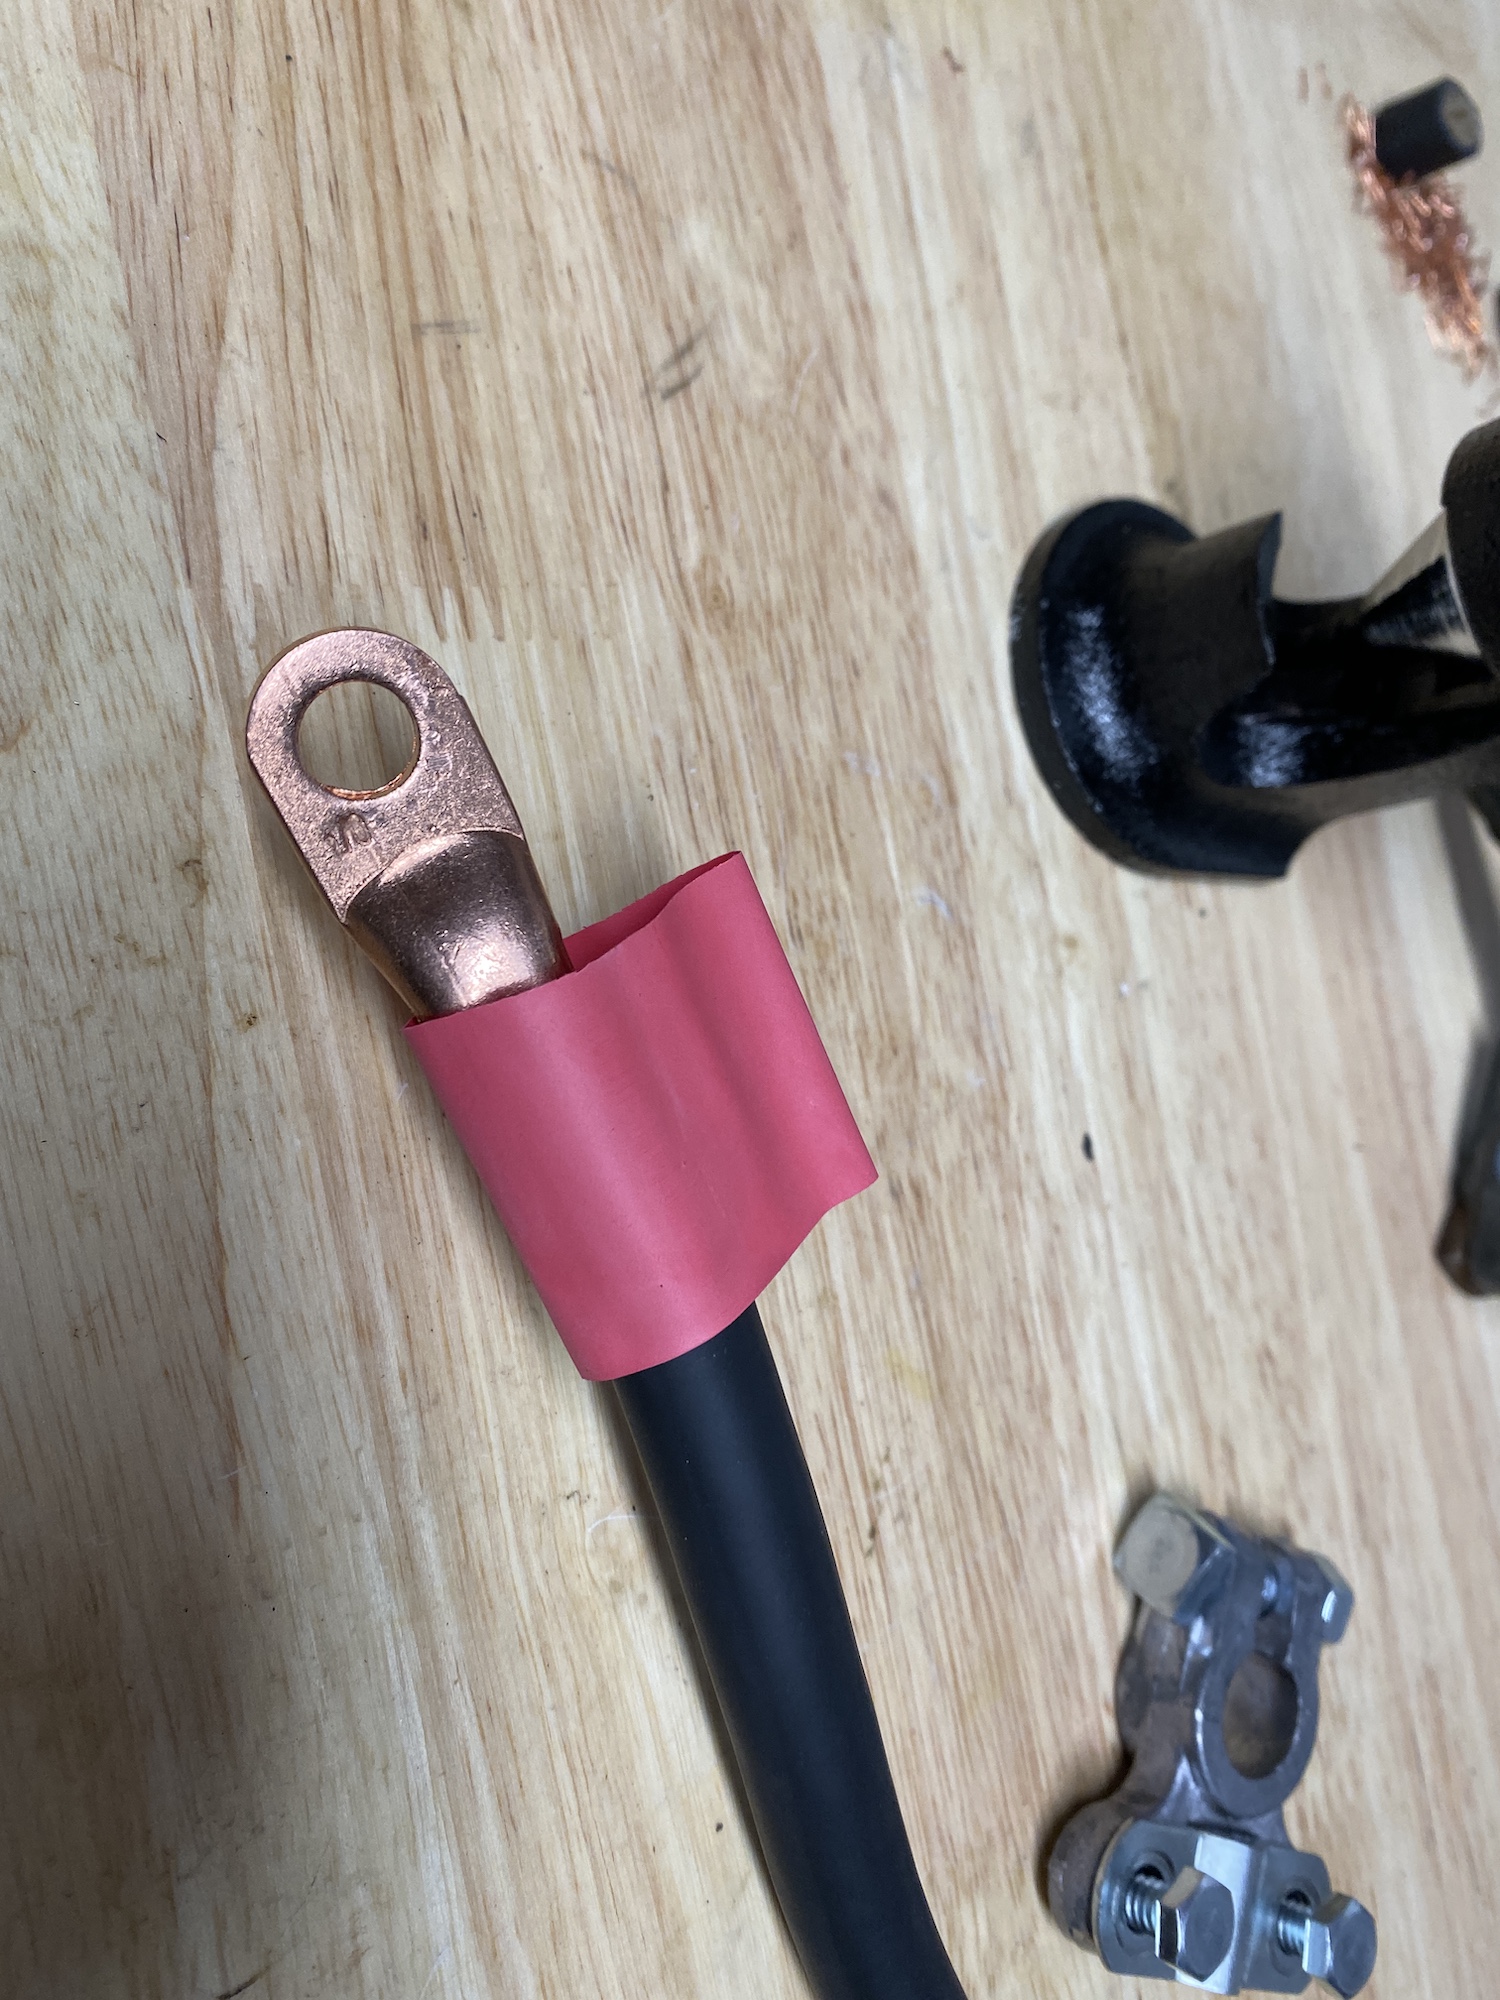
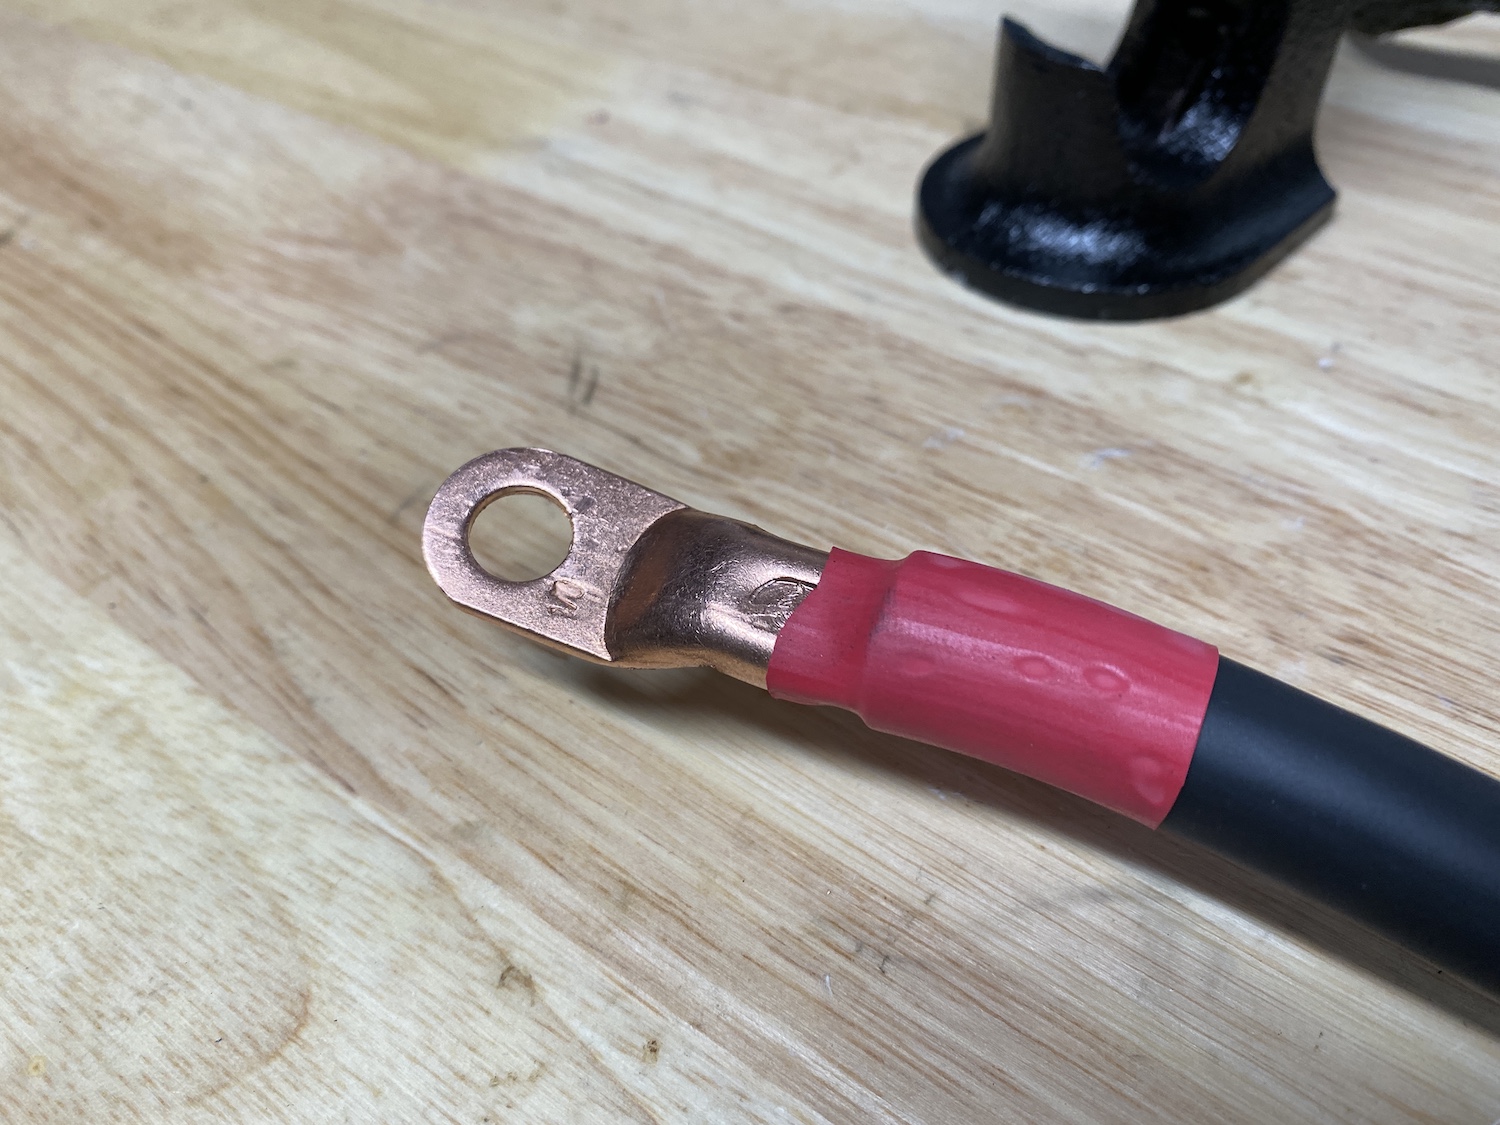
Add a small section of heat shrink to seal the union of cable and cable end, then install your new cables on the car. For bonus points, color code the heat shrink to the polarity of the cable, red for positive and black for negative.

My Model A now cranks faster and more consistently than the small cables. All told, this upgrade cost me just under $50 which included the hammer crimping tool which I can use on future projects and loan out to friends. The conversion to 12-volt would have been at a significantly greater cost to achieve basically the same thing (I’m going to ignore the brighter headlights advantage at this time.) The perfect result of a nice little afternoon project.
