6 Toolbox Tune-up Tips
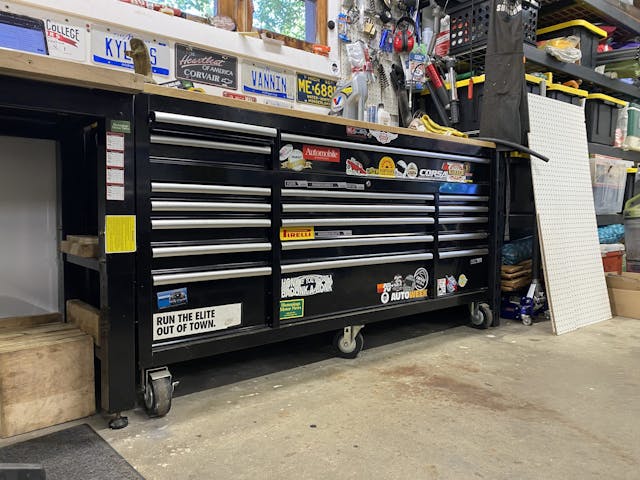
A great number of words have been spilt over the years regarding tools and their use. The utility of objects can be amazing at times. Yet even the greatest tool known to man is borderline useless if you can’t find it, it’s broken, or you have to spend more time digging it out from under other things than actually using it. Enter the toolbox. It’s a humble box of drawers and slides that keeps our beloved tools safe from harm or kidnapping.
It’s also typically the last thing any of us think about. The tools inside are critically important but the thing holding them is merely a cabinet to most casual viewers. It is more than that though, and out of respect for one of the hardest-working non-tool objects in the garage here are some toolbox tune-up tips.
Toolbox Tip #1: Empty out and clean every few years
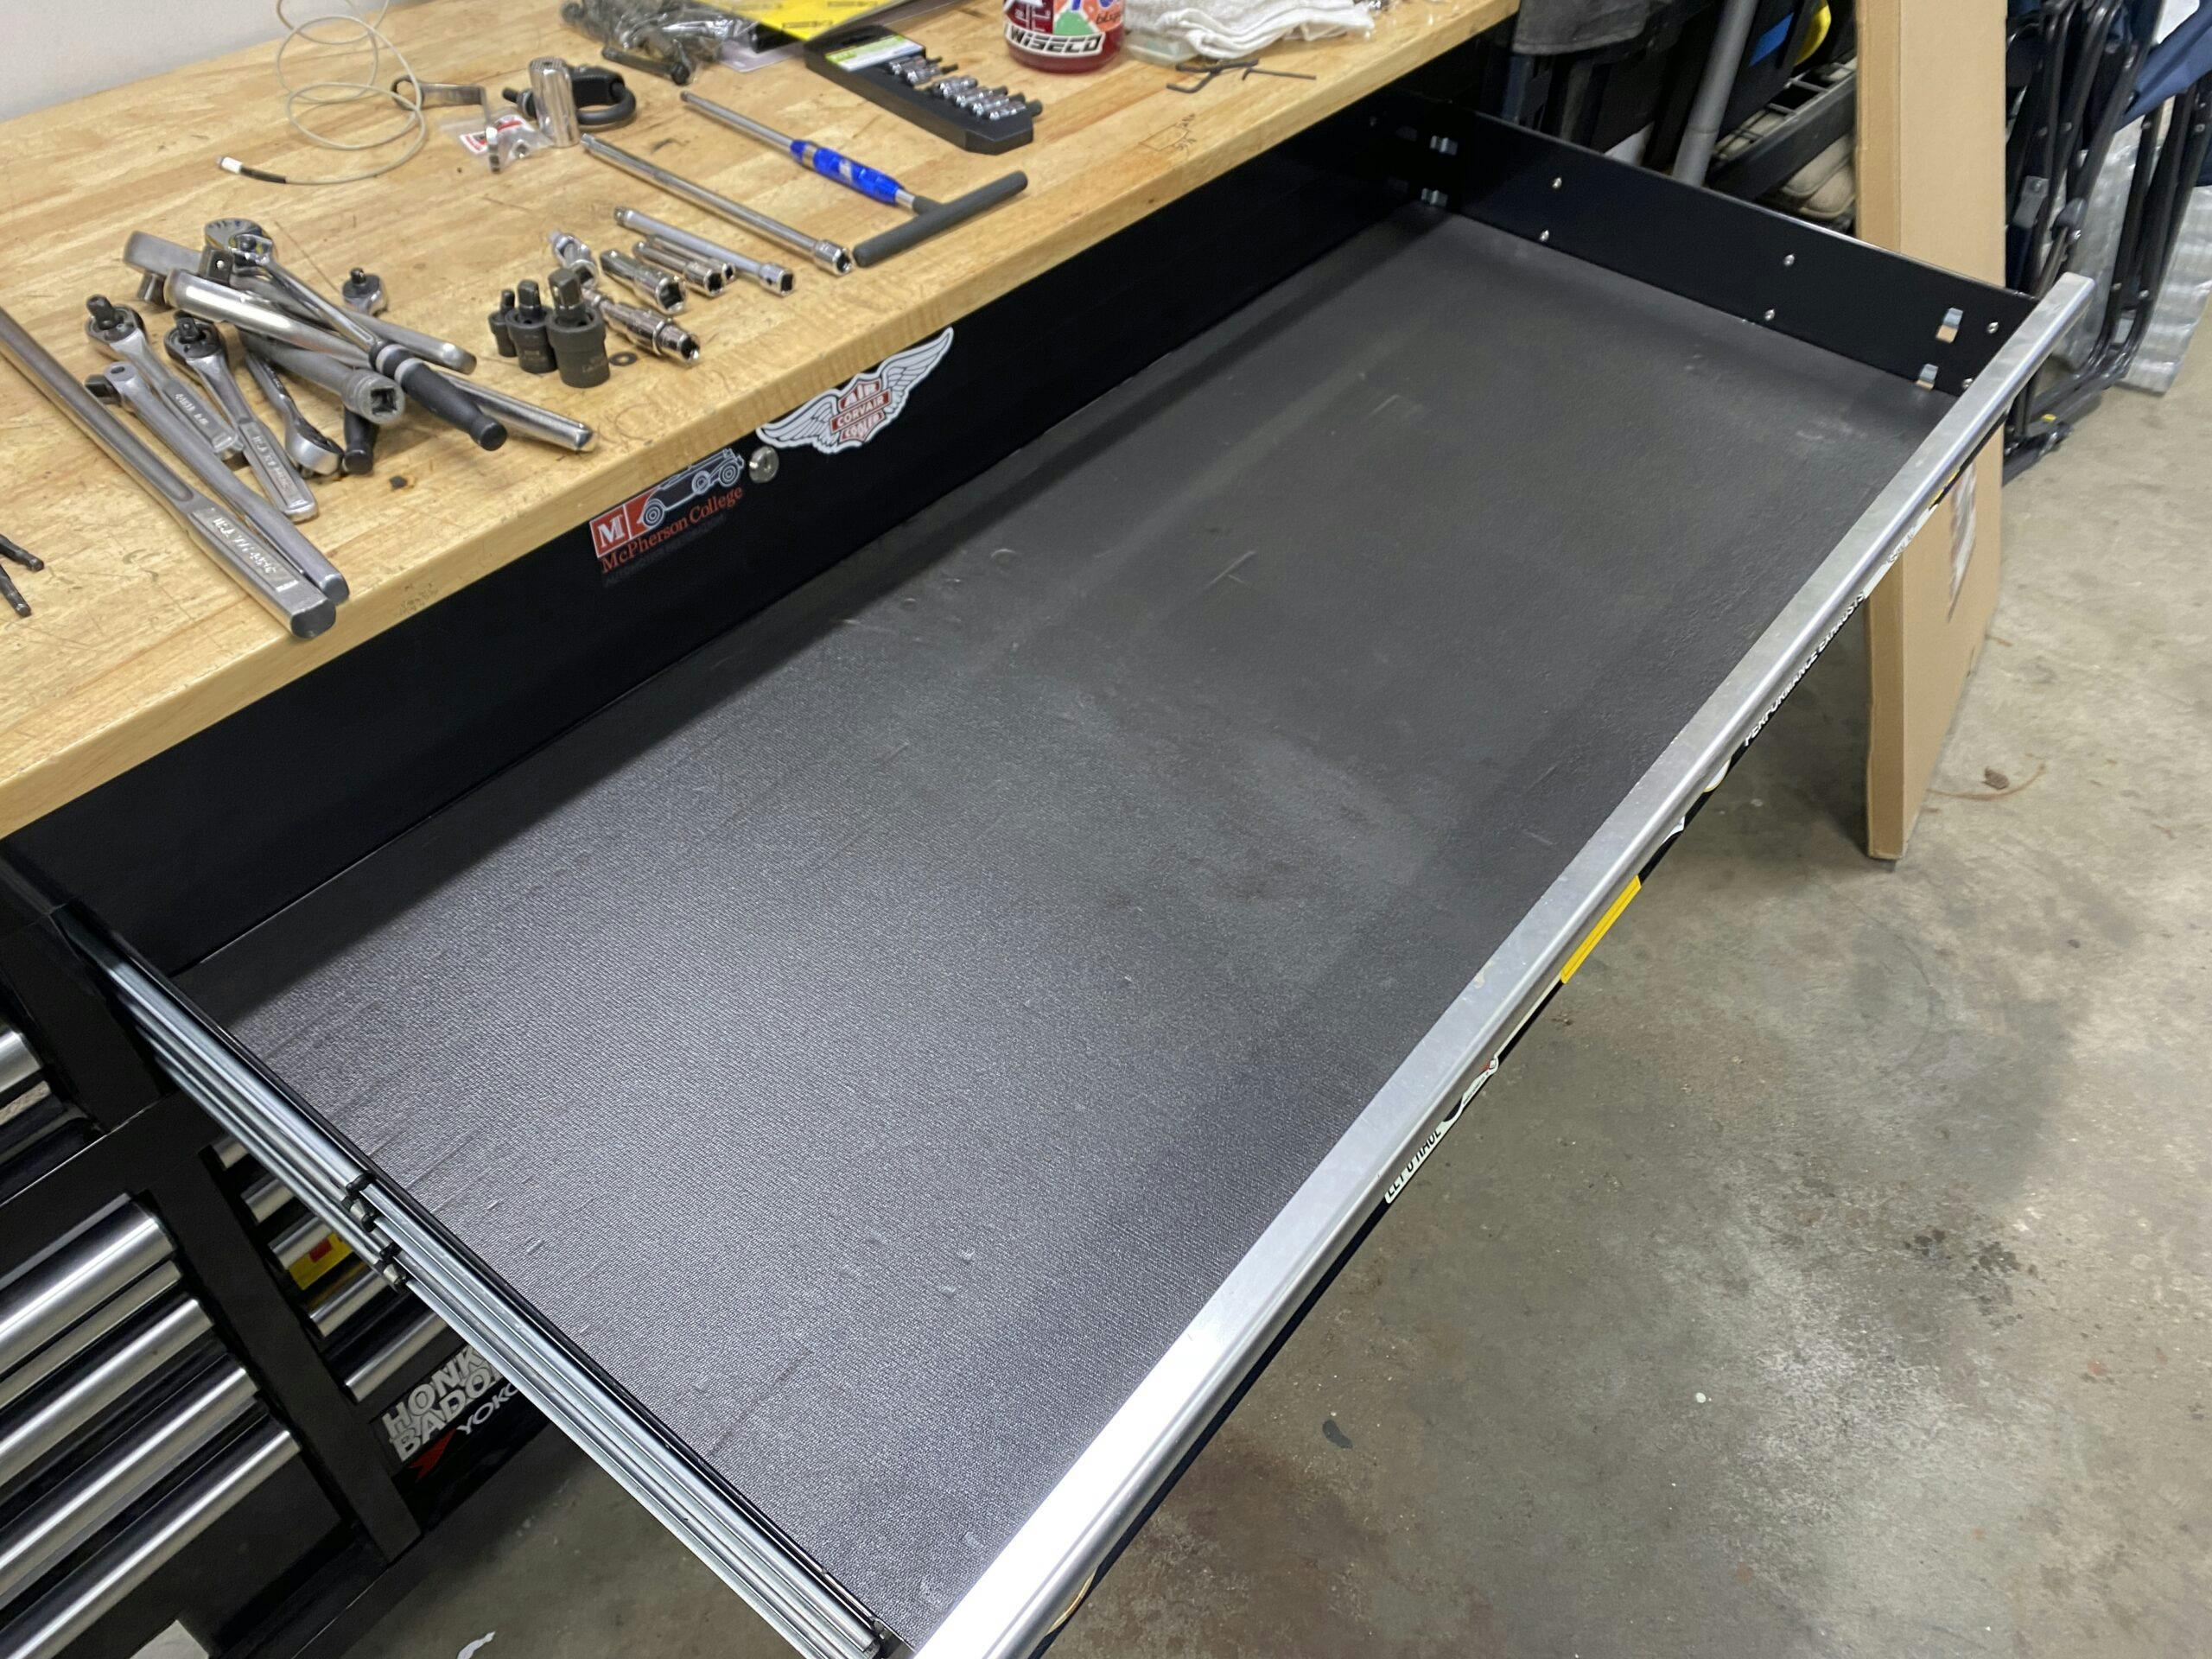
Sometimes it makes sense to have a bunch of seemingly random stuff in your toolbox. Most of the time it doesn’t. Depending on who you are, how you work, and what you work on, it might be smart to go ahead and make the rule that the only thing that lives in your toolbox is. . . tools.
I say this because I am as guilty as anyone when it comes to finding homes for things I don’t need to be keeping. That includes stuffing any number of trinkets and doo-dads into my toolbox. All of those things inevitably get in the way when I am trying to actually work. As a hobbyist and not a professional mechanic this small amount of time doesn’t amount to much time lost, but dealing with minor inconveniences can stack up and sap some of the joy out of working on your projects.
Toolbox Tip #2: Lube the drawer slides
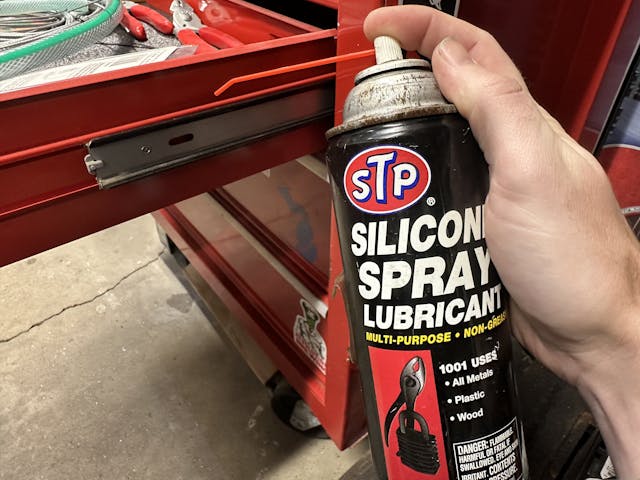
This only takes a minute with a can of aerosol lubricant to make sure your drawers continue to work like new for years to come. We ask drawers to carry a lot of weight and older slides can use the help to make sure they are not sticking or grinding chunks of dirt or debris into the delicate parts. Extend the slides out fully, blow them off with canned air or an air nozzle, then give them a light spray with a silicone or dry-film lubricant. Grease or oil-based lubes will likely just attract dust so be careful what you grab out of the chemical cabinet.
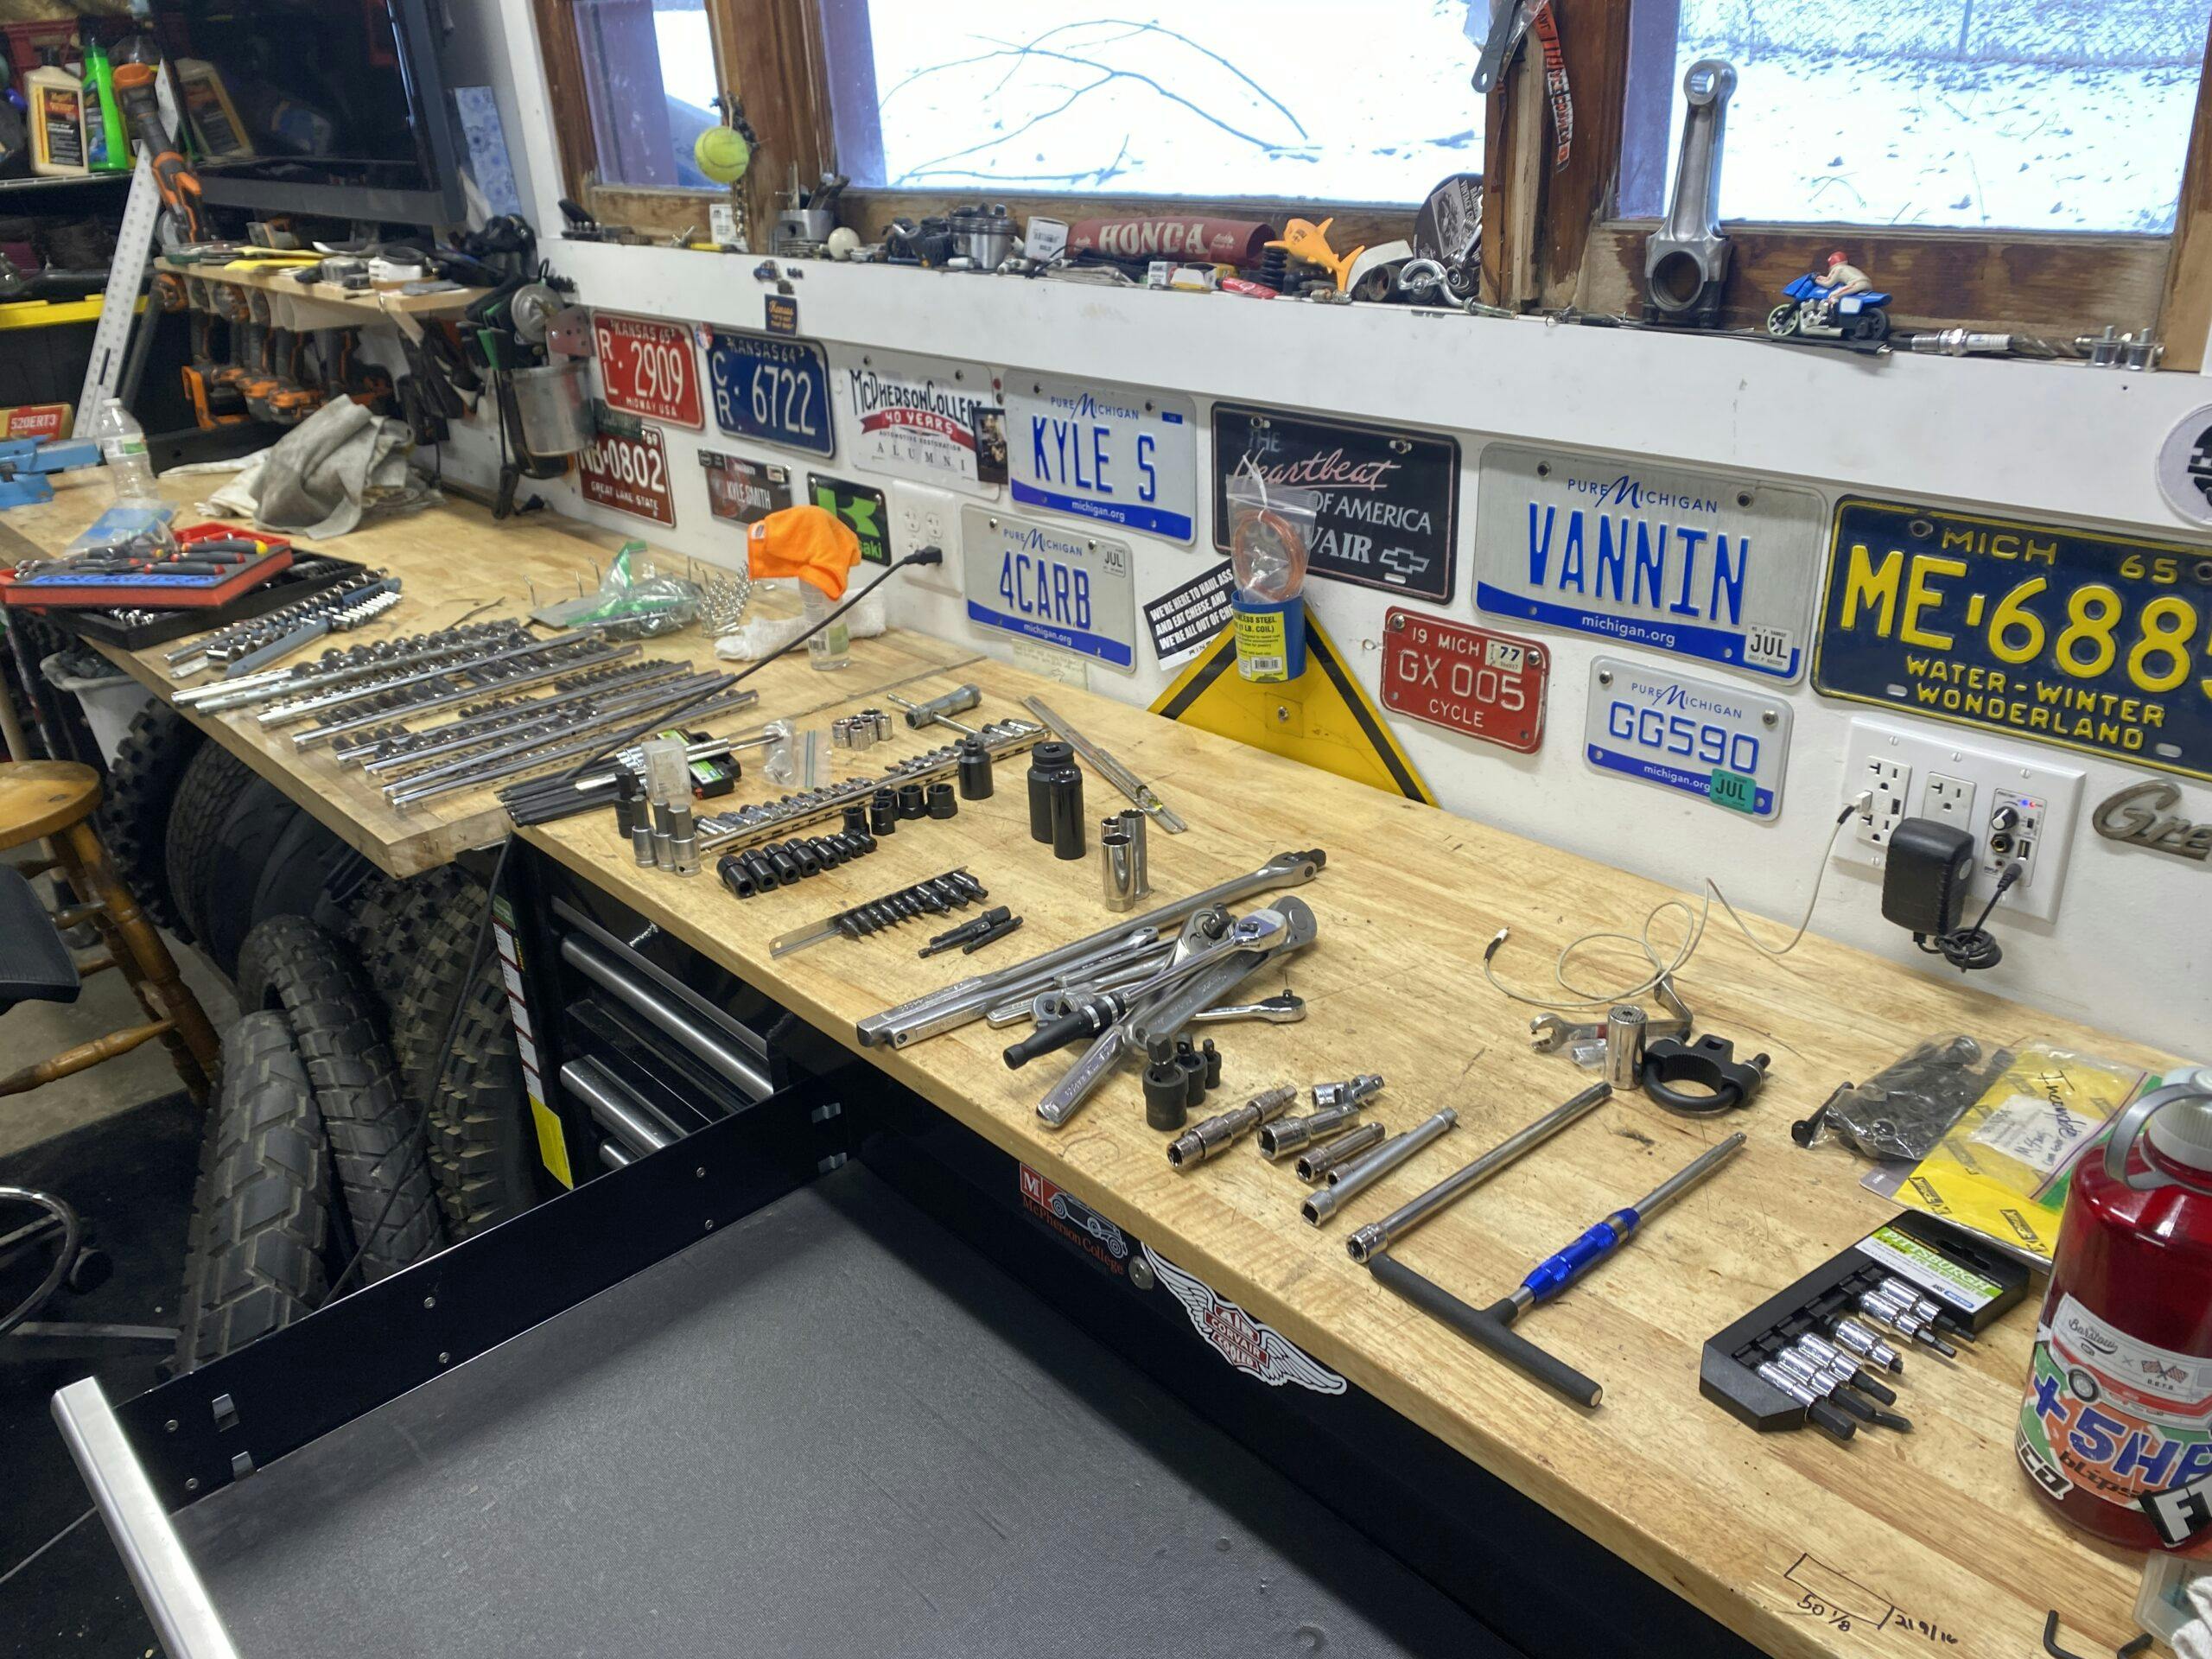
Toolbox Tip #3: Label the drawers
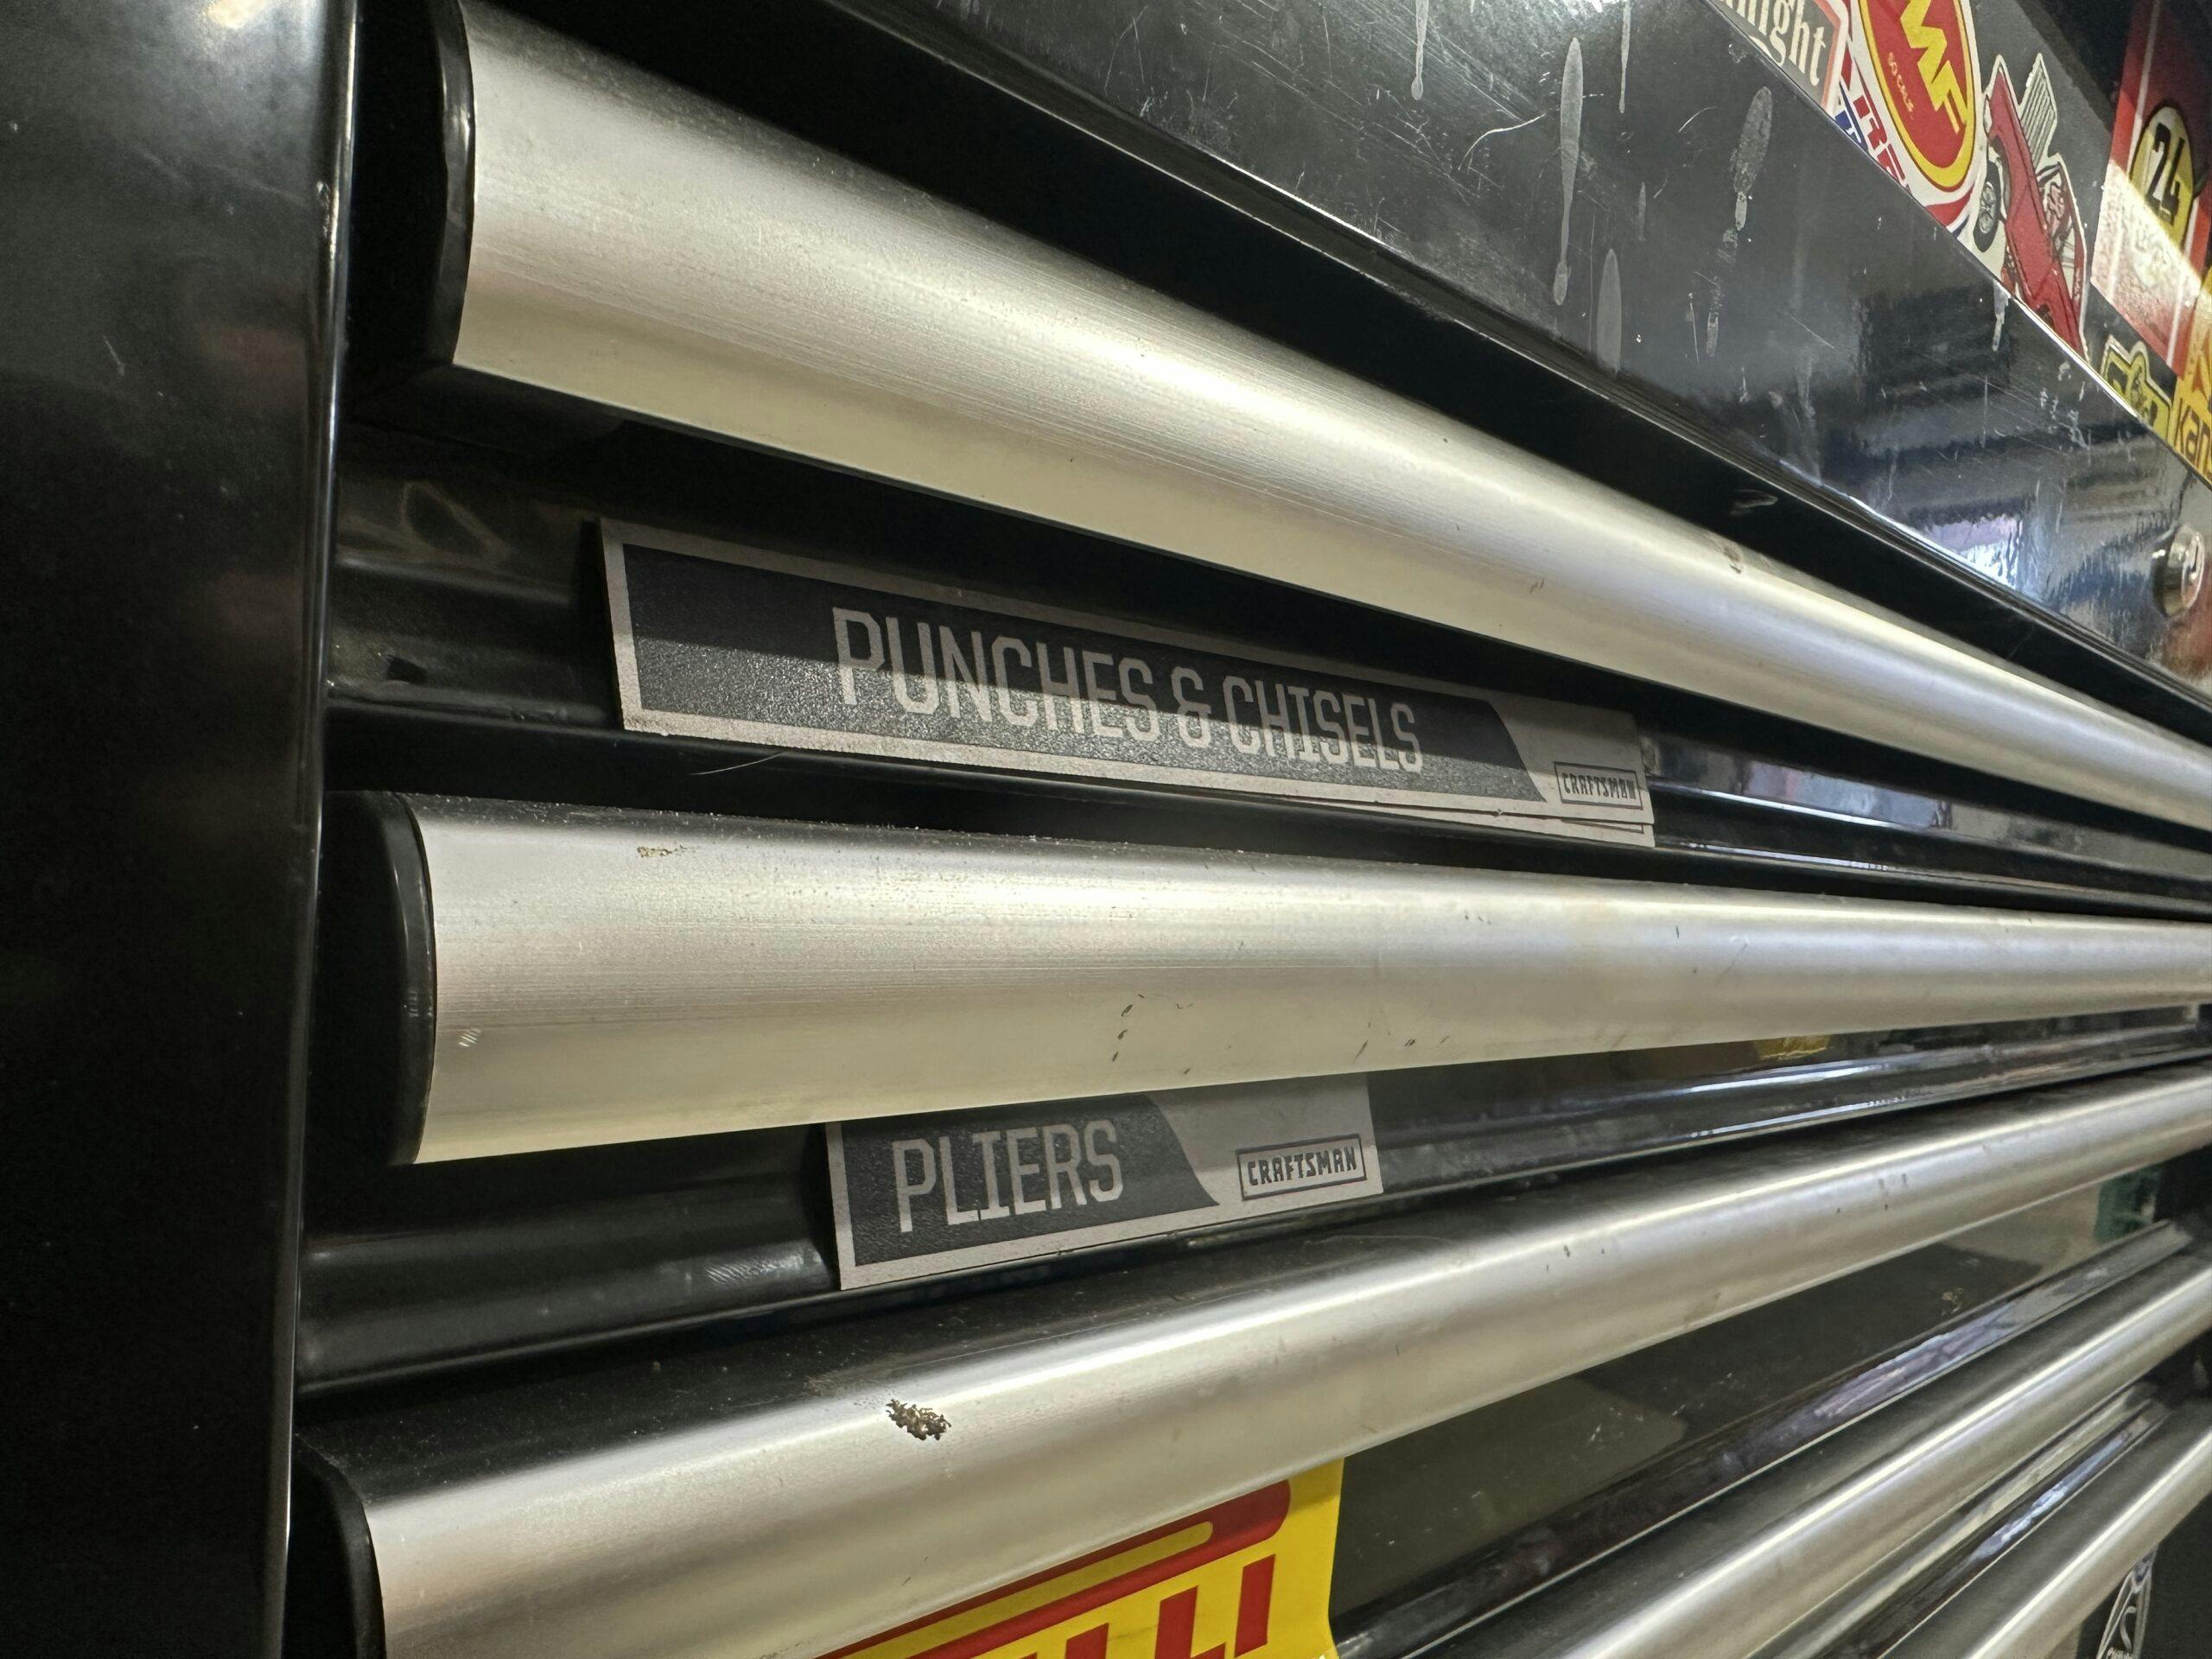
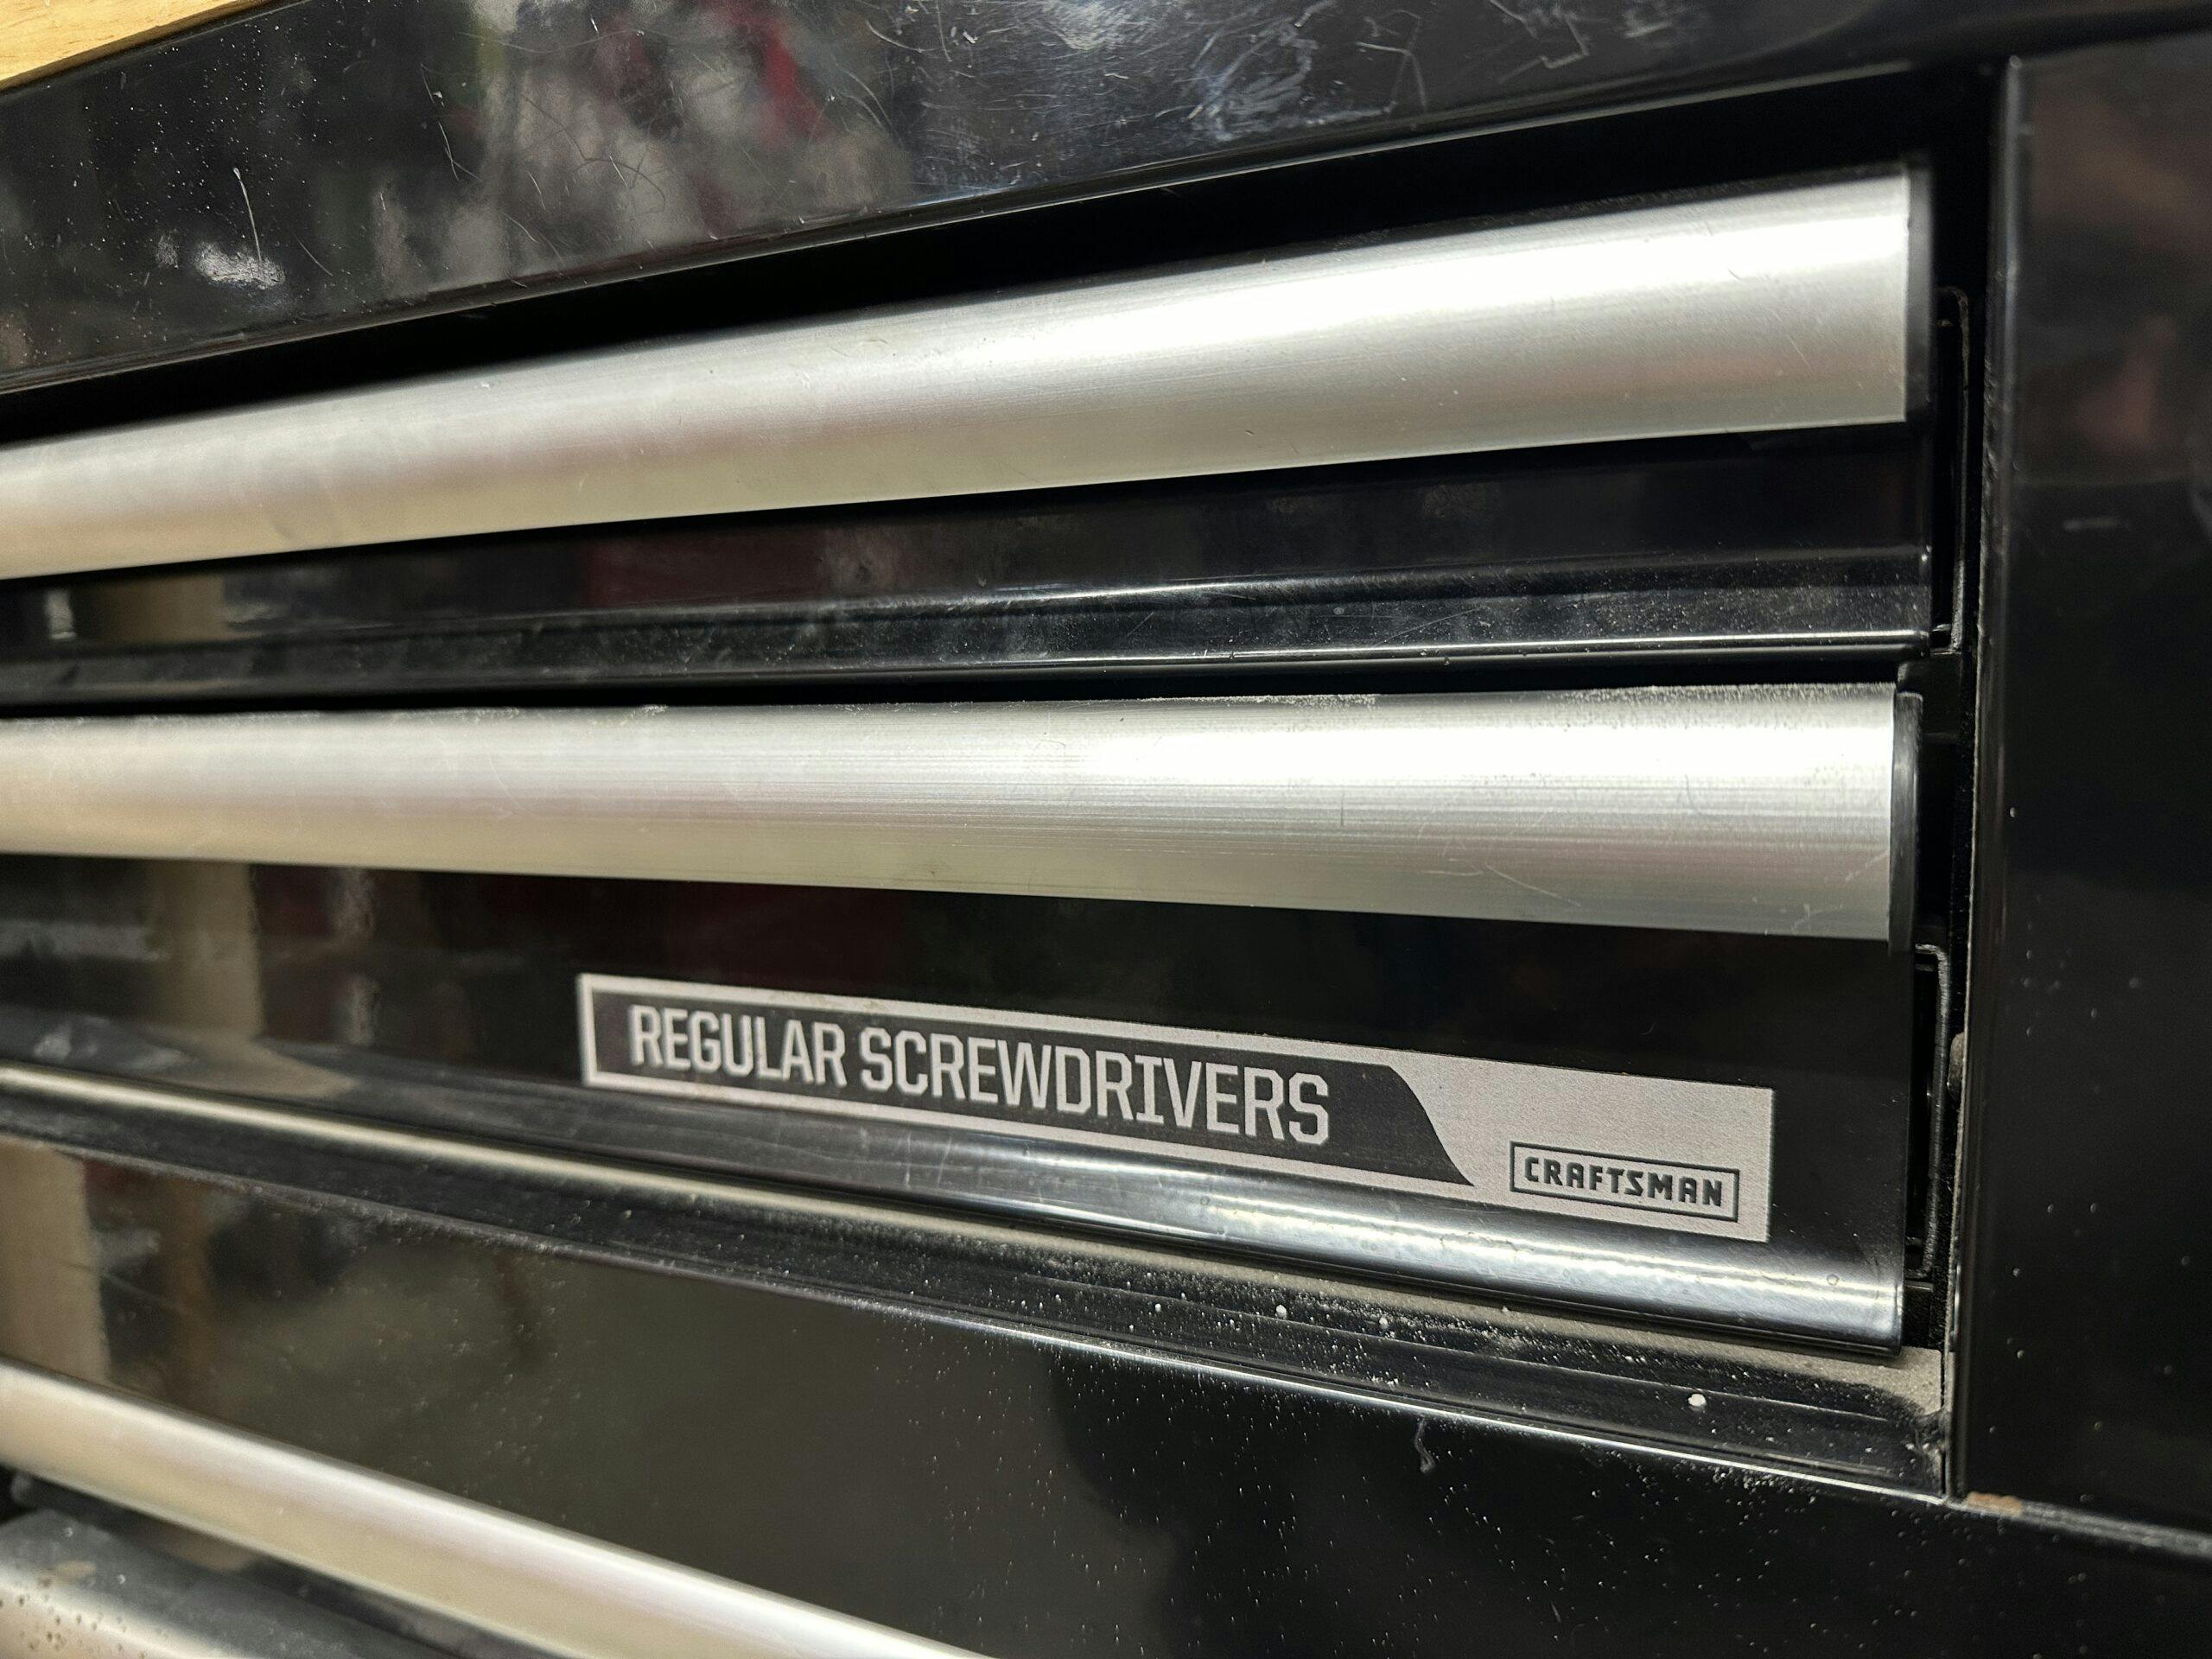
Most of us have kept everything in the same place for decades but that doesn’t mean it wouldn’t be nice to have reminders from time to time of where that thing you are looking for is. I’ve personally also found that sometimes the brain gets to thinking about something and that one-track mind forgets other tool options I might have that could do a job better. That whole out-of-sight, out-of-mind thing can cost you sometimes.
Labels also allow helpers to assist more easily—both in getting and returning tools. Who doesn’t like the thought of their helper actually assisting with cleanup? If they know where things go, it won’t be just a pile on top of the box.
Toolbox Tip #4: Add power for a charging drawer
We are getting a little luxurious here but stay with us. Battery tools are more popular than ever, and that means chargers are cluttering up our workspace. With a little planning, it is often possible to snake a short extension cord into a drawer via the side or back, which allows the charger to hide inside. Kits featuring motion-rated cables and outlets exist and can be had for reasonable money considering the space they can free up in and around your toolbox. Of course, always monitor charging batteries to lower fire risk.
Toolbox Tip #5: Keep (or make) it mobile
Nothing is more annoying than working on a project that only fits on the other side of your workspace from where your tools are. A rolling cart is a good option, but the ability to roll your entire toolset right to where you need it can be extremely nice. Adding wheels to a toolbox you already own might get clunky, but it is often worth it. Just be sure to use casters appropriate for the weight of a toolbox. Most toolboxes come with wheels but it is always tempting to build or stash them into a corner. Keeping the ability to move your toolbox allows for easily creating ideal working conditions or at least allowing easy reorganization and cleaning of your space.
Toolbox Tip #6: Let it evolve
It’s cool to still have the same box after decades in the garage, but don’t let nostalgia cloud your sanity. What lives where inside or even the toolbox itself is not sacred and replacing or reorganizing can greatly benefit your functionality and productivity. Switching to a larger box that allows better access to the tools you use most elevates your working experience more than most other tool investments. After all, regardless of which tool you are reaching for it is likely inside your toolbox. Before you can use any tools, you have to use your toolbox.
***
Check out the Hagerty Media homepage so you don’t miss a single story, or better yet, bookmark it. To get our best stories delivered right to your inbox, subscribe to our newsletters.


Don’t overload the drawers. Never understood those gigantic boxes especially the tall ones that you can’t even see what’s in them. I have the same top and bottom units for over 50 years, worked on everything from military tanks to portal cranes to regular vehicles always had what I needed without those gigantic boxes. Just did give away my 3/4 socket set to a young man just starting out as a heavy mobile equipment mechanic. I remember what it was like starting out years ago. Luckily we had a “Mac” dealer that showed up once a month, he also gave us credit, no interest.
Ok, Maybe I’m too far down the road..
But, What’s a BADONK A DONK ???
I take it you’re not a “Pop Country” fan…more info here – https://www.youtube.com/watch?v=vNVguvNE7qc
There is a salt water fishing lure…..Badonk-a-donk
I had Craftsman boxes as well. There was a Snap-on guy that came to the shop and every week he would ask me when I was gonna buy a Snap-on box. I have Snap-on tools but never went into debt to buy a tool truck box. To me, money was better spent on tools than a high-priced box .
There are some great suggestions here. I have a number of specialty tools in my pliers drawer and I no longer remember what they are for. They are all probably for German cars that I no longer own. But I hang on to them anyway.
I have already sold my Whitworth tools in the hope that I will never own another British car or motorcycle. That’s a start.
And where is the Hagerty decal?
Buy 10mm sockets by the gross. Buy extra combination wrenches as you are likely to make some of them ‘custom’ with cut off ends or odd bends.
Glad to read that I’m not the only one with “custom” combination wrenches…
My first tool box was a surplus computer punch card file cabinet that I bought (cheap) from my employer. I added a 3/4-in. plywood sheet to the bottom to which I mounted casters. In 2018, I gave it to my neighbor and replaced it with UltraHD “seville classics” rolling bench and matching cabinets.
When we closed one of our manufacturing sections, there were a couple of old big blue-print file drawers. Maybe 4 feet by 3 feet? with 4 or 5 draws. I got one and it is great for all sorts of storage. Draws are about 2″ deep so you can’t pile stuff and everything is pretty much a single layer and visible
I kept waiting to see “The Working Man’s Tool Box” in there somewhere. You know–the owner KNOWS where all of his tools reside without labels. He even knows on which side of the draw a certain tool resides. And-stickers on tool cabinets? I never have understood why a person wants to advertise (without compensation) someone else’s company/product!
Not important why but over the past couple of months I needed to get 5 or 6 tool boxes for cheap. So I went on a quest on Craigs List. I ended up with 6 chests of various medium sizes paying no more than $50 for a really nice, covered in shop dust Craftsman box. I got 2 bottom boxes, one really nice just needed grease and grime removed and one for $15 that needed some ‘body’ work and paint. About half just needed cleaning, the others I choose to clean up a bit more and used a foam roller to paint with some Rustoleum red paint. They look very good. Interestingly, these all being mid priced boxes none have roller type guides but the slide type glides. And with 4 different brand names, all the slides are exactly the same. Probably all these are made by the same manufacturer. I can see the shop boss yelling out to the floor…..Hey Pete, stop the Craftsman names, slap on XYZ for the next 500 boxes. I think my tip is get a few more boxes and label what you put into the drawers.
On tip # 3, make your drawer labels with a P-Touch laminating label maker so they last and can be cleaned from grease and whatnot. Attach the labels to magnetic tape and you can move them with the tools when you organize or expand your toolbox.
You can expand many tool box roller cabinets just by bolting them together side by side. I sandwich a piece of MDF that I’ve wrapped the edges with 1/8” thick 3/4” inch wide aluminum trim to make it look professional.
I’ve always been a tool-a-holic and what I find interesting is the evolution of my tool boxes over the years. I started out with a ‘Handy Andy’ tool set when I was five. My next box was like a small tackle box and came along when I was seven and working on my bicycle. Next came the Montgomery Wards box with the removable red socket tray when I was taking lawn mower engines apart and working on my go-kart. At sixteen I got a job at a gas station/garage and my boss brought me a Remline six drawer chest. For my first job working at a Ford & Honda dealership I bought a Craftsman top and bottom box. And about ten years ago I purchased the box of my dreams, a midnight blue Snap-On Epic Series roller cabinet. My son has benefited from this evolution and is currently working out of the Craftsman box. He won’t get the Snap-On box until I can no longer hold a wrench!
There’s a reason they call them Epic. Congrats.
Now ‘n then I see an old Craftsman box at yard sales. I bought a roller bottom a decade ago not because I needed a third one but to put a distributor machine on. Its drawers hold stuff specific for the machine. Some tools are meant to be bench-top, and my bench tops are the more valuable real estate in my garage!
I have 3 stickers on my throw back Craftsman box. No Naked tires by Tred wear. (Cause we all have our preferences on Naked). A Pike’s Peak auto race to the top from the Race car museum in Colorado Springs after my trek to the top. And ‘ Yeah it’s got a Hemi’ compliments when I bought my 05 Durango, that’s still running strong after 19 years.
Keeping the batteries near the charger but not sitting on the charger 24/7 is important, especially with Lithium Ion batteries. Don’t need to start a fire.
I wonder if Haggerty could share statistics regarding garage fires (and subsequent vehicle/property losses) caused by lithium ion battery charger malfunction – and even battery maintainer malfunction?
I have 3 li-ion packs on chargers and 7 battery maintainers connected at all times – unless I’m using the tool or driving the car/boat/jet ski/lawn tractor.
Knock on wood, no problems with any of them yet… and my car/boat/jet ski/lawn tractor batteries have lasted MUCH longer since I started using the maintainers.