3 tips for rebuilding your brake calipers
Hydraulic brake systems can be intimidating, no bones about it. From where I sit, that intimidation factor is a good thing because it keeps people cautious about working on the most important feature of their car. If the brakes don’t work, you have a paperweight—and a dangerous one, at that.
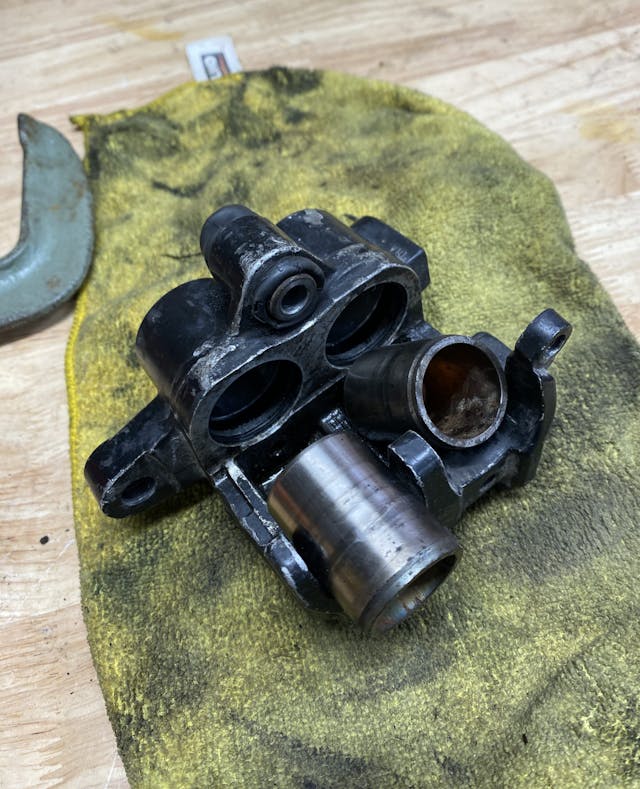
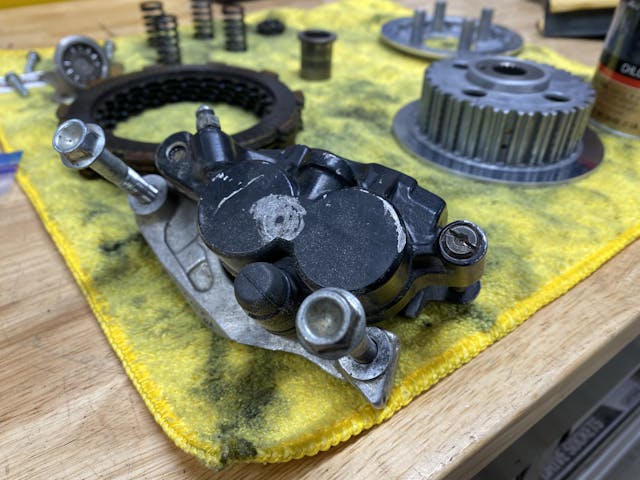
To help give you some confidence and understanding of these simple systems, I went out into the garage and tore down the front brake caliper for my 1989 Honda XR250R.
Under pressure
The average stop, in a car using a hydraulic brake system, can require between 900–1000 psi of line pressure. However, most of that pressure is transferred directly to the back side of the brake pads. In perfect condition, all the parts of the brake system come apart quite easily, but there is no way to actually get your fingers on the components that need to be extracted. That is where air pressure comes in.
Even a cheap, compact “pancake” air compressor has enough volume to push the pistons out of the largest calipers. Be sure to stuff a rag or towel in the caliper, however, to prevent the pistons from blowing out too far and damaging themselves. Also, be extremely careful regarding finger location as you pressurize the caliper with an air nozzle. Even a small amount of corrosion can make the pistons pop out with surprising force. Finger-chopping force.
Carefully clean

Though a brake caliper is comprised of only a few components, all are precision pieces; any deposits of gunk or spots of corrosion will interfere with proper function and thus should be removed during a rebuild. Using something aggressive as sandpaper is a bad idea, because you do not want to remove any of the base material and thus change the size or shape of the caliper or piston(s). If you cannot remove the corrosion with steel wool, look for replacement parts. Some rebuild kits can be sourced with new pistons.
Lube it up
The seals between the caliper and the pistons are critically important. Thus, keeping those seals from rolling, tearing, or otherwise being mangled during assembly is equally vital. The best lube here is the one fluid that’s guaranteed not to contaminate the system: brake fluid. That’s right—use the same stuff that will fill the caliper body when the system is all back together.
It is tempting to use a grease you have tumbling around in your toolbox, but the key thing to remember is how hot a brake system gets under normal operating conditions. These temps are high enough to turn most greases into a runny mess that will flow in whatever direction it can—including out and onto your brake rotor. The pistons and caliper get the hottest, but the caliper bracket and slide pins should get the same attention. Use a proper brake-caliper grease here to ensure smooth operation and prevent ooze when the system gets hot.
In all, there are very few parts in a disc-brake system and, with just a bit of time and some careful disassembly, you can have a fresh and safe system ready for many more miles of enjoyment. Hopefully this video alleviates some of the scariness of a disc-brake rebuild; if you still have questions (or even other tips), be sure to leave them as a comment below.


Do you need to prefill the piston reservoirs when putting them back together? If not, how do you get air out of there?