The most expensive project-car mistakes

Making mistakes is human. Unfortunately that is a fact of life. We just can’t get it right every time, all the time. Tougher than that reality is the one that suggests some mistakes carry more weight than others. I mean, just ask anyone that has a project car.
It is nearly a rite of passage to drop a bolt, slip an adjustment inadvertently, or just completely miss something while working. It happens to all of us, but as noted not all of these mistakes are as easily forgotten or forgiven. As an example, we rounded up some of the worst mistakes you can make working on a project car.
That’s not the jack point…
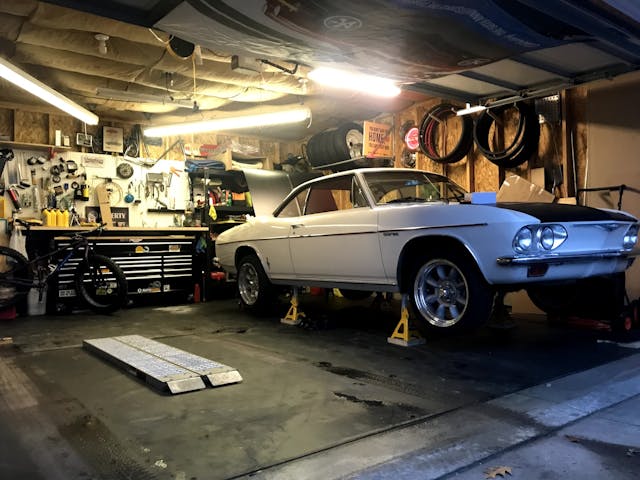
Even just a simple oil change often requires lifting your vehicle and placing it on jack stands. Doesn’t matter if its ignorance or just being in a rush, people have learned that where they placed the jack to lift the car was, well, not where they should be lifting. This can cause crumpling of trim, floors, or other sheetmetal parts which can be costly to repair properly. Even worse, there are times when jacking or supporting a car by fragile differentials or suspension pieces can affect alignment or other safety aspects without the driver even realizing it.
Service and owners manuals outline the proper lifting points and sometimes it seems trivial to look something so simple up, but the potential damage is not worth the time savings of a risky pick up point.
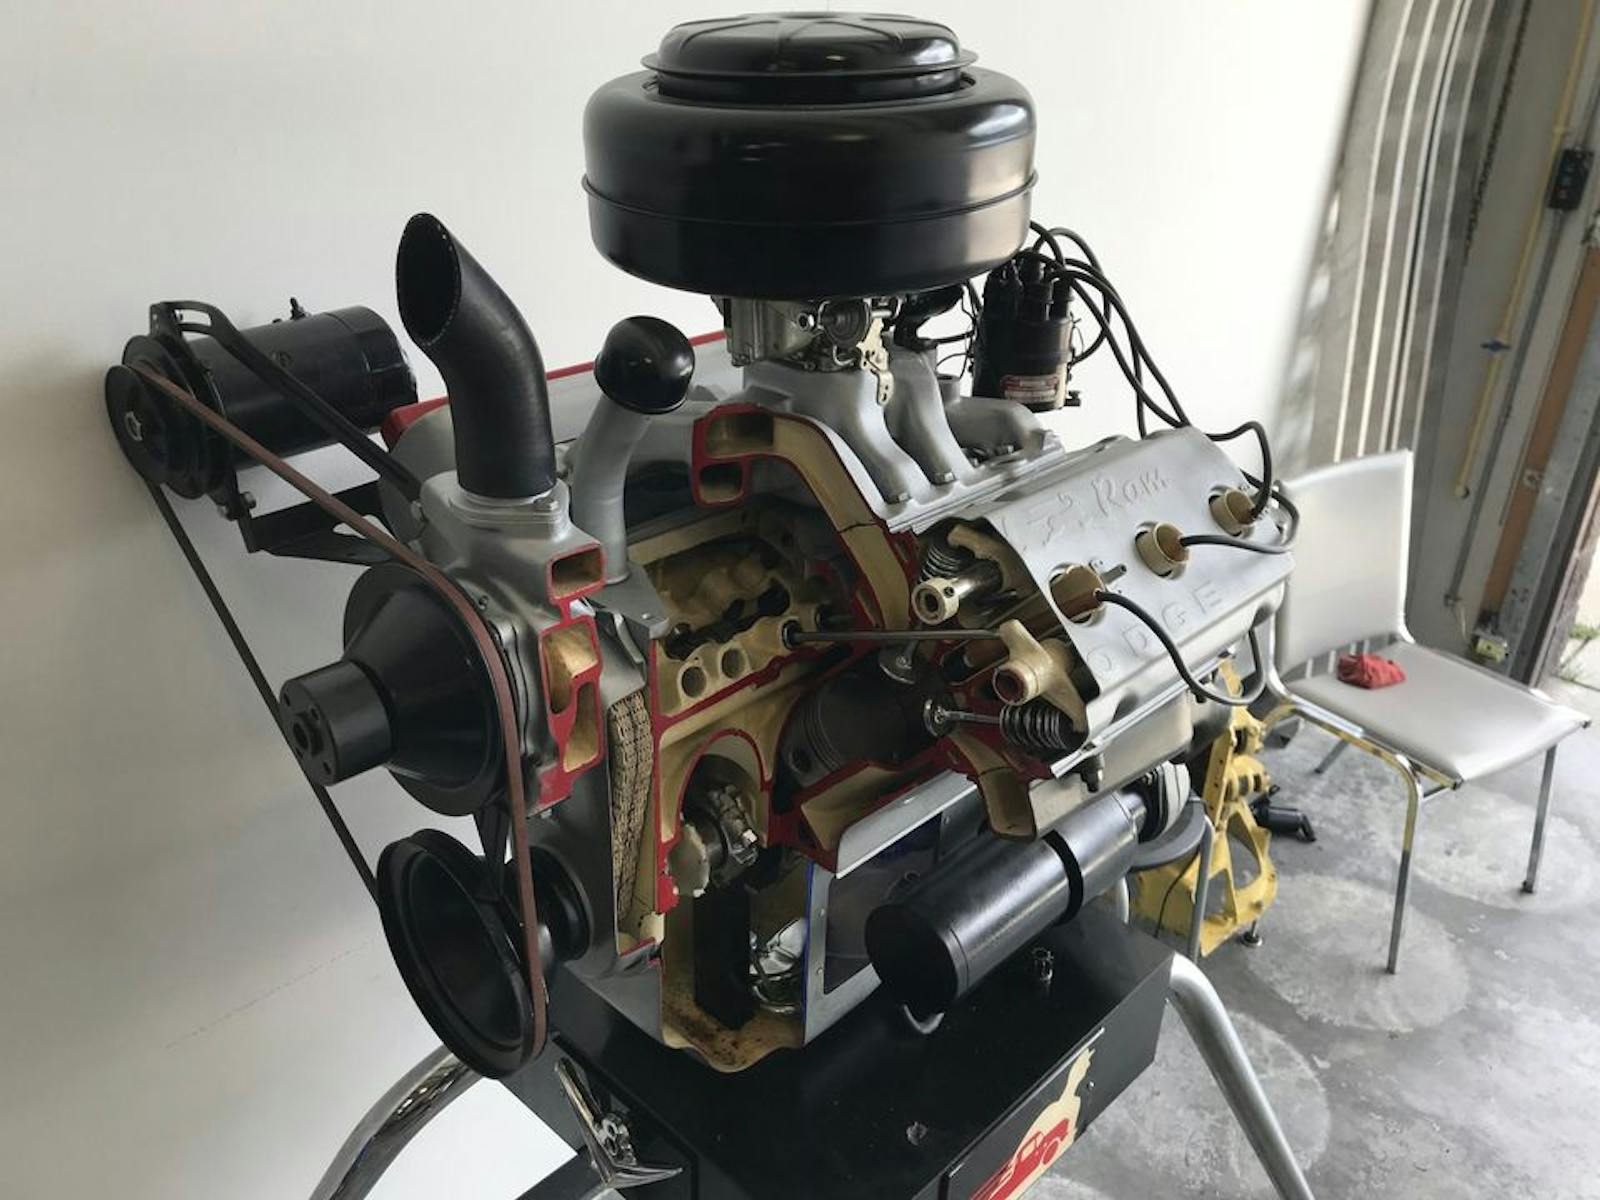
Starting the engine without oil
The final steps of assembling an engine are borderline intoxicating, and can be even more so if you have friends around waiting to hear the first startup. One of the last steps is filling the engine with oil. You’re in for a really bad day should that slip your mind for some reason. This can also be true for an extensive project where the engine stays in the chassis and you lose track of the steps and the realization often washes over in waves of “oh no.”
Project tracking is tough, but this one is simple to prevent. At the same time that you drain the oil, place a label (like blue painter’s tape with black ink writing) over the ignition switch, disconnect ignition coil, or even let a battery terminal hang loose. Only remove that label and reconnect power to allow the engine to run once the crankcase is properly lubricated.
Underestimating the power of ice

Encountering ice while driving can be treacherous, but if your vintage car encounters ice while parked it can be even worse. Water expands with great force as it freezes–enough to split engine blocks or otherwise destroy an engine. (Or ancillary pieces like a water pump.) As water freezes it can expand as much as 9% and exert a total force of over 100,000 psi of pressure. Even an iron engine block doesn’t stand a chance against that.
If your project car has any chance of seeing freezing temps, be sure that the cooling system is filled with the appropriate mix of antifreeze. Not only will this keep freezing at bay, there is additional benefits that antifreeze carries, like lubrication for seals in the cooling system and additional cooling capacity. Straight water should be left for track-only vehicles where the slipperiness of most coolants is banned for safety reasons, though special formulation antifreeze mixtures exist for just such use cases.
In search of shine
While hazed-over paint and flat patina has its place, many enthusiasts want cars to be shiny and slick. A well polished and waxed paint job can absolutely take a car over the top. Unfortunately the process to get that finish requires a gamble of carefully sanding–that is all polishing is after all–the finish. Use the wrong compound, machine setting, or pad on a polisher and suddenly the paint is burned through. Also watch out for the edges where paint gets thinner than the open flat surfaces.
This is a tough one because–short of owning a paint meter–there is no way to know exactly how thick the paint is. Taking a measured, careful approach to cleaning up aging paint is always recommended and most of the time that means starting with manual polishing. Hand polishing an entire car is tedious, but doing at least a few places could save you more than a little frustration of seeing the primer underneath pop through. Working by hand also allows you to see exactly how much work needs to be done to achieve you desired result and then you can scale that appropriately to using a machine.
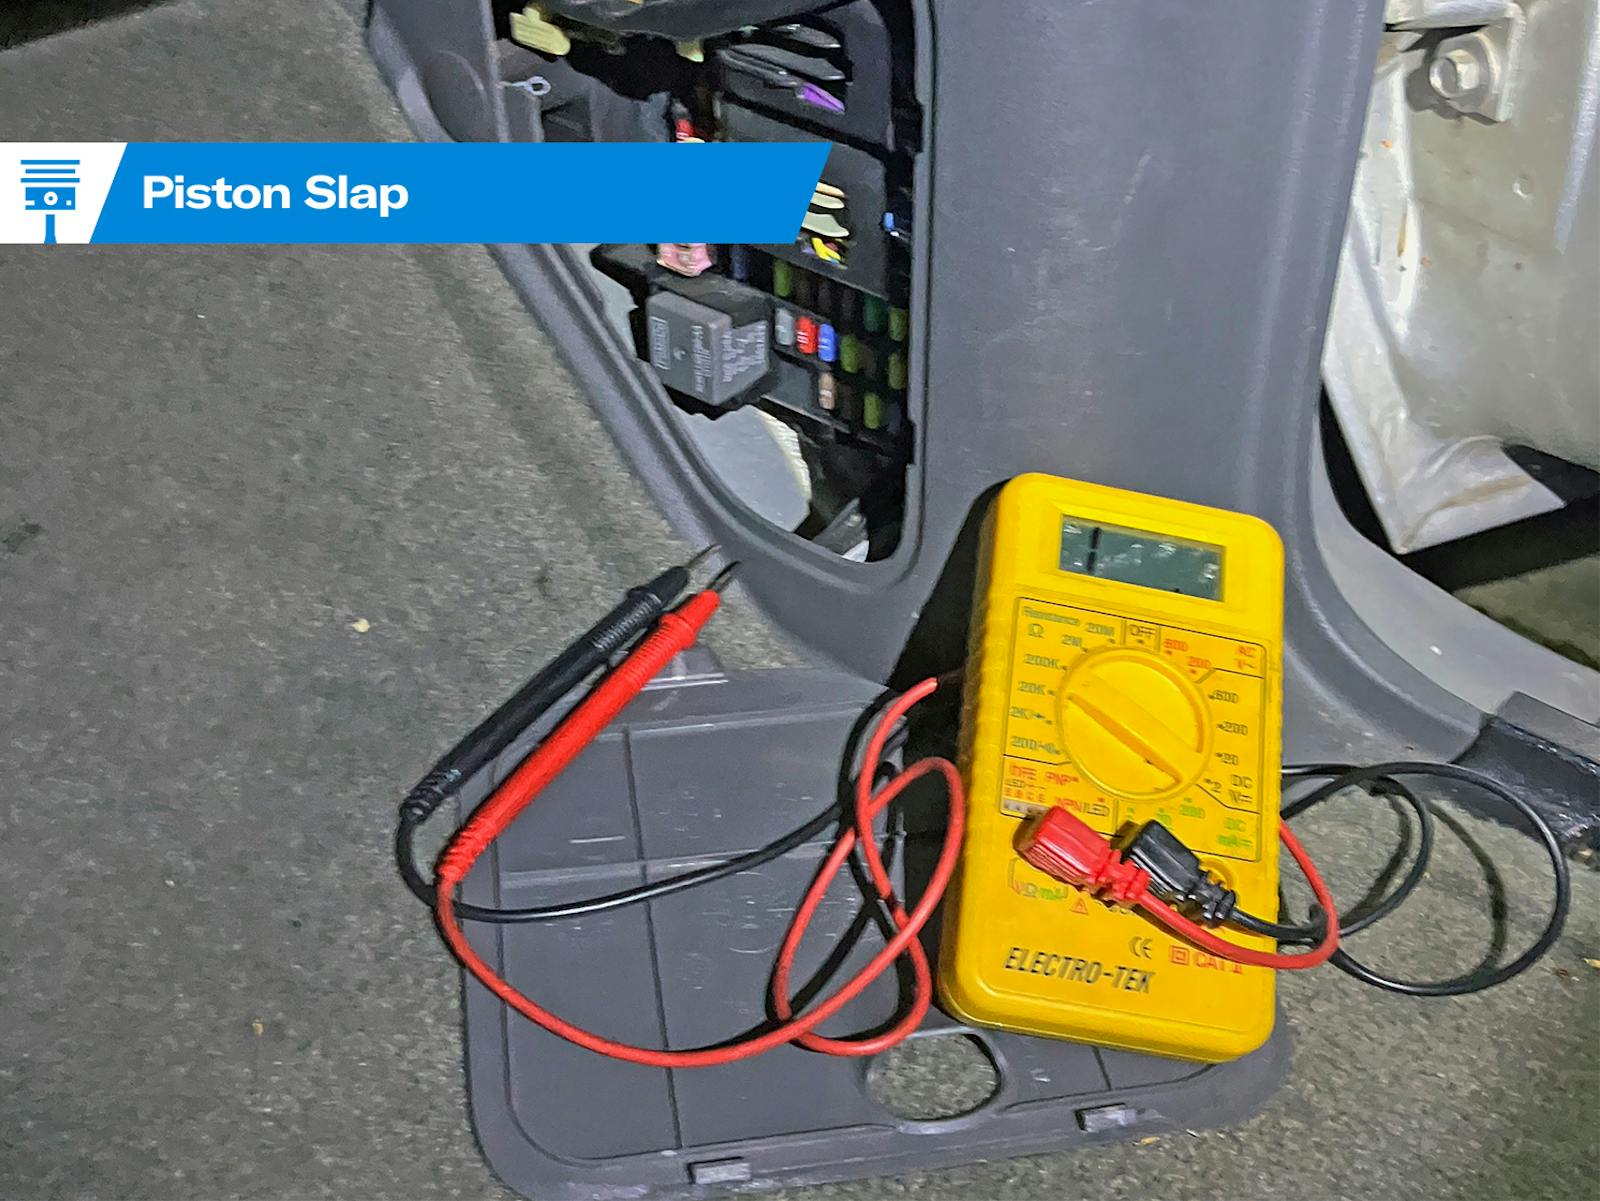
A terminal mistake
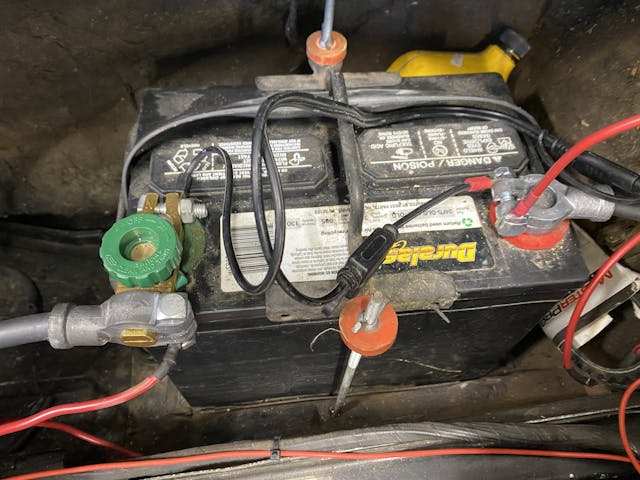
Electricity is dangerous for a bunch of reasons, but its indifference to polarity is a strong reason to be extra mindful when reconnecting it to a car. The battery doesn’t care how its flow of electrons affect what it is connected to, so all it would take is an errant touch of the wrong terminals to fry an engine or transmission control module in modern cars. Vintage cars are a little safer but it is very much still possible to melt down a wiring harness if not careful with connections.
Keeping this at bay does require a little extra work in some cases, but properly color matching the battery cables with the polarity is a good start. Should you have a truly vintage car like a Model A Ford, you need to be aware of the positive ground and not get mixed up when making connections. If unsure, research and find out the proper way before you end up rewiring a cooked wiring harness.
Well that didn’t need a hole in it…
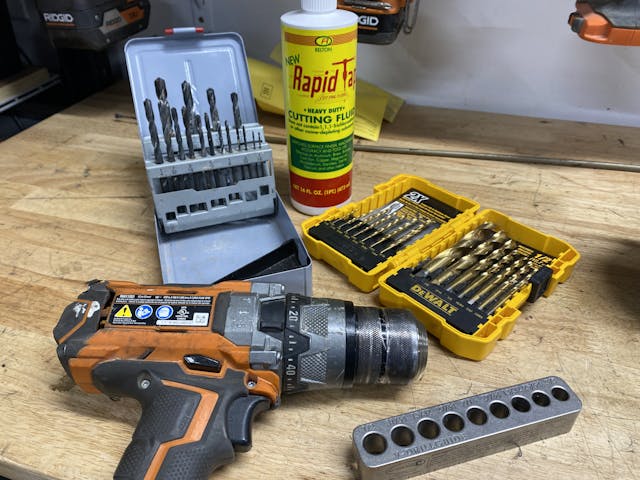
When parts and pieces don’t come apart like they should or you are mounting something new, there’s a legitimate need to make a hole where there wasn’t one. Grab the drill, chuck up a sharp spiral bit and watch the chips fly. Did you check what was behind that panel before you shoved a spinning cutter through it? You’re likely to get bad news if you didn’t.
Sometimes viewing what’s behind a panel is impossible, but to blindly drill holes is asking for trouble. Either look where you are going, or start with a very small (think 1/8″) pilot hole drilled very carefully so that the bit barely–if at all–breaks through the workpiece. This allows you to insert a pick (or similar) to get a depth gauge or feel what you might be up against.
Spilling the forbidden sauce

So many chemicals that go in and around your car are great for one specific part or system, while being absolutely horrible for everything around it. Case in point: brake fluid. Hell hath no fury like brake fluid’s ability to ruin a car’s finish. Paint will lift right off, rubber gaskets/bushings will swell and distort, and brake fluid can even ruin your brakes if spilled on friction surfaces and not cleaned properly.
Treat every automotive fluid or chemical as though it will damage delicate surfaces. The chance is too high that a random bottle of something will create a problem you don’t want to deal with.
To err is human, but to avoid these big ticket expenses is enlightened automotive restoration.
All good points. I would only add that getting polarity hookups wrong can do more damage than frying some wiring – they can actually start an older car on fire. Ask me how I know…
Okay, I will ask you how you know this – hope it didn’t involve the GTO.
No, the lesson was learned decades before the GT-faux (it’s actually a clone) came onto the scene. This involved wiring in a 1950 Ford coupe which was run beneath new carpet and then hooked up wrong (by me). As I was dinking around under the hood, I smelled it, but couldn’t figure out the source. The wiring overheated beneath the carpet (which, since it was in the ’60s, was probably some new-fangled, highly-touted, petroleum-based product by one of the booming plastics companies) and first smoked acridly and then burst into flames. My neophyte self learned several other lessons that day. First, hook up and test your wiring job BEFORE you hide it under carpet (or anything). Second, use wires of different colors to distinguish between hot and ground – don’t assume you know which is which. Third, it’s best to loom wires to protect them and insulate them from potentially flammable materials. And last but most important, ALWAYS have a fire extinguisher nearby. 😣
As far back as my Austin Healy ,I have always installed a master shut off switch in easy reach of the driver.
Even install one on everything I repair in my shop. Great to have if the unit is parked inside.
I have a 1946 Chrysler Town & Country Woodie Convertible with a six volt battery which is a positive ground. I had a momentary brain fart and installed it backwards! What I can’t figger out is why it started and ran in the right direction, ONCE. the second time I tried to start it NOTHING. I was fortunate because when I tweaked to my error I swapped it around and it started right up and ran just fine. The first time I started it I noticed that the ammeter went positive not negative but the penny didn’t drop. I should have realized I had put the battery backwards, DOUH!
generally at some point in engine assembly I will take all of the plugs out and crank the engine until I see oil pressure, then put the plugs back in and finish the final assembly. This pretty much guarantees that (a) everything went back together right, and (b) yes, there’s oil in it.
If you forget to put the oil back in the car on an oil change, the engine will generally tolerate some amount of idle running before bad things start happening… usually long enough for you to realize the oil light hasn’t gone out. It generally takes some fairly significant ***-over-head rushing to damage an engine by not putting oil in it
I have spilled a lot of brake fluid on a lot of cars over the years, and it generally will not damage the paint so long as it is promptly wiped up. A good hose down after brake work is generally a good idea. Now this is true for fully cured paint. Reasonably fresh paint will come right off
Most owner’s manuals only specify one jacking point per corner of the car. OK, so that’s where you jack the car, but then where do you put the jack stand? I suspect that this is one reason some people will risk placing their body parts under a car supported only by a jack — which, as we all should know, can be much more costly than any damage to the car!
I’ve owned a couple of Subarus, and both of their manuals thoughtfully specified two additional points beyond the normal sill locations: one under the front crossmember, and one under the rear differential. That way, you can jack one end of the car at a time, then support that end with jack stands at the normal sill locations. All owner’s manuals should do something similar.
Good point. You might want to invest is something called a “uni-jack.” This is a jack stand with a built-in hydraulic jack. Upwards of $50 each on Amazon.
Thanks for that. I never heard about these.
Jackpoint Jackstands are the best; https://jackpointjackstands.com/
Thanks. I’ll look deeper into these. It seems they work with all floor jacks.
The most expensive mistake one can make is buying a project car..$$$. I have made that mistake at least six times in my life, LOL.
John’s link only looks like spam. Check it out, that could come in handy for a lot of cars.
Buying a project car is the second most expensive mistake. Early in my car life, I bought a ‘66 GTO convertible at a great deal. Seller needed to sell that weekend. It was a great deal until a few months later I discovered the VIN coded to a 66 lemans HARDTOP! Yep, stolen. Yep, scrapped.
Lesson: ALWAYS CHECK YOUR NUMBERS!
Yep. Don’t let a “237” fool you into thinking it’s a “242” (for ’66 LeMans and GTO people, this message should make sense – others may have to use The Google)…🤔
I’d also recommend gathering the parts and budgeting the time BEFORE making a driver INTO a “project car”. Lots of people strip down a perfectly good automobile before making sure the parts and time are available to get it back to running condition in less than 5 years (!)
Hmm, reminds me of the time I drilled through the floor tunnel right into the automatic transmission housing. Ouch!
And for those of us that fool about with some of the less common ancient rides
1. 12v batteries do not go well with 6 volt systems
2. make sure you know the polarity of the electrics.
3. KEEP A FIRE EXTINGUISHER DESIGNATED FOR ELECTRICAL FIRES
4. Bare wires near leaky fuel lines – bad idea
5. Learn to use a multi meter;
Many years ago when I worked at a restoration shop a trick we used to test the electrical system of newly completed project cars using a 10 amp battery charger in place of the actual battery.you can test most of the electrical system ,except the high Amp circuits of course,by connecting the charger directly to the battery cables, 10 amps was sufficient to activate lights,gauges, etc…if there was any shorts the charger would click off way before a fire broke out….the high amp circuits were tested independently after the low amp electrical system passed…many fires were avoided by this procedure as the charger clicked off frequently…which lead to the quest for faulty wiring…l
My mistake was the result of not knowing what I did not know. I was rebuilding a 455 Olds engine and sent the heads and block to an engine shop to clean and inspect for cracks. I reassembled the engine, installed it and started it. The oil pressure light came on briefly, then went out as the pressure came up. After about ten minutes the light came back on. I did not know that there is an internal oil galley plug at the back of the block. It had been removed by the shop and not replaced. Everything was fine until the oil temperature rose and the viscosity change allowed the oil to take a short cut back to the sump rather than to the pressure sensor. No damage was done, but I did have to lift the engine enough to pop the freeze plug and install the the galley plug. Undoing the headers was worst part. Several hours later I had a properly running engine.
Hi Greg You now have me worried! I have a rebuilt 455 olds engine sitting on an engine stand in my garage. I’m planning on putting it in the car this winter, but it’s been sitting for a number of years, so I can’t remember anything about an internal oil galley plug. Could you tell me where the plug is? I thought that the oil galley plugs were external / but behind the flywheel. I remember a frost plug covering the cam shaft on the flywheel end of the block thanks Dave
The possibility of having moisture/water in transfer cases and differentials is another hazard, especially on vehicles used off road. Broke a transfer case one time on a 1966 Bronco. Thought the brakes were frozen, and popped the clutch to break them free. It wasn’t the brakes.
Lots of good points. Electrical is the one thing I always check and check again just to be sure I got it right.
All good Info I might add is tocheck the length of all bolts and note their respective positions because sometimes the Makers will use many different Bolt sizes in assemblys Example: ford 300 six Waterpump we saw several blocks destroyed after waterpump replacement ( locked up engines) by using the longer bolts in the wrong spot and there are many other possibilitys to trip up the unweary
When working with brake fluid, have a squirt bottle of water handy in case there’s a spill/spray/drip; works well to dilute the stuff while swearing & wiping. For jack points, I prefer lifting by the car’s suspension. Any question about oil pressure should mean spinning the oil pump, not the engine: not convenient, but thousands of dollars and months of time better. Doing oil changes, I make it obvious to myself that the oil hasn’t been added (which is easier with OCD, haha); I also fill the filter (short of spillage if it’s not vertically installed), and it’s something – like anything critical – where don’t allow interruptions during the procedure.