Revive your motorcycle plastics with a little bit of cash (and a lot of time)

My Honda XR250 has lived a rough life. The skeleton currently sitting on my lift table is facing a rough life in the immediate future, too, but whether I legitimately use or heartlessly abuse this bike lies in preventative maintenance and general upkeep. I plan to ride the bike hard, but I’ll be just as dedicated to servicing its needs.
Right now the project’s in a bit of an odd spot, since some parts are out for service. With time on my hands, I decided to restore the Honda’s plastics. It’s a fairly simple job, and you don’t have to spend much on tools to get a really nice finished product. In fact, the process is quite similar to what a lot of folks do to restore the clarity of plastic headlights.

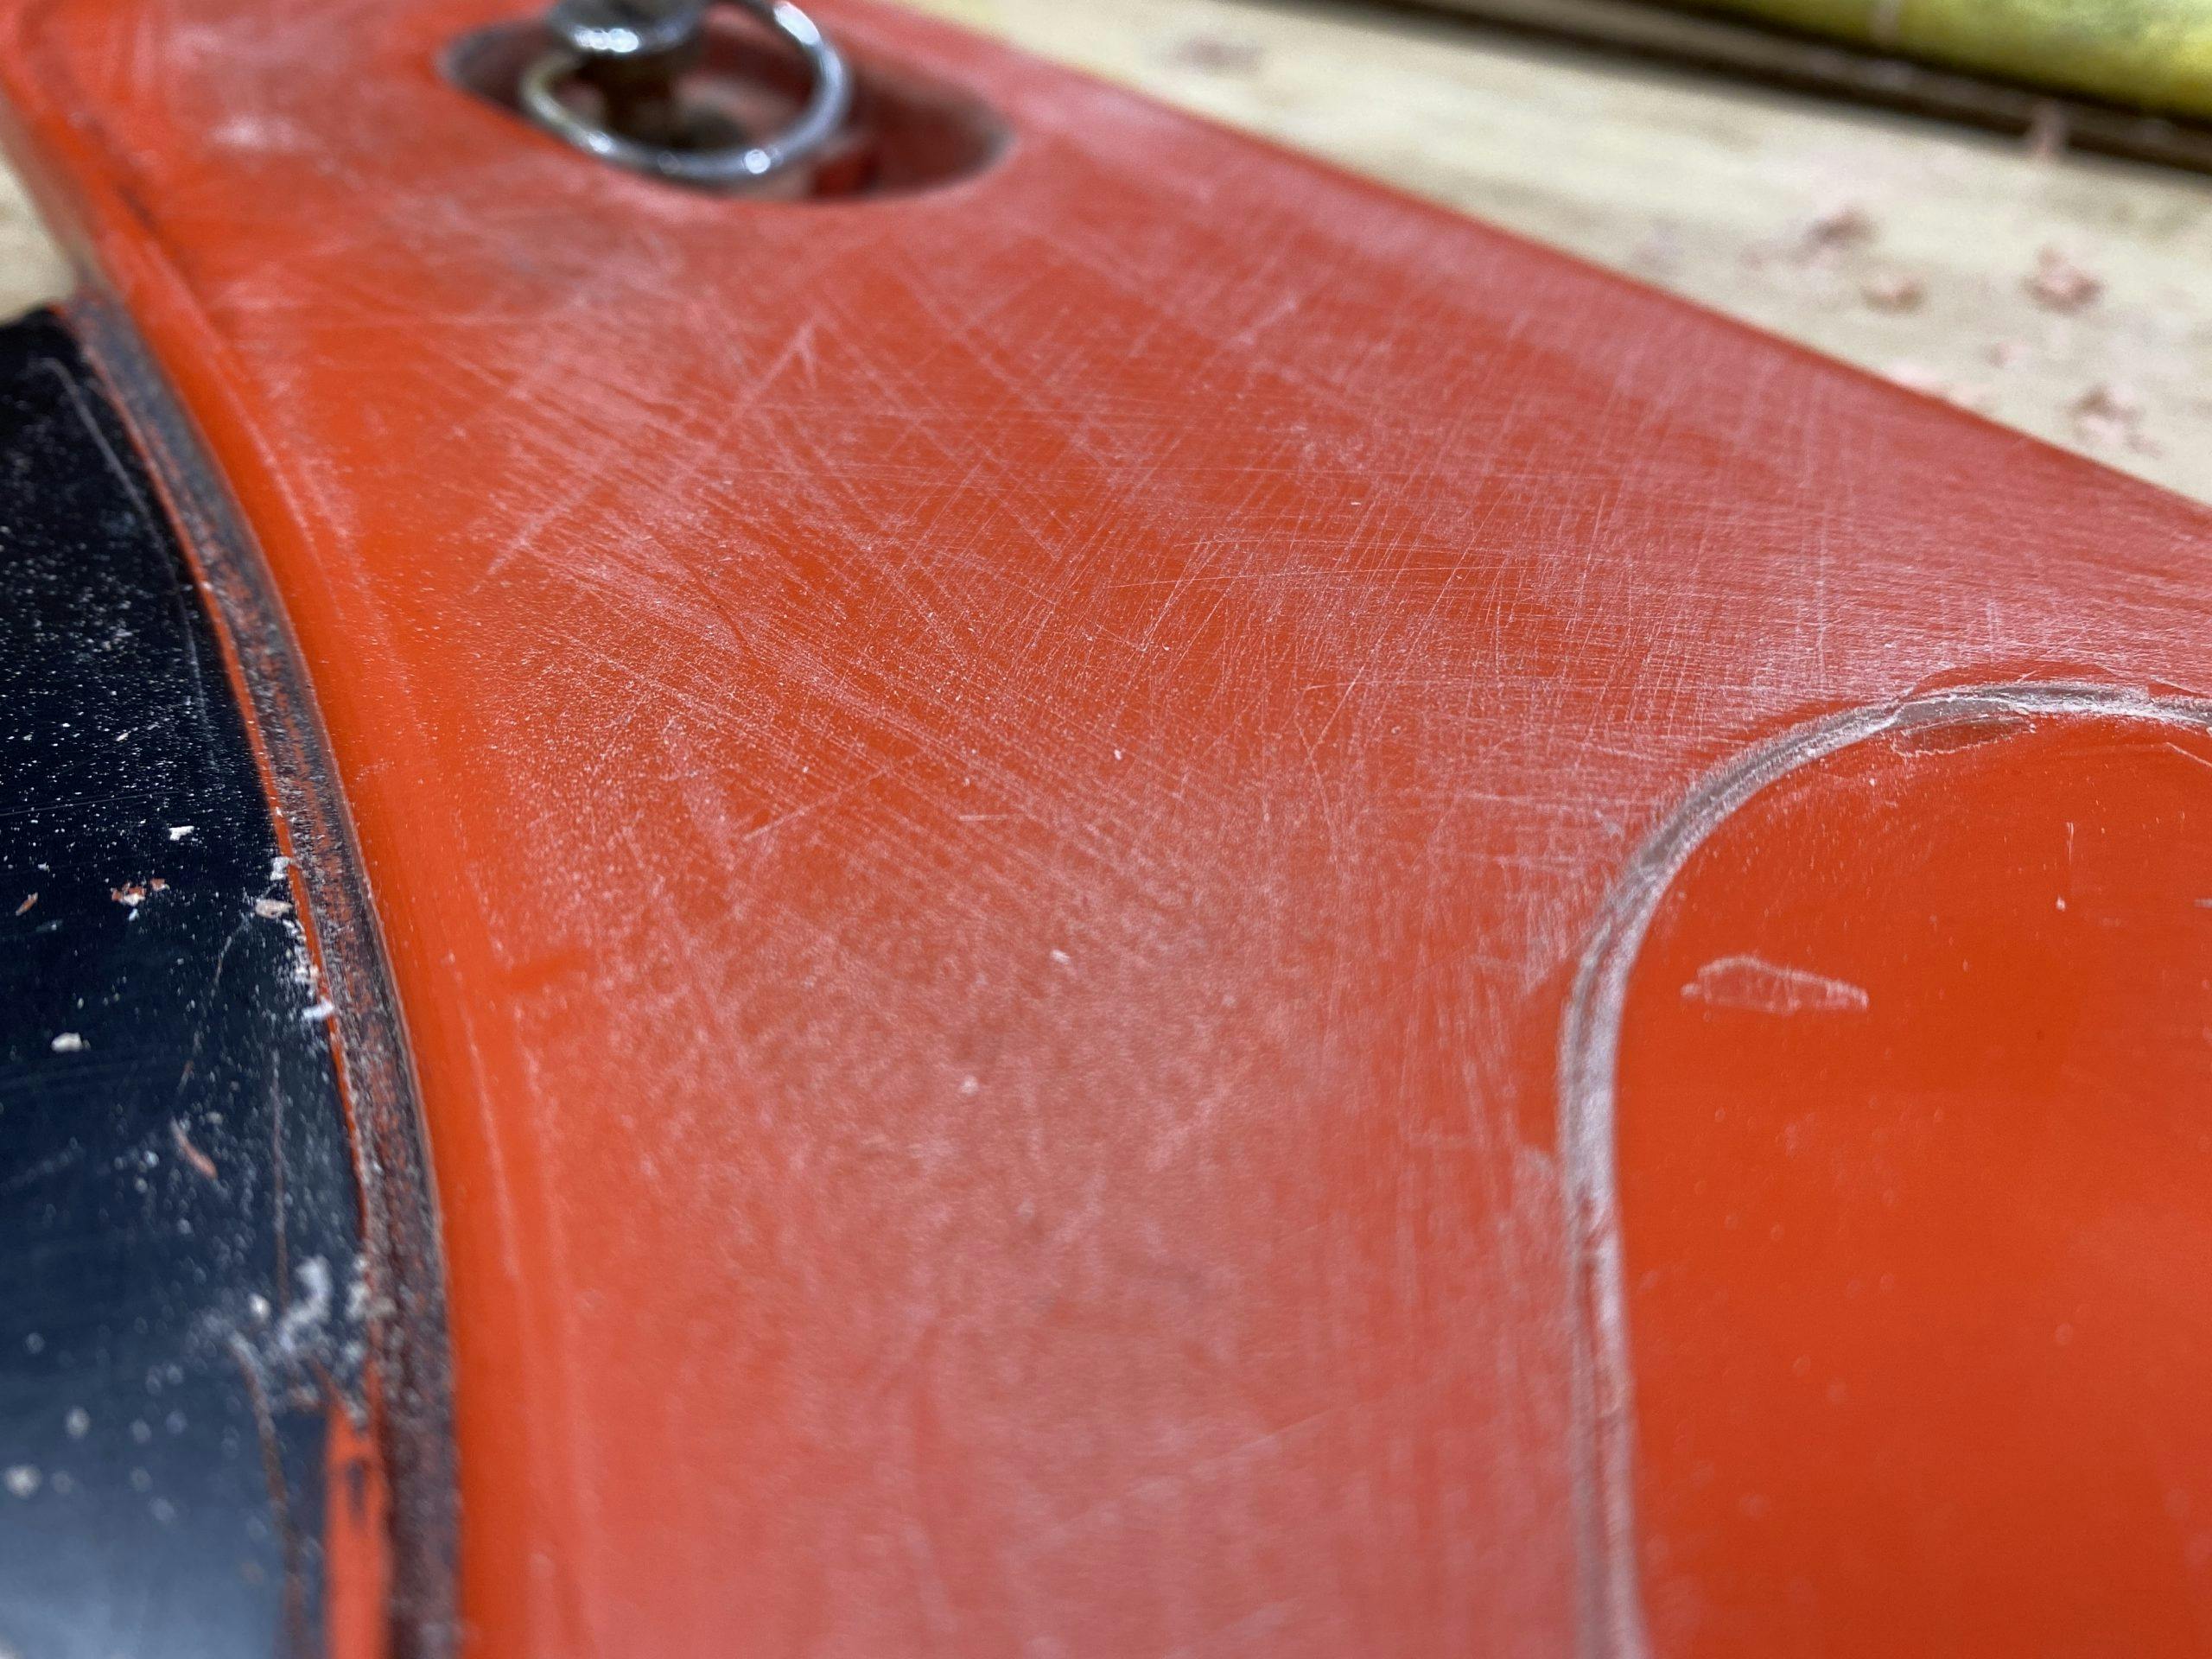
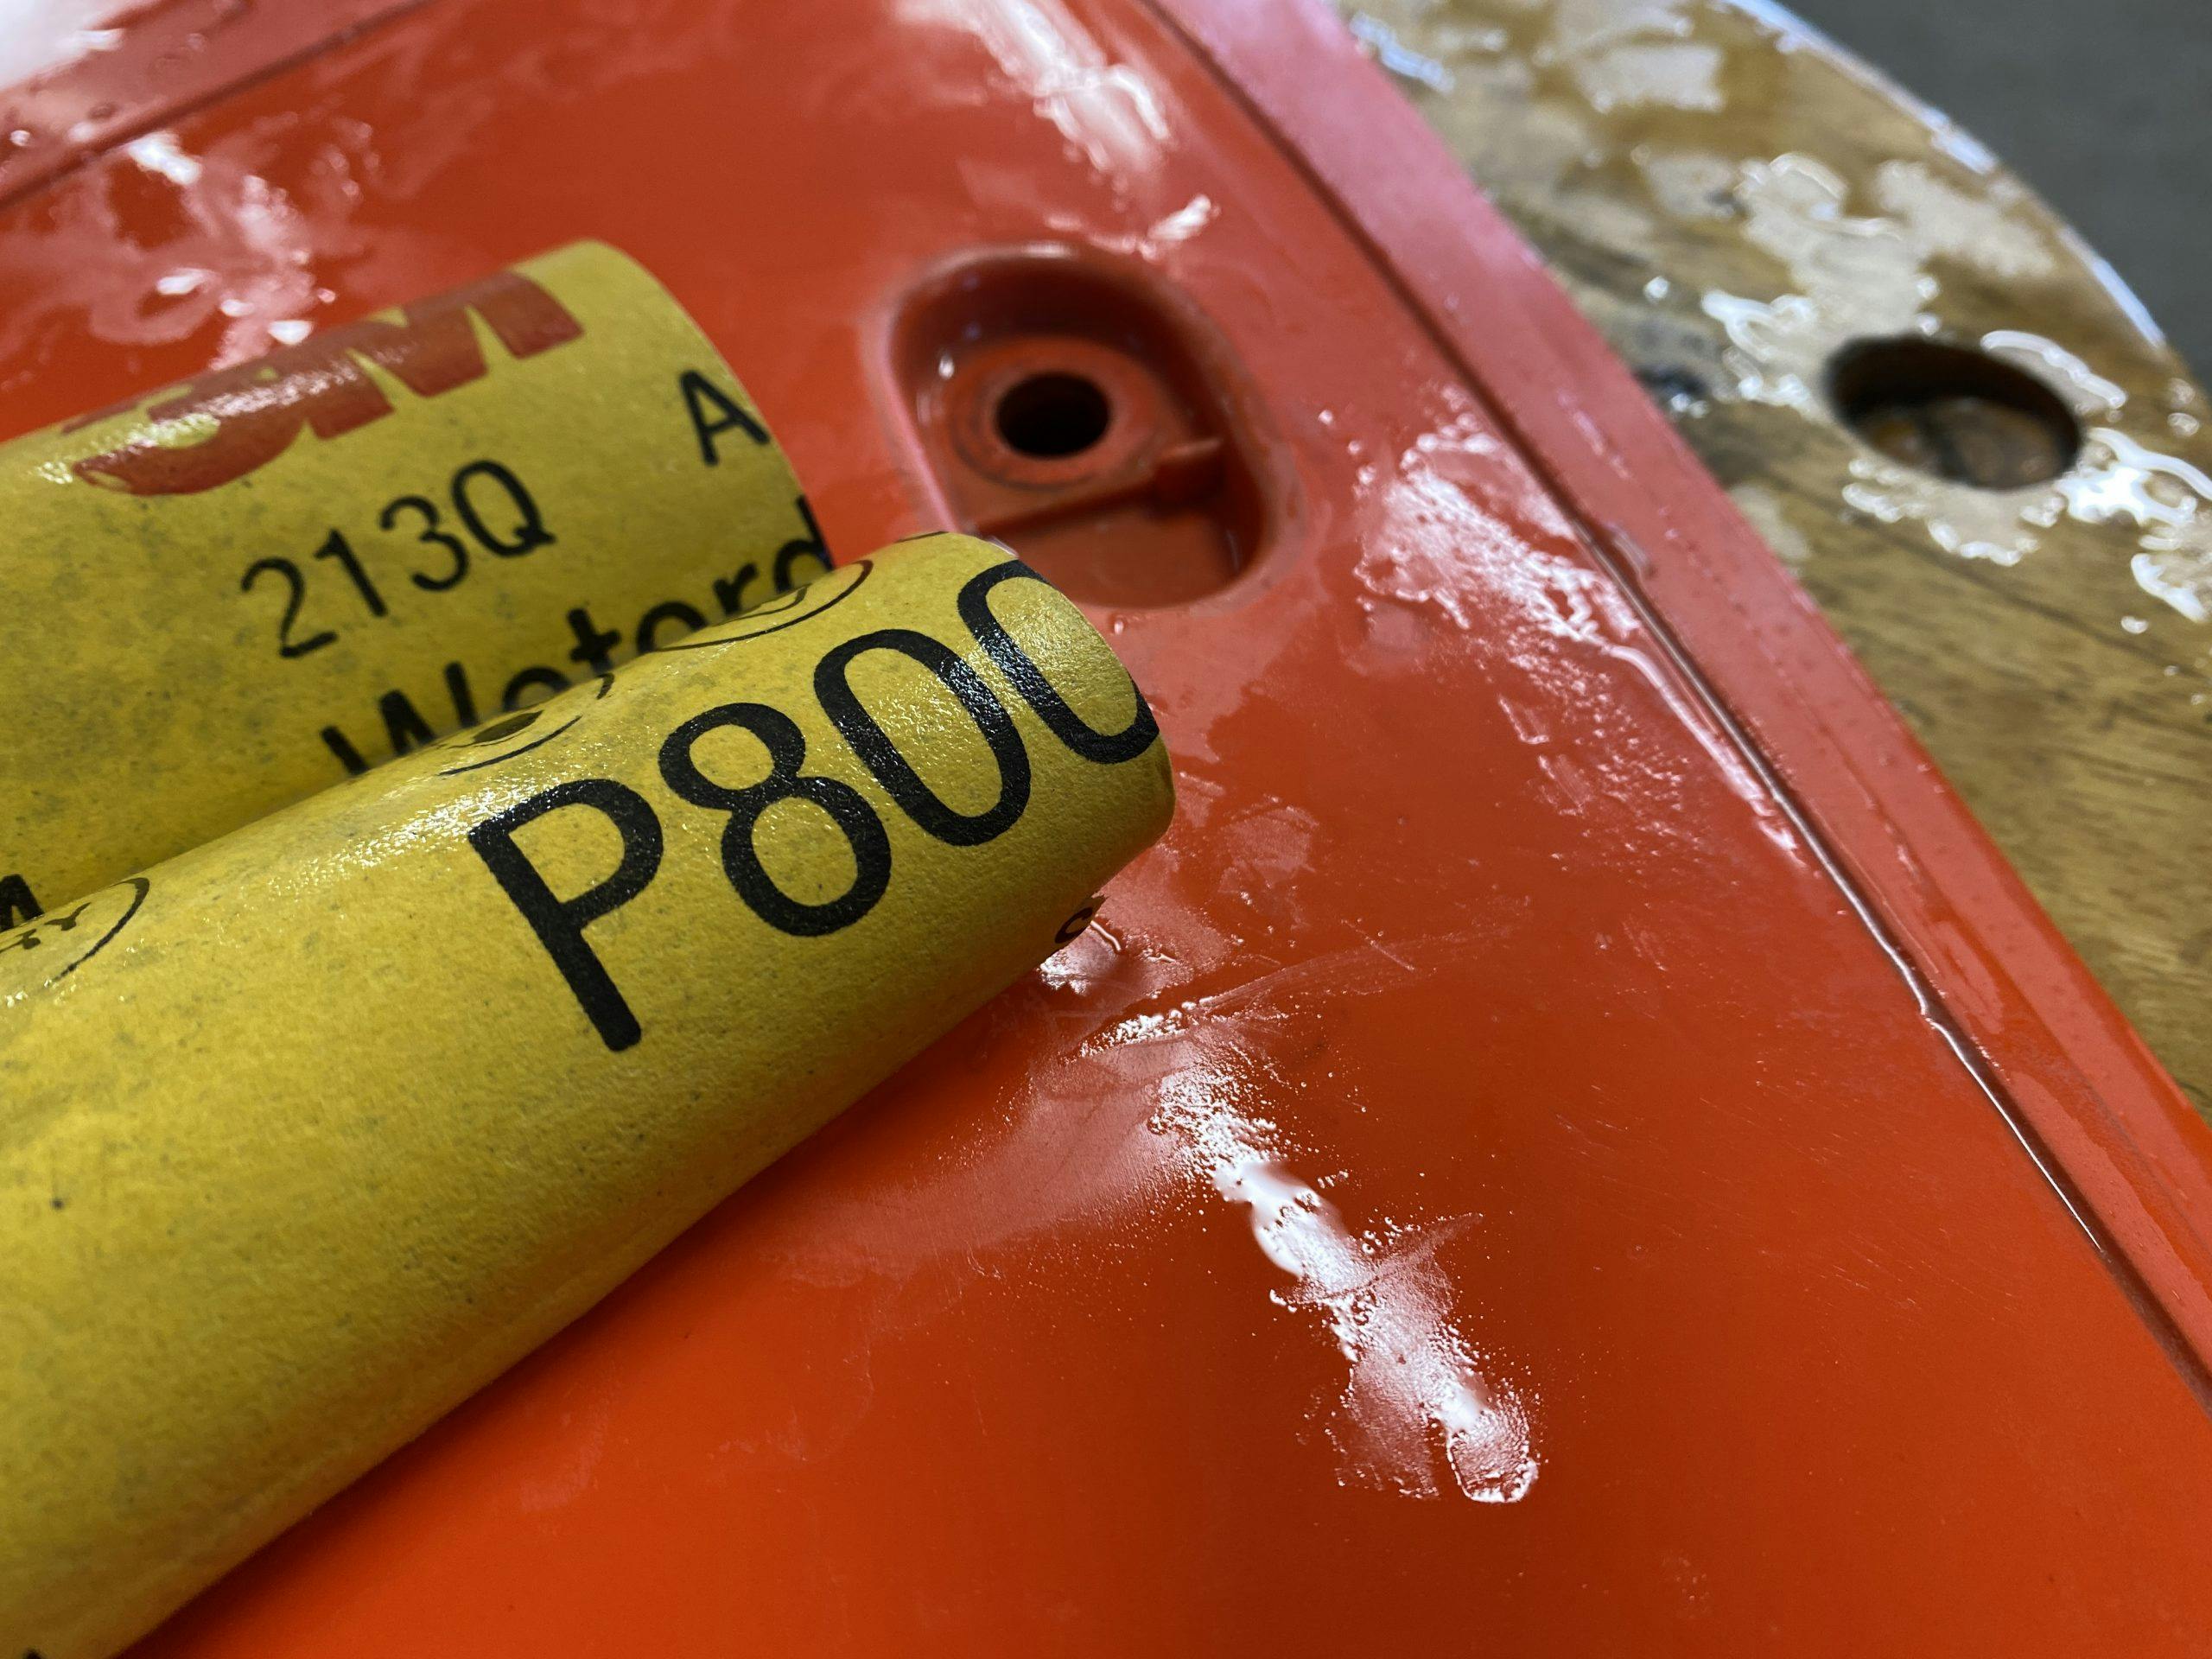
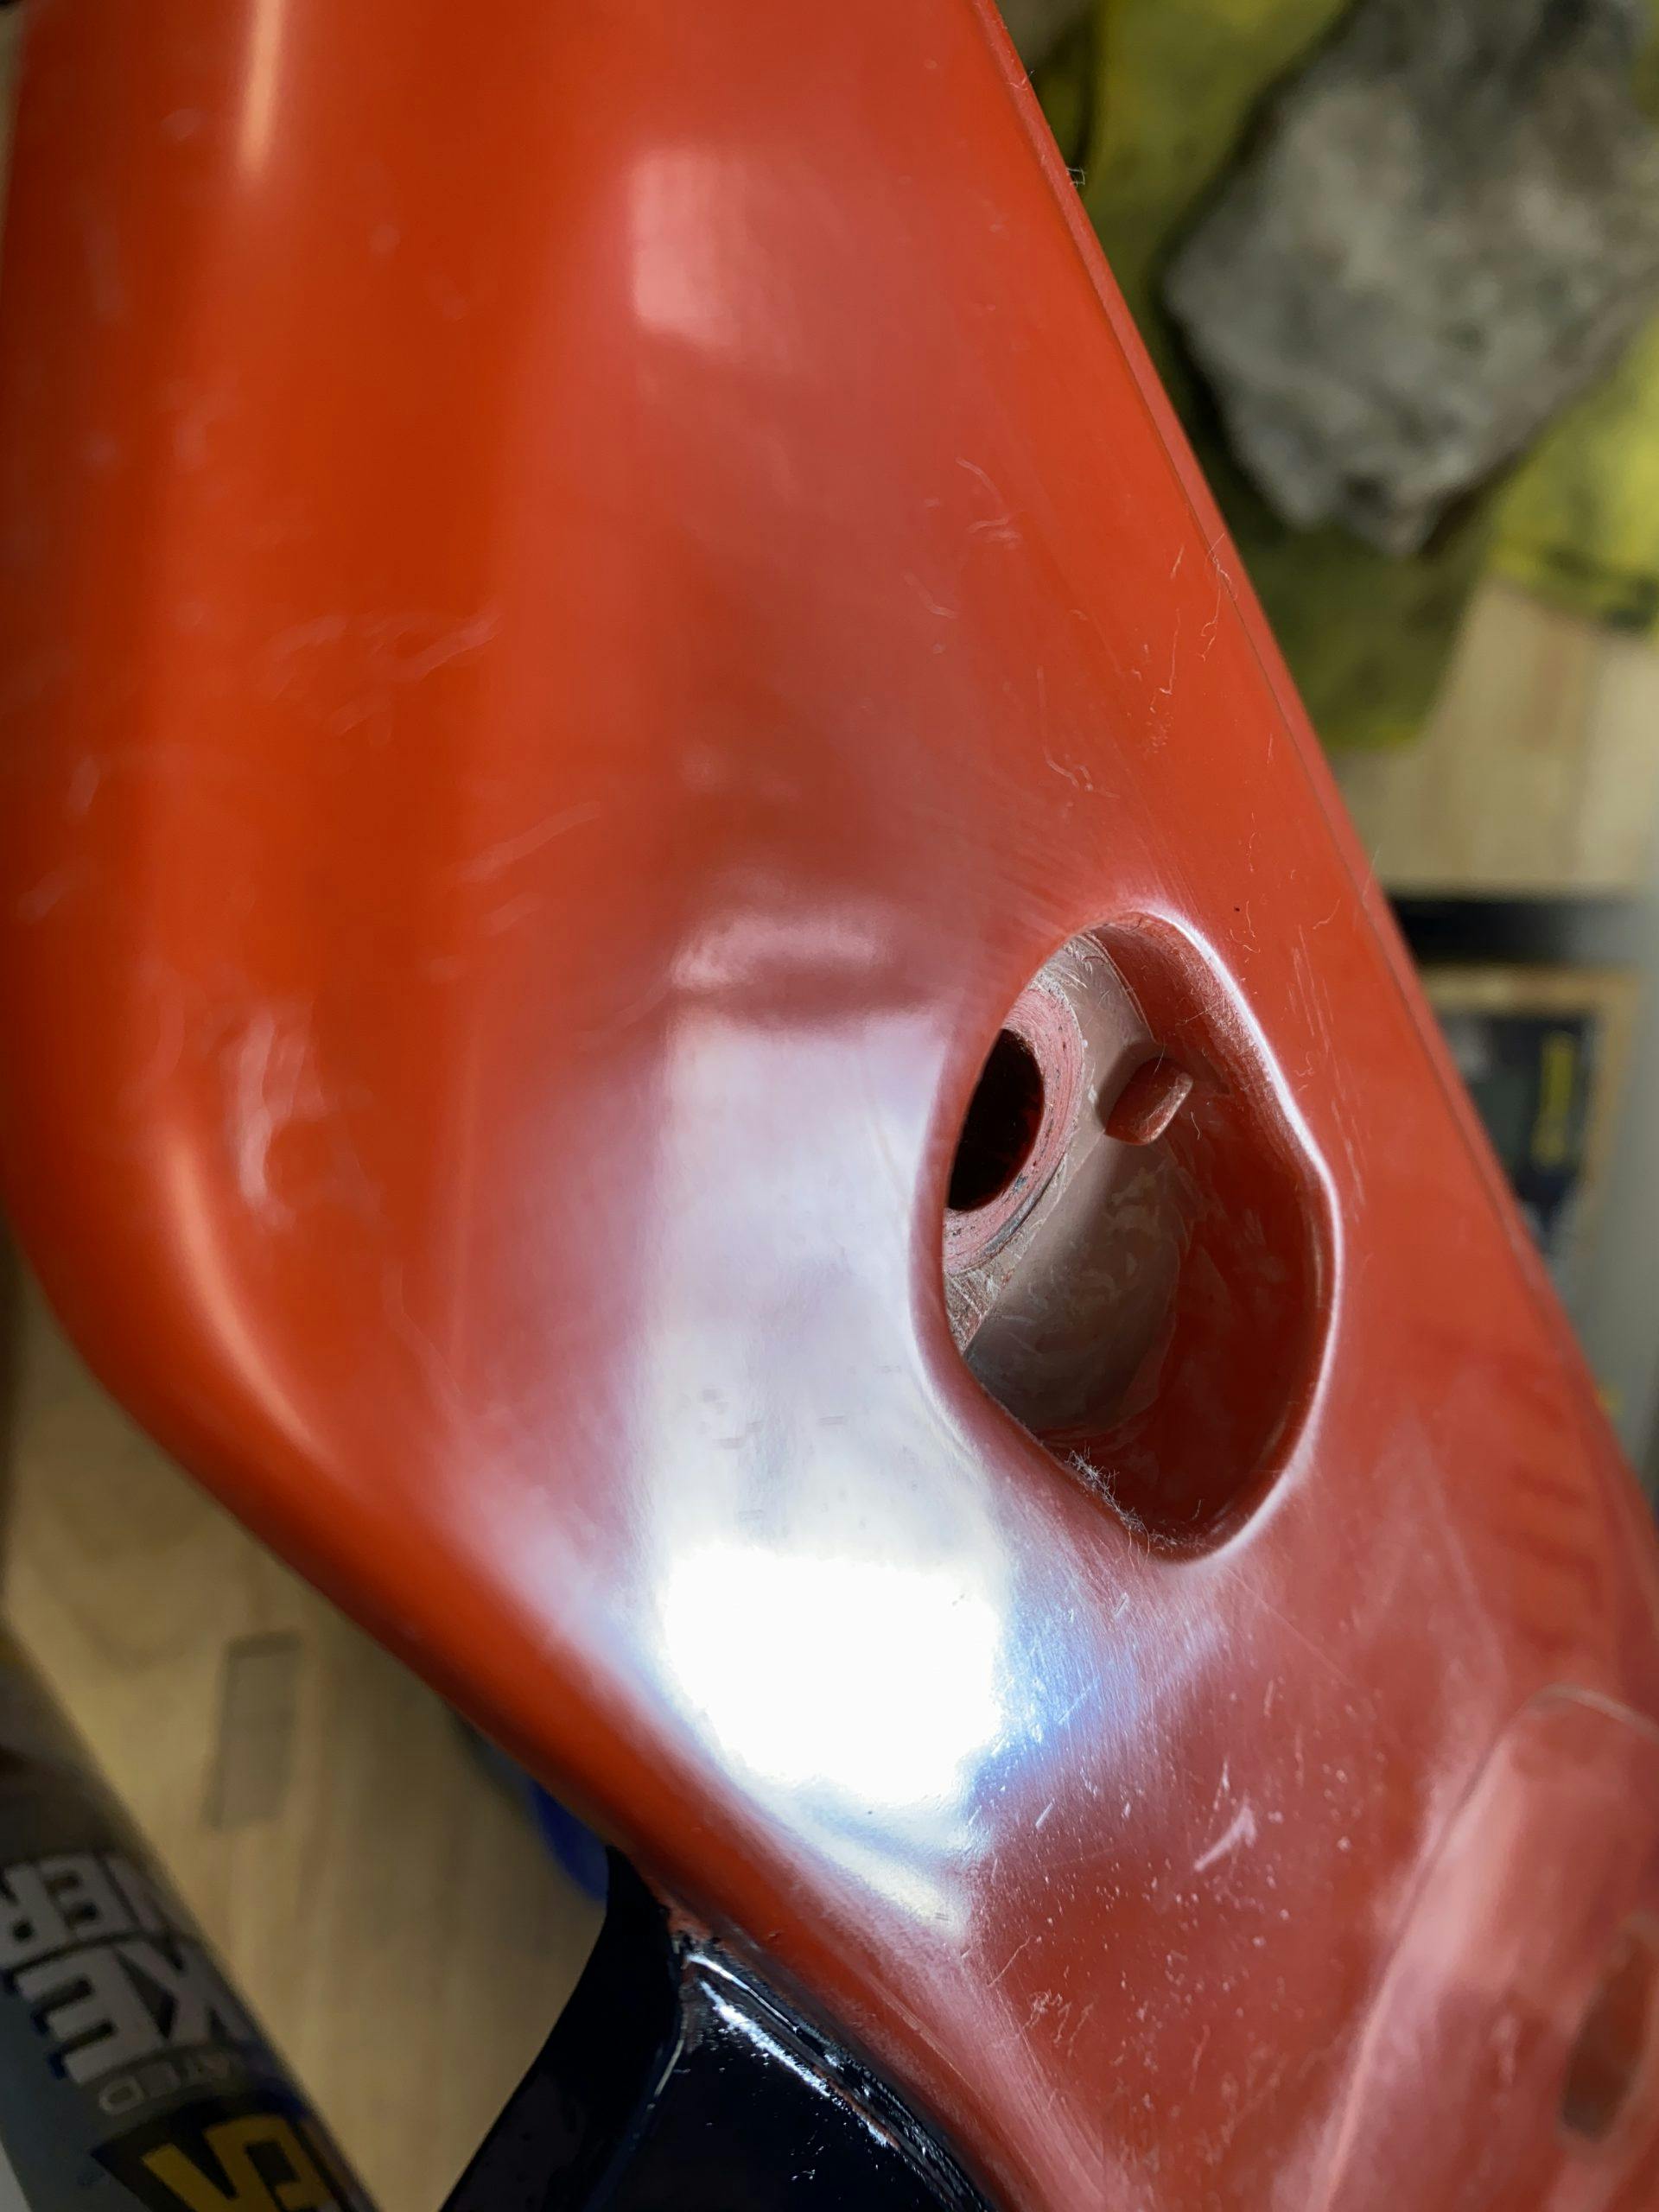
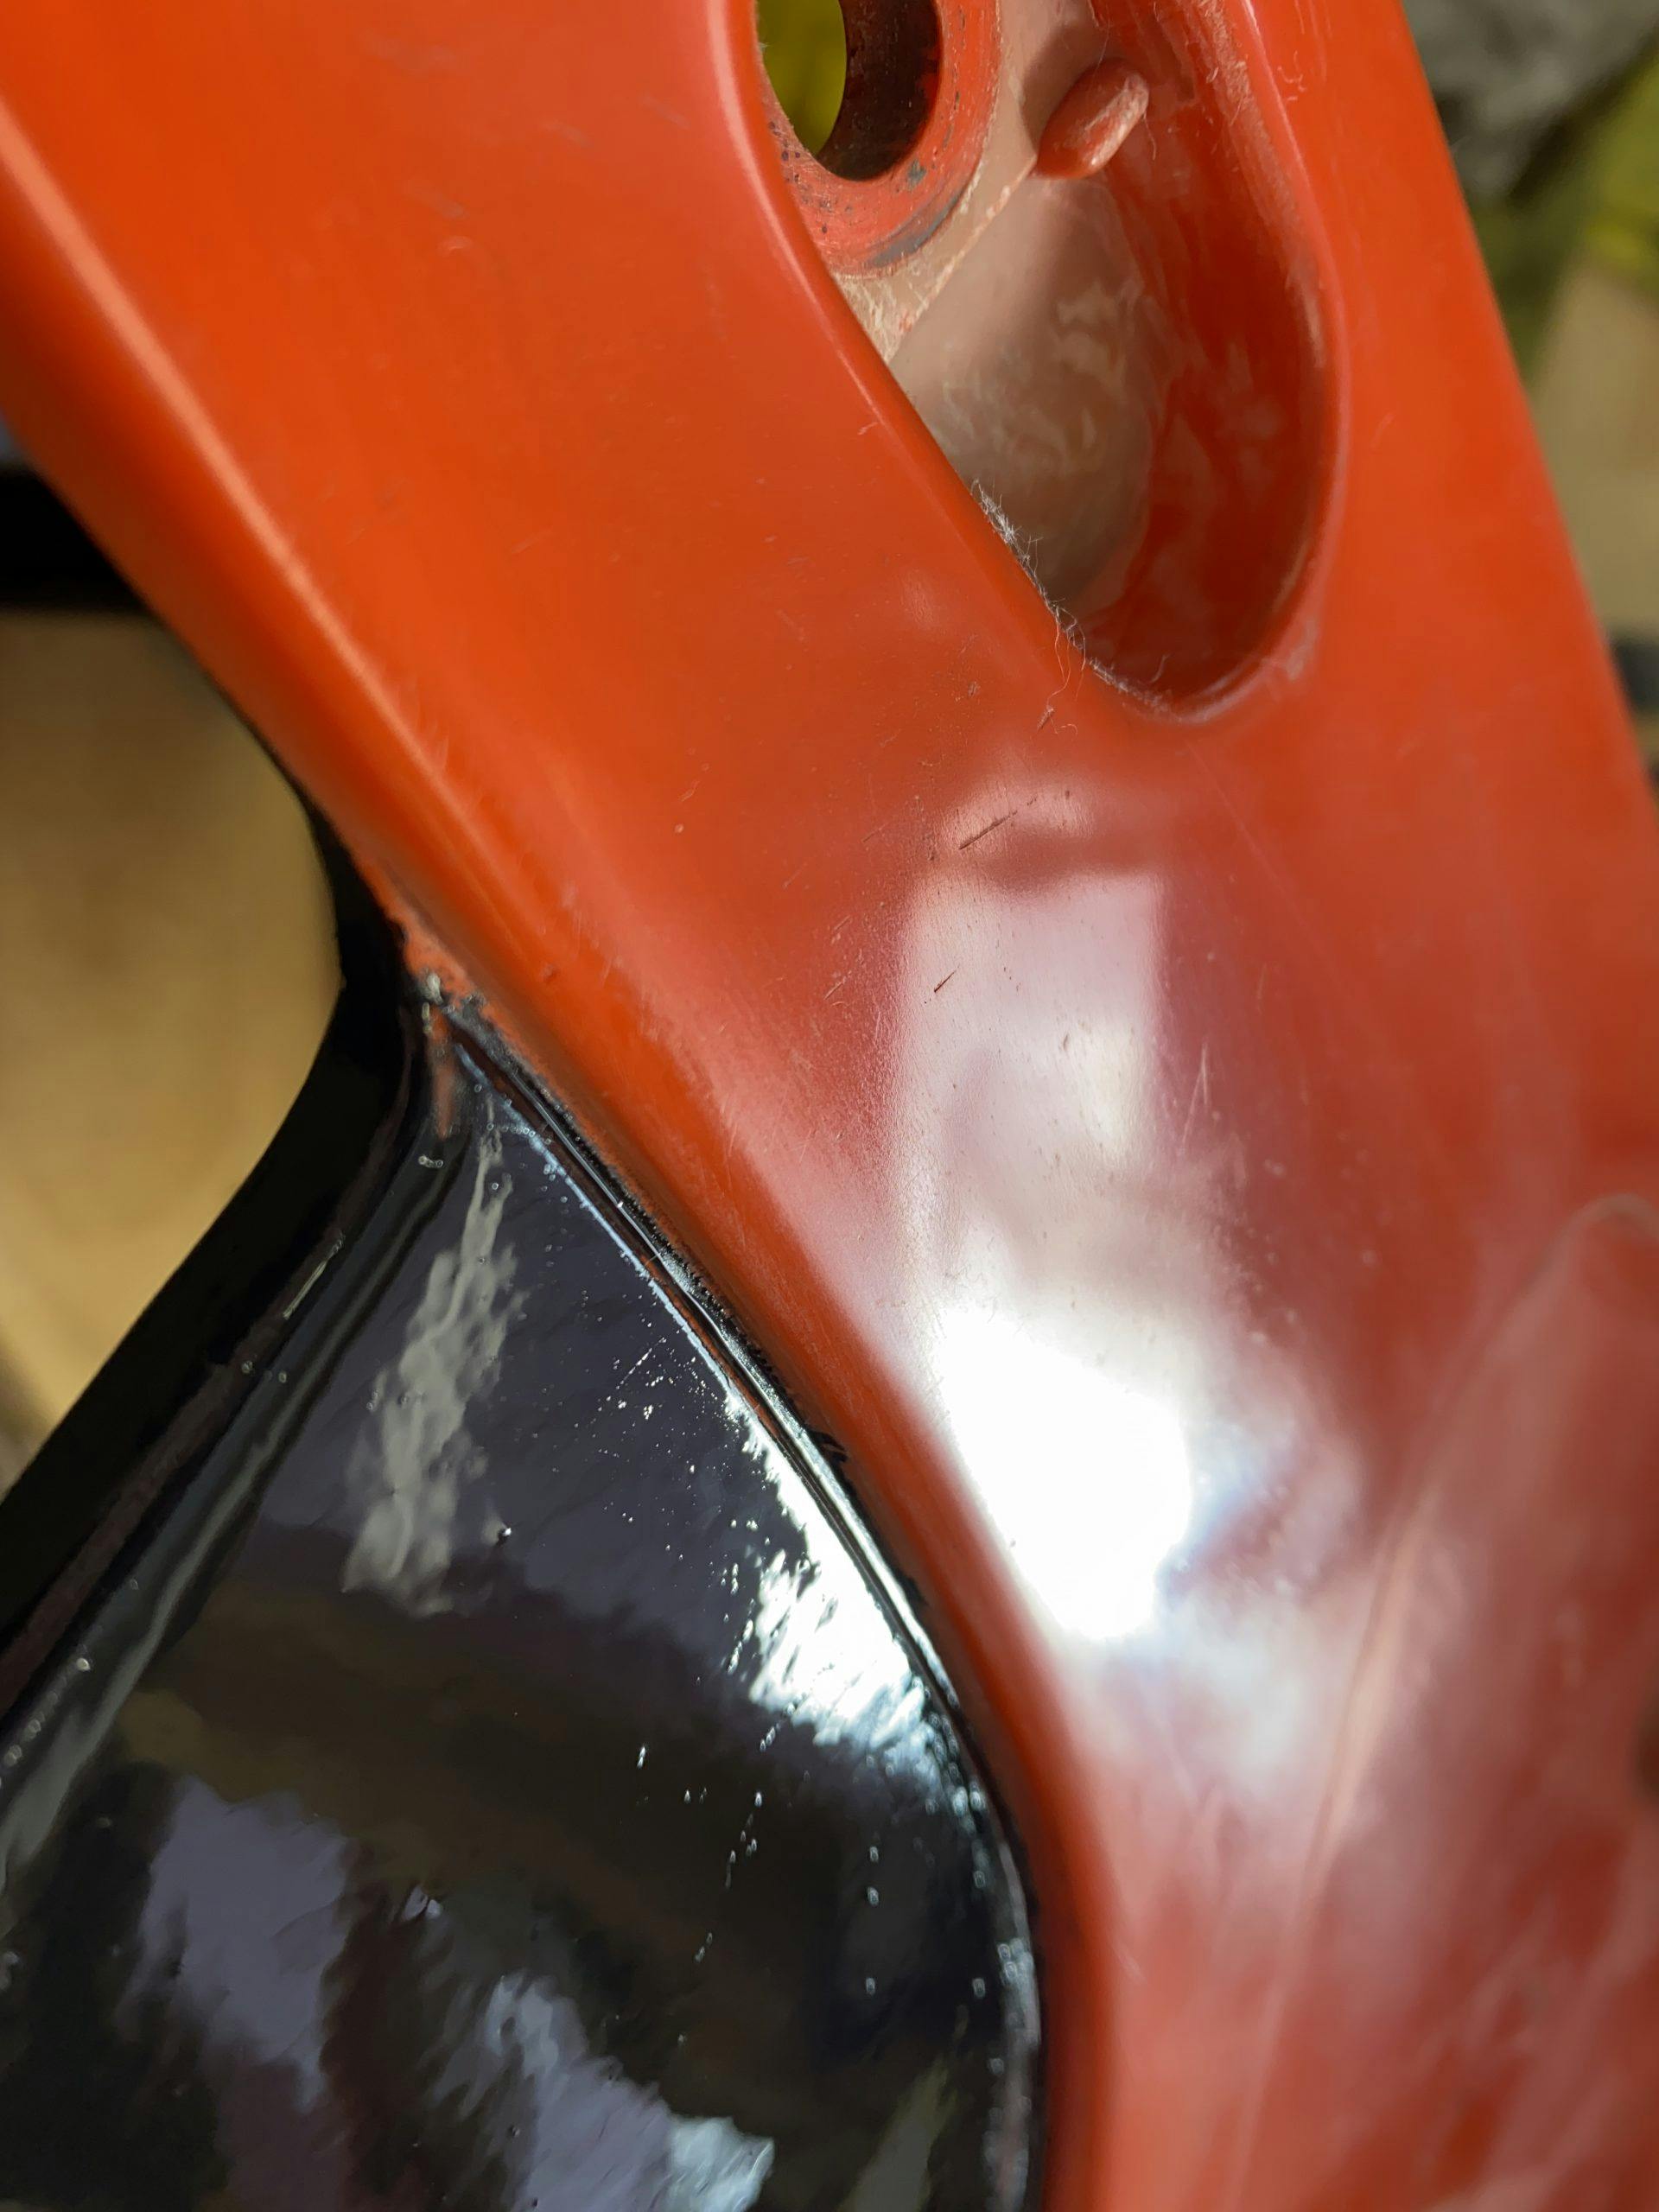
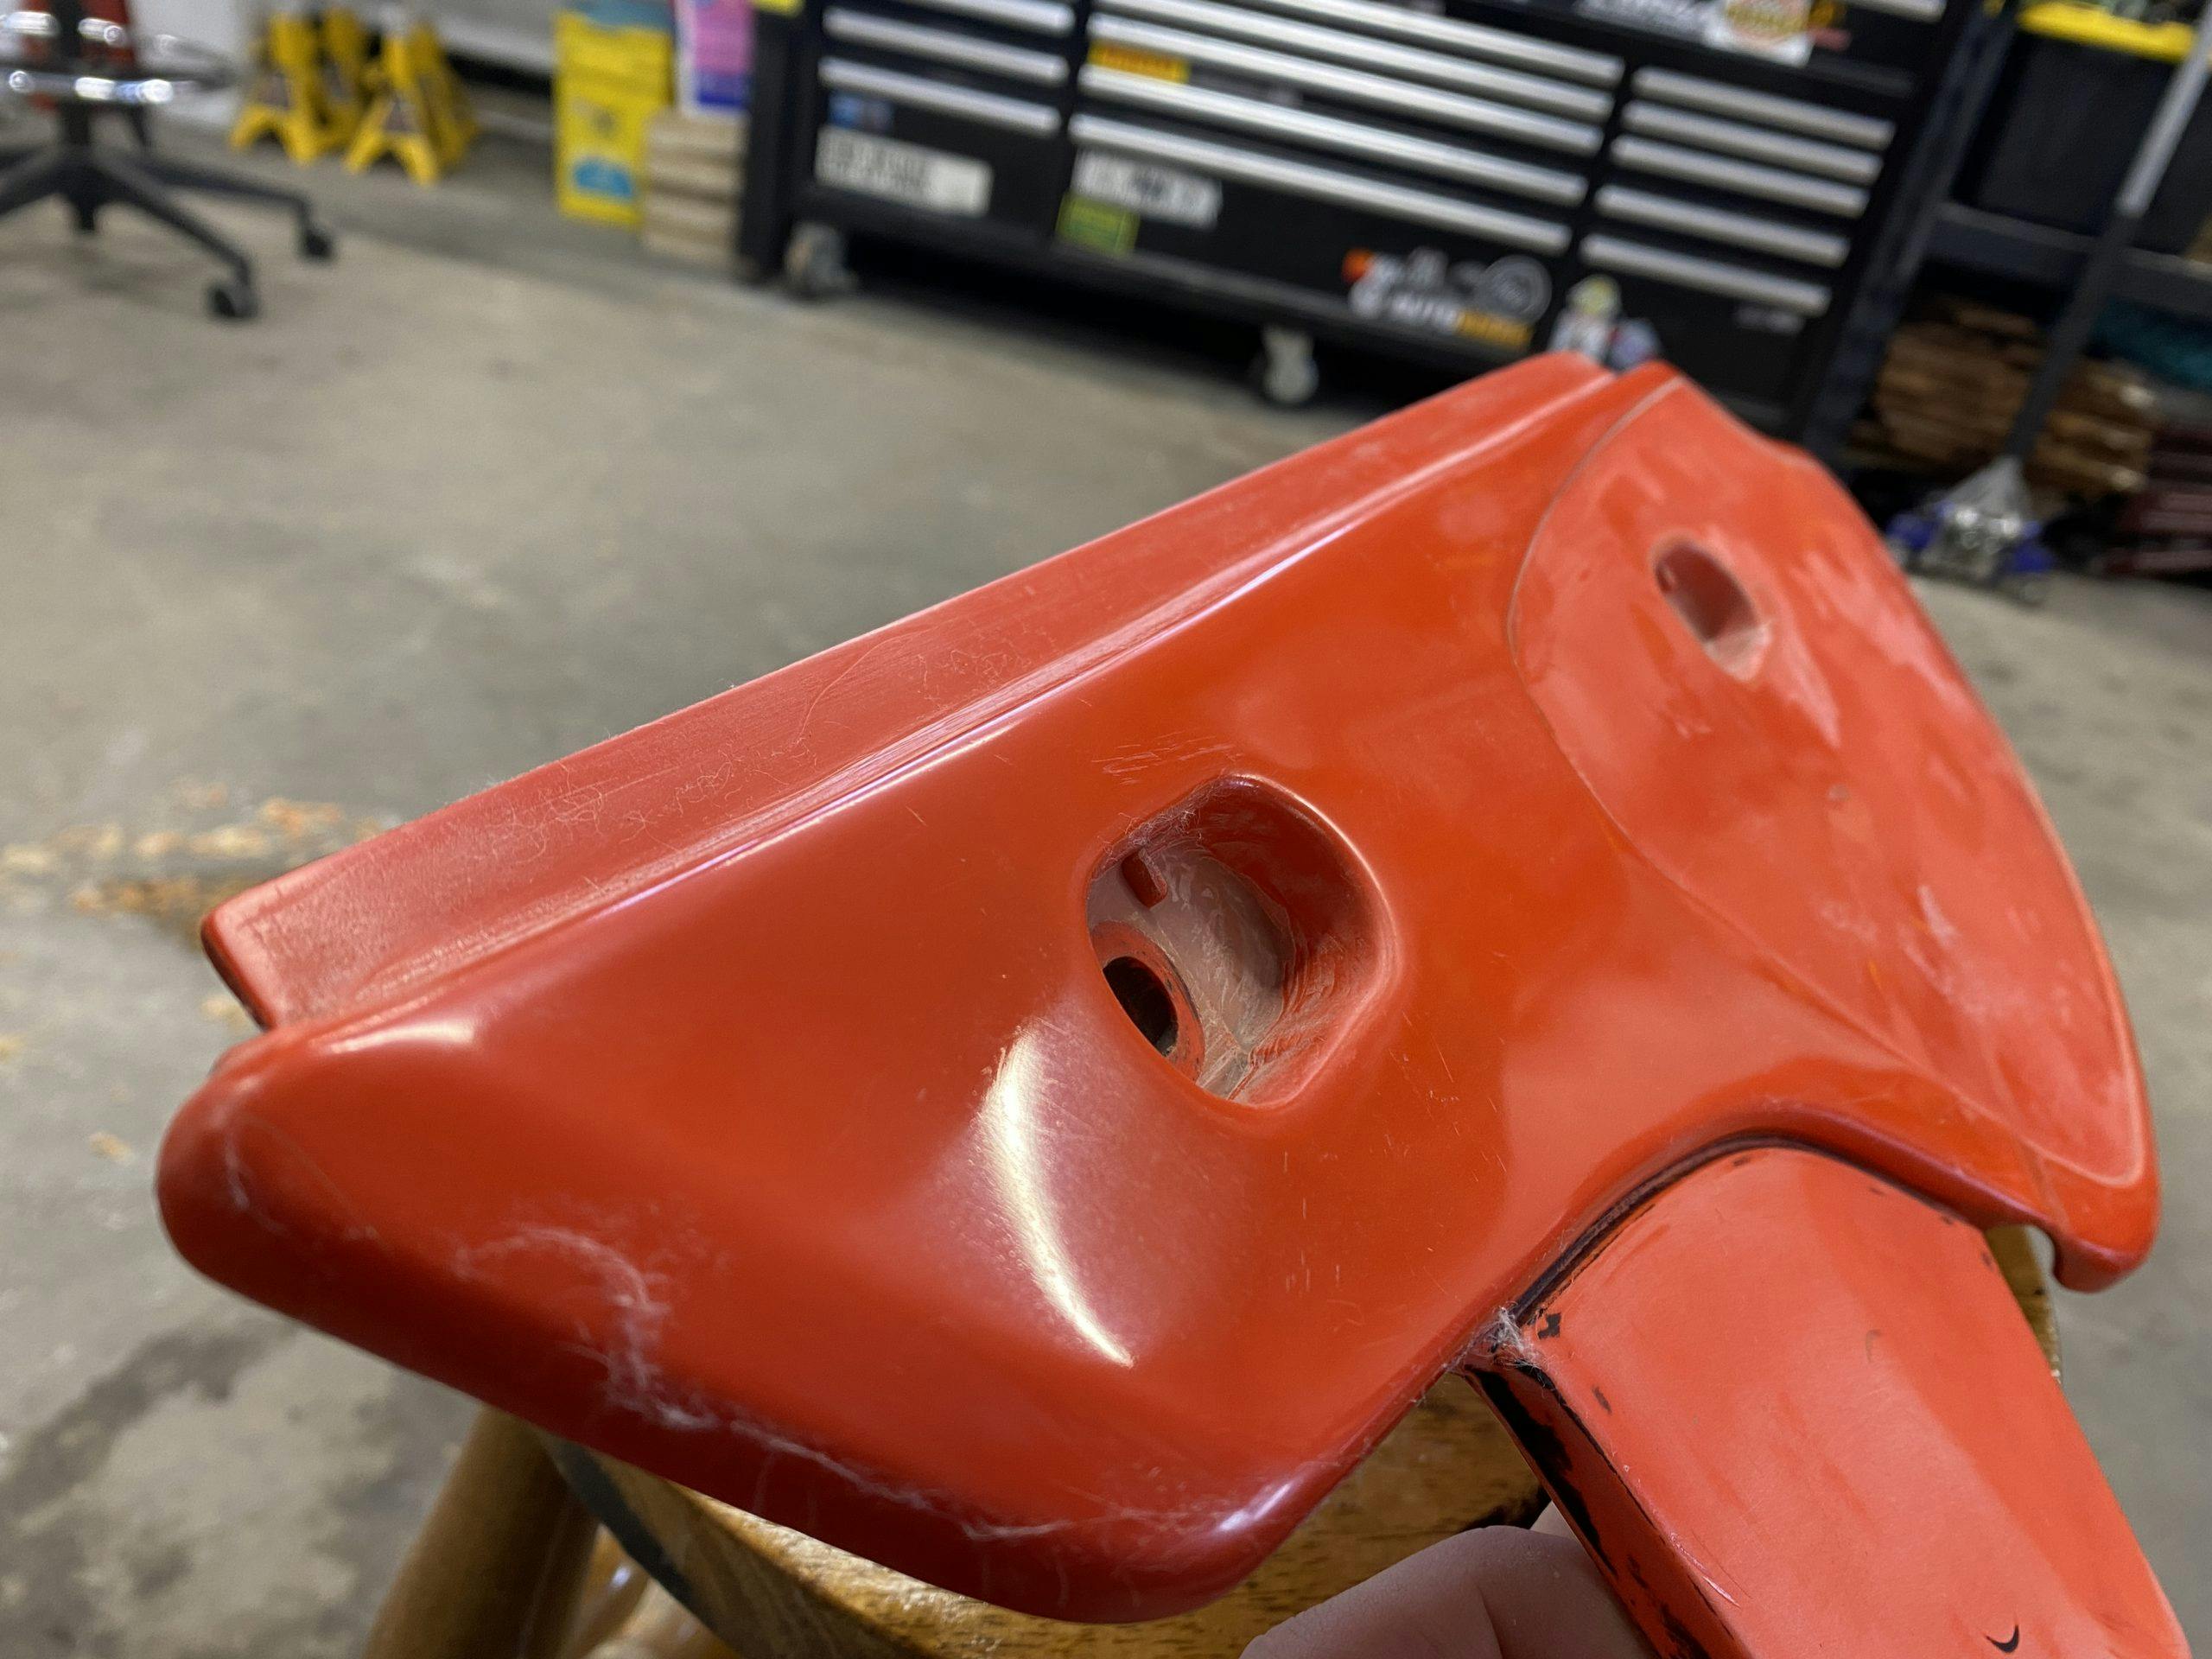
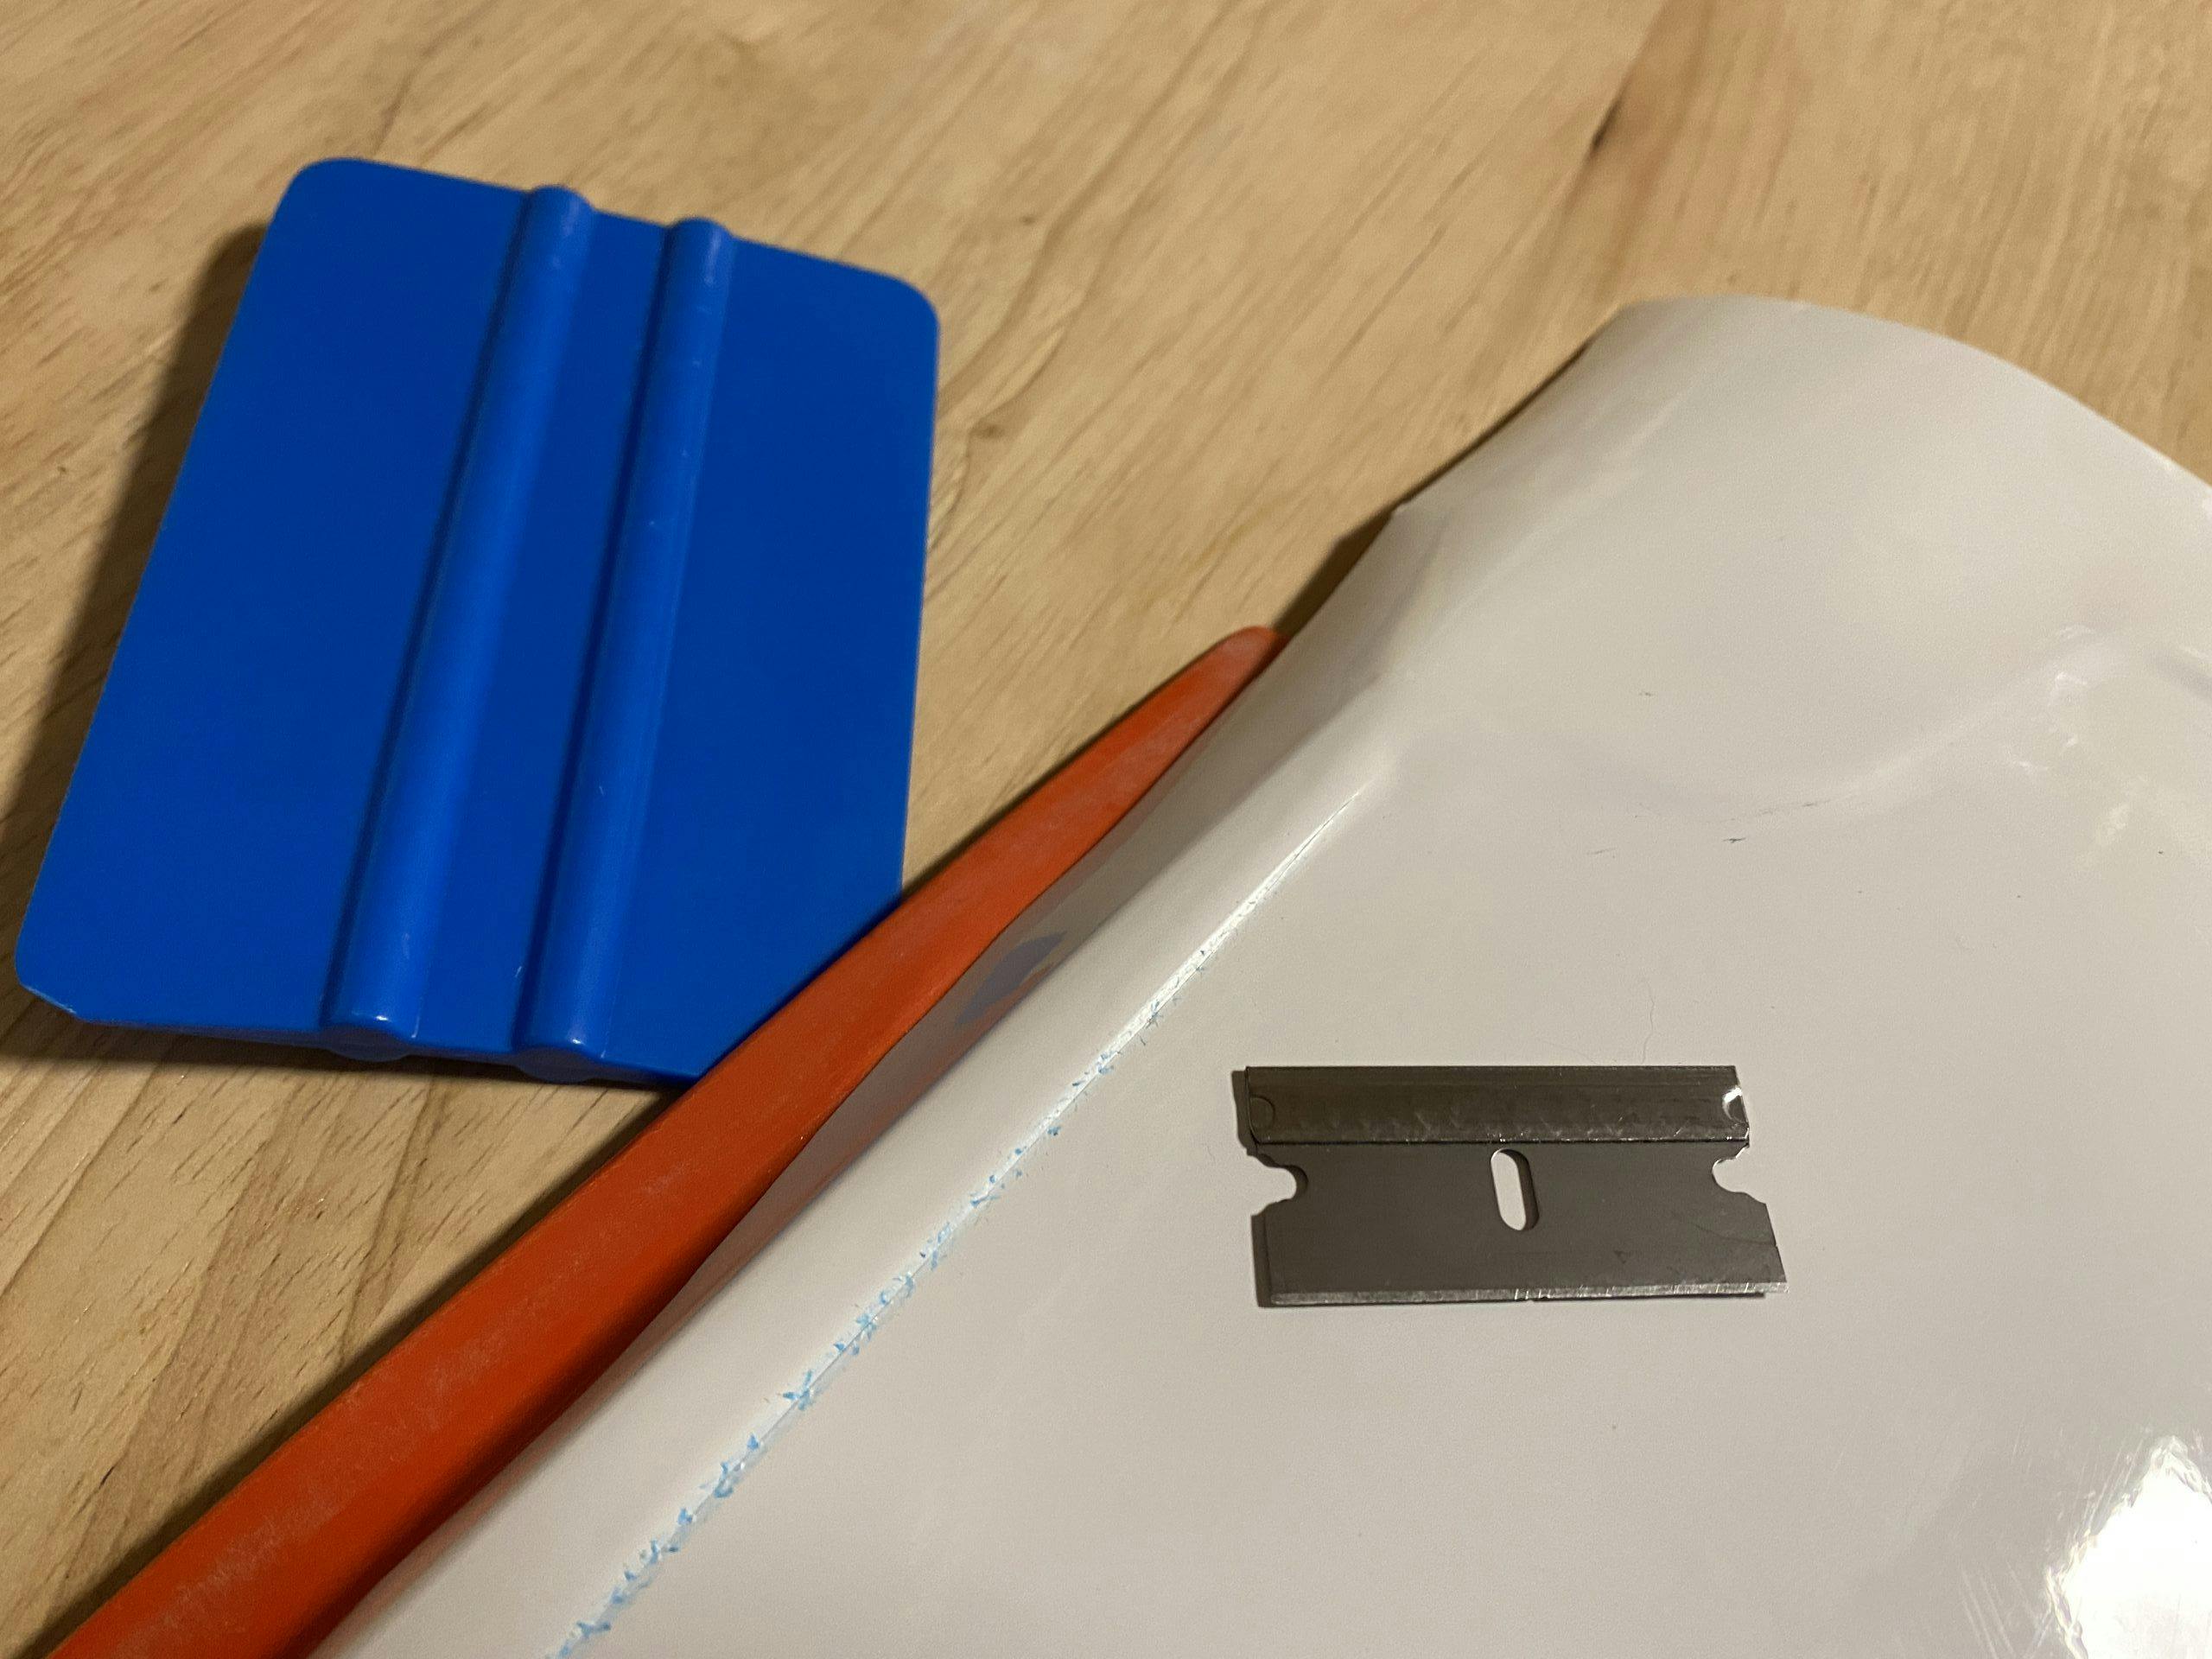
The side number panels, headlight surround, and gas tank are all in varying stages of neglect. Deep scratches and heavy oxidation cover most of each piece, and replacements range from reasonably cheap to quite expensive. Since I am not building a show bike, I decided to shell out my time instead of my money. The only tools I needed to restore these plastic components were a razor blade, varying grades of sandpaper, and a clean buffing wheel.
The process is the same for all the parts and centers around removing small amounts of material until you reveal fresh, unoxidized plastic. Then, you can buff it to a good shine. There is one caveat here: Regardless of how much time you invest and how carefully you attend to detail, your restored plastic part will never exactly match the brand-new version. You can get pretty close to an off-the-shelf finish, but a keen eye will know yours was restored rather than replaced.
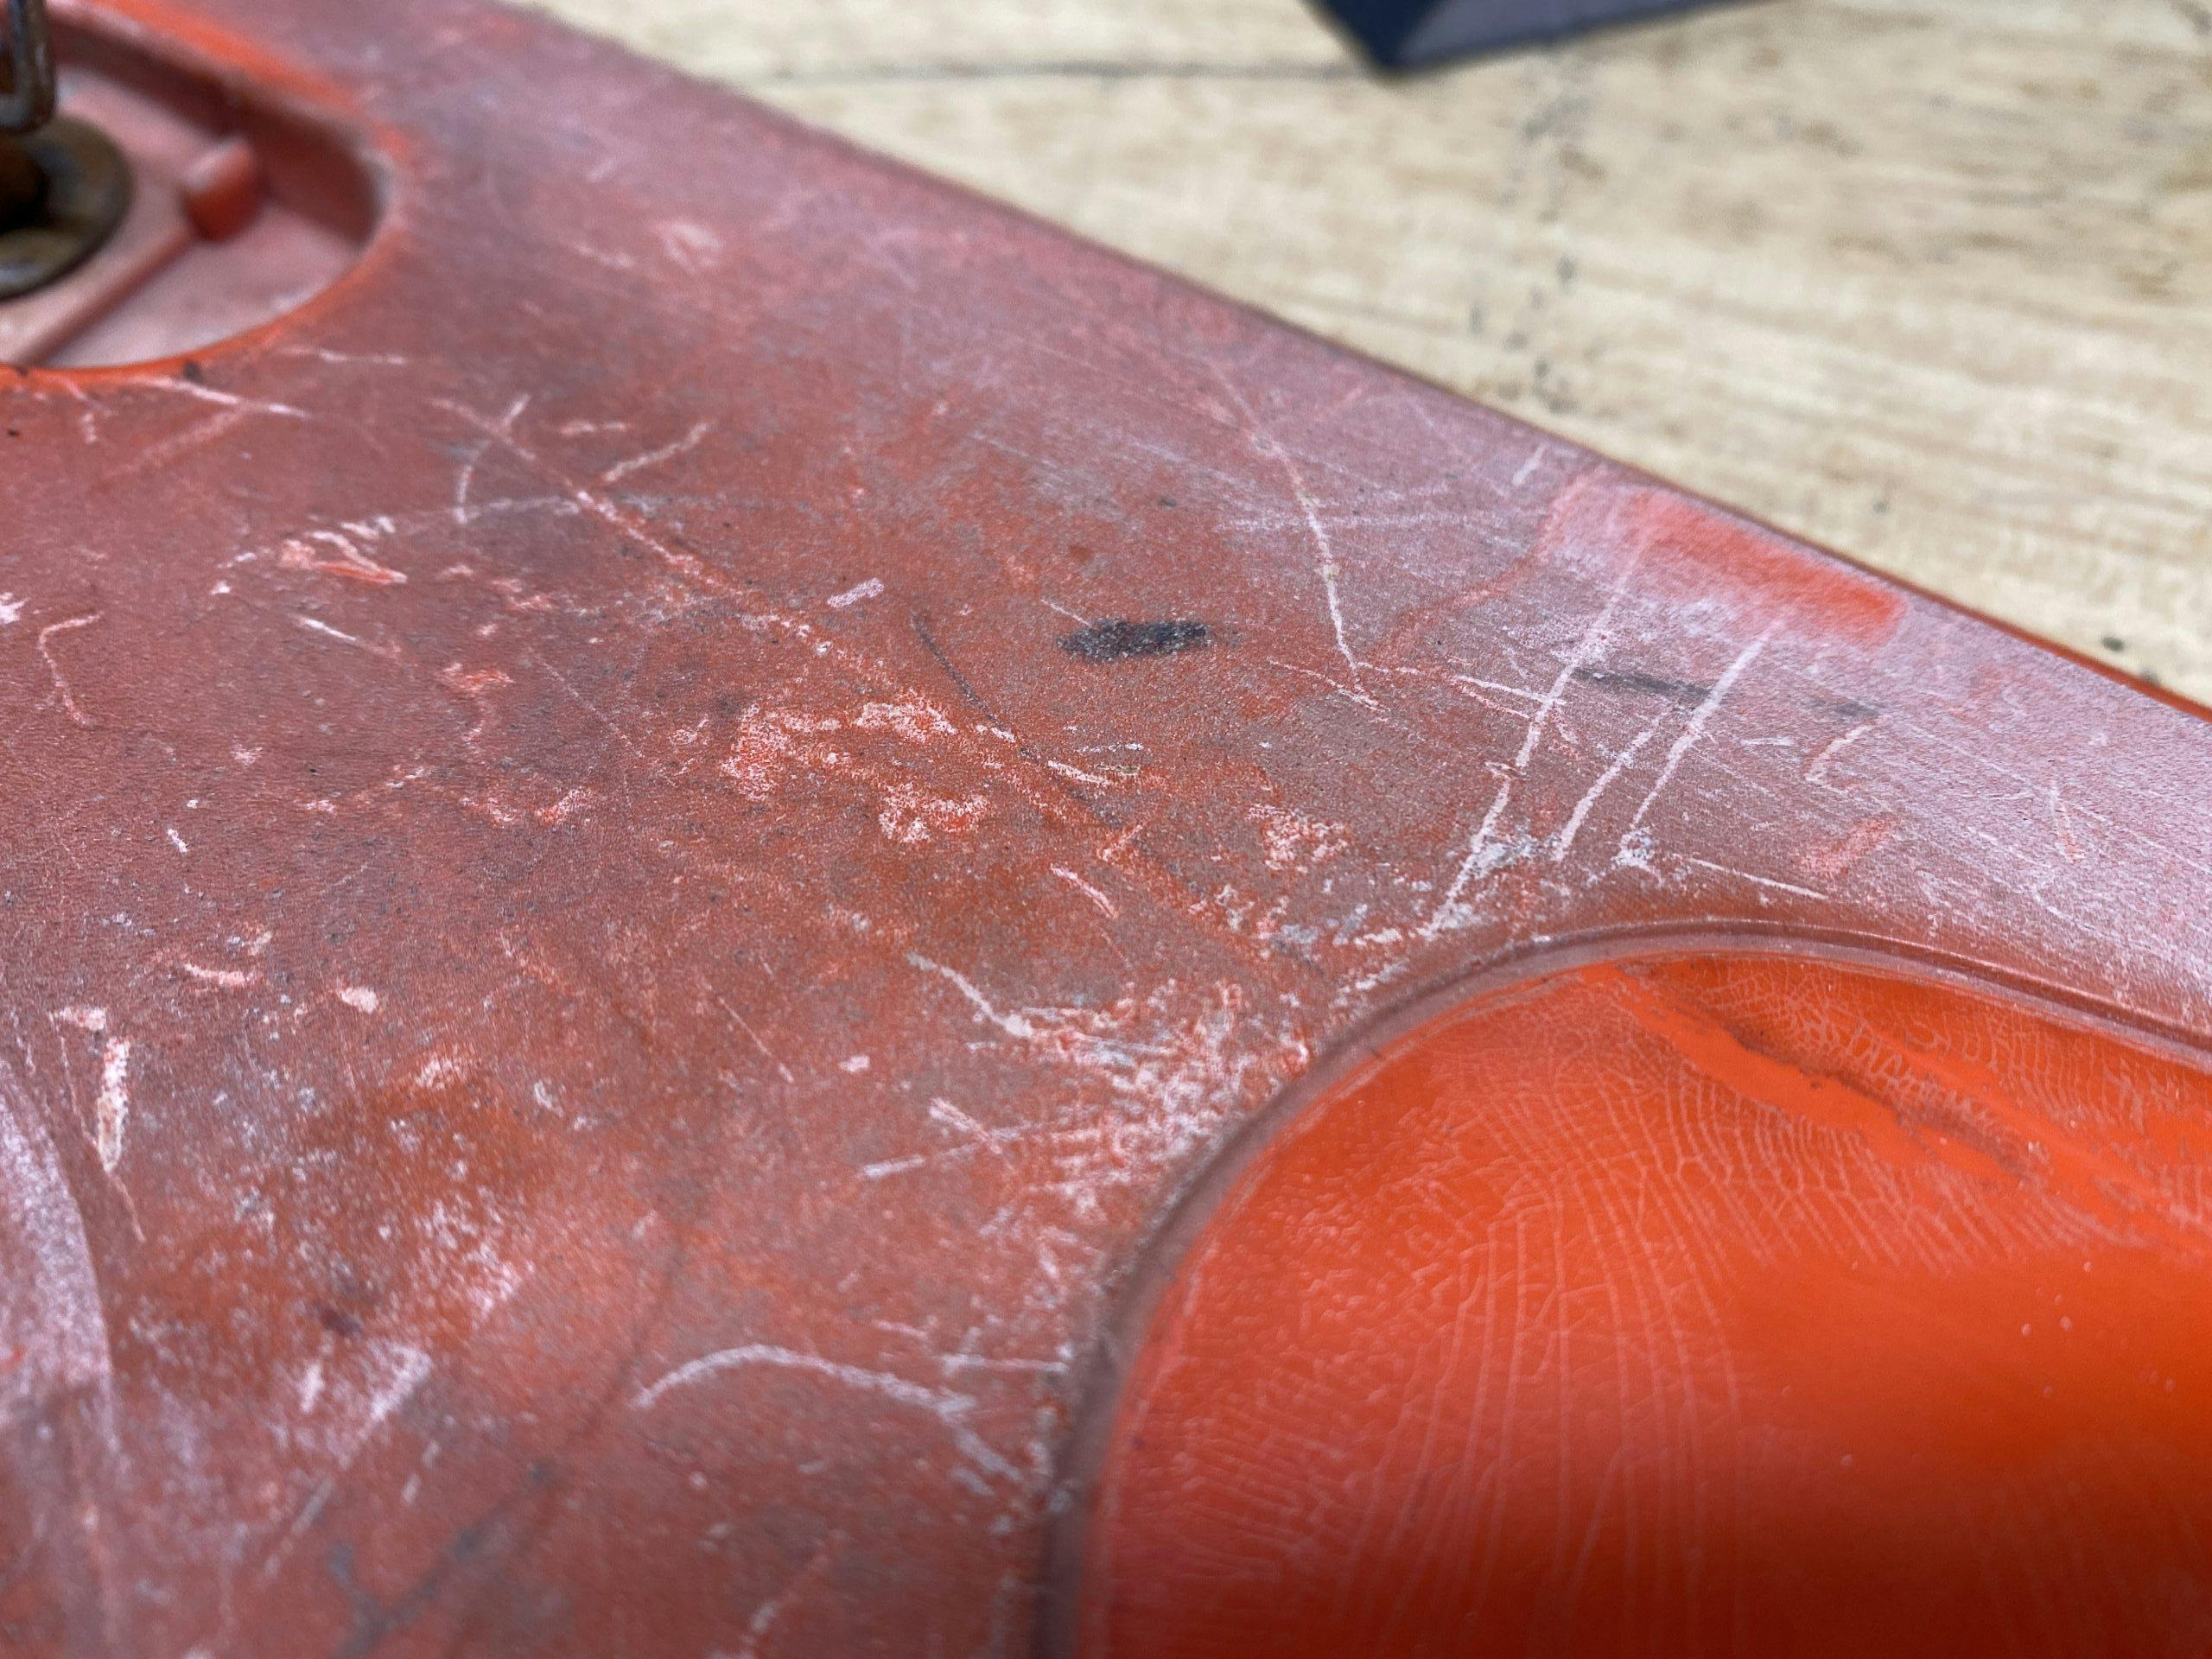
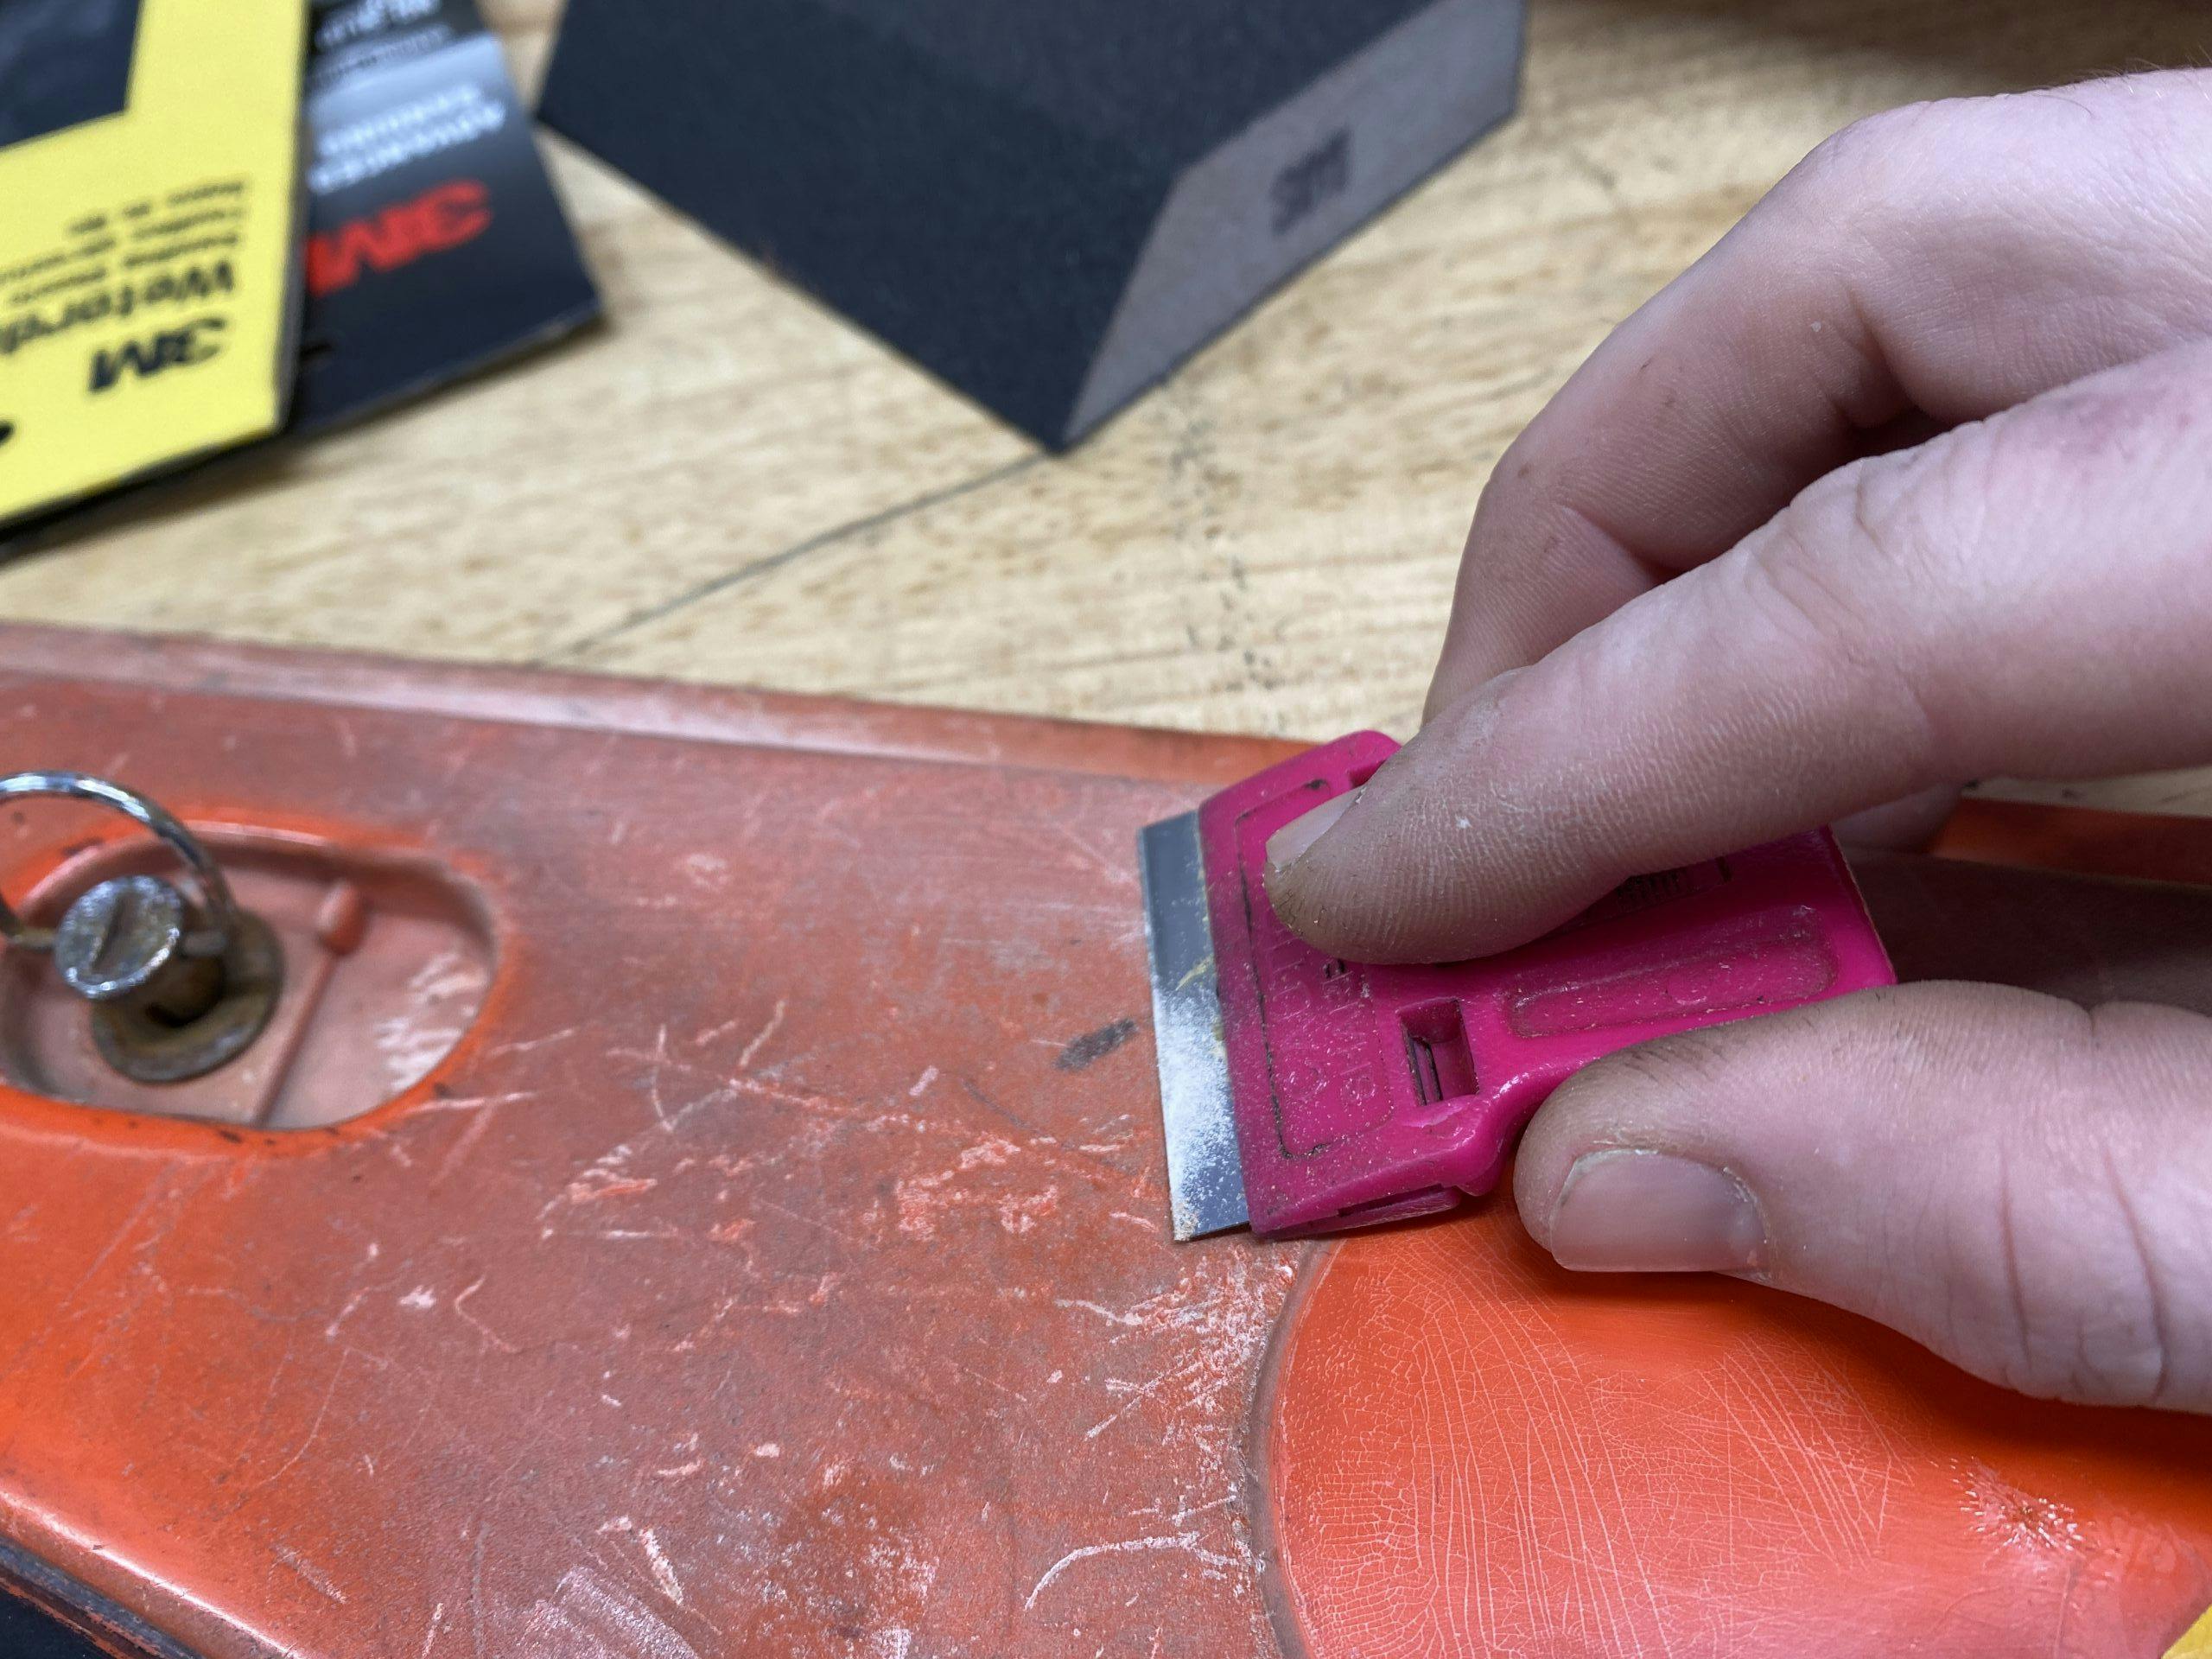
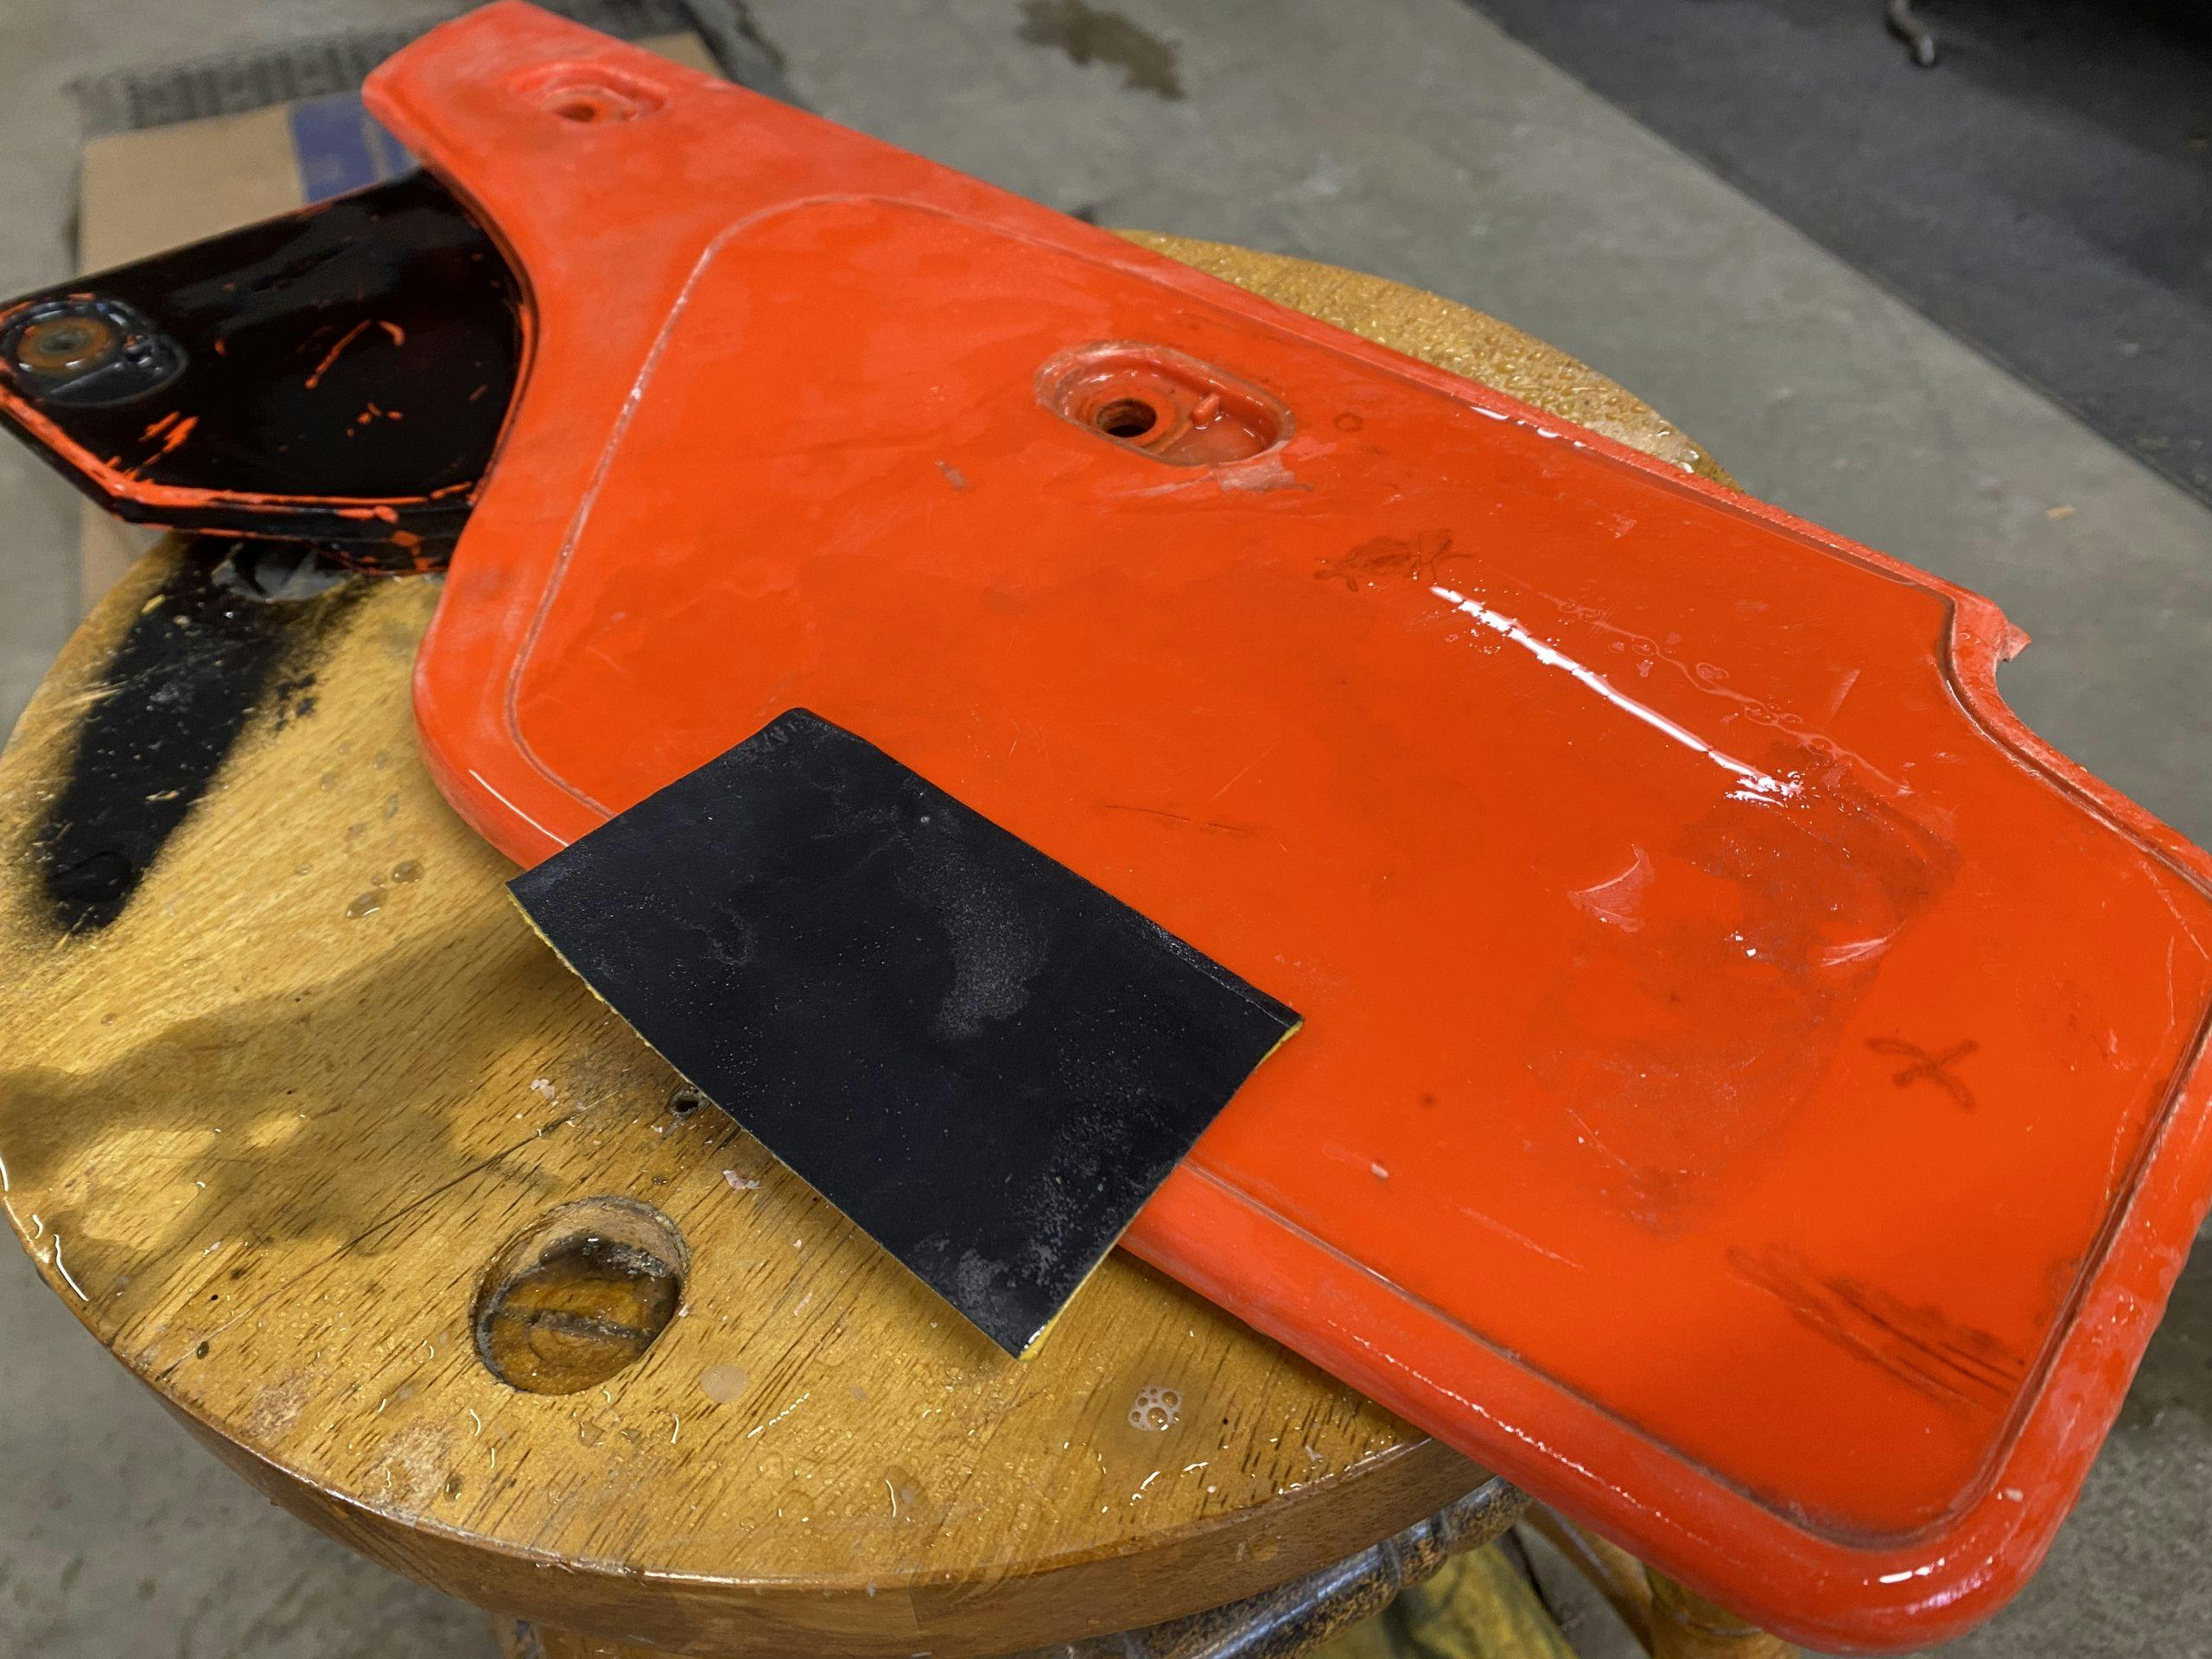
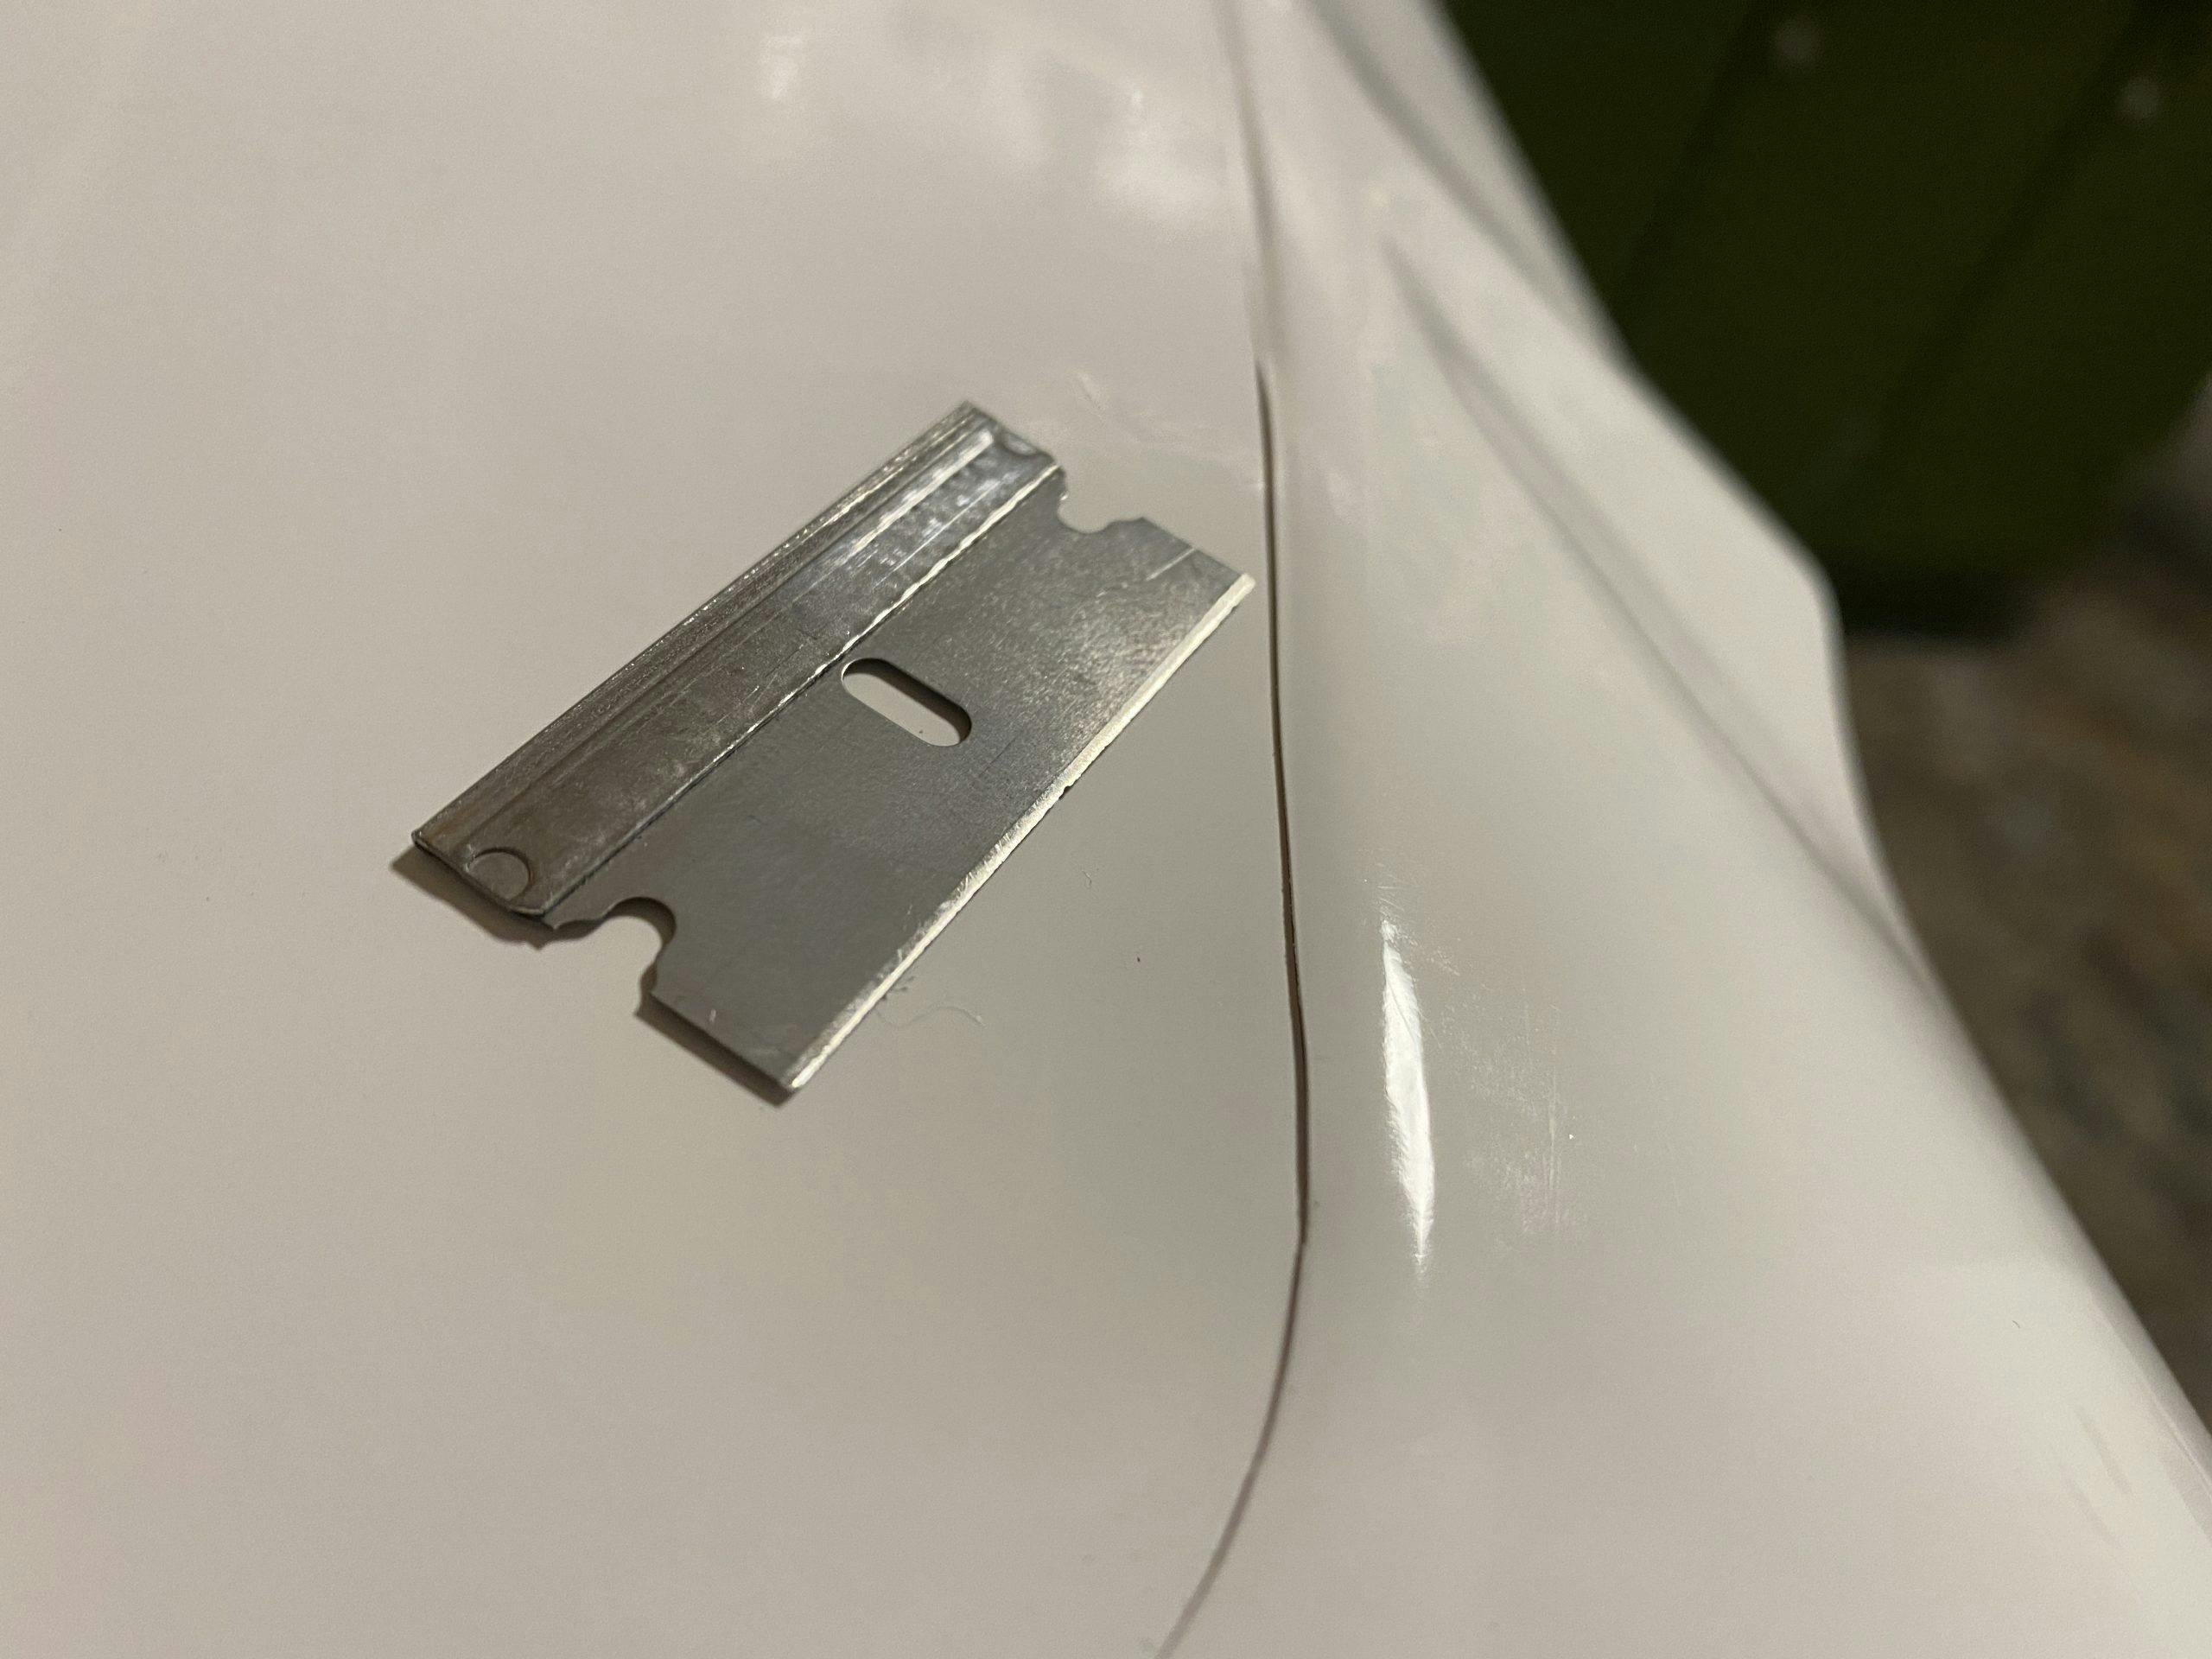
The worst piece I tackled was this airbox cover. When I bought the Honda, this cover was missing and I bought the cheapest one I could find to make the machine ridable. The oxidation on this red plastic is the thick, chalky stuff that you can mark up with your fingernail. Removing the worst of that substance is the first step in the process. Use a razor blade held perpendicular to the surface to scrape away the oxidation and uncover workable plastic. Be careful to not gouge the plastic. You are going to put scratches in it—that’s actually the goal here—but the razor blade should be removing only the oxidation.
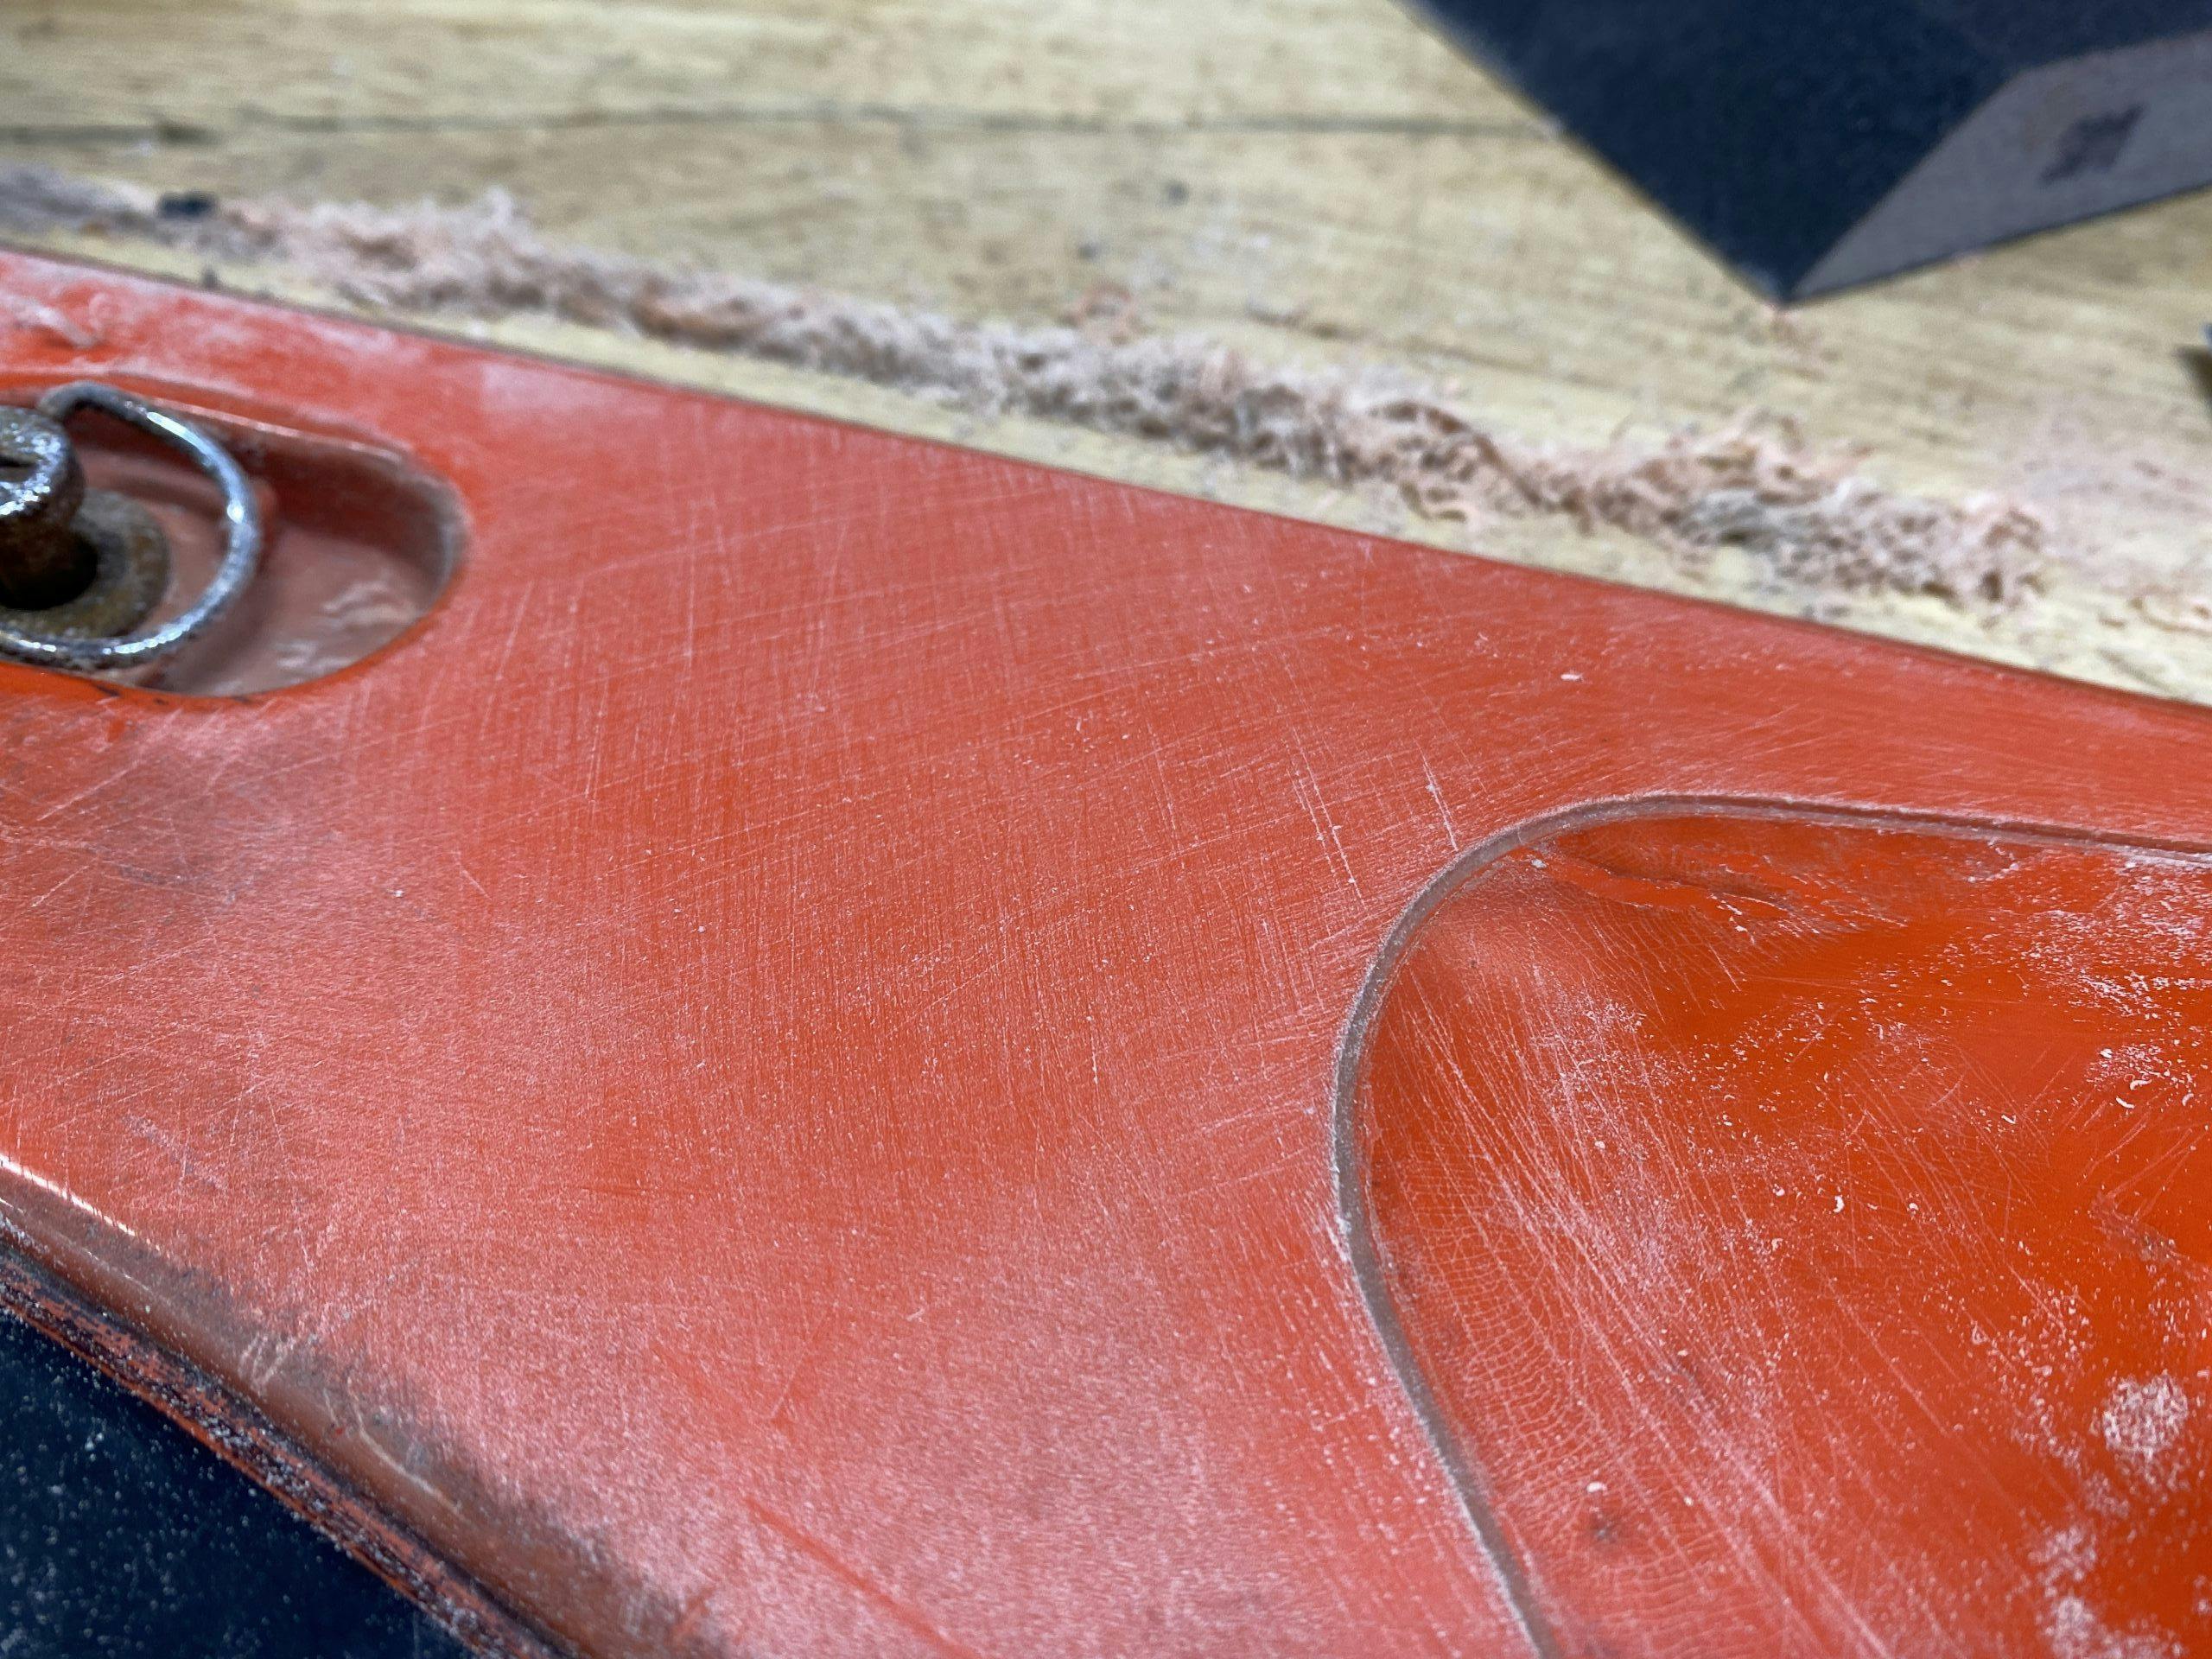
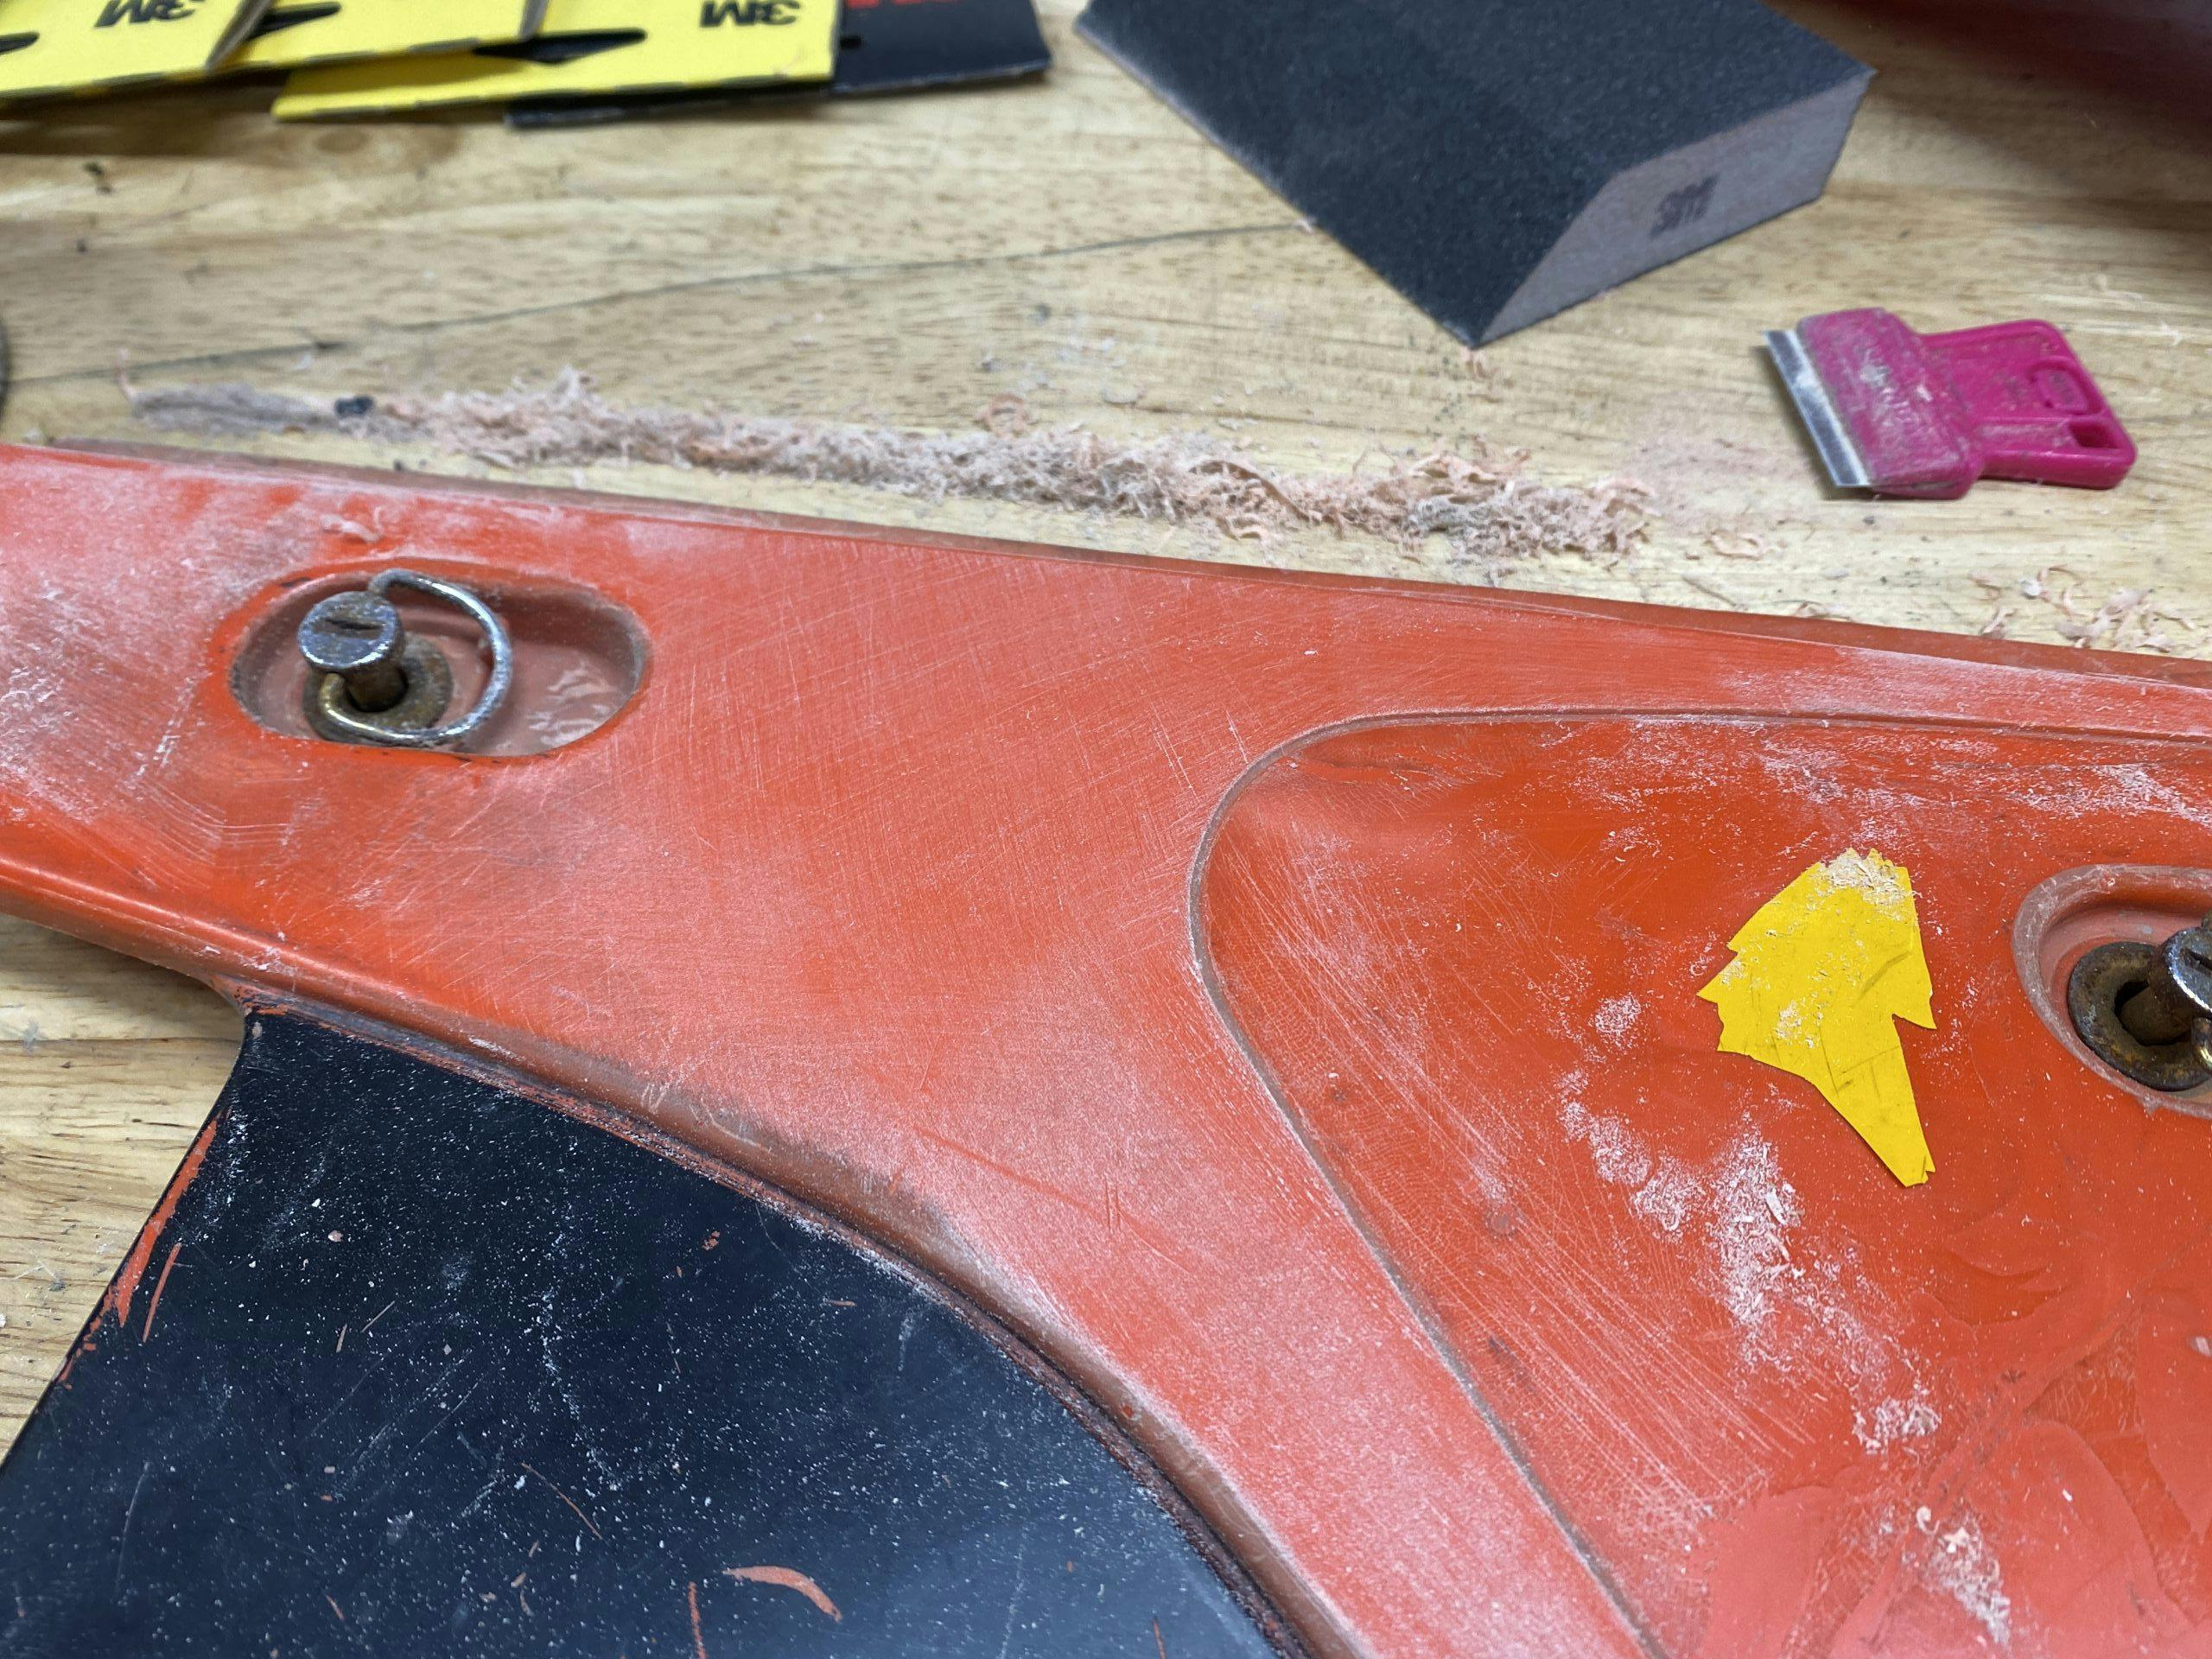
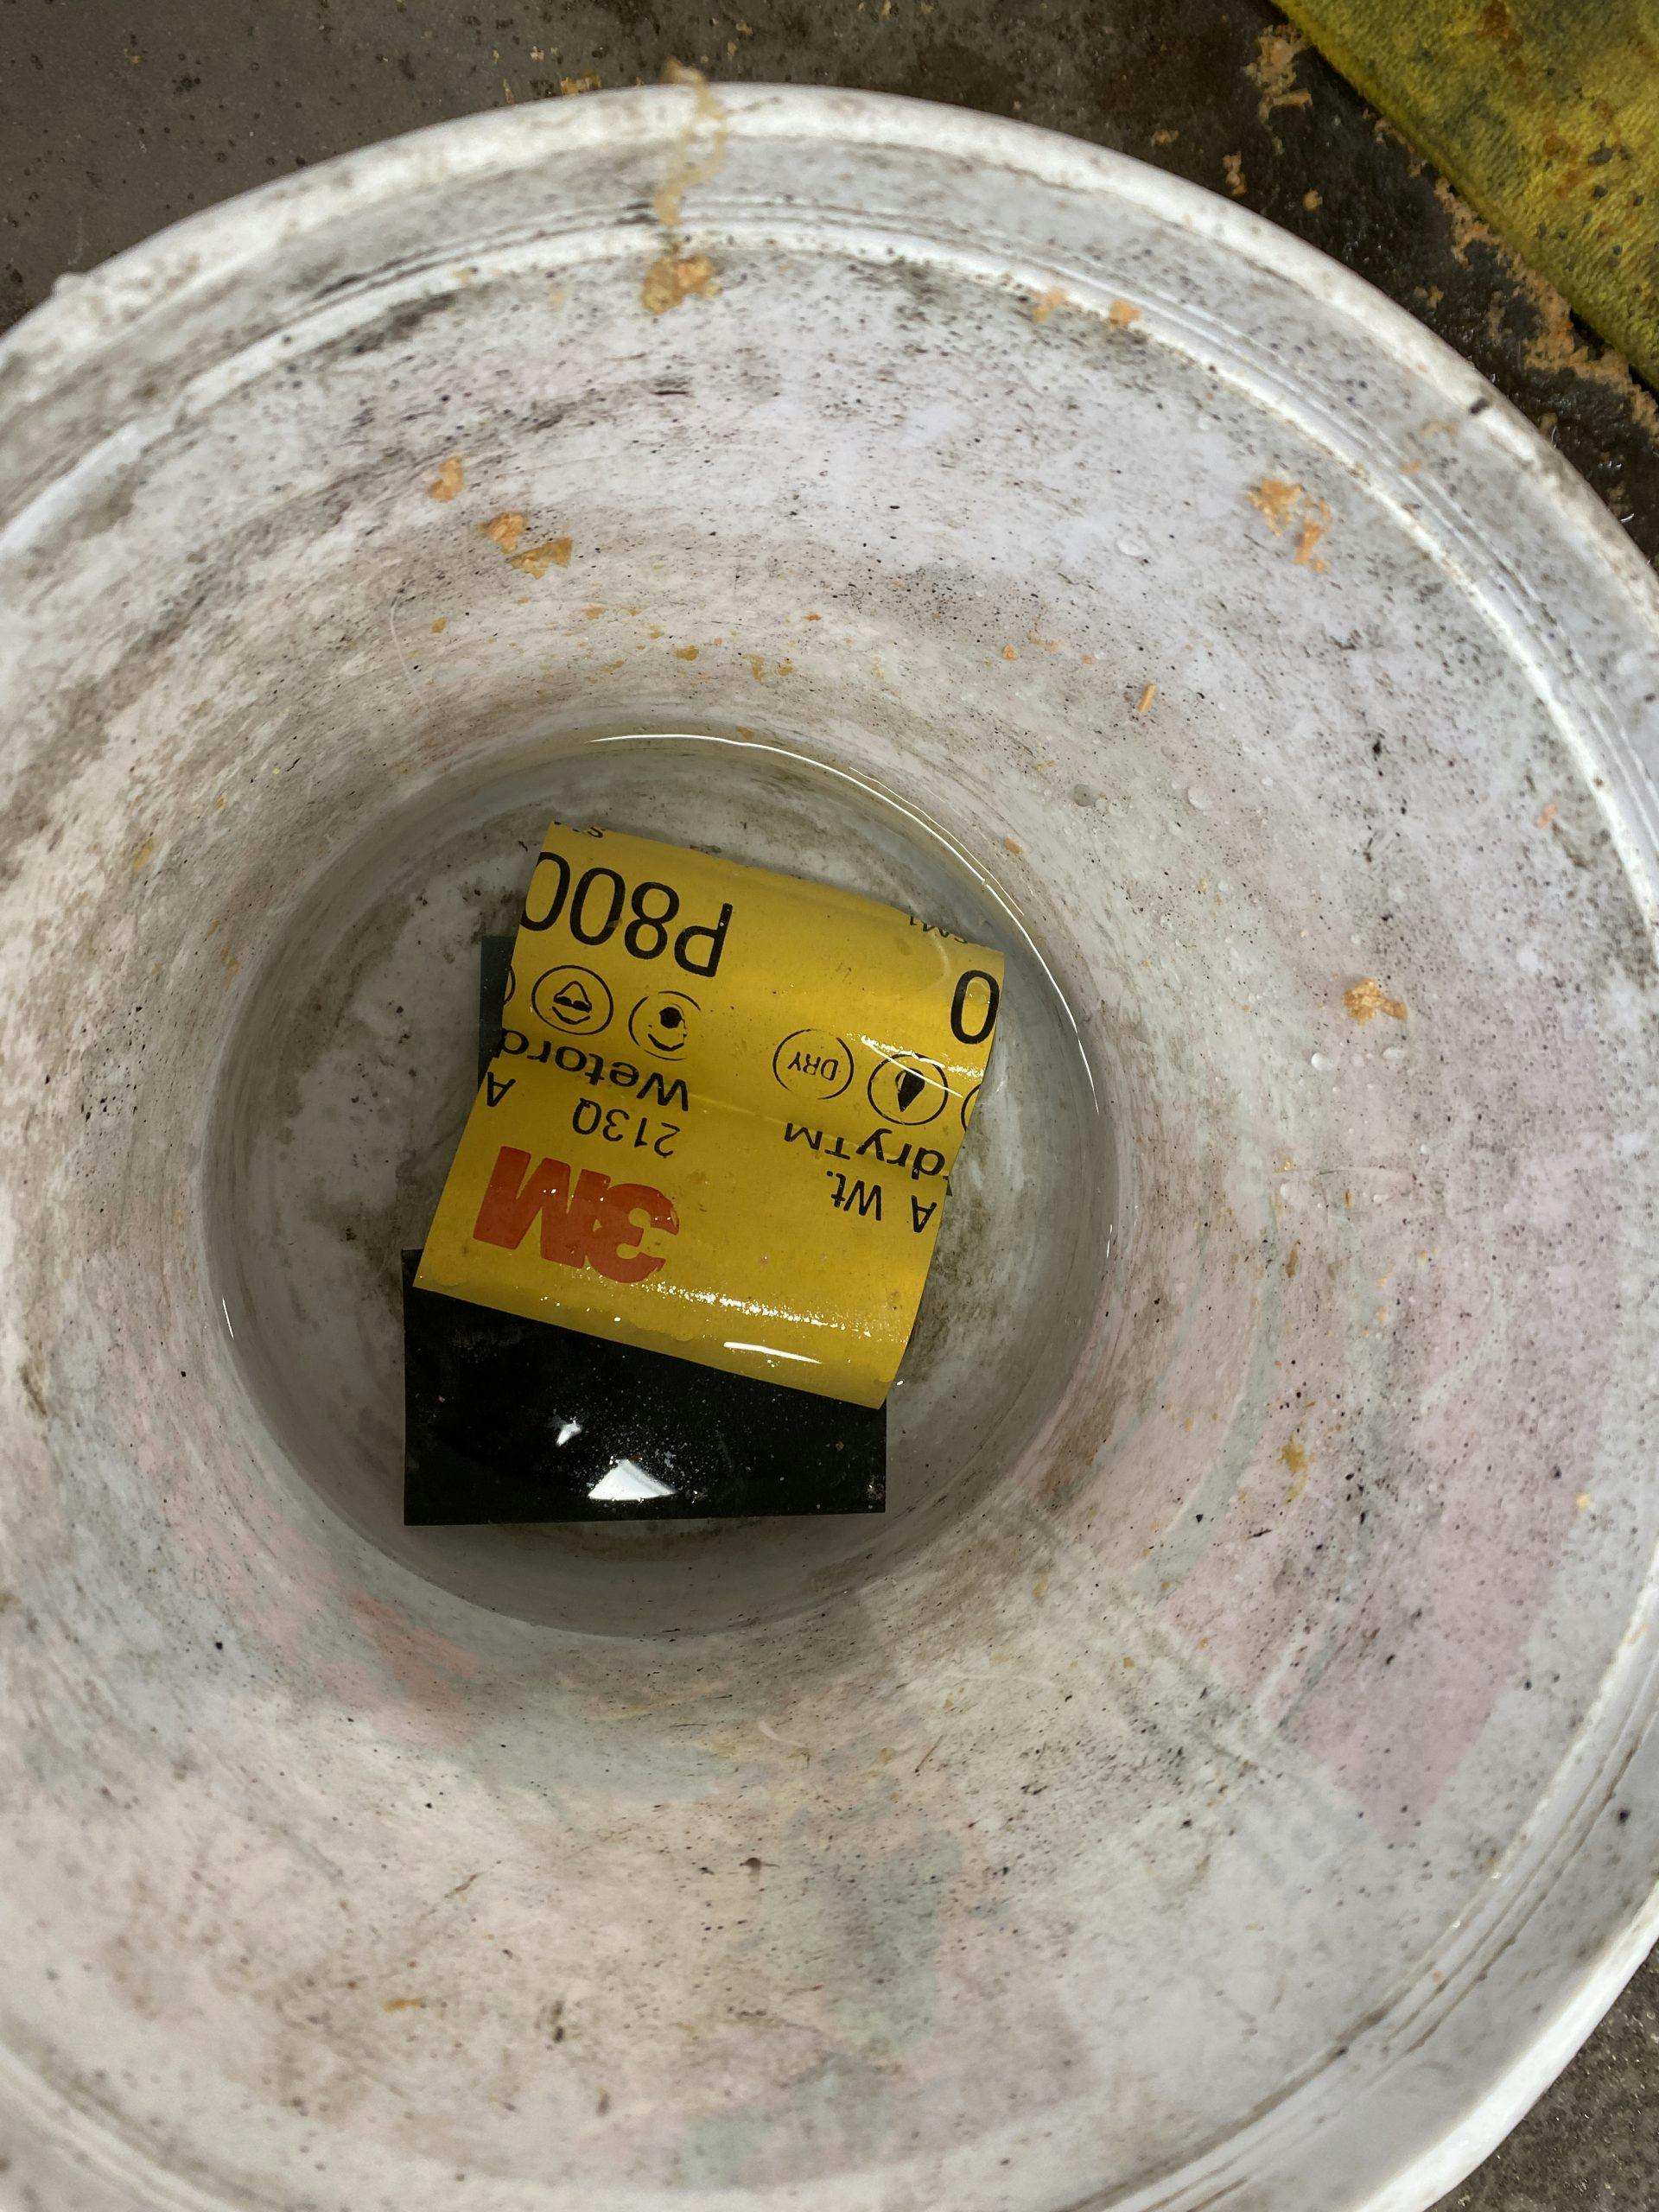
Now, it’s time to go through the sandpaper. Do a small amount of prep here, and trim some three-inch squares of paper from the larger sheets. Add each small section of paper to a bucket to soak in water while you work. I chose to start with 400-grit, which worked quite nicely. (If your plastics are very rough, it might make sense to start at 220 to speed up the work.) Sand with this first, aggressive paper to remove as much oxidation and scratching as possible. You want a nice, even color, though initially the finish will be dull and heavily marked with sanding scratches. That’s okay—in fact, that’s the point.
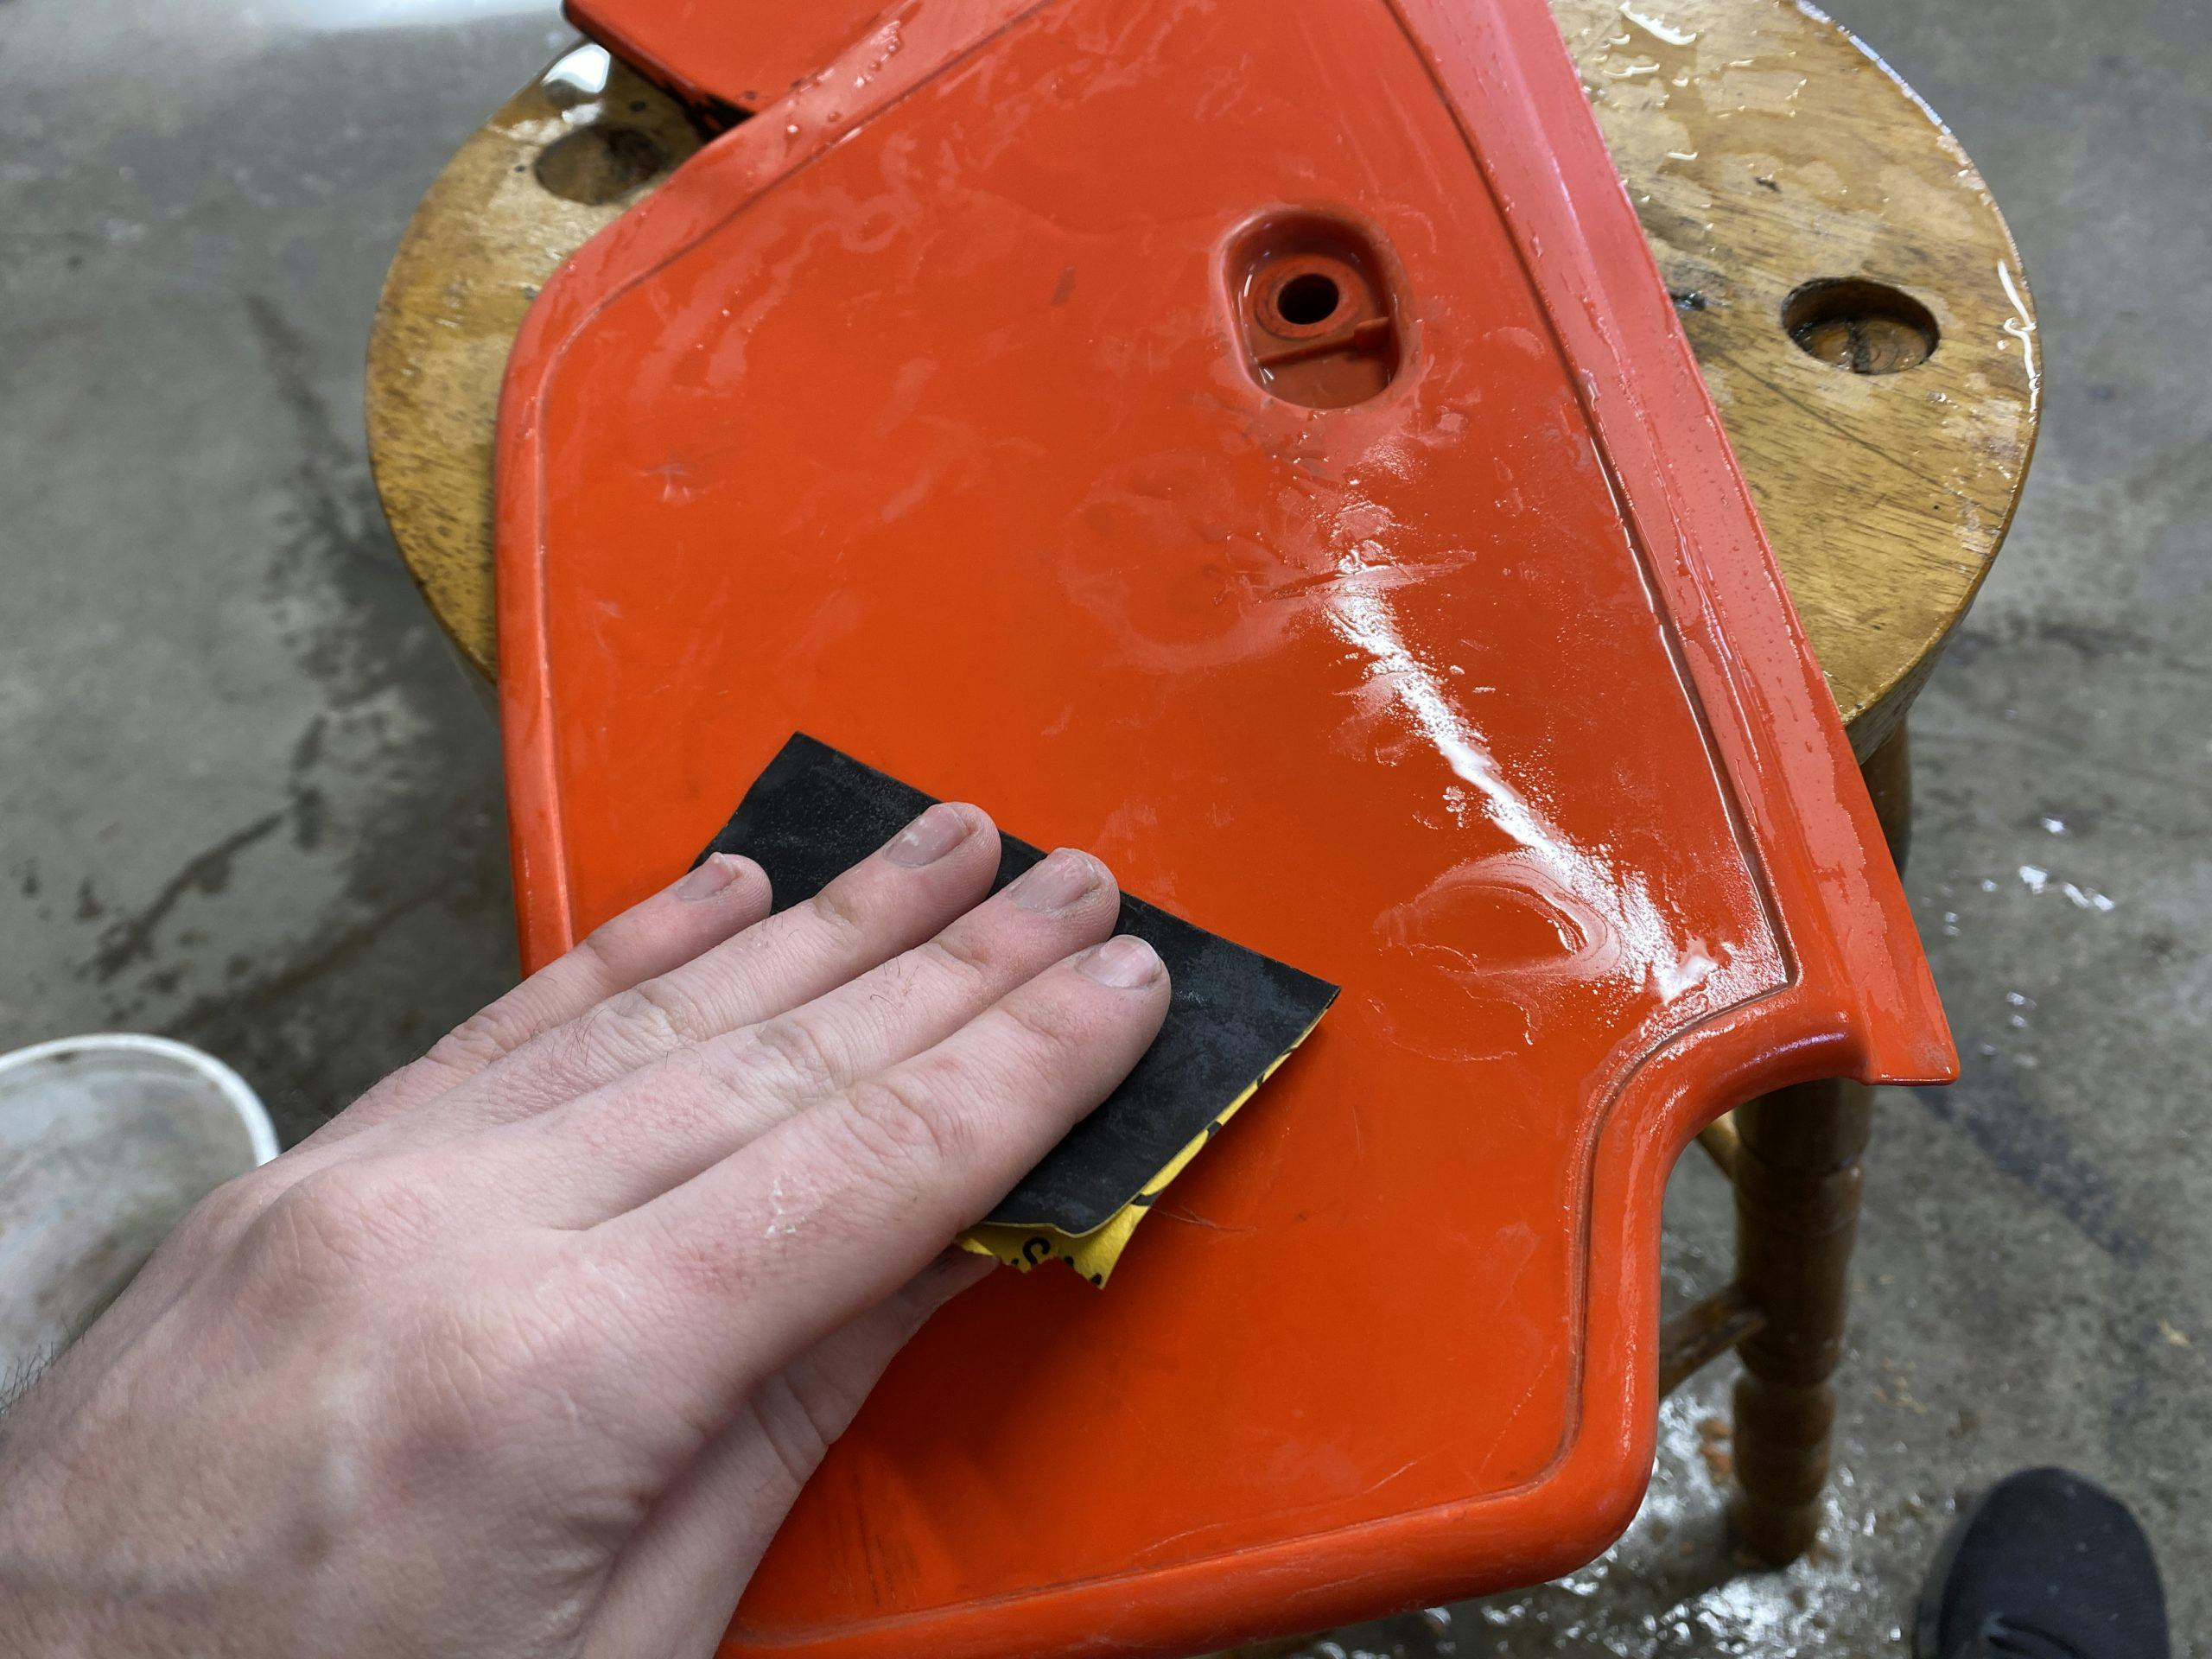
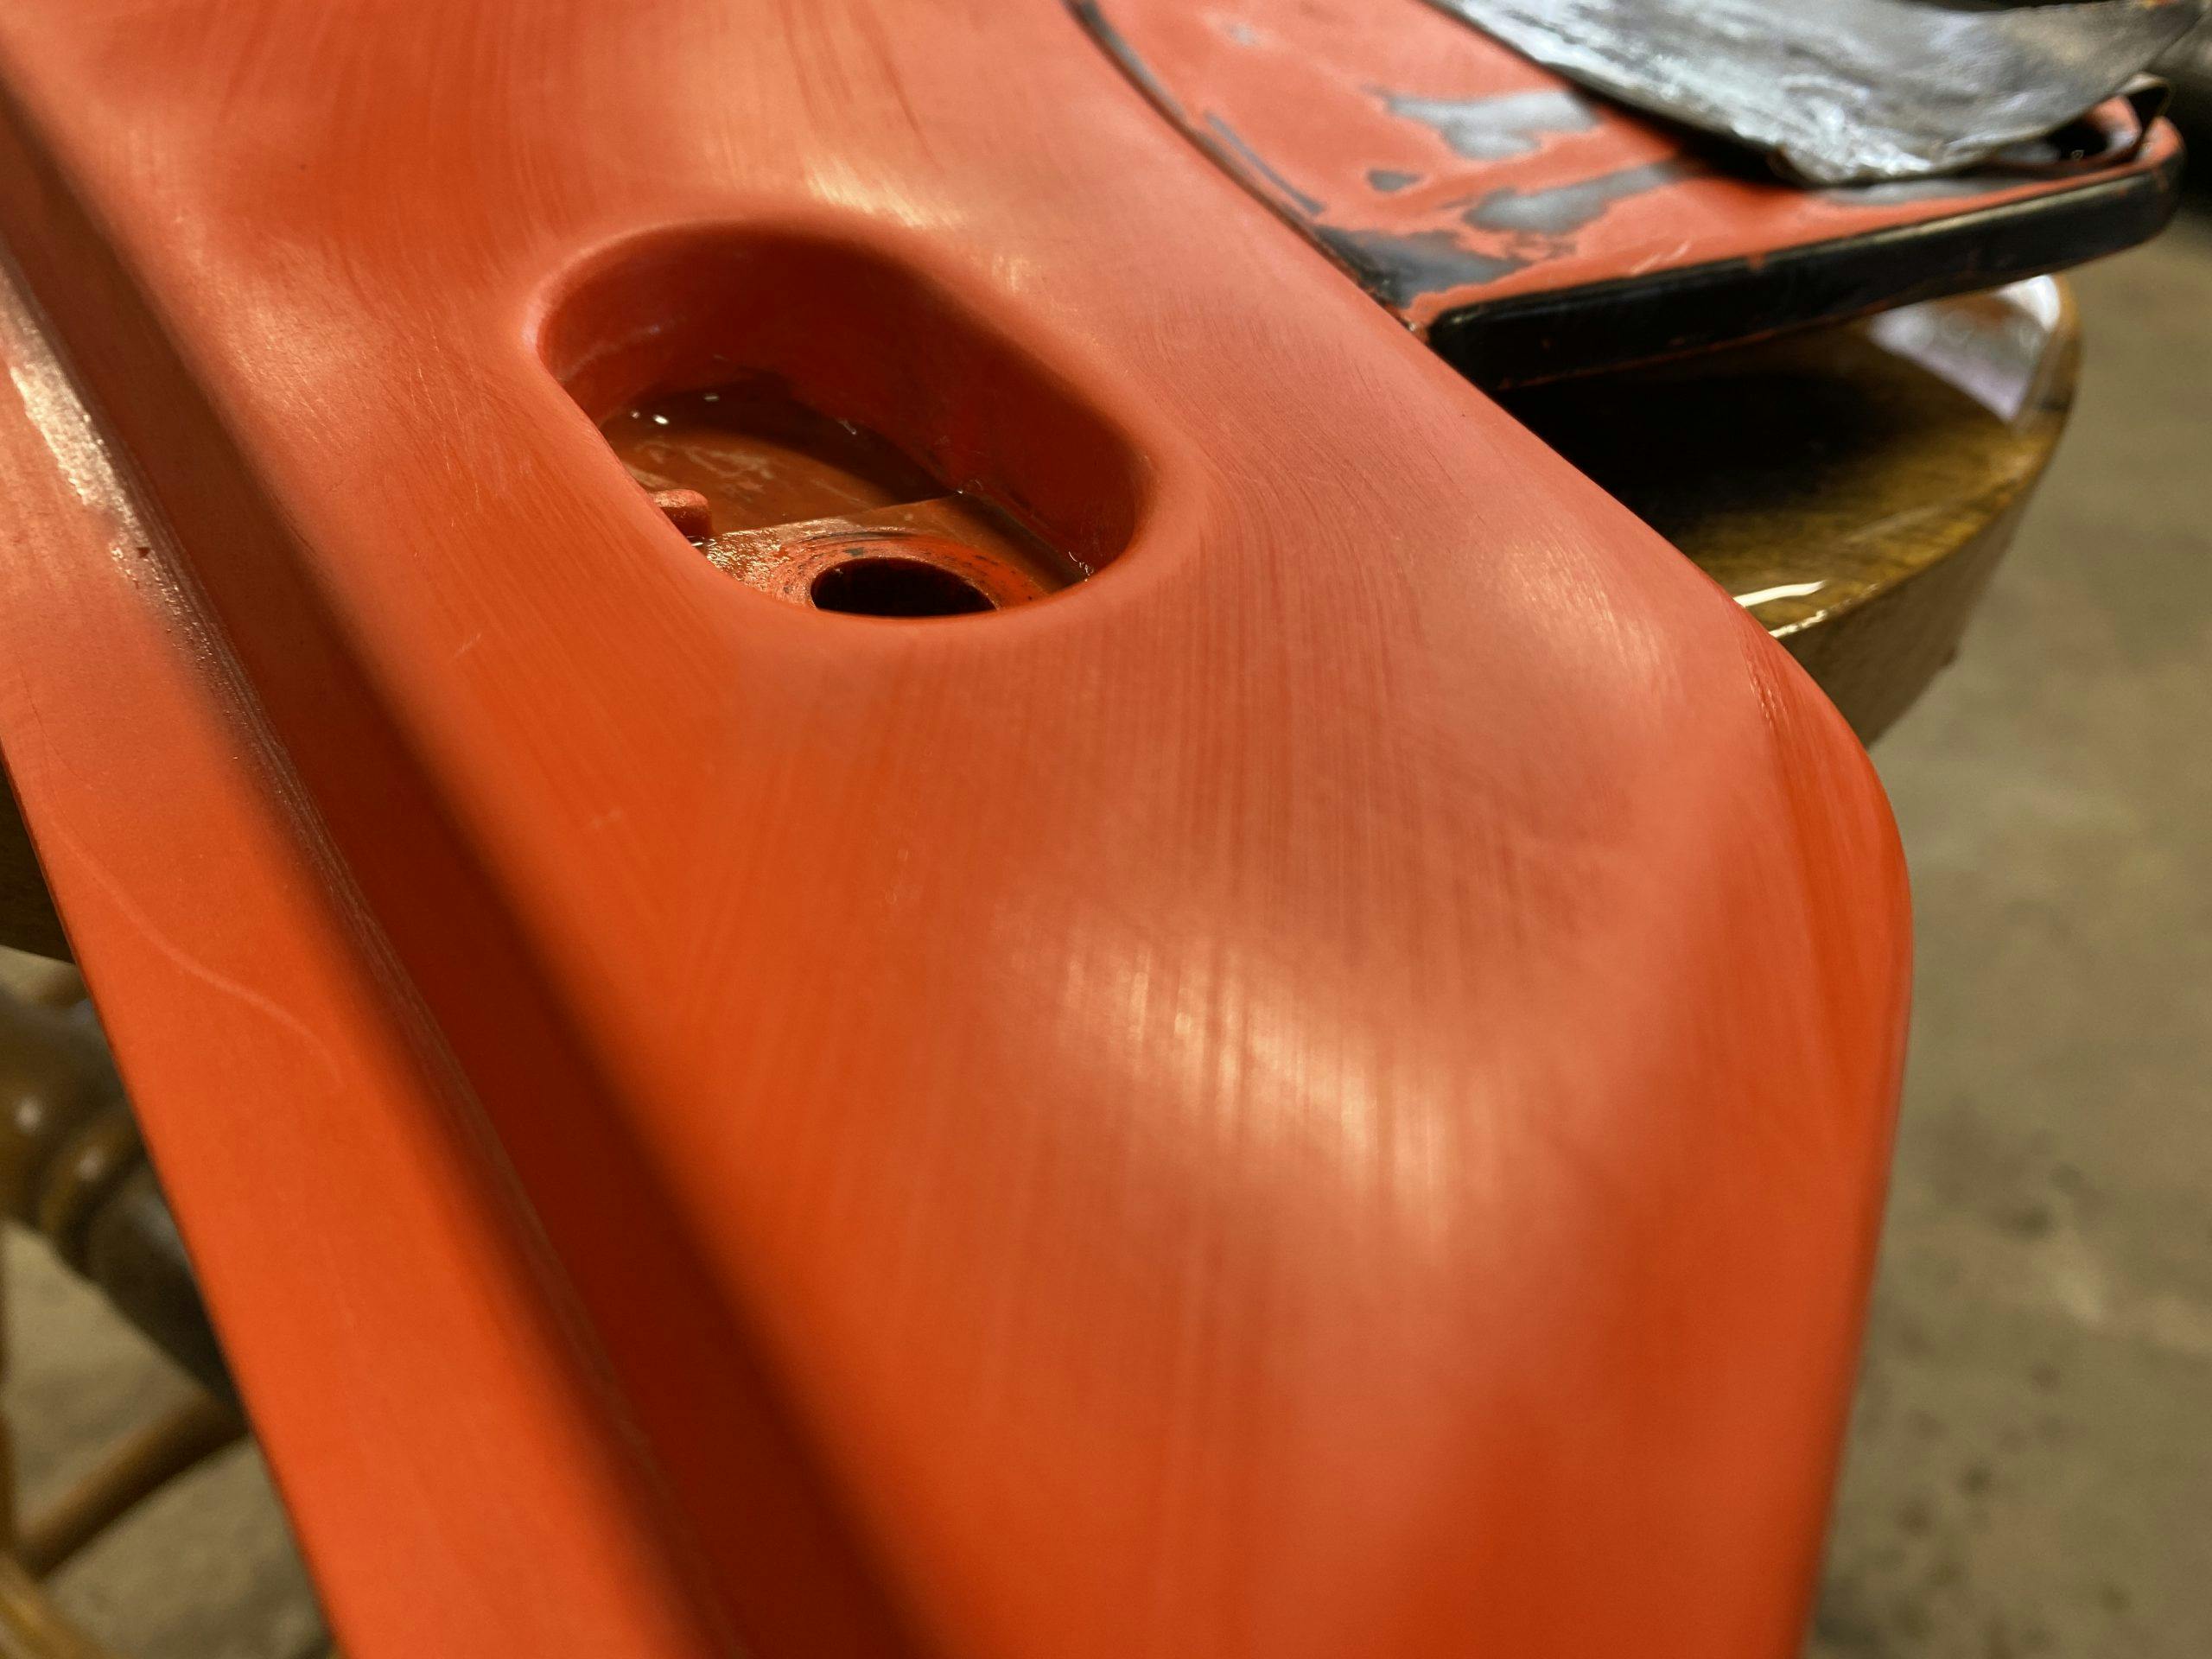

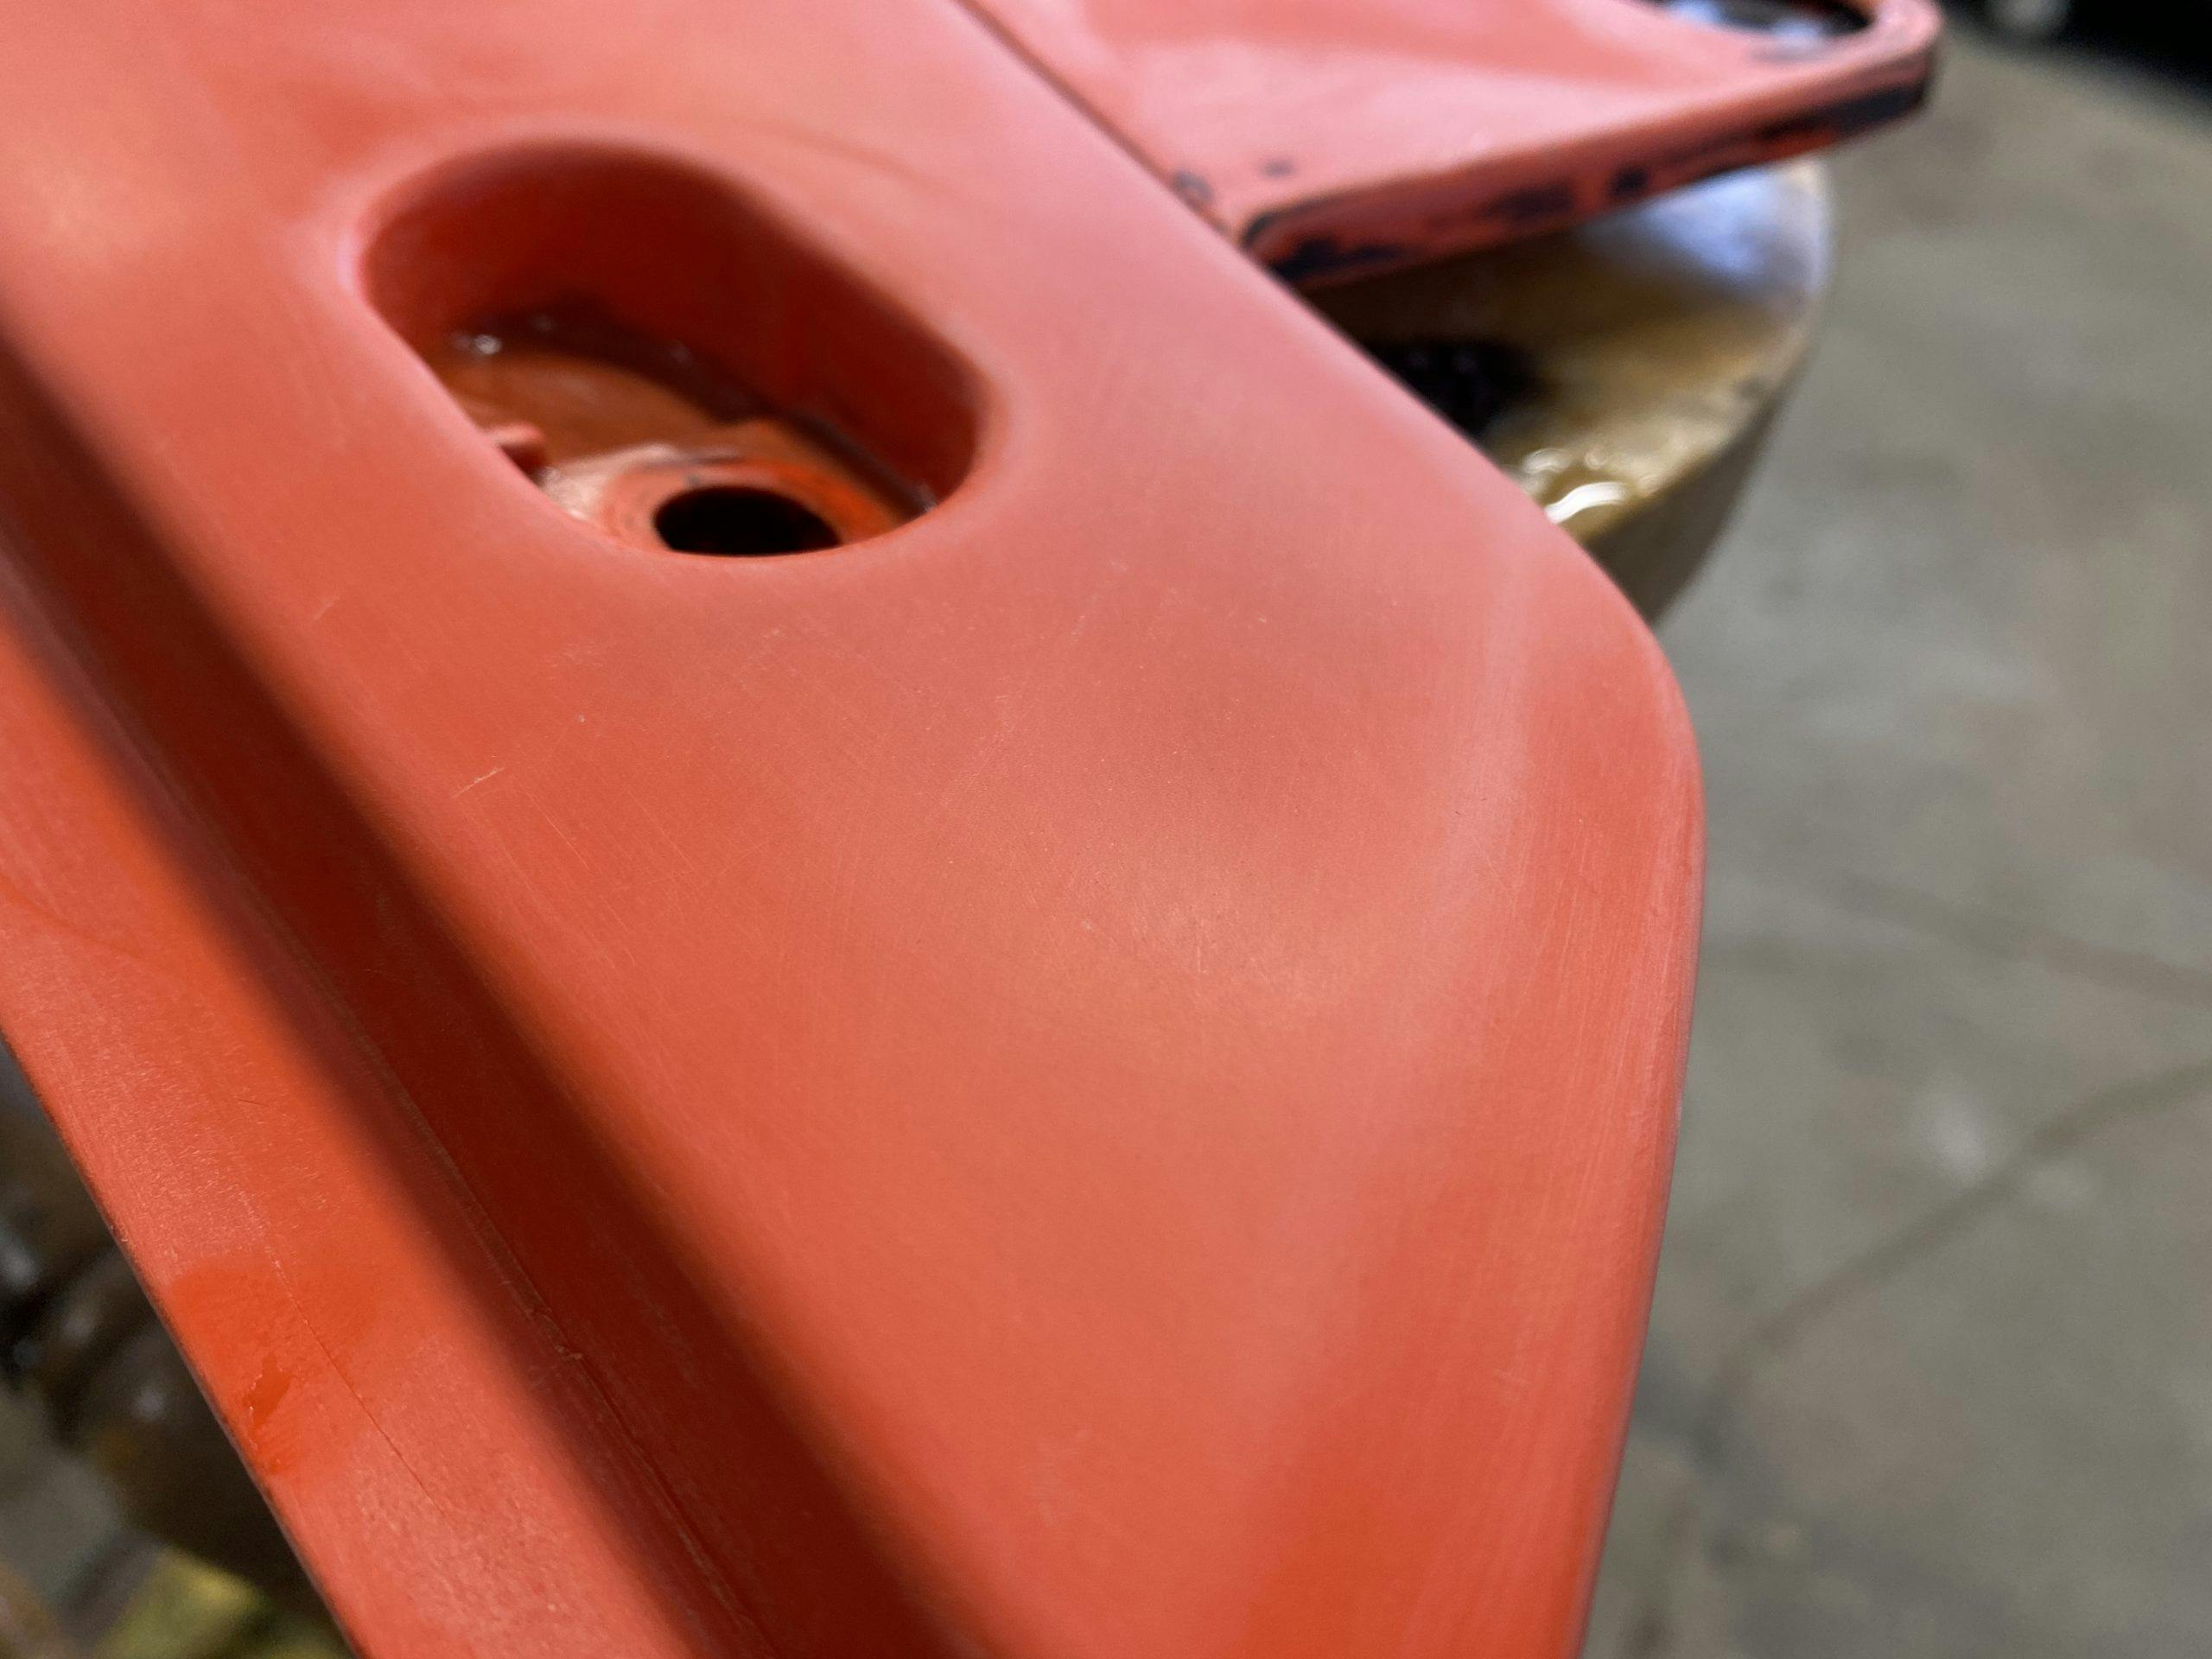
Now do the same process, progressing though each finer grit of paper. For my project I used 400-, 600-, 800-, and 1000 grit before moving on to buffing. Take your time on each step. I found that audiobooks tempered the mind-numbing boredom of sanding for hours on end. Tempted to hurry? Don’t. Cutting corners or rushing the process during these steps will produce a finish that looks like you did exactly that.
The final step is give the plastic a shine. Even at the 1000-grit level, sanding will still produce fine scratches, which buffing can remove. Use a clean (I prefer a new) buffing wheel. You do not need to add buffing compound like you would when buffing or polishing metal. You are not actually removing material like regular polishing; you’re simply using the friction of the buffing wheel to carefully heat the plastic until it has a uniform shine. The buffing wheel works every time and has a larger margin for error without destroying your part.
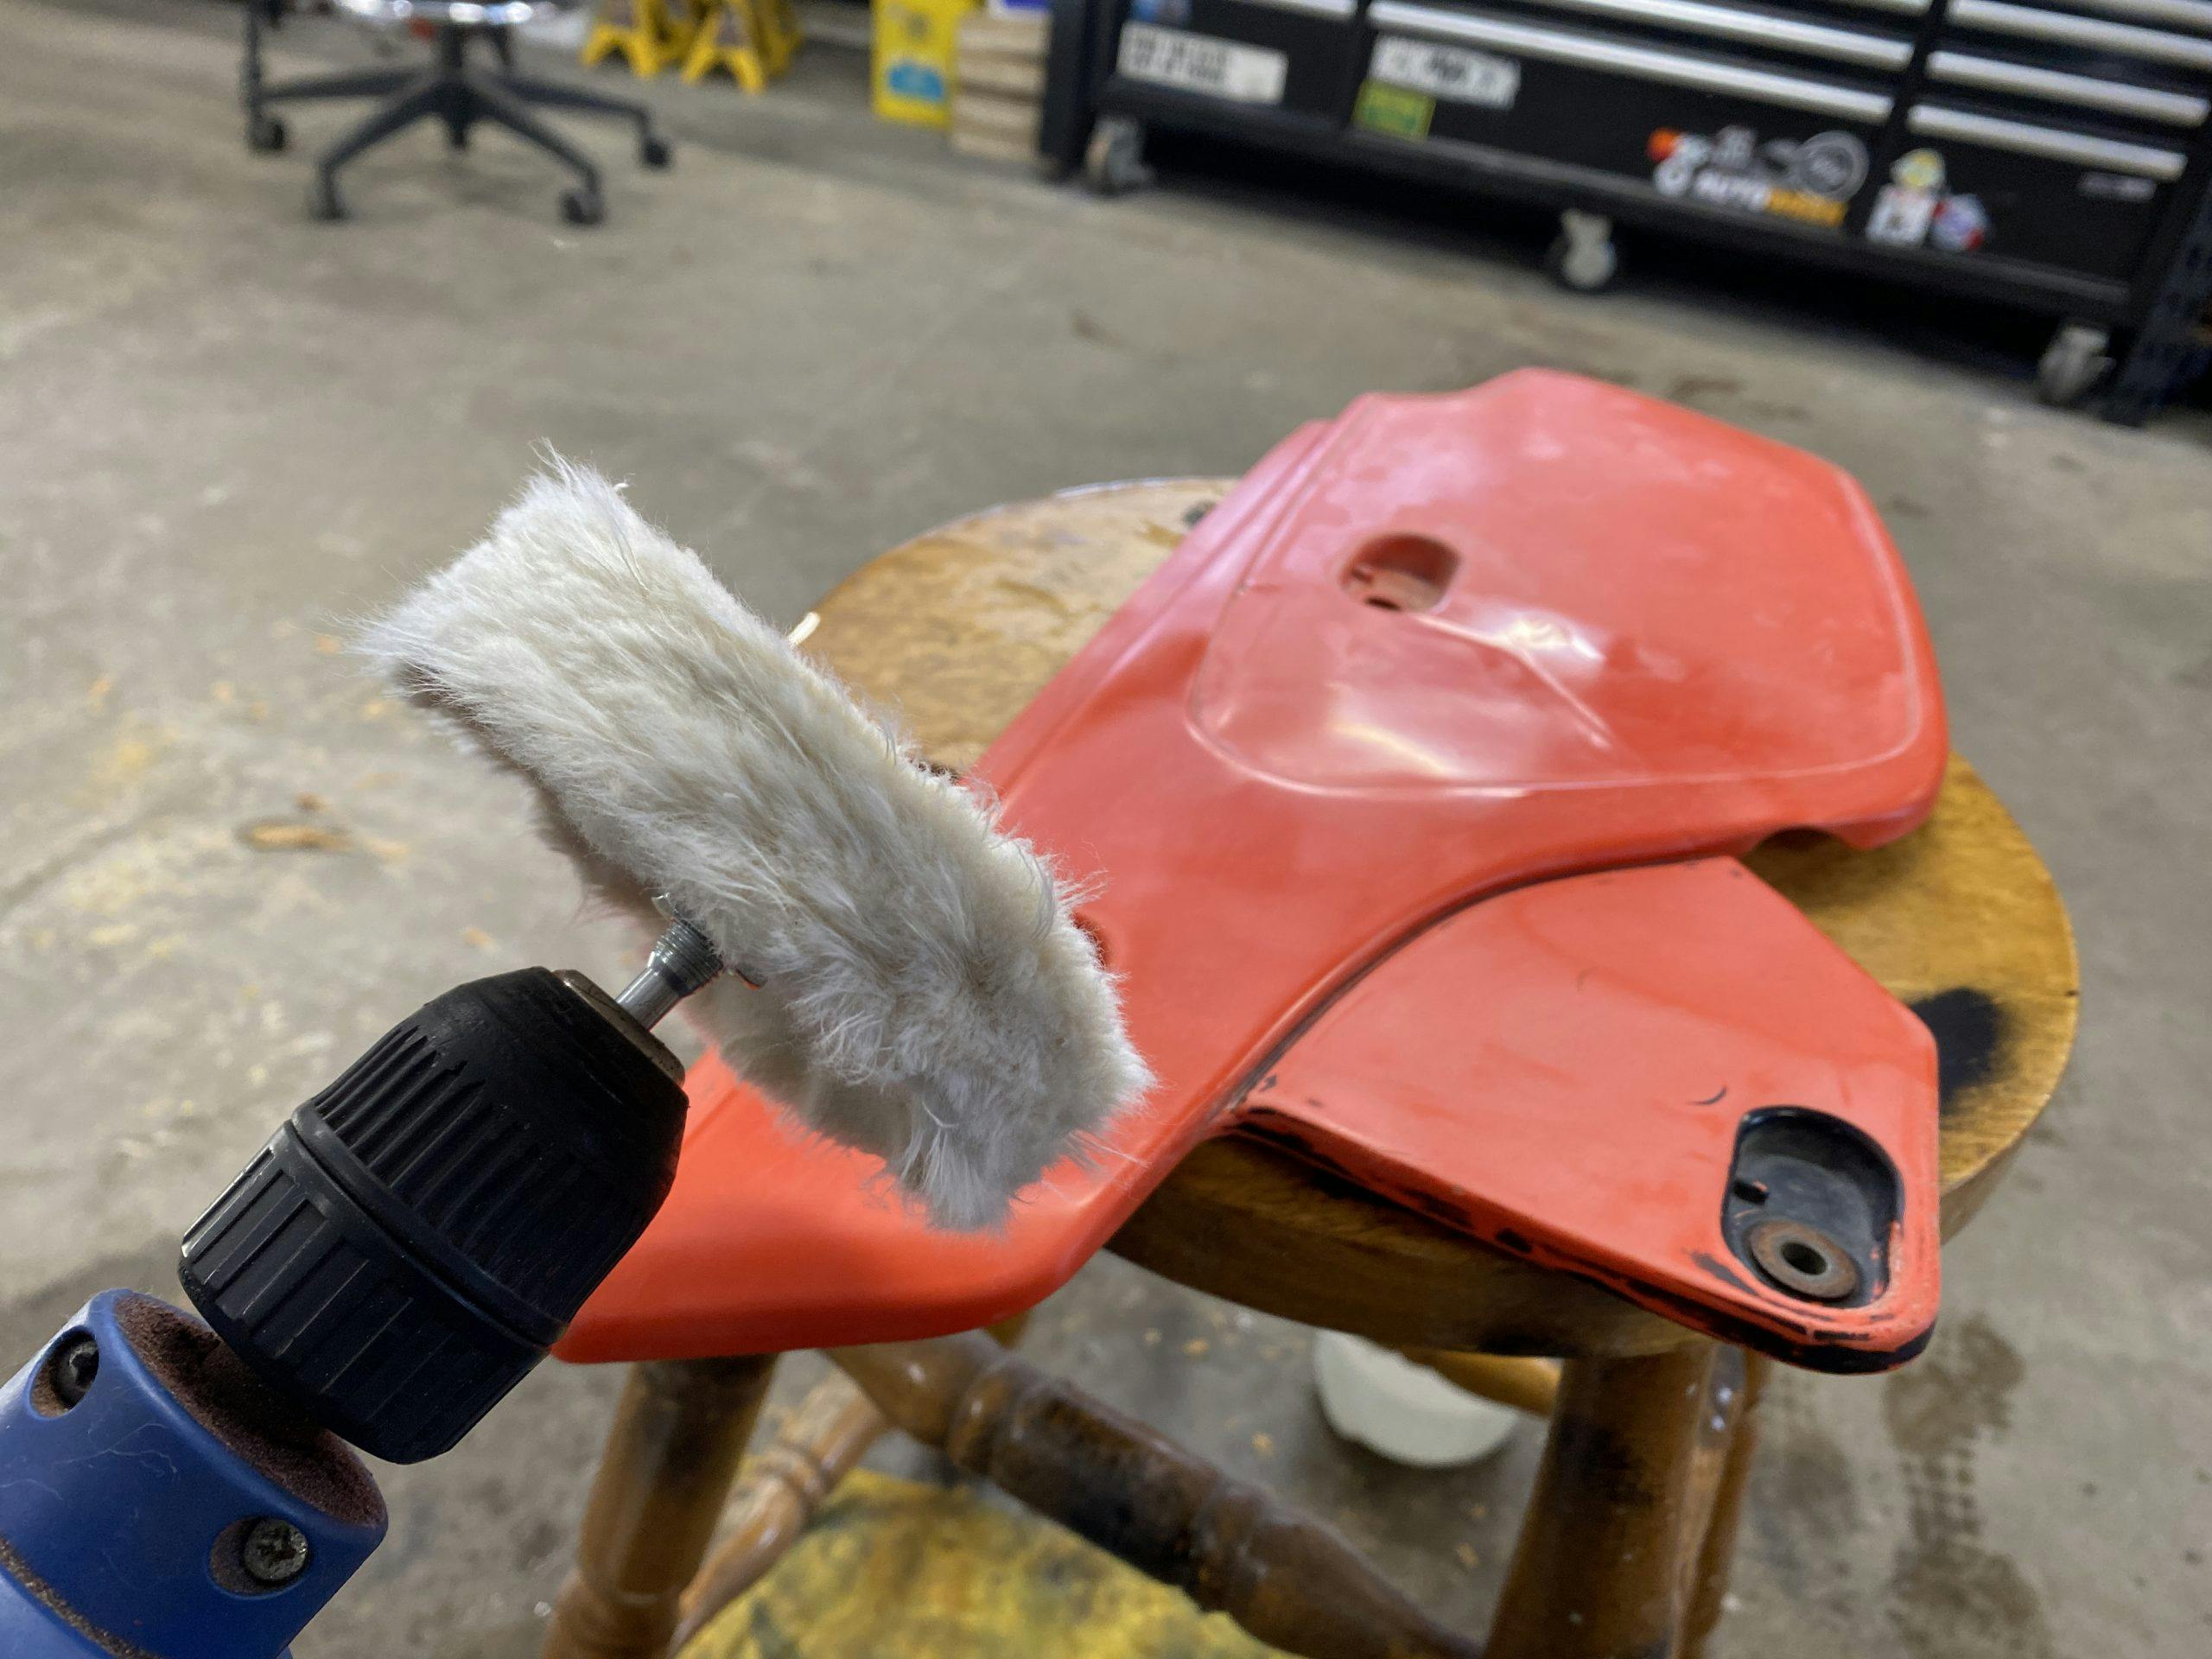
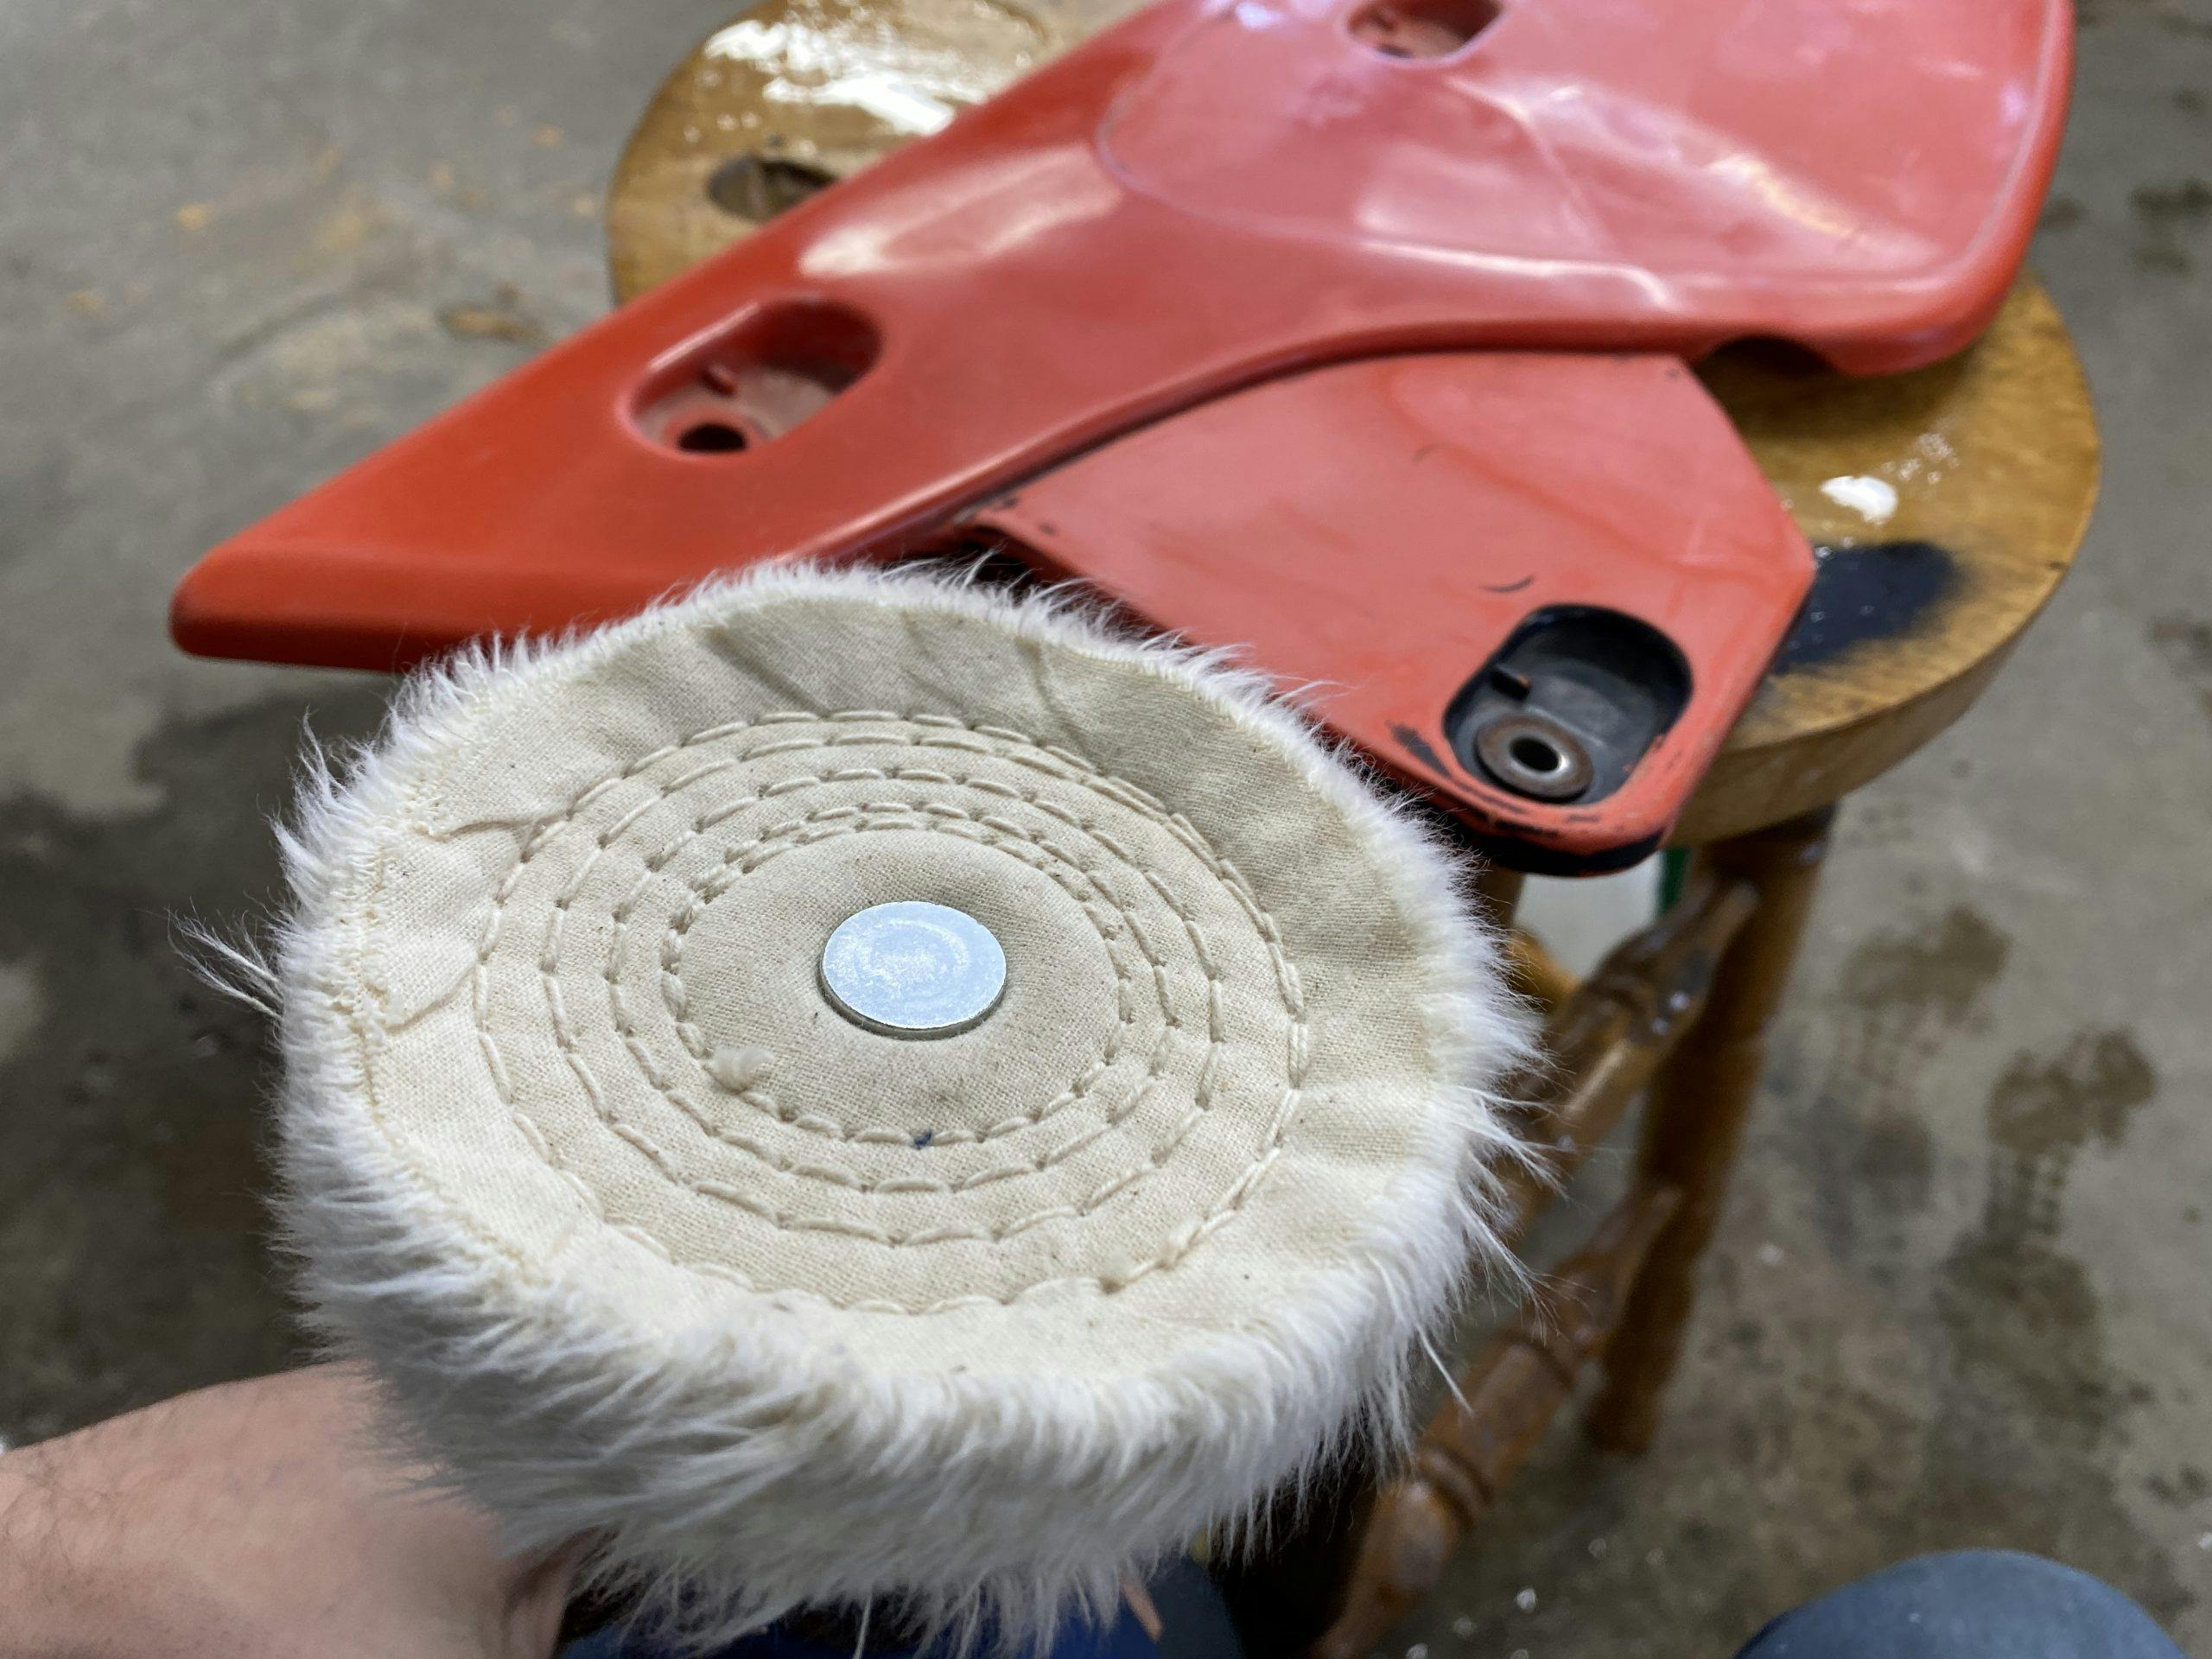
Even with that tolerance for small mistakes, it’s important to be careful here: Keep the buffer moving. You don’t want to overheat any portion of the plastic. Some folks use a heat gun for this step, but I have never achieved a consistent finish that way. That said, I could be suffering from operator error—feel free to give the heat gun a try if you are more comfortable with that technique.
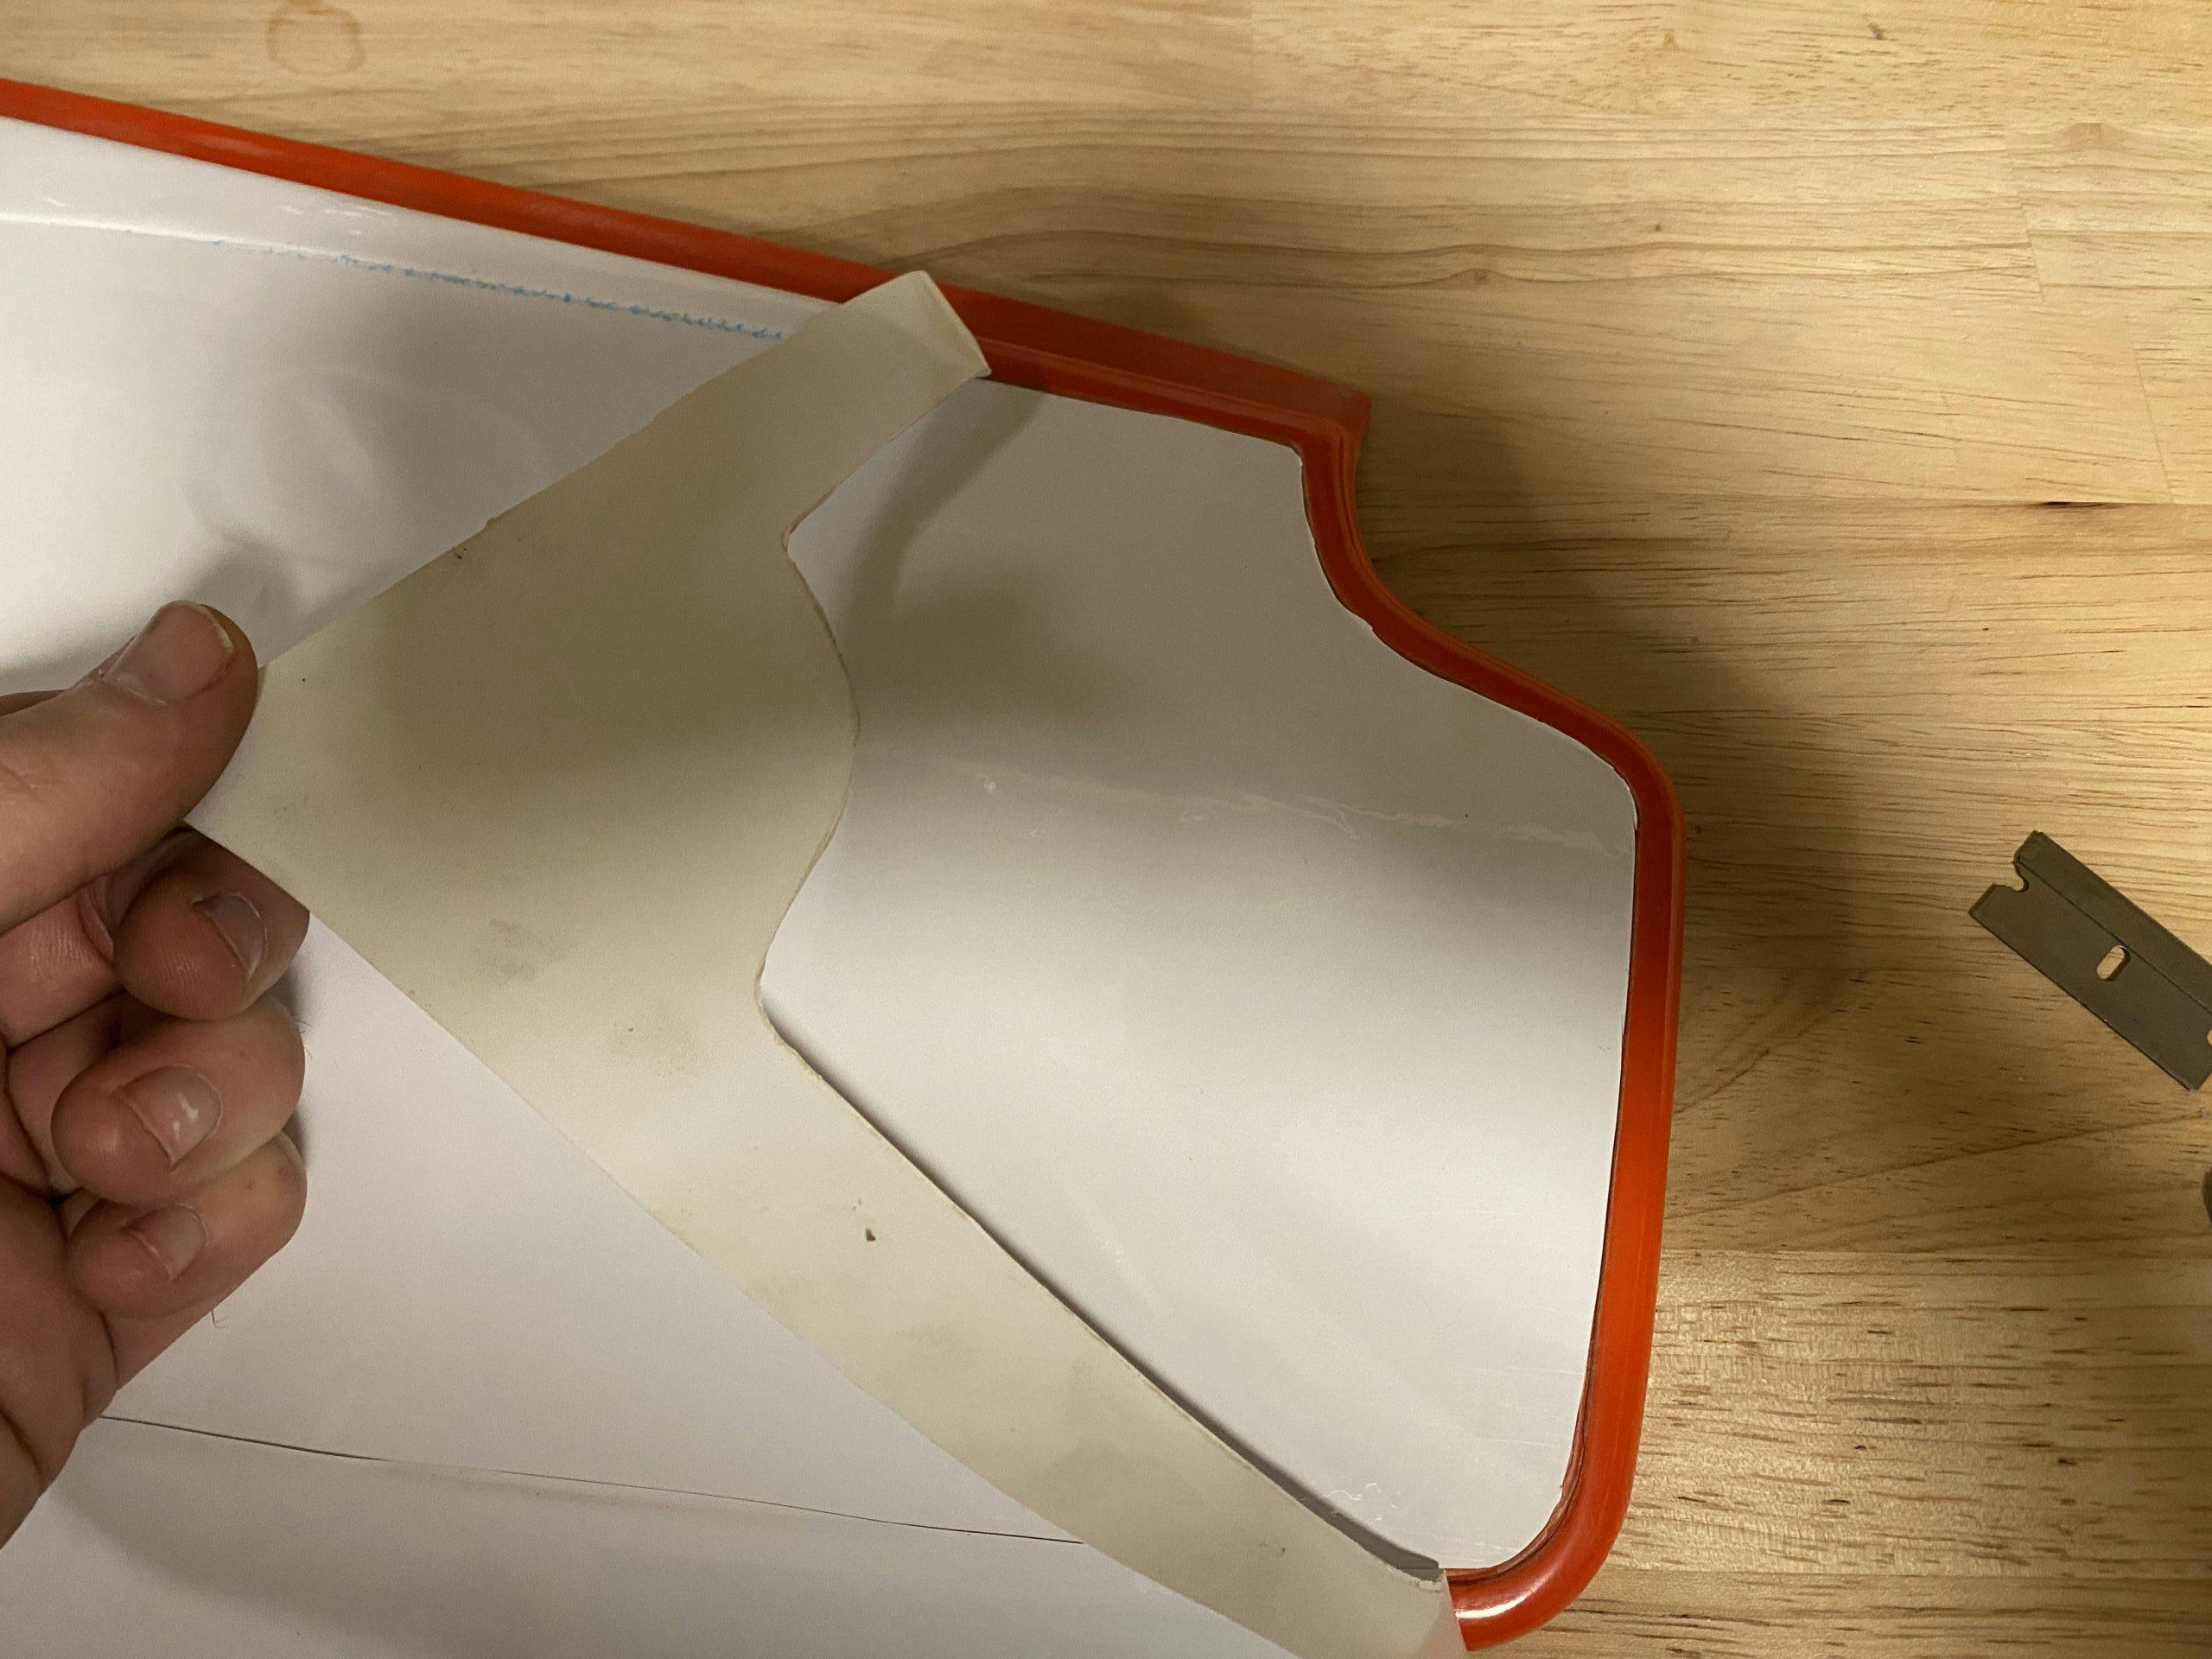
The last step for me was to use some automotive-grade vinyl to replace the white number panels. These pieces are available pre-cut for most popular vintage bikes (and also many modern machines), but my XR requires just a bit more attention. I laid on the vinyl and trimmed it with a razor blade. This first try came out okay, at best. I’ll likely give it a re-do, since this is only a couple dollars’ worth of vinyl.

Restoring the plastics on this bike was time-consuming—but, considering the cost of new panels, I’m satisfied with the trade-off. I’m also expecting to use this bike rather intensely; though I could get new pieces, the investment doesn’t make sense and would be a bit overkill. I’ve got far more time than dollars, and, even with the DIY approach, this bike is going to look more than presentable.


What is the name of the manufacturer and part number of the buffing wheel you used?
That drill buffing wheel was one sourced from Harbor Freight or similar: https://www.harborfreight.com/4-inch-buffing-wheel-34743.html