Wrenchin’ Wednesday: DIY cable crimpers

Cable crimpers are an integral part of building any high-amperage battery wiring. By crushing the terminal down and compacting the individual strands of copper, a strong mechanical bond is created that is resistant to heat cycling and vibration, unlike typical soldered terminals. But creating that clamping force is usually beyond what can be generated with a standard set of wiring crimpers. So get yourself a bolt cutter and make your own.


Starting with a set of bolt cutters, mark the blades with the width and depth of the battery cable you intend to work with, marking the depth to about 3/4 the cable’s diameter. To make the notches cleaner, the blades of the bolt cutter should be disassembled so that an angle grinder with a flap disc can be used to create the notch.
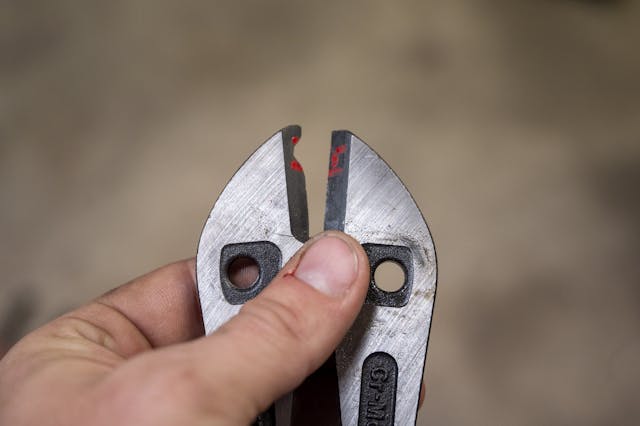

Make slow passes with the edge of the flap disc to create the notch for your new cable crimper. The cutting edge of the bolt cutters should be dulled so that it won’t cut into the terminal as the body of it deforms into shape during crimping.


It’s worth under cutting the notch and testing on a few terminals for a good mechanical lock, removing more material as needed. The result should still require some force to finish the crimp without shearing the copper terminal, and a good test is to throw your weight into the cable with the terminal locked down in a vise. To finish the cable, be sure to seal the connection with heat shrink. If you buy a large enough pair of bolt cutters, however, you can get away with cutting this notch with enough room to maintain a good edge for cutting later—making it a dual-use tool despite the modifications.
Got a big wiring project ahead of you? See a previous Wrenchin’ Wednesday to scope out homemade battery cable terminals!

