I Can See Clearly Now: Step-by-step guide to vent-wing glass replacement
In restoration circles it’s a well-known fact that certain details set some cars apart from the rest, and new glass is one of those details; it’s impossible to have a clean car without clean glass.
Reproduction glass has been around almost as long as cars have been produced, and like all reproduction parts, some are better than others. One of the problems with today’s reproduction glass for our beloved classic cars has to do with the fact that most reproduction glass has gravitated toward modern car glass.
What does that mean? New glass is thinner than its older brother. In a modern car it’s all about saving weight, a good thing, but not for our classics: Thin glass doesn’t fit the glass run channels properly and most curved reproduction glass has too much or too little curve, making the job of adjusting the side glass impossible.
Luckily, Auto Metal Direct has solved this problem: All of their classic auto glass is manufactured to OE specifications, not only in the thickness but also in the curves.
Follow along as we replace the glass in a vent wing assembly for a 1967 Chevelle.
Image 1
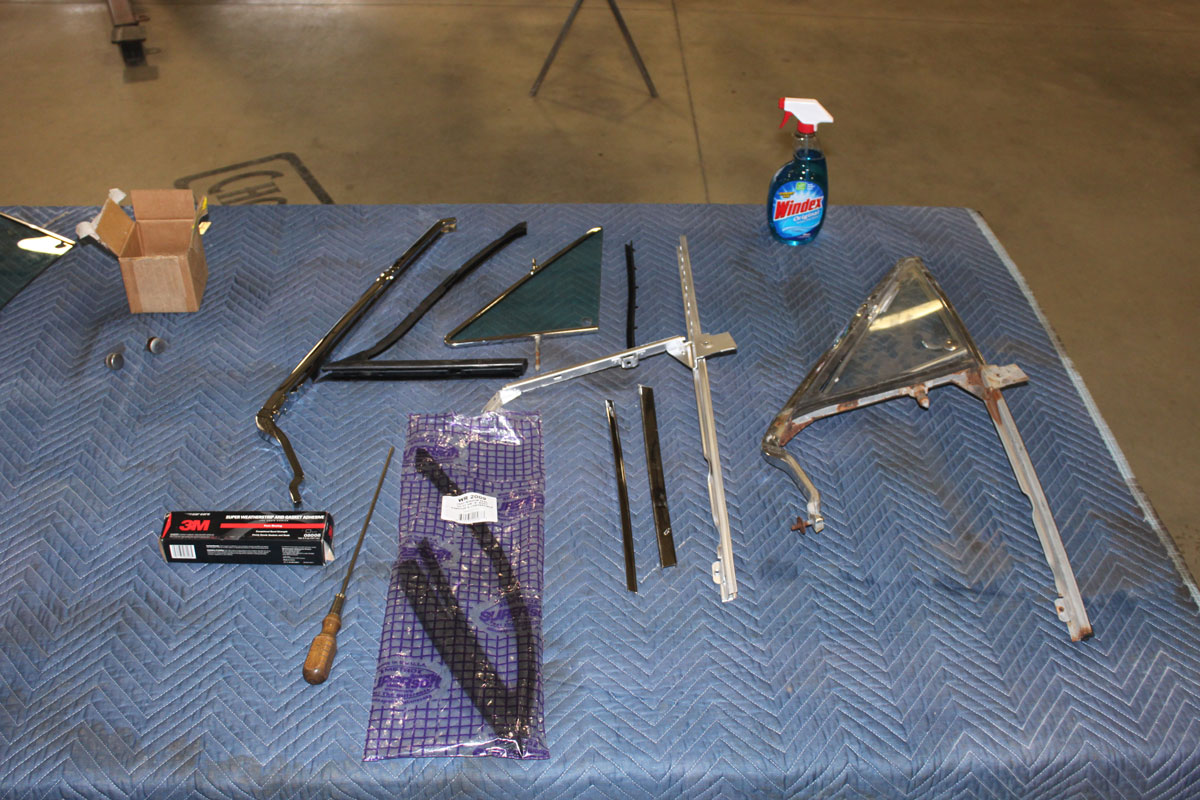
I find it very helpful when doing any type of assembly work to organize the work space and lay all the parts out. Rebuilding one vent assembly at a time will allow you to have a reference point, making reassembly much easier. Note the upright has been refinished along with the stainless dividers.
Image 2
The vent glass is held in place with friction tape, available at most auto glass shops. Friction tape is available in different thicknesses and it’s important to use the correct thickness for your rebuild. If you’re unsure which thickness is required, take the glass and vent frame to a glass shop.
Image 3
Wrap the tape around the edge of the glass that will go into the vent channel. The tape is very pliable and can be shaped easily.
Image 4
Glass cleaner will help lubricate the tape slide into the channel. The goal is a tight fit without tearing the tape.
Image 5
Start the glass into the channel by hand with the aim of centering it in the channel. You won’t be able to seat it in position by hand pressure unless the tape is too thin. If the tape is the correct thickness and the glass is centered correctly, hand pressure alone will not seat the glass.
Image 6
Some type of rubber hammer is required to drive the glass all the way into the channel. I use a dead blow hammer but others will work fine. When you apply pressure, be careful to keep the vent from spreading. After the glass has bottomed out, carefully work the channel around the glass with a soft hammer.
Image 7
When the glass is fully seated you can simply cut off the excess tape with a razor blade. Cut with very little pressure and avoid scoring the glass.
Image 8
Now the vent is ready to be fit into the assembly. It’s clean, tight and ready for years of service.
Image 9
The final component required to complete the job is the installation of the rubber seals. It’s helpful to use the still-assembled vent assembly from the other side of the car as a guide. Our 1967 Chevelle vents are screwed together, but many older models use rivets. Handheld rivet squeezers and rivets are available if you want the original look. If you’re a tool junkie go for it, but for one or two vent rebuilds it probably isn’t cost effective. Of course you can always ask a glass shop for help.
Image 10
With one side finished, it’s time to do it again, but luckily, with one under your belt it only gets easier.
Image 11
Once the vents and door and quarter glass are installed, it’s time to adjust all of the side glass.
Image 12
Details clearly set some cars apart and new glass is one of those details. With new glass in your classic car not only will you see clearly, you will clearly be seen. Drive and enjoy your car — that’s what they are for.


