The feeling of success from building your own tools is worth the grind
Just about every repair or maintenance job on a car requires tools. If you’re like me, your garage is piled with stacks of tools on shelves and in neat organizers. Dozens of wrenches, sockets, and even a slew of specialty items that are intended for only one task.
Humans have been using tools for roughly three million years. Advanced use traces goes back 10,00 years. Maybe these primitive roots explain why building one’s own tools provides a satisfaction unlike anything else for the home do-it-yourselfer.
That’s right—I’m talking about eschewing the trip to the tool truck (or Harbor Freight) and instead putting your skills to the test. Craft a tool you need using a combination of tools and materials you already have in hand. This past week, while tearing into a repair on my 1989 Honda XR250R, I challenged myself to just this task.

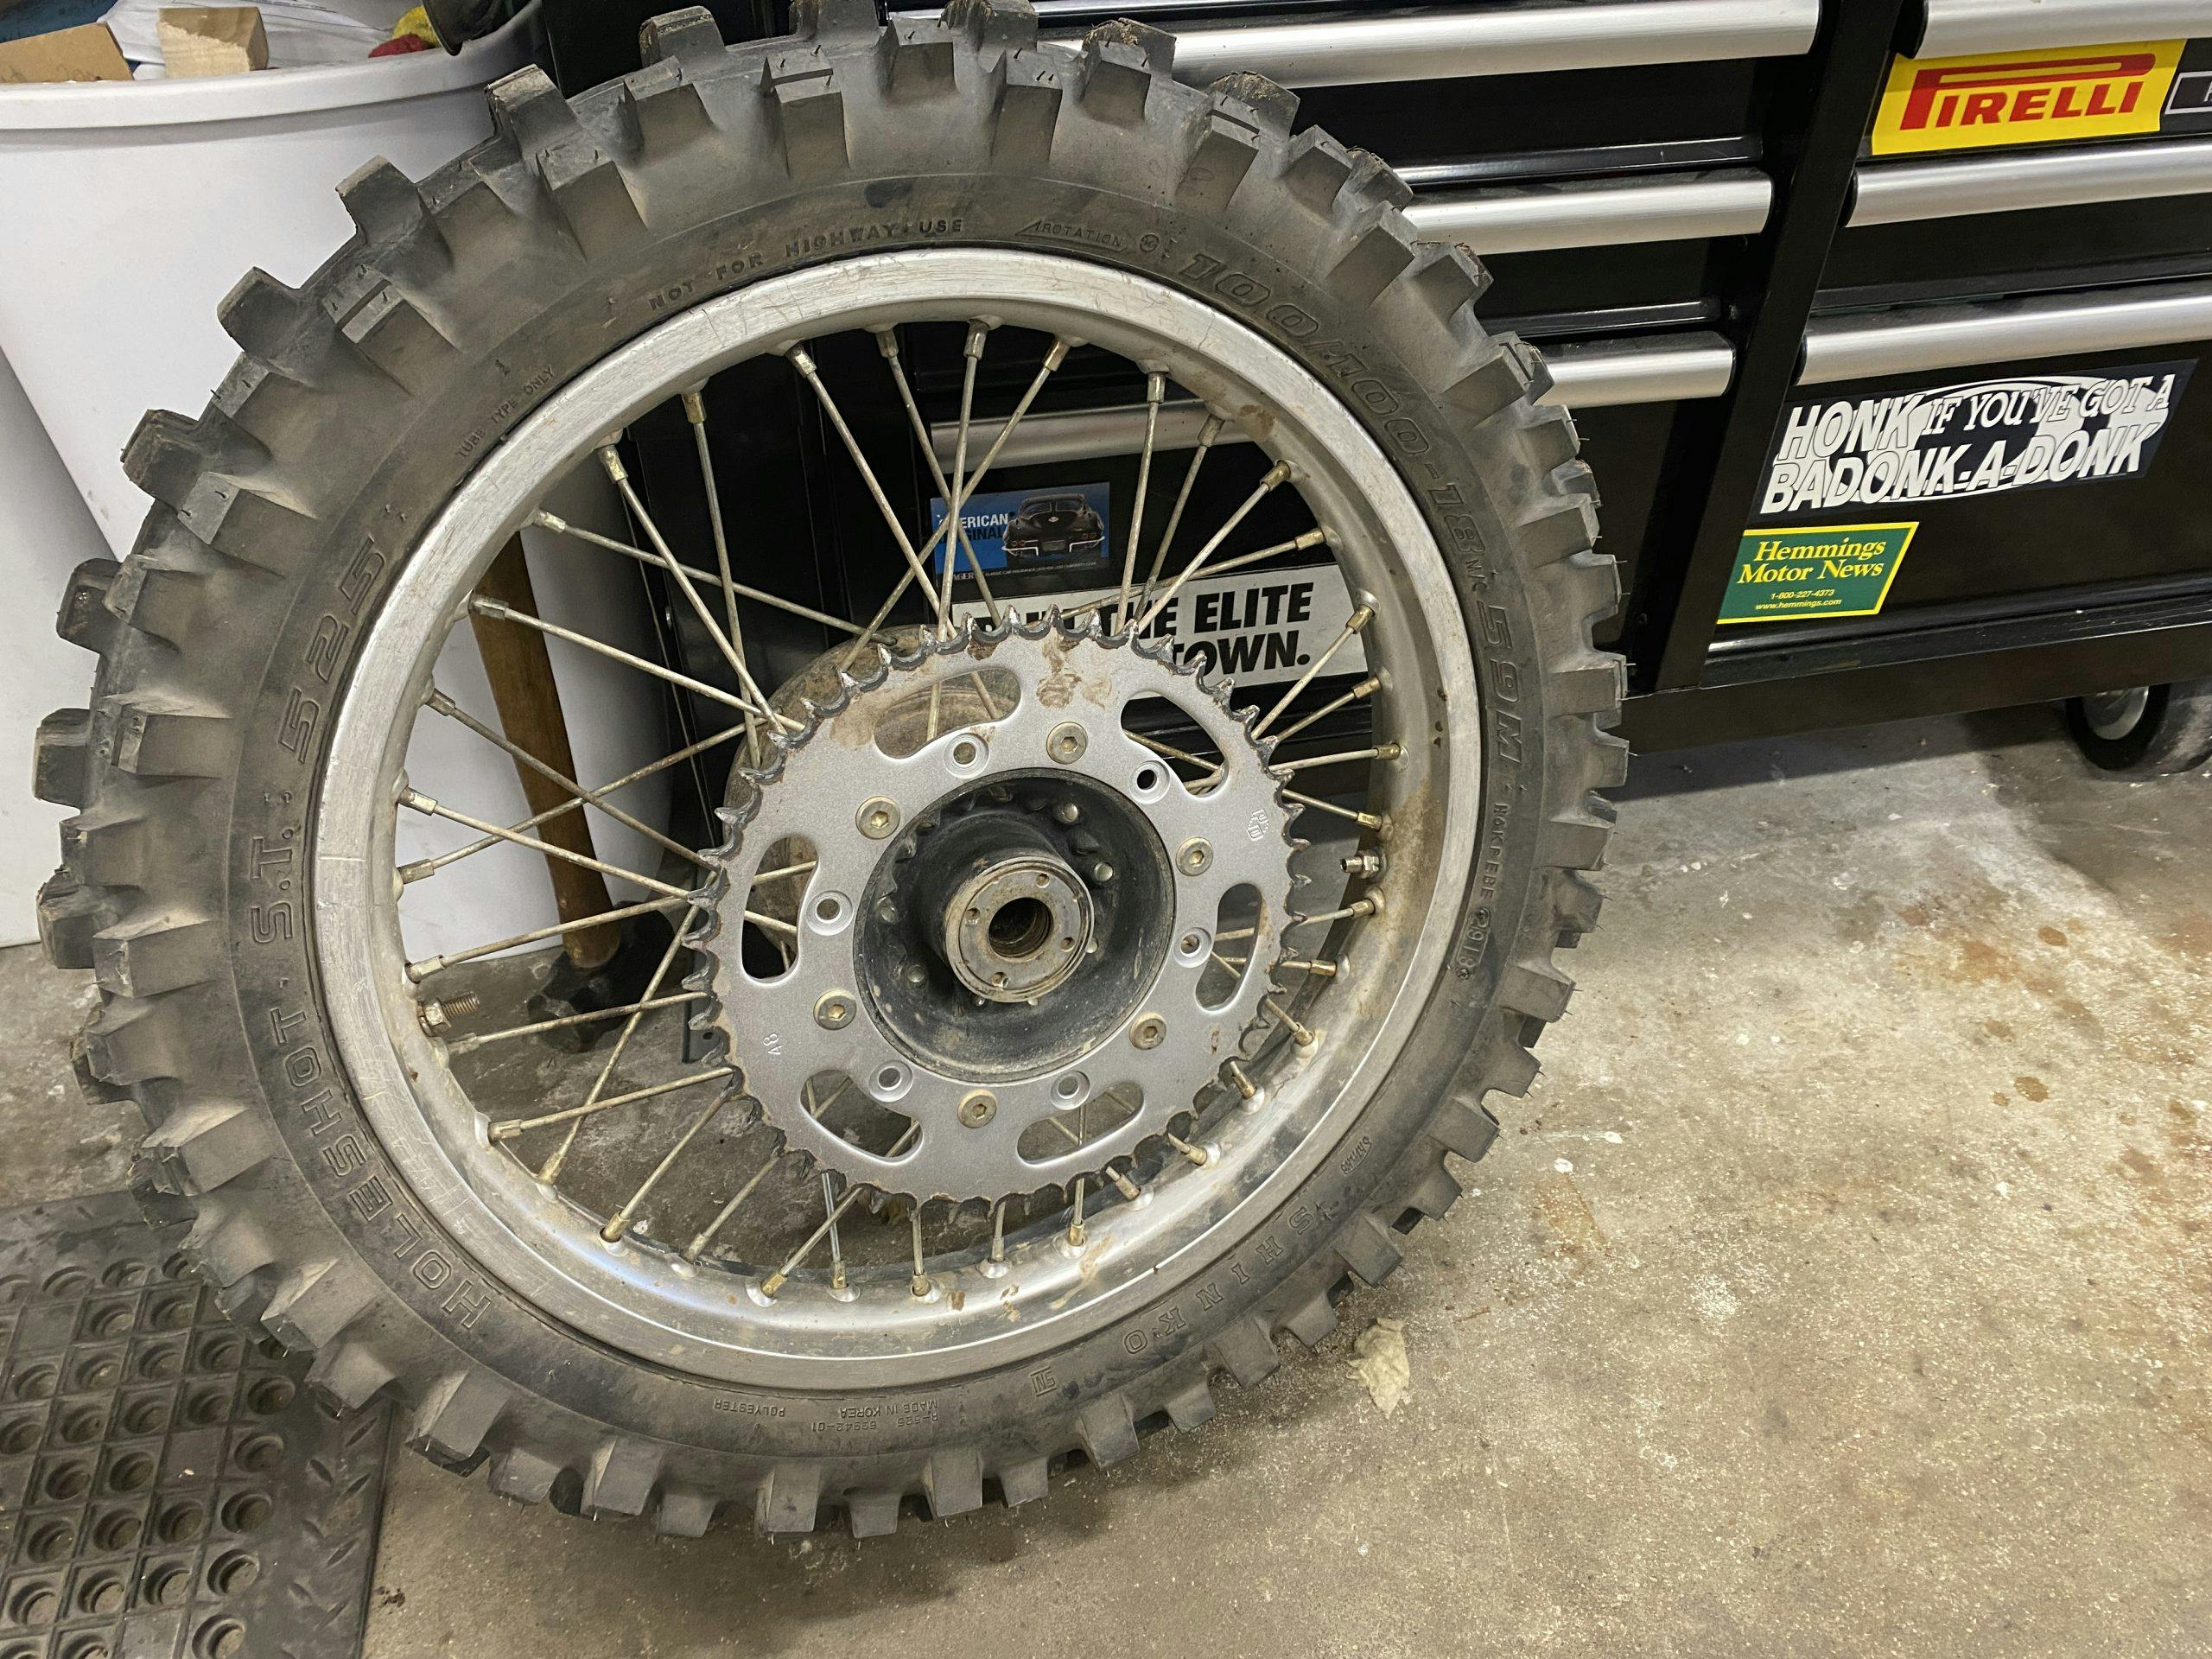
This poor Honda was left for dead, leaning on a dumpster. I brought it back to life after a dropped valve and managed to punch a hole in the piston. Now, it rides pretty well. However, from day one I could tell that the rear wheel bearings had more play in them than a third-grader squirming before the recess bell. With the bike on a stand, the wheel could rock nearly an inch side-to-side. Not ideal.

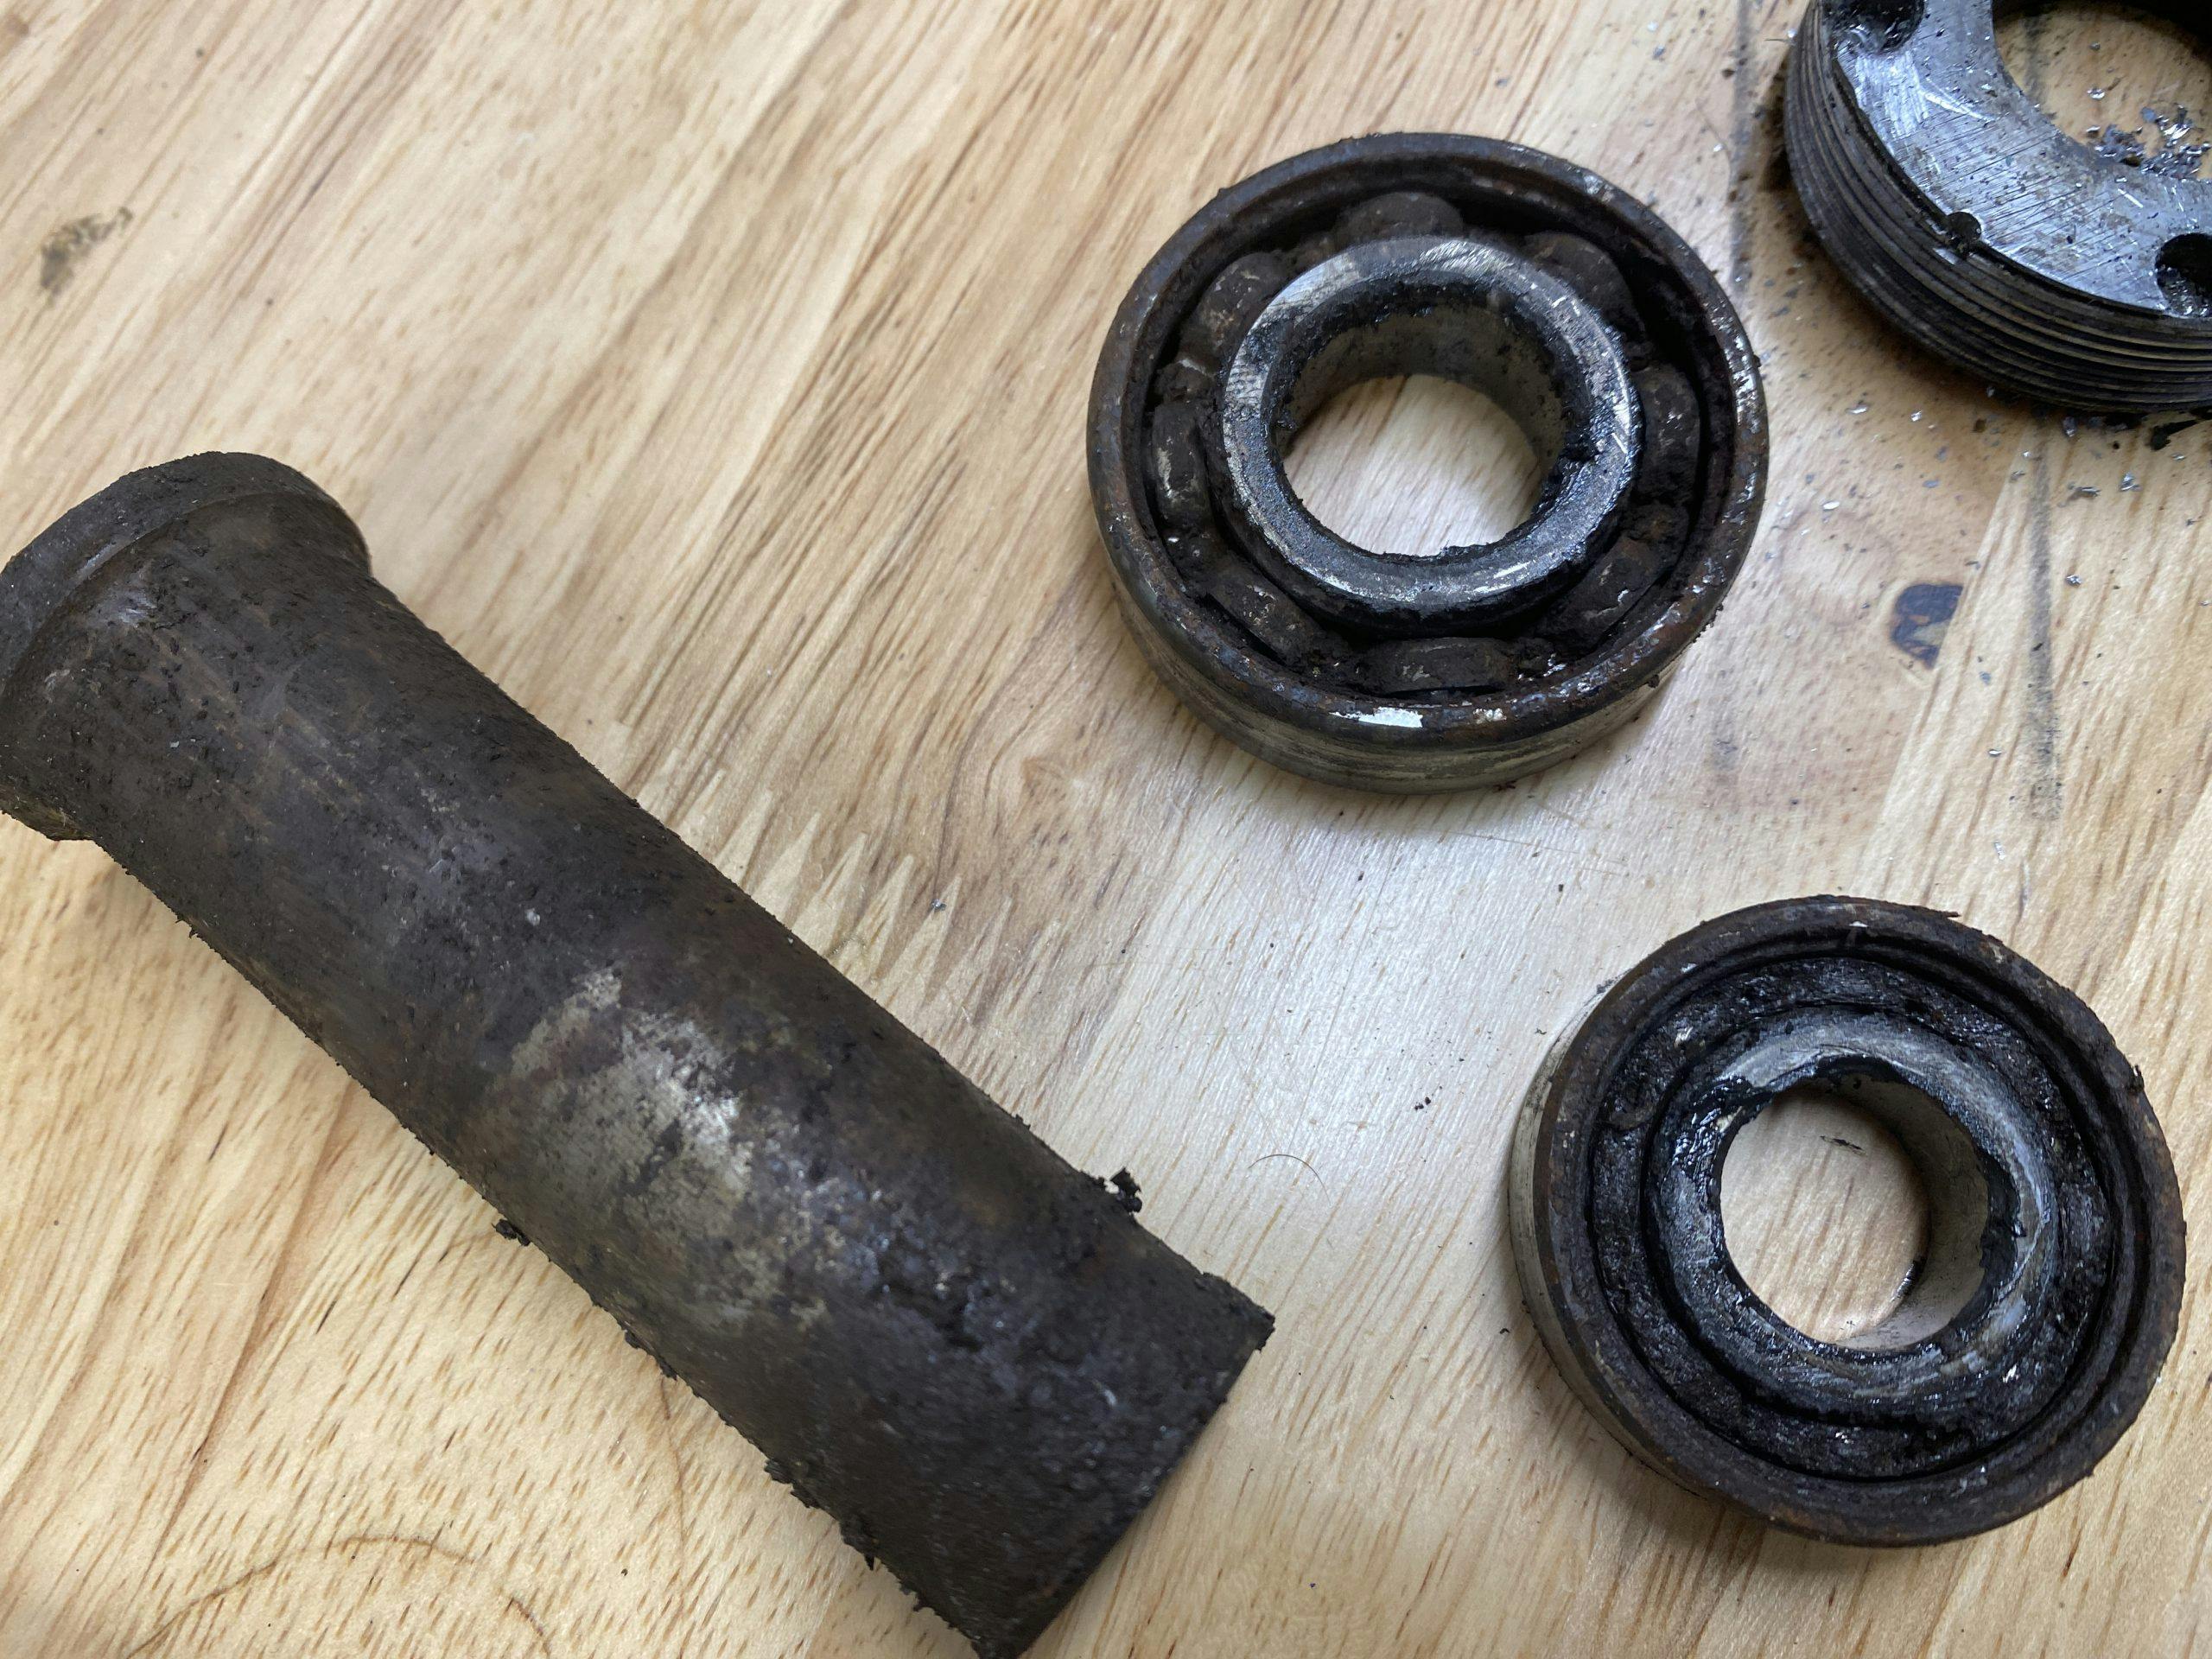
To start, I ordered fresh bearings, put the bike on a work stand, and pulled off the rear wheel. Wheels bearings is a simple job: pop out the old, pop in the new, make sure the seals have grease. Easy, except I didn’t do my research and was met with this.

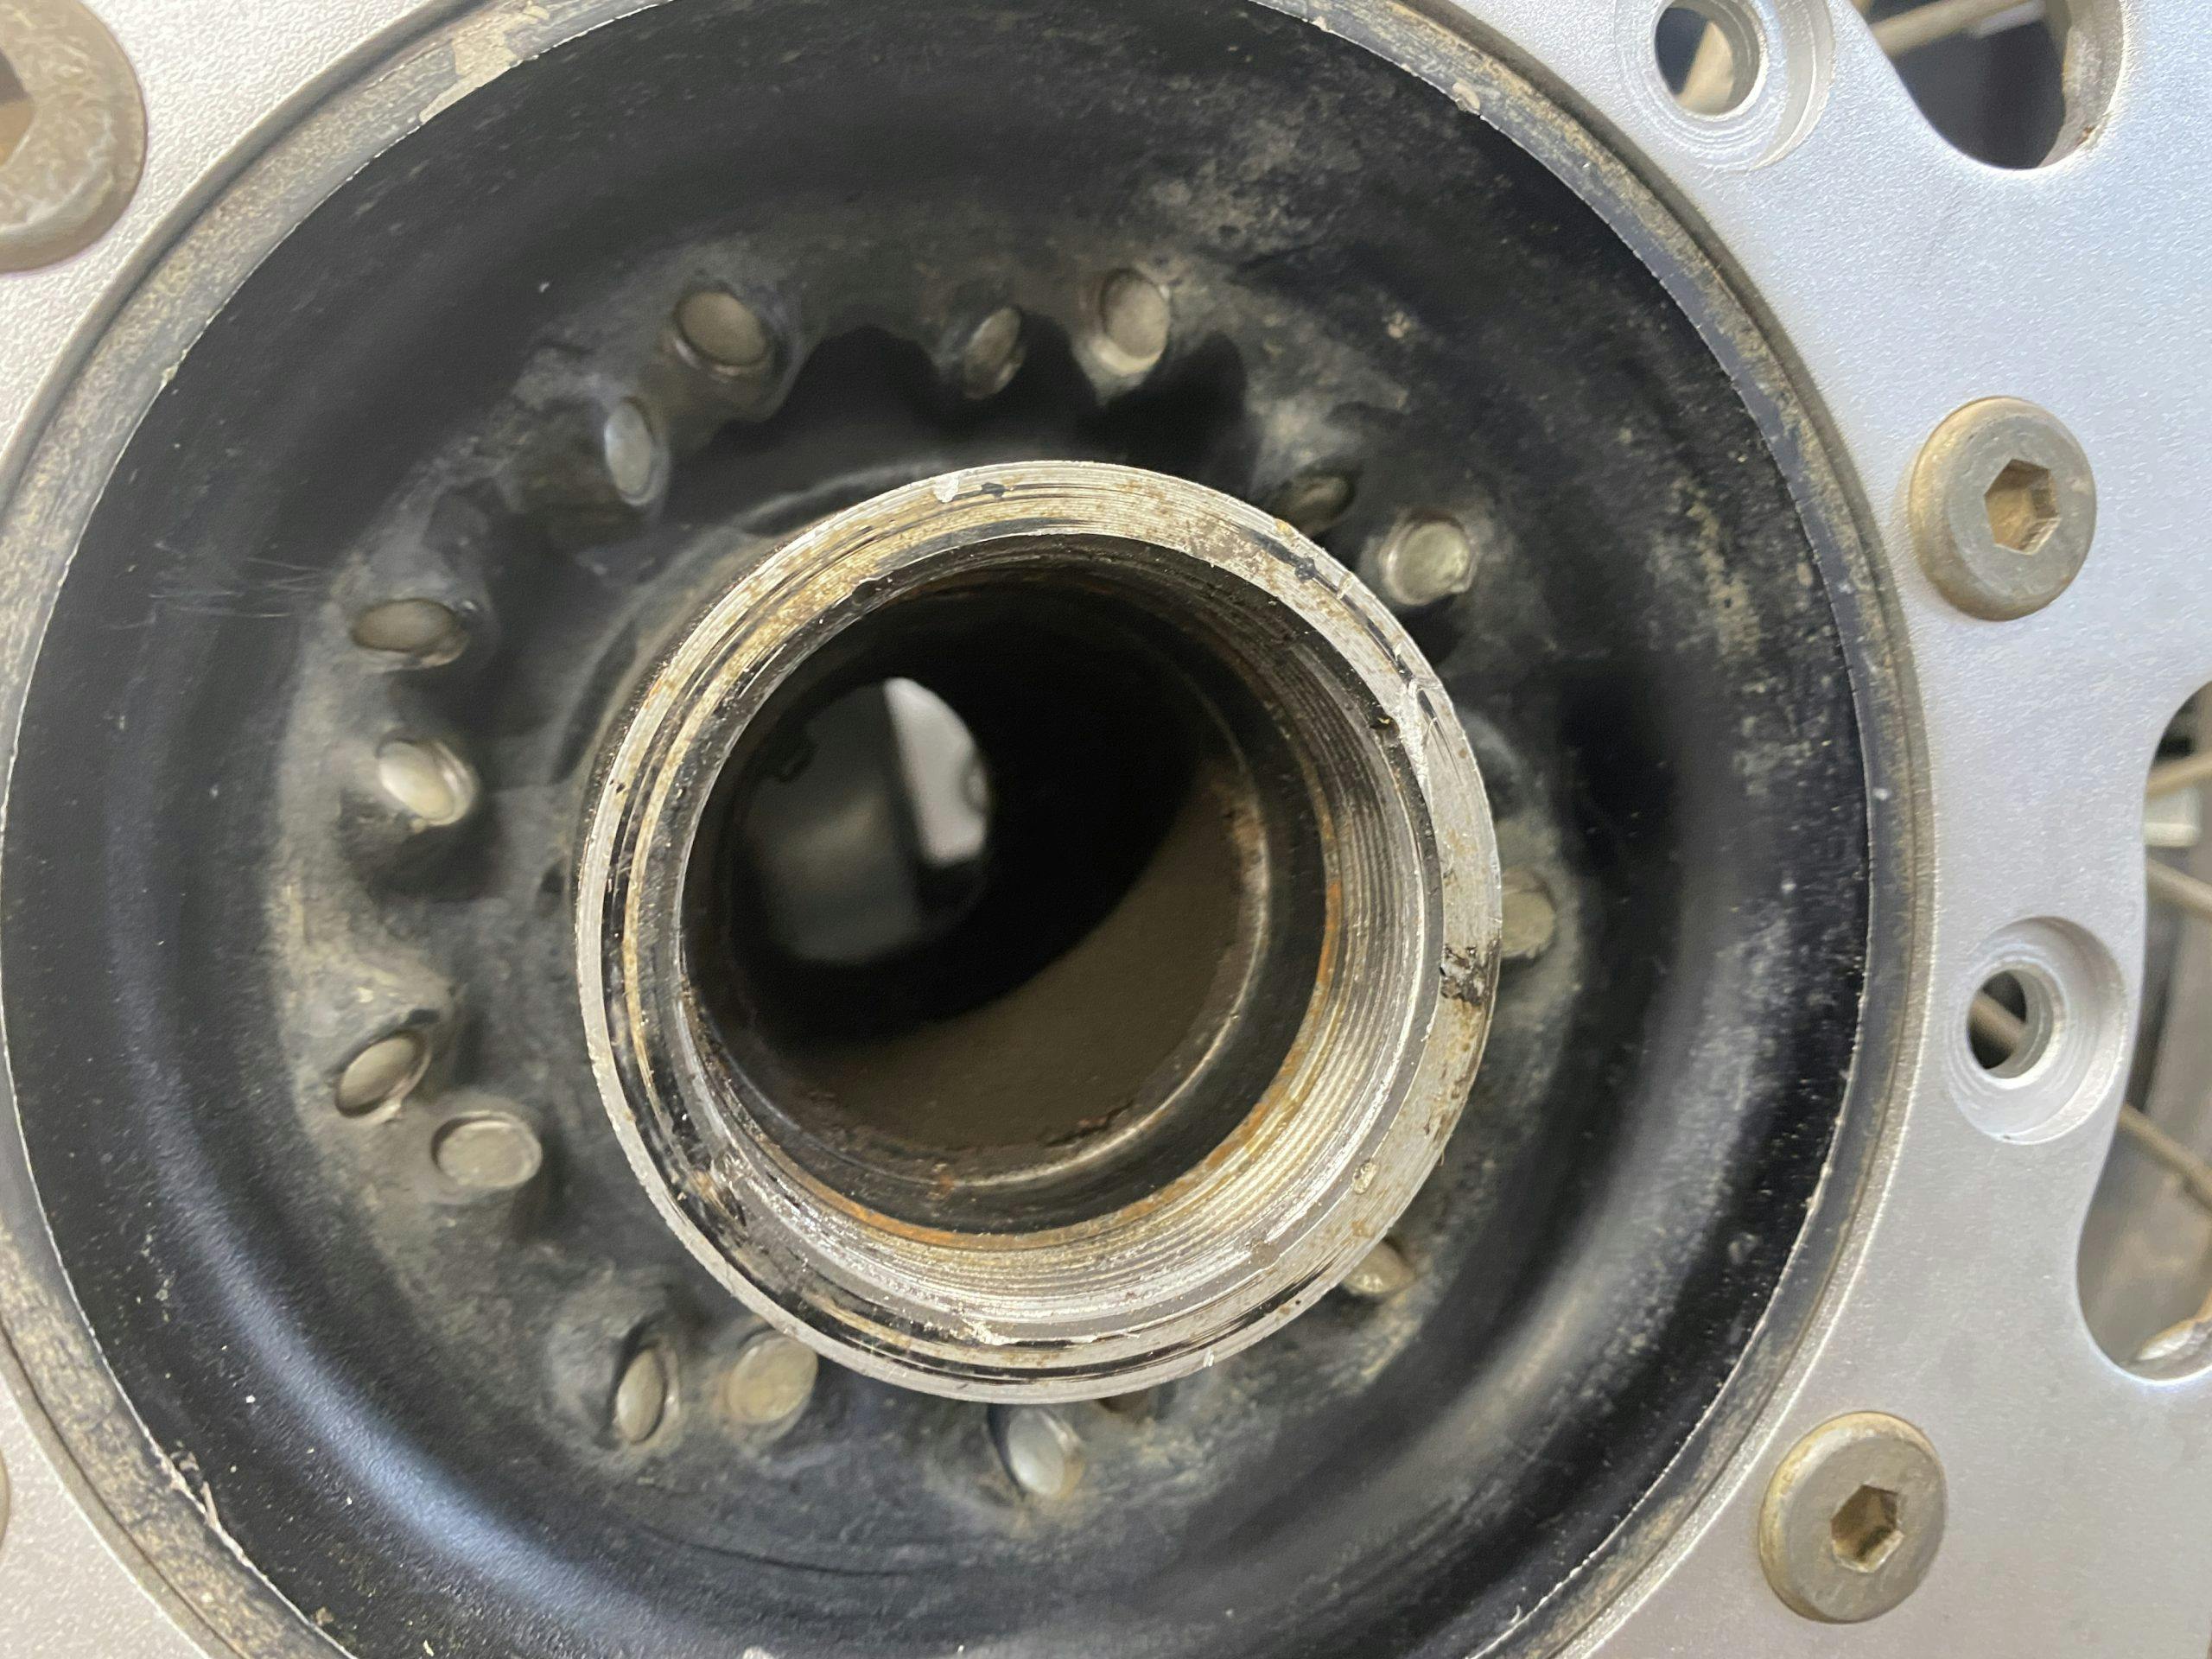
This piece of soft aluminum was threaded into the hub, hiding the wheel bearing behind it. I immediately knew there was a specialty tool for this job—and I didn’t have it.
Time to get creative.
No one I know would call me a fabricator, but I can typically get myself out of sticky situations like this unscathed. With a large toolbox full of stuff that, of course, wouldn’t grab those four pinholes to spin the piece out, I was going to need to make something. Building tools can either be incredibly frustrating or a giant boost in self confidence. I was hoping for the latter.

Here’s how I went about solving my problem, and how you can do the same. First, sit down and stare at the problem, what does the tool you are going to build actually need to do? If you feel like cheating on this exam, open up your favorite web browser and look up the specialty tool that you are too cheap/time-pressed/otherwise unable to acquire. Take that design and make that your target.
For my tool I needed two or four pins to engage the holes on the threaded cap. Those pins needed to be on something on which I could put force to rotate them. Welding pins to a socket would do, but I don’t have a welder, nor a socket I feel like turning into a one-trick pony. Therefore, I pivoted to a lever design. A lever with two pins on one end would be easy enough to build and would make quick work of spinning out the piece.
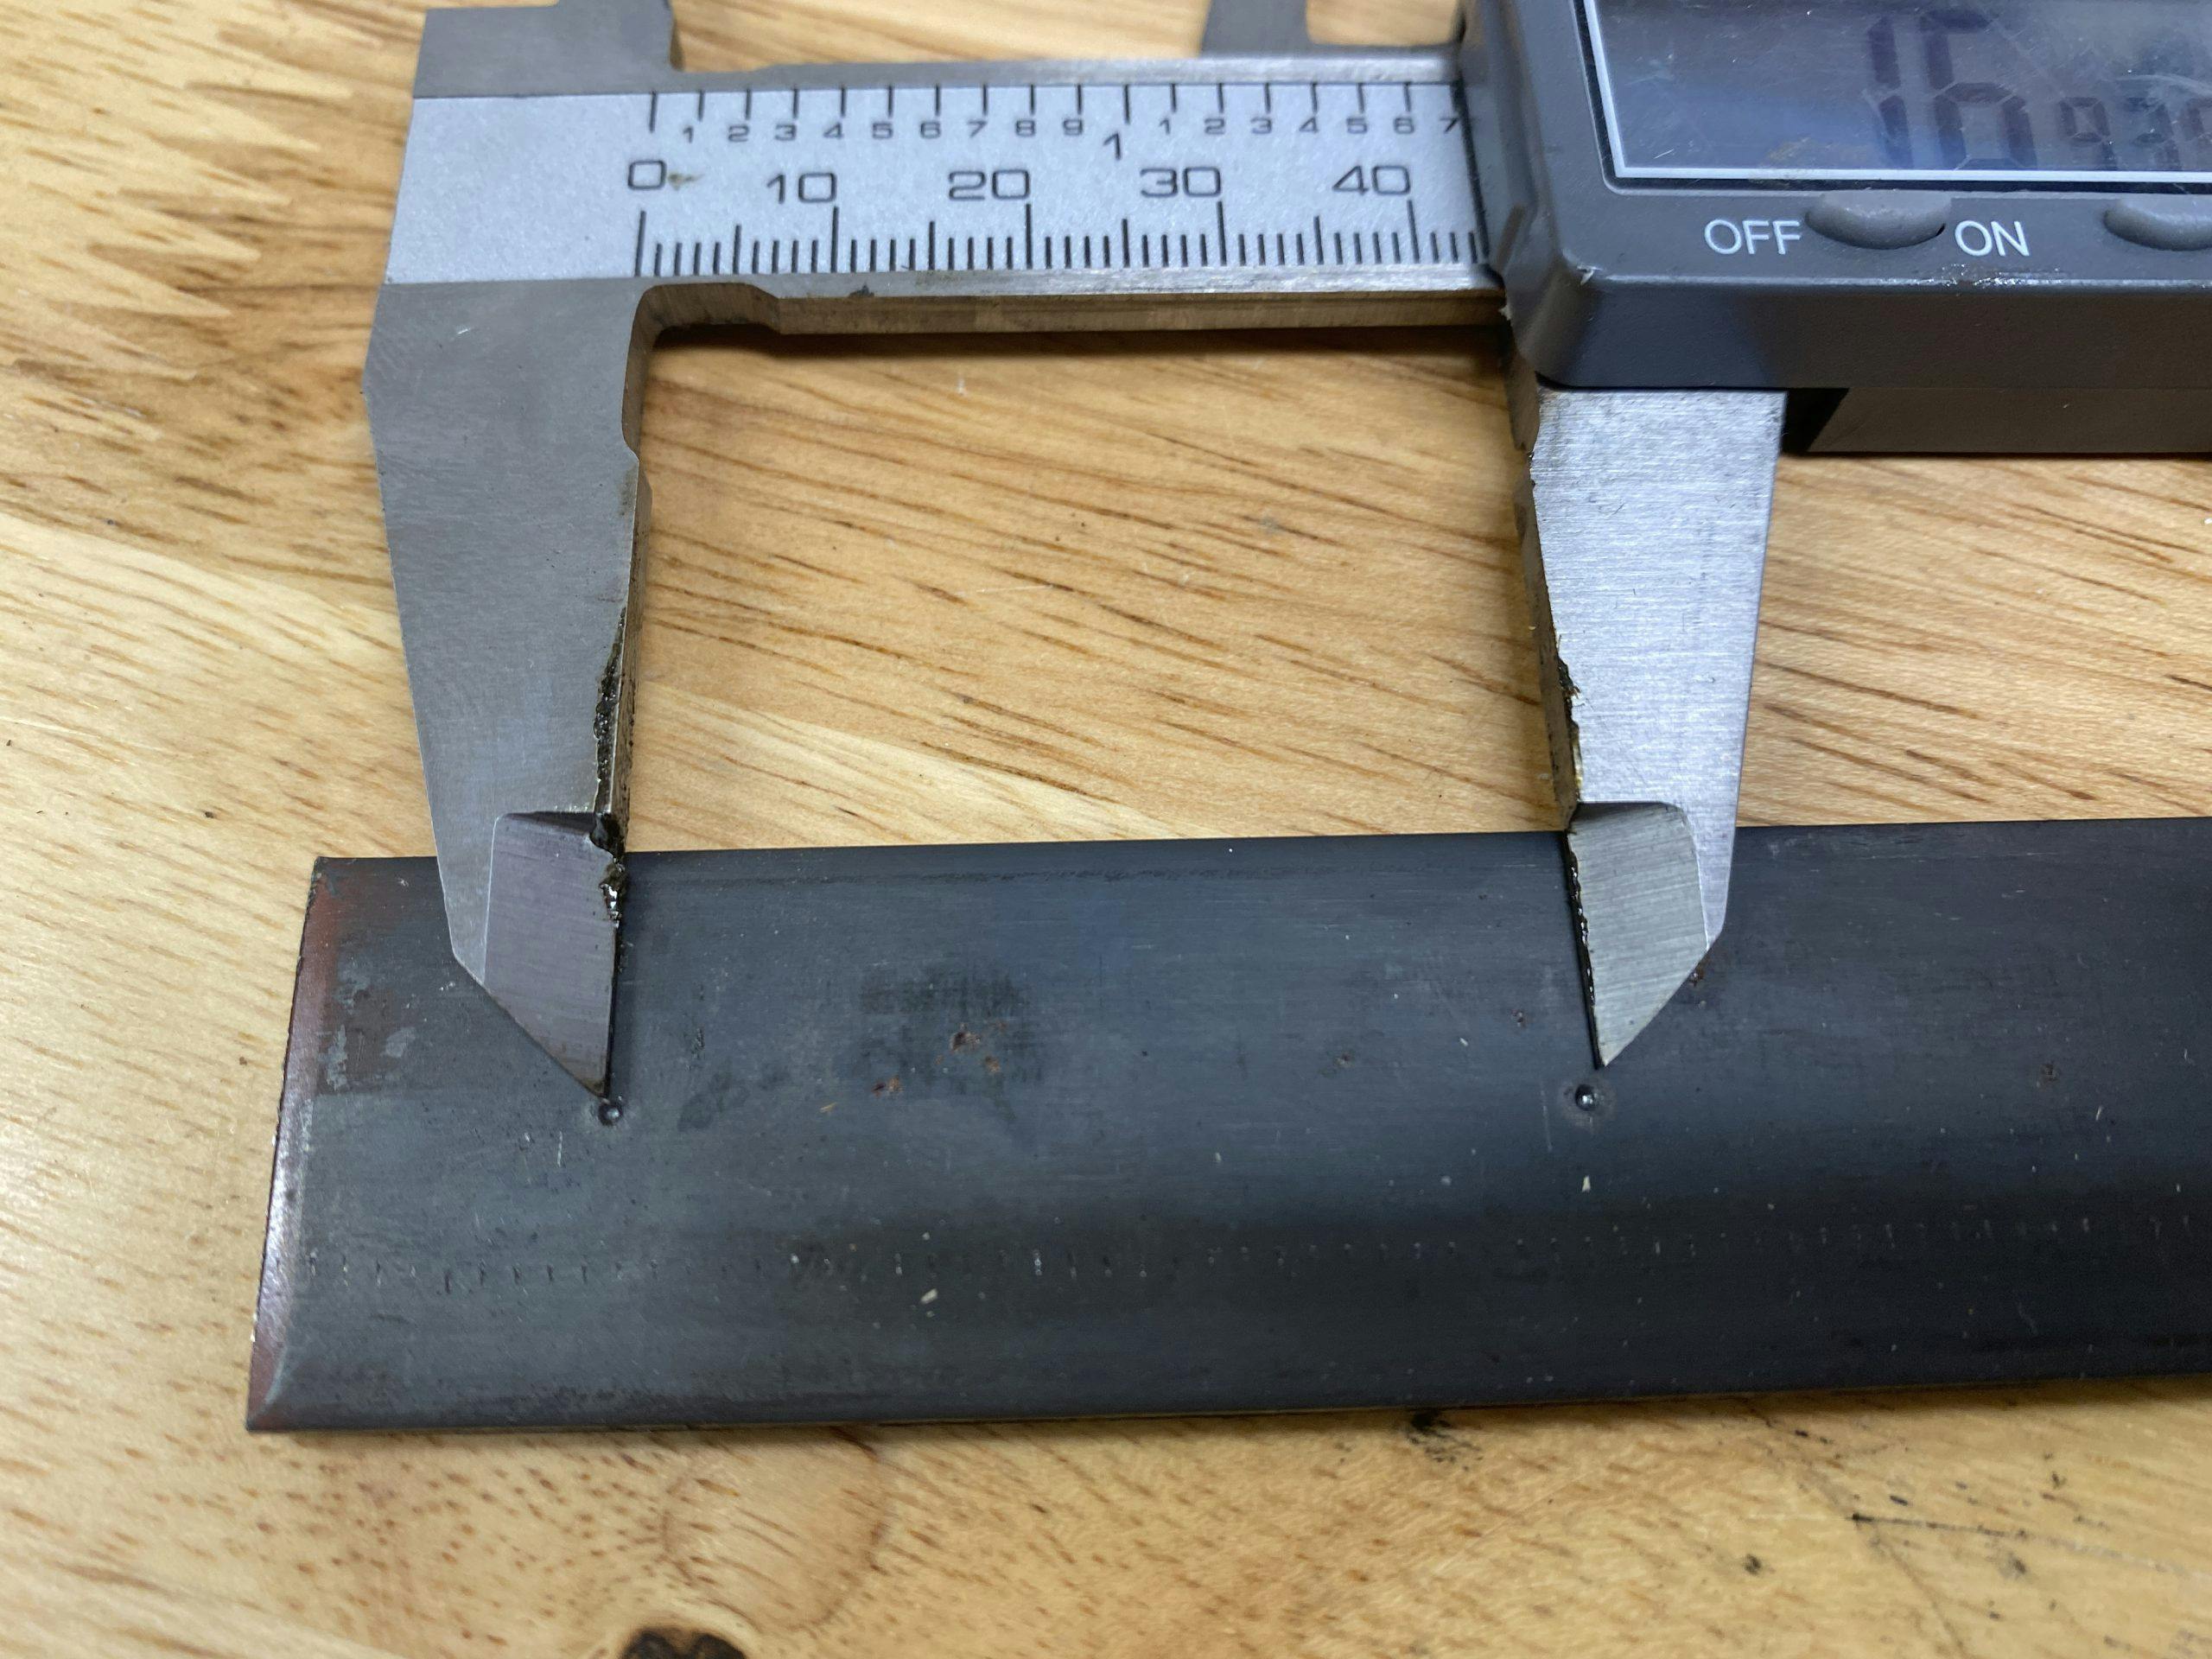
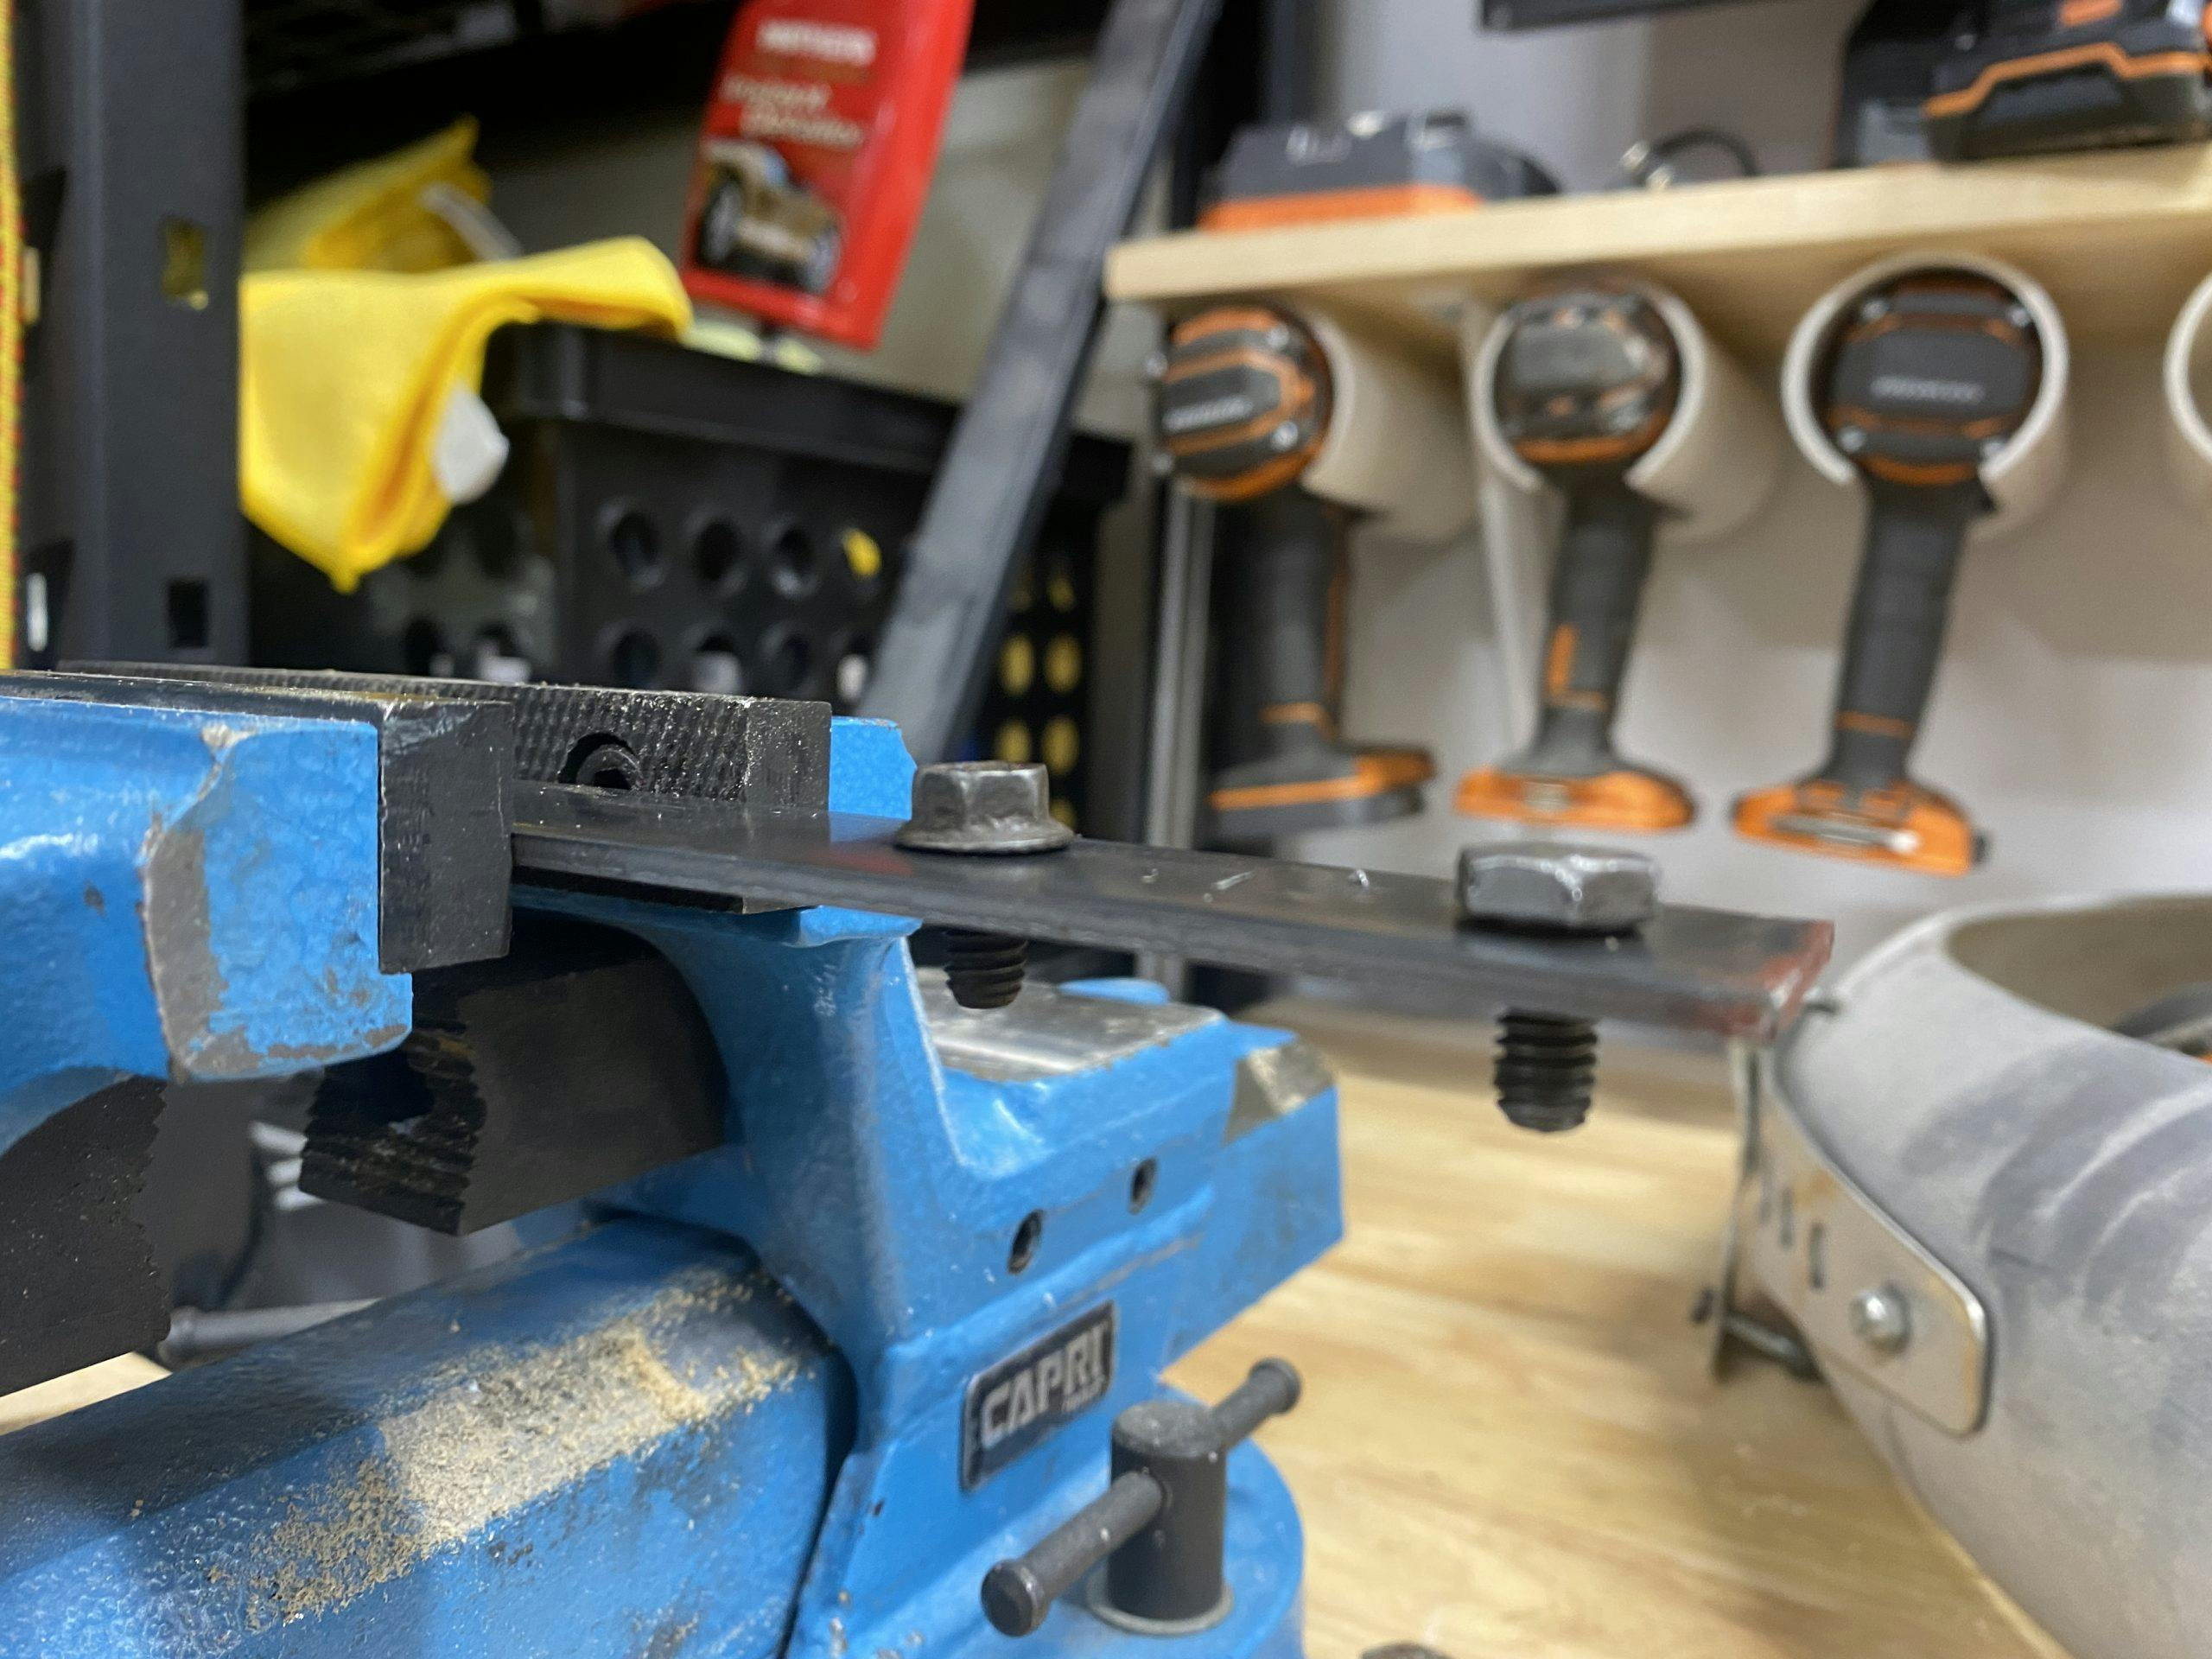
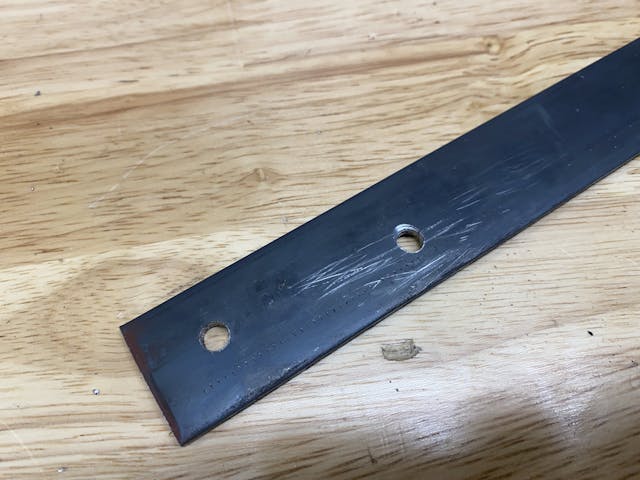
I settled on a roughly two-foot section of 1/8-inch mild steel flat stock. Perfect for the task, it was also the only piece of material I had around that would work without resorting to extreme tactics. Knowing I had material, the next step was to create the pins that would engage with the holes.
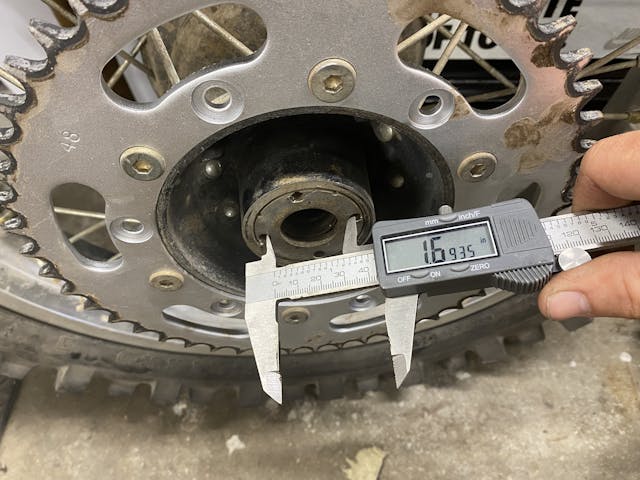
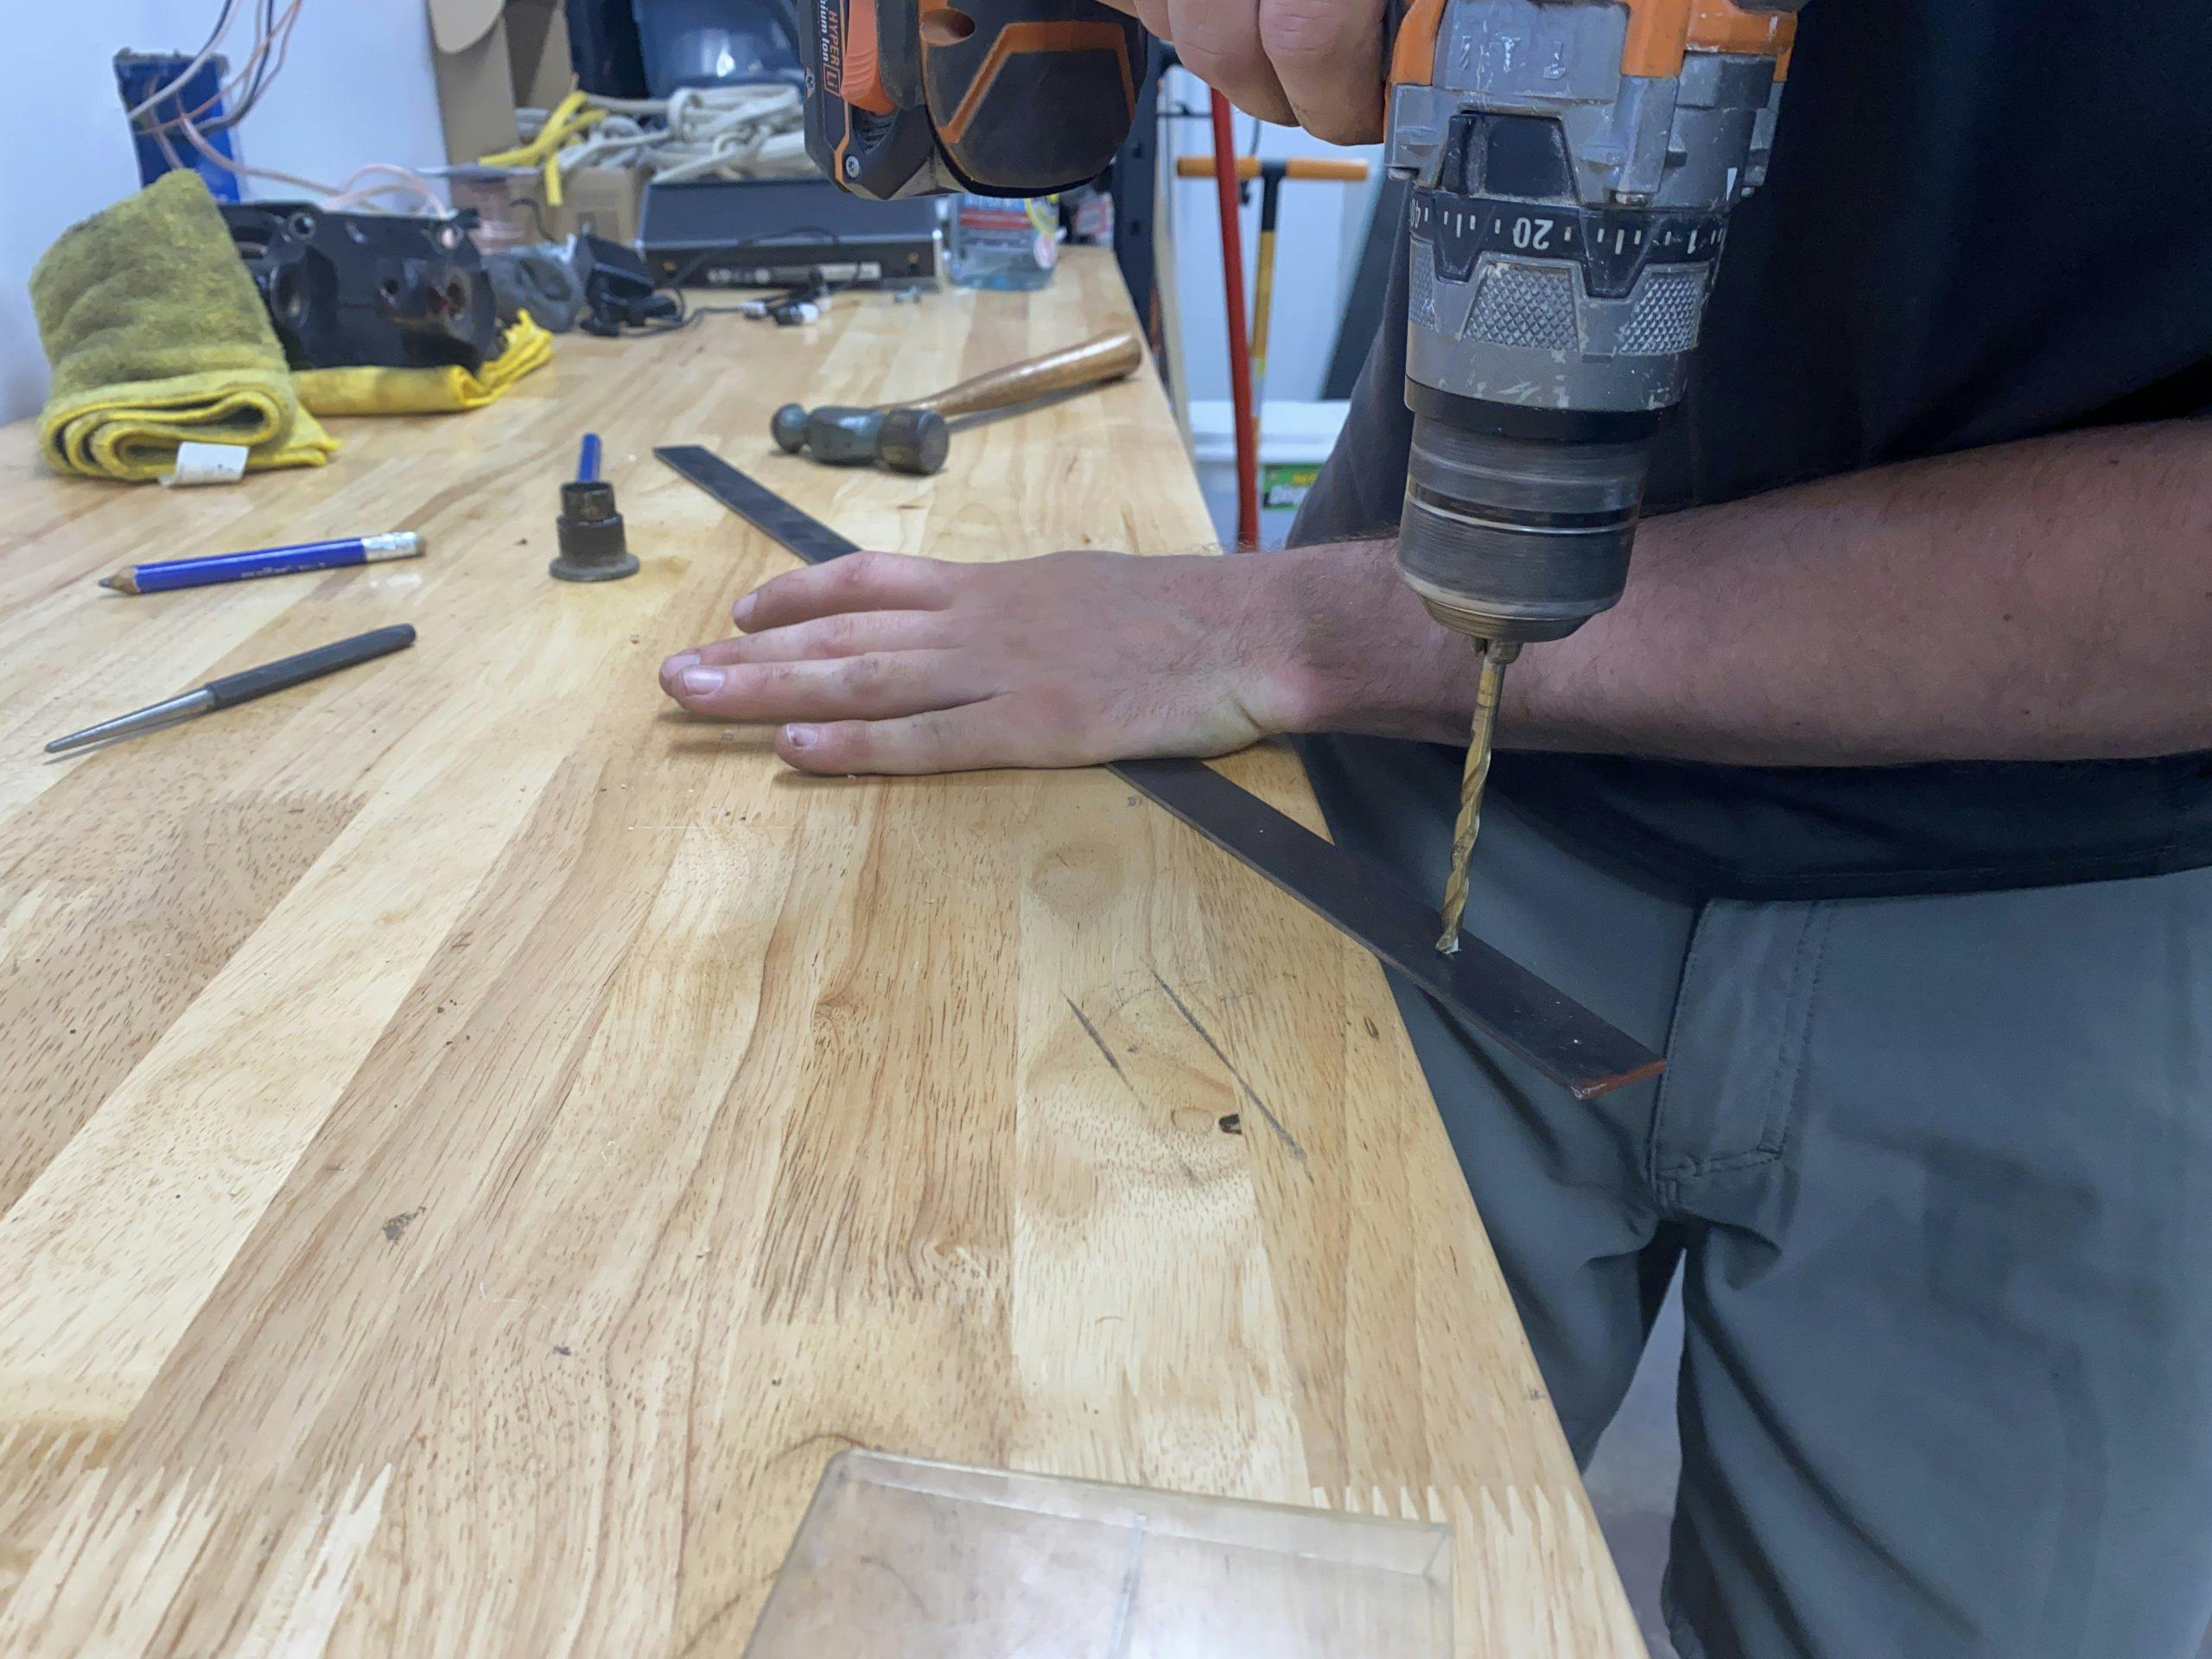
I used a set of calipers to measure the center-to-center distance of the holes, then dimpled the flat stock with a punch to keep my drill bit from wandering when creating the holes. I sized the drill bit to the same size as the holes in the hub piece to make sure whatever I used to engage the holes would not be too small, deforming the soft aluminum when I put force on it.
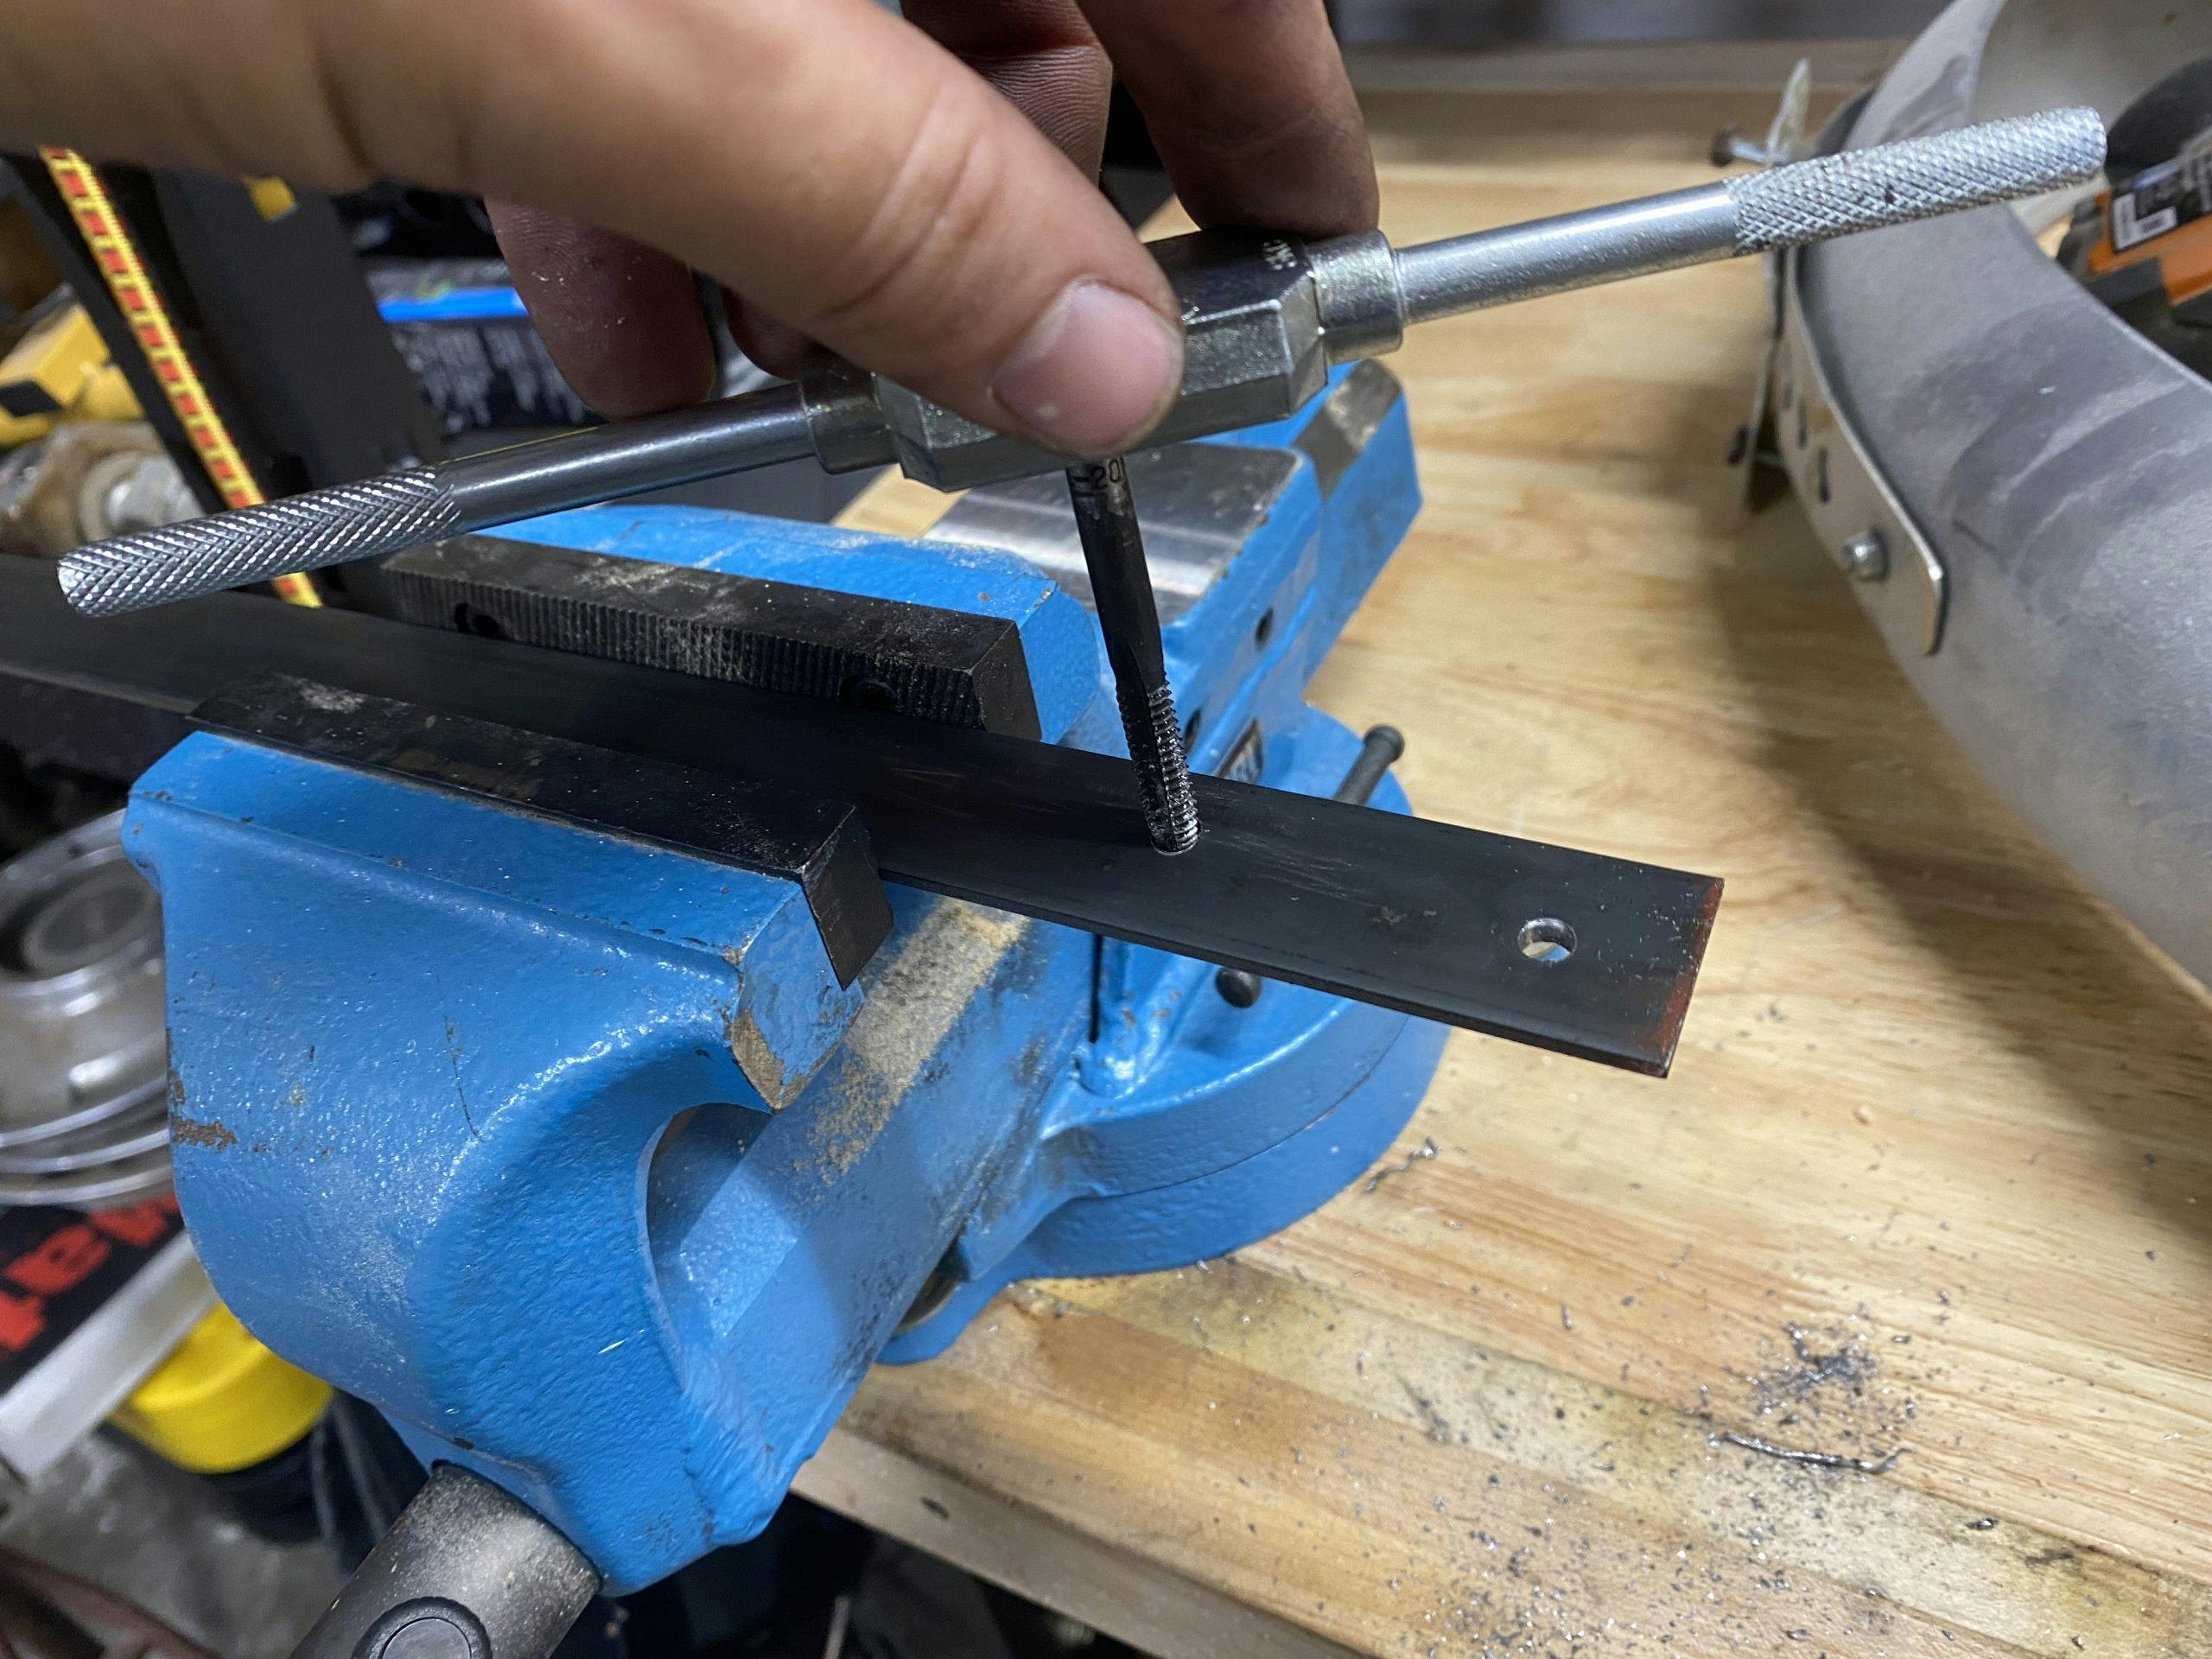
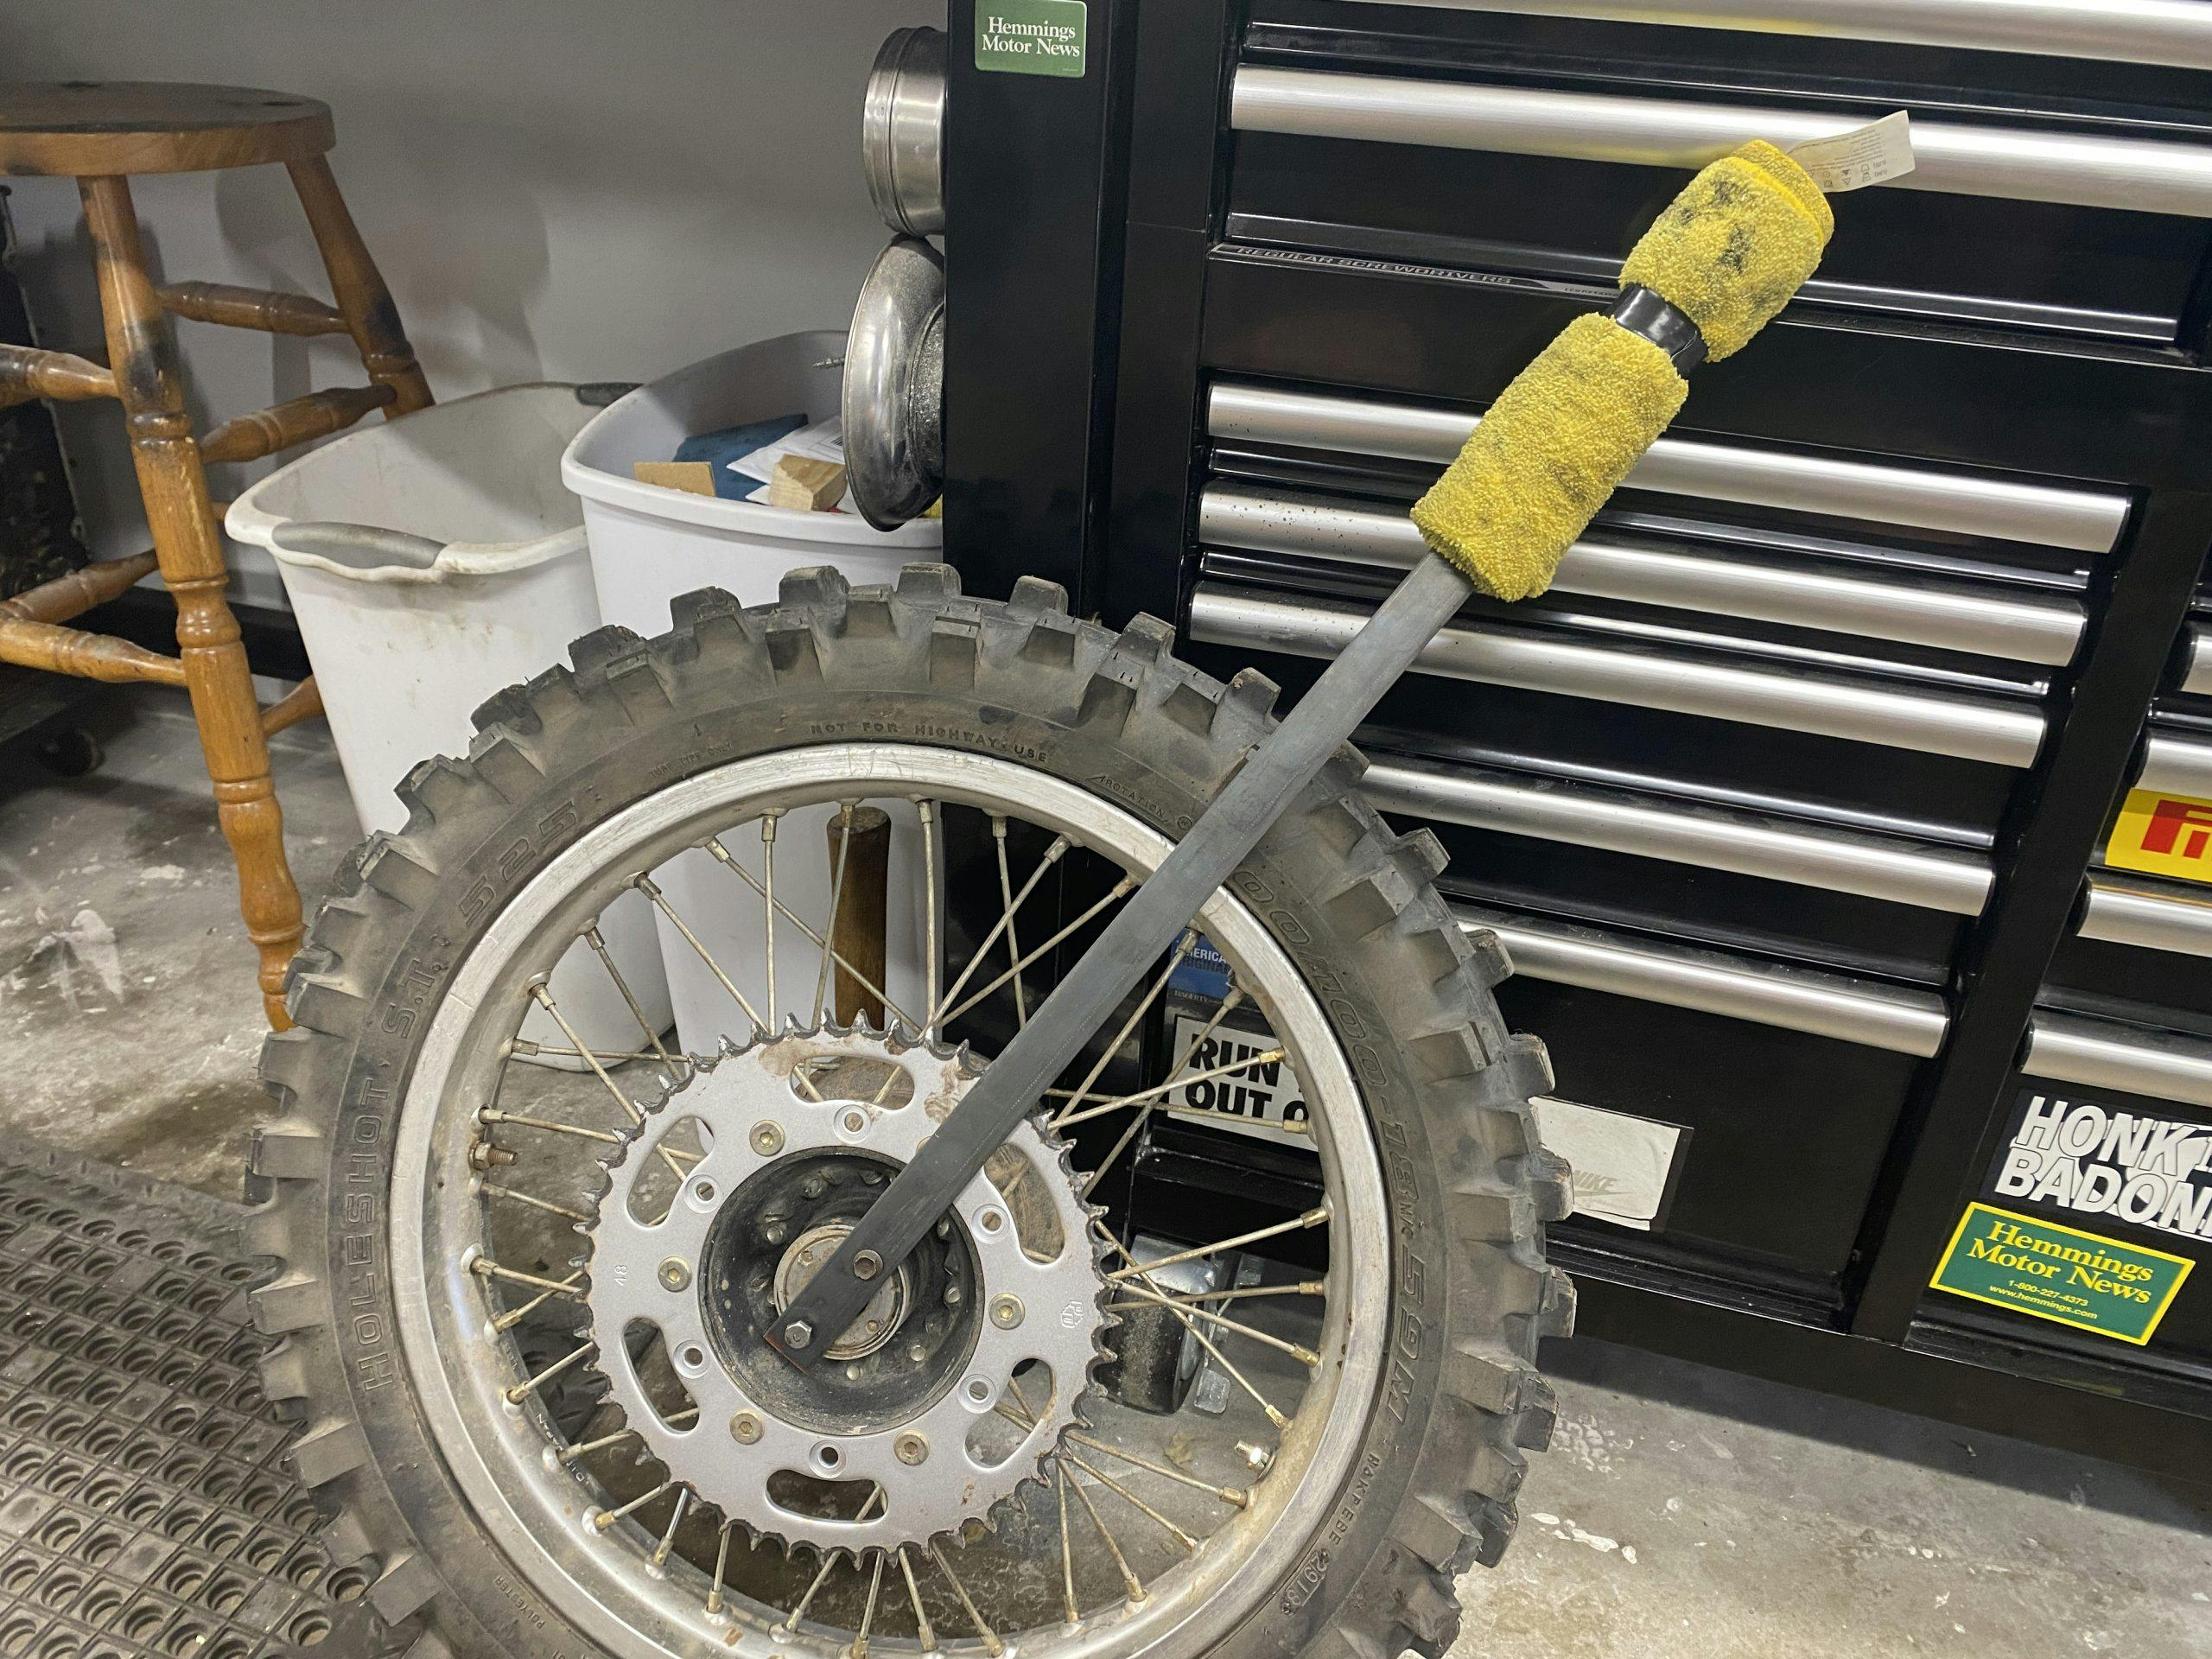
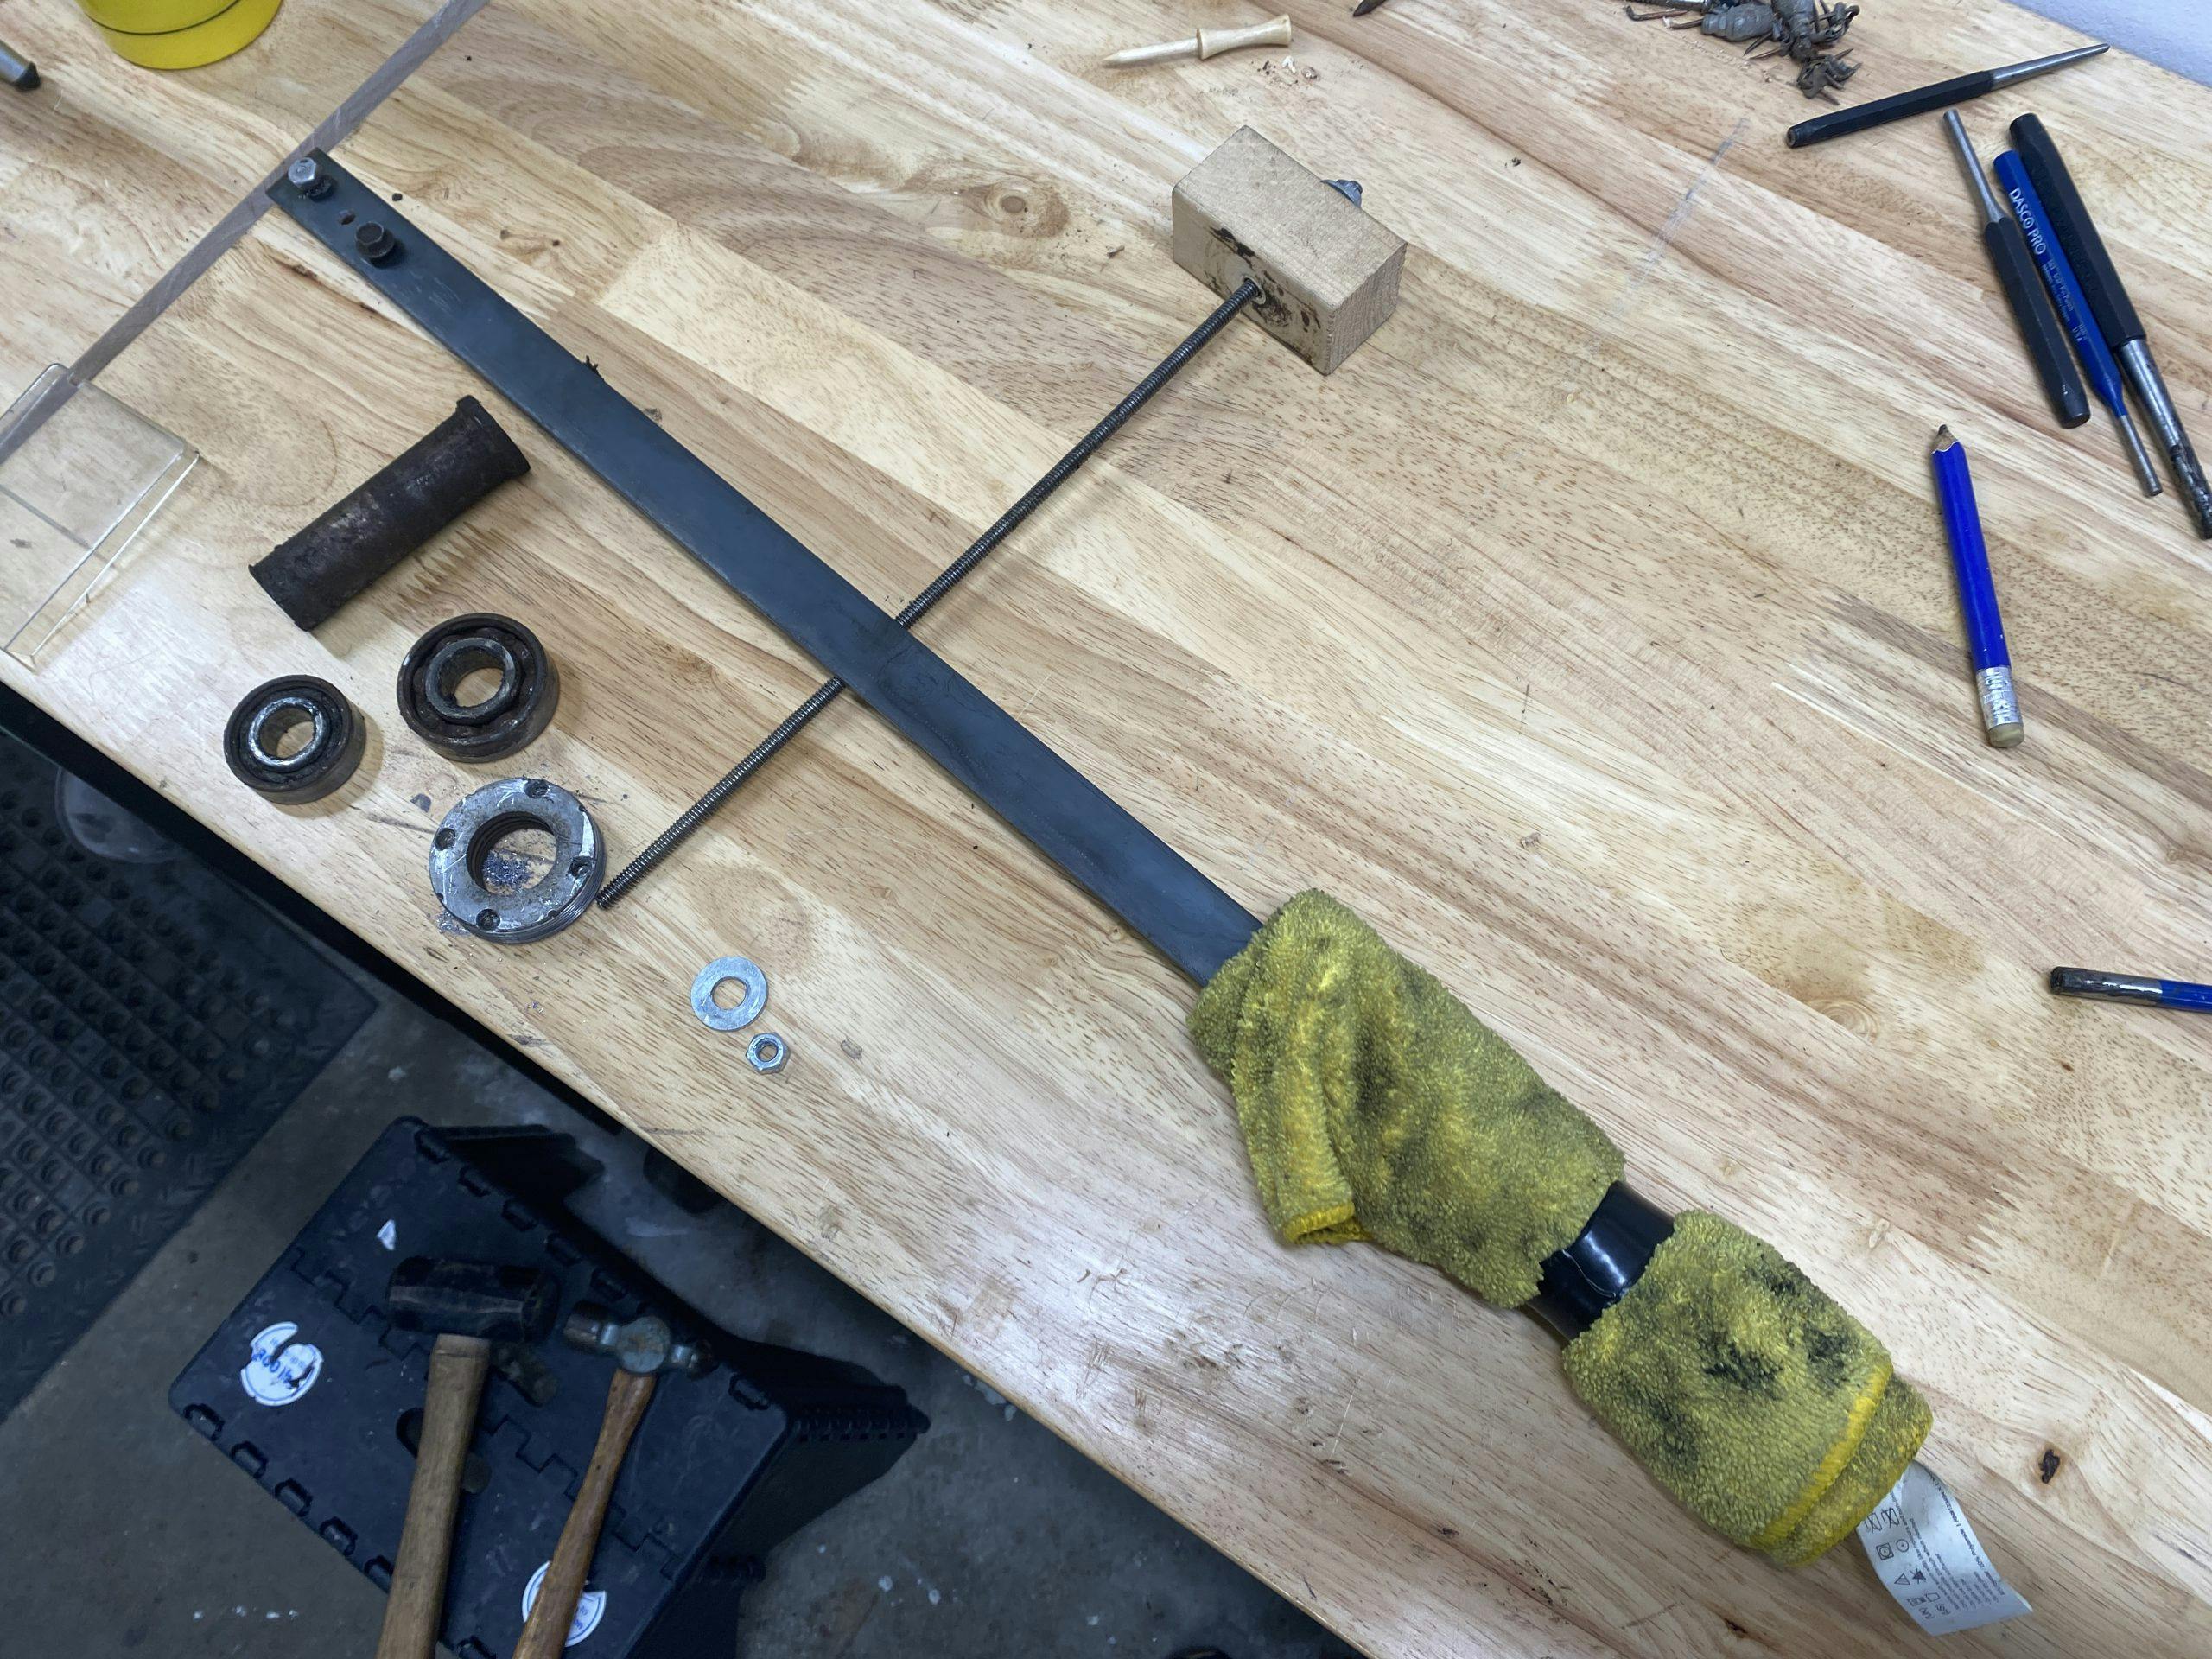
Initially, I tried using two pieces of round stock from the junk drawer of my toolbox, but the process of holding the pins in place and putting leverage on the end of the tool was just too clunky and didn’t work. Instead I grabbed my tap set and a few random bolts, tapping threads into the holes in the flat stock (1/4-20 threads if you are curious) and threaded the bolts into place. Now I had a seriously nice tool, so I decided to up the luxury and use some electrical tape to hold a shop rag to the opposite end, effectively creating a nice handle.

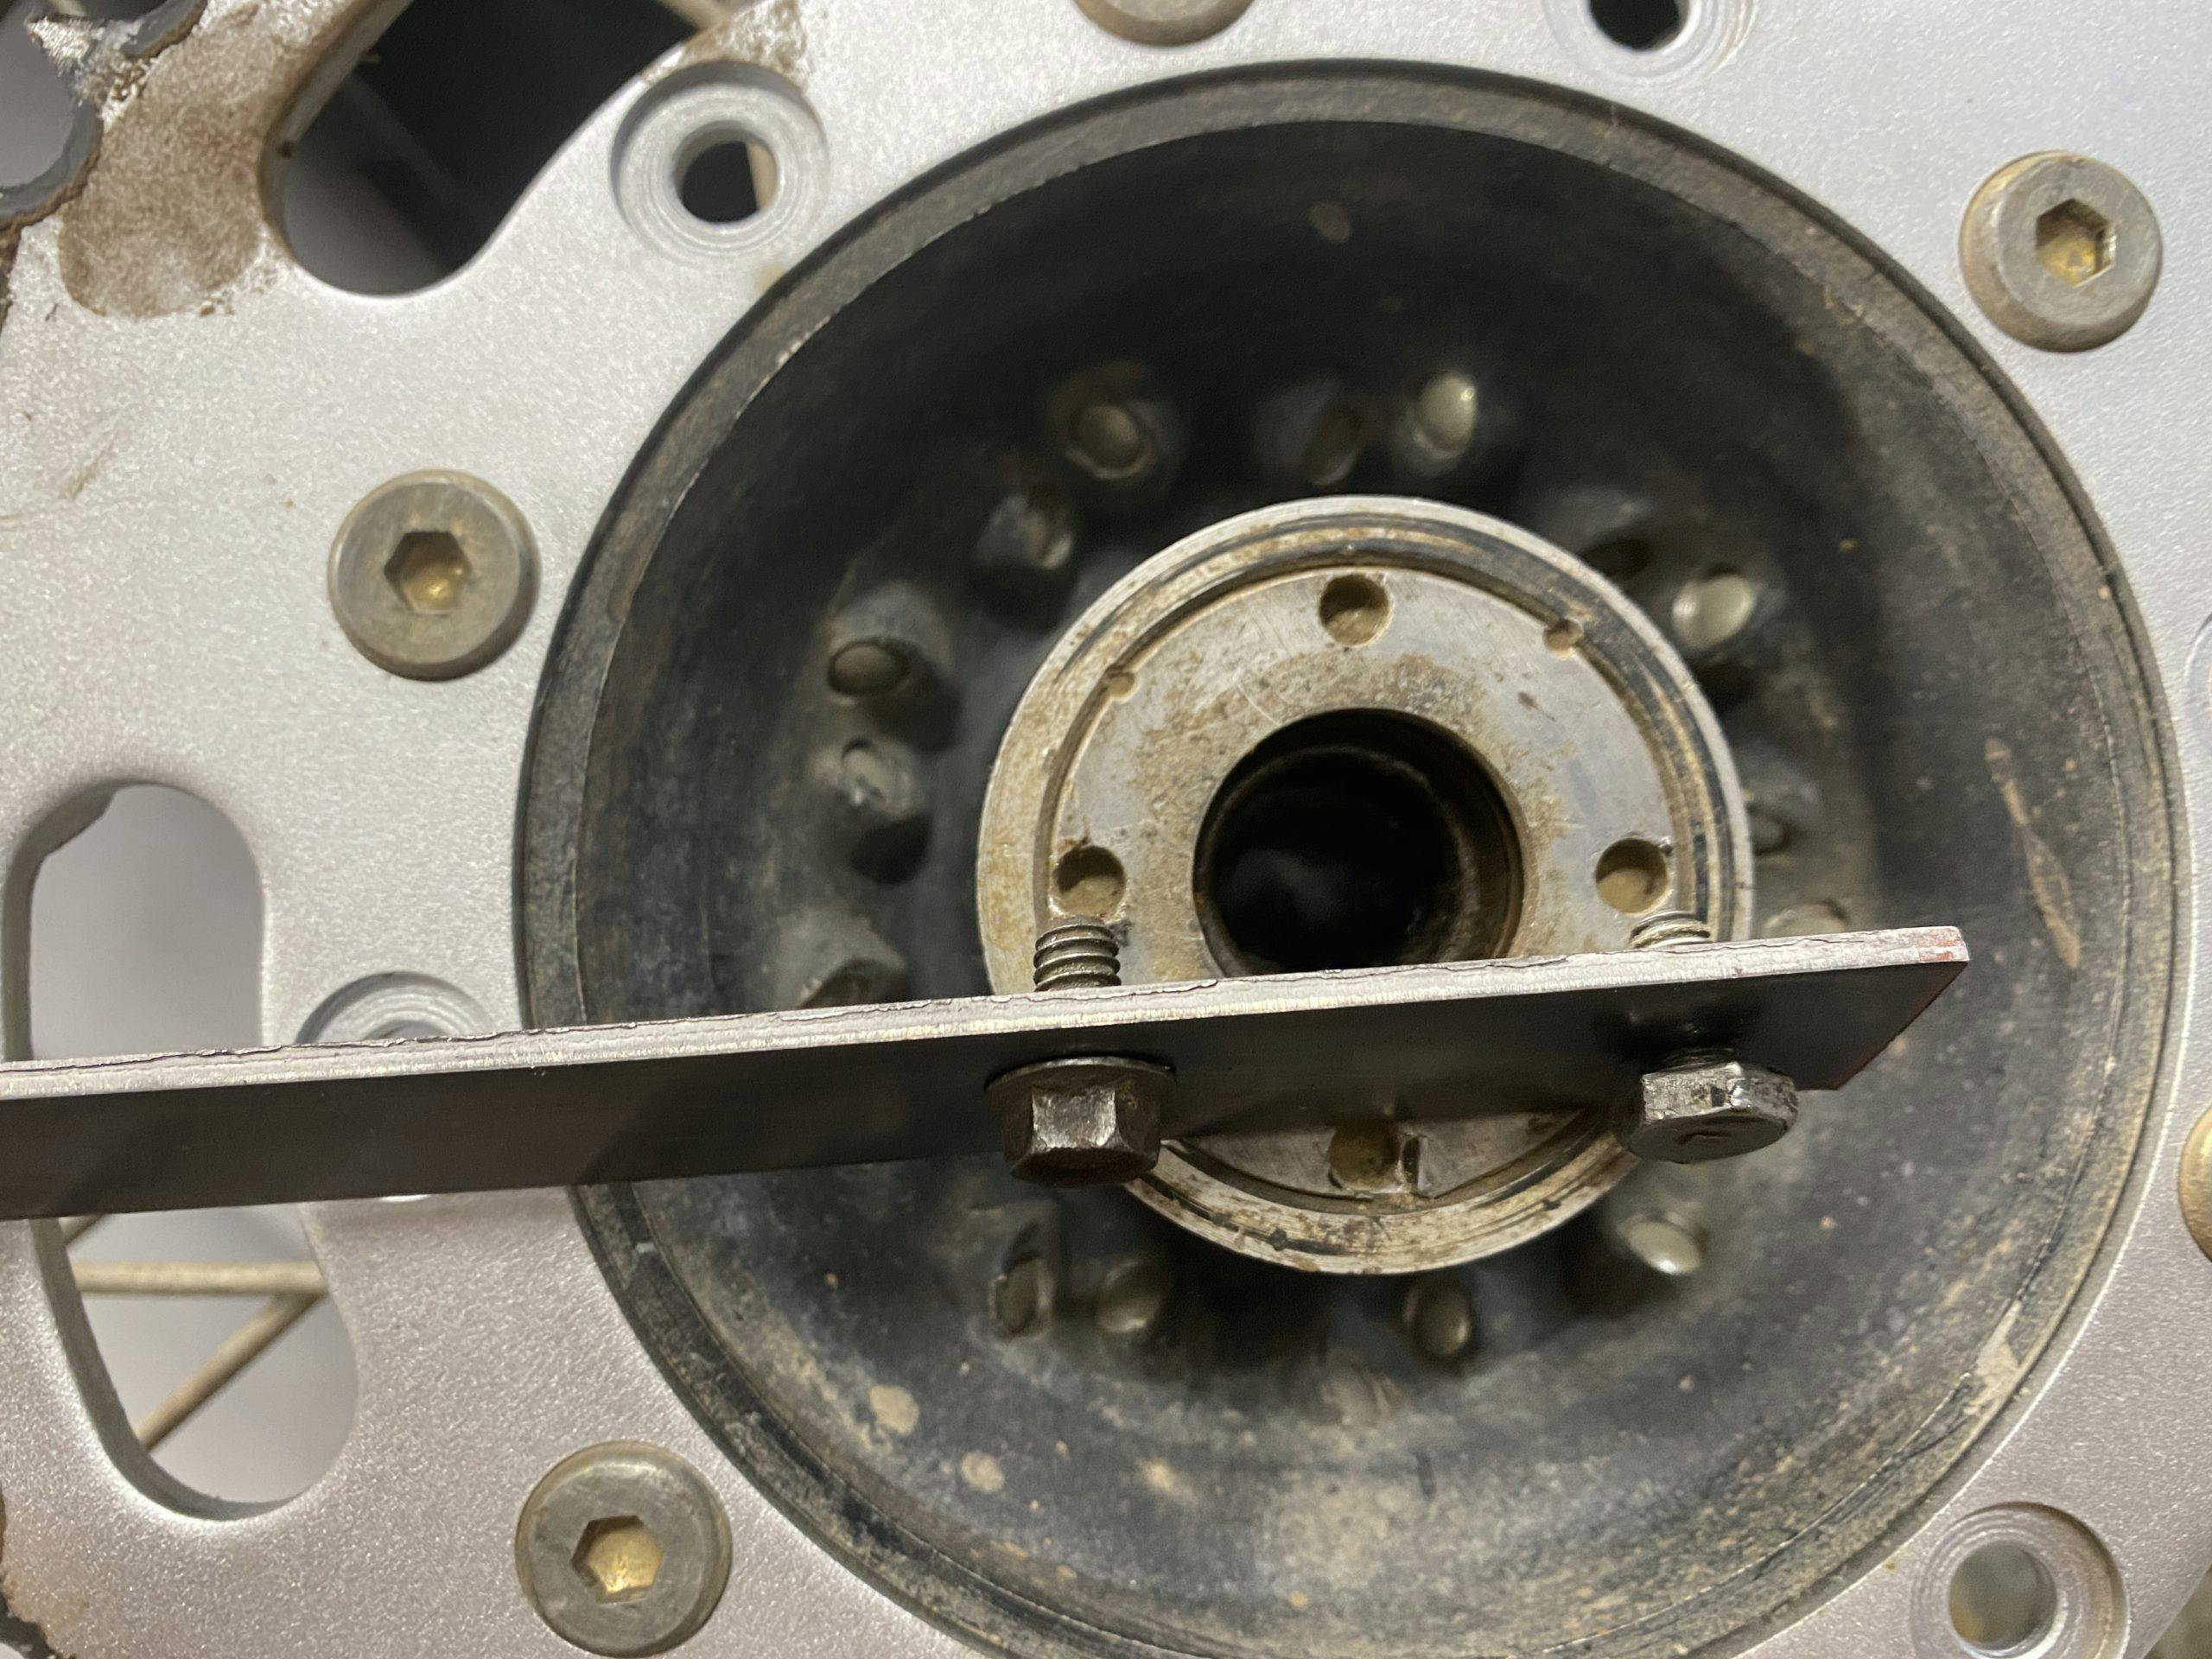
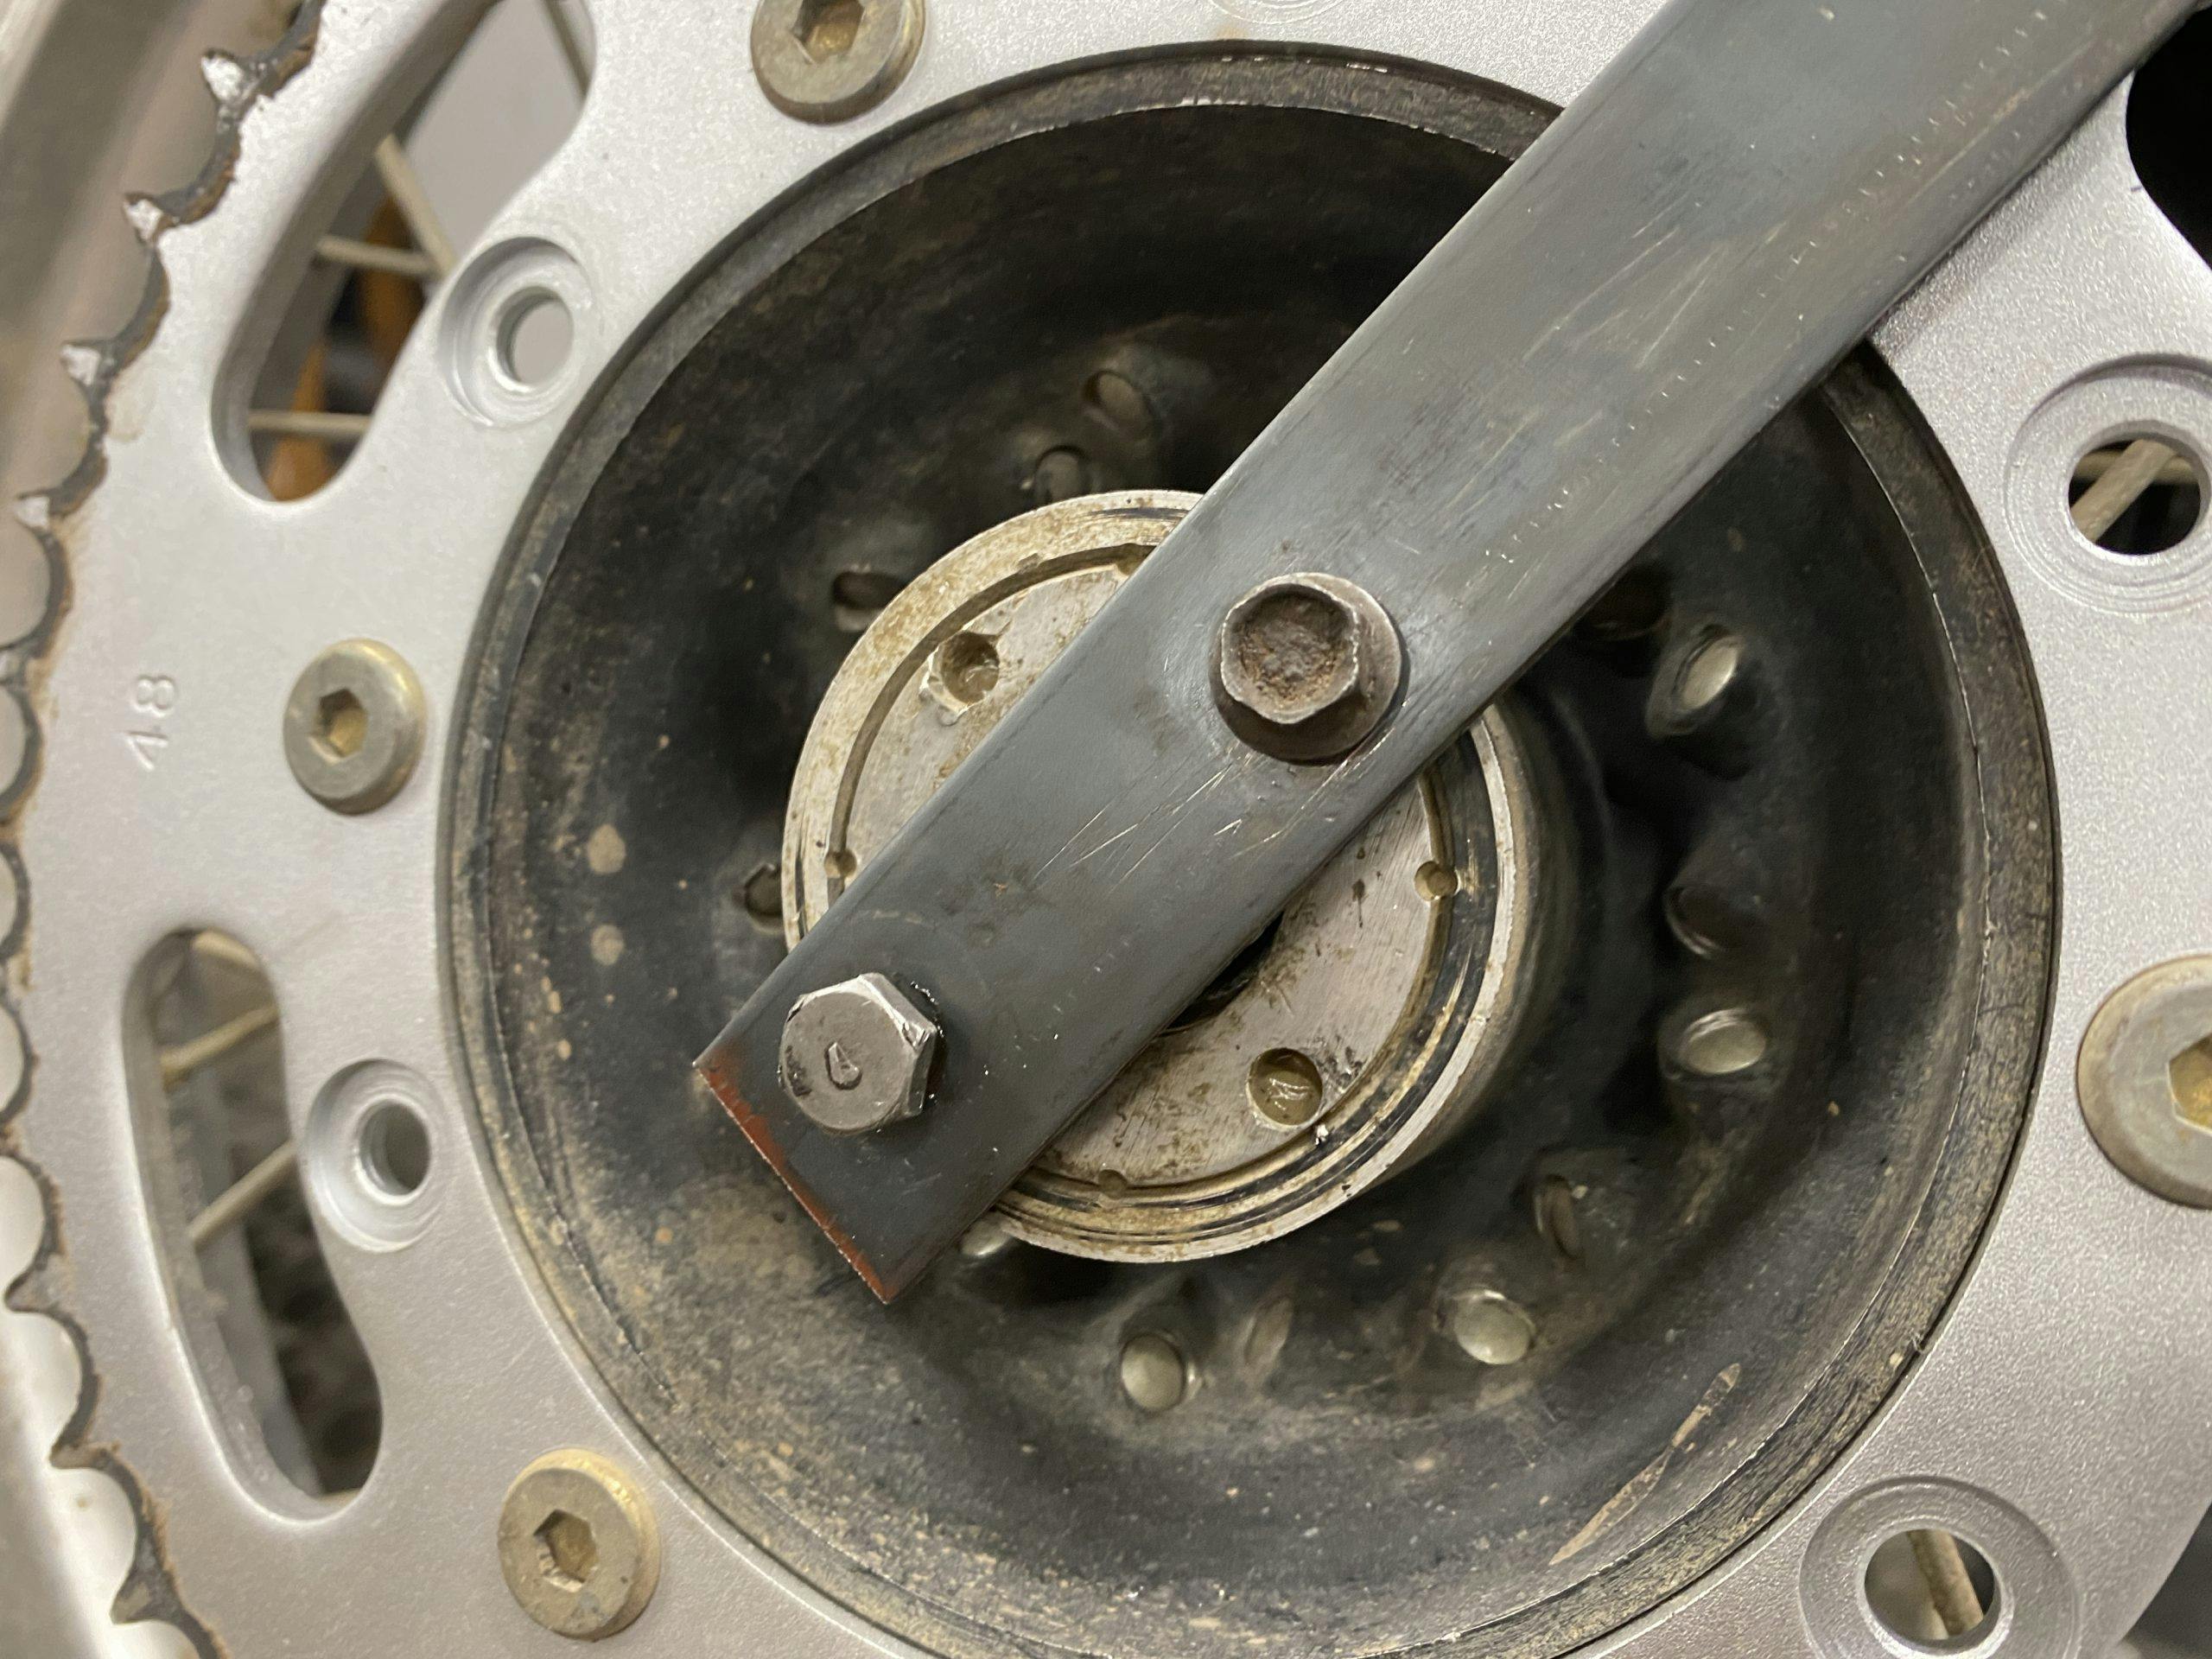
This version two of the tool almost worked. When applying force to the handle the bolts still slipped out of the holes in the hub. The quick fix? Another hole between the two “pins” and some all thread through the axle hole in the hub allowed me to clamp the tool to the hub and ensured the pins could not slip out of place.

This was the hot ticket! With all pieces tied together I levered on the end and the aluminum cap spun right out of its home. The wheel bearing behind this cap told a story of previous owners who had zero—and I mean zero—mechanical sympathy. Luckily it tapped out easily with a punch and the new anti-friction bearing tapped easily into place. The homemade tool easily worked in reverse to reassemble the rear hub.

In all, I used about five dollars worth of stuff I had laying around the garage to build a tool I could have purchased for $22. I would have had to wait for it to arrive though, as no local outlets had it on the shelf. What I built not only did the job but also gave me the satisfaction of having done it myself. I only needed a drill to put the holes in the flat stock and some miscellaneous hardware to build exactly what I needed.
Don’t be afraid to get a little creative in the garage. Maybe avoid hanging an engine from your stepladder because you don’t have an engine hoist, but don’t let your ingenuity take a backseat to your bank account in solving problems. Have a favorite tool you’ve made for a particular job? Share it in the Community comments. It might give me some other ideas.