Ranked: 5 Ways to Break a Stuck Fastener

Any car is an assembly of parts. Since bolted joints are both strong and easy to assemble, just about any service or maintenance on a car or truck requires you to remove some type of bolt. Anyone who has worked on a car for more than three minutes knows that even a larger project is not so bad if the hardware is not difficult to deal with. Those with many years of experience know how difficult corroded and stuck fasteners often give up, but convincing them to surrender requires force. How you generate that force is defined by the severity of the situation. Let’s look at the levels of bolt persuasion, from least to most aggressive, and some of the reasons why they fall in this order.
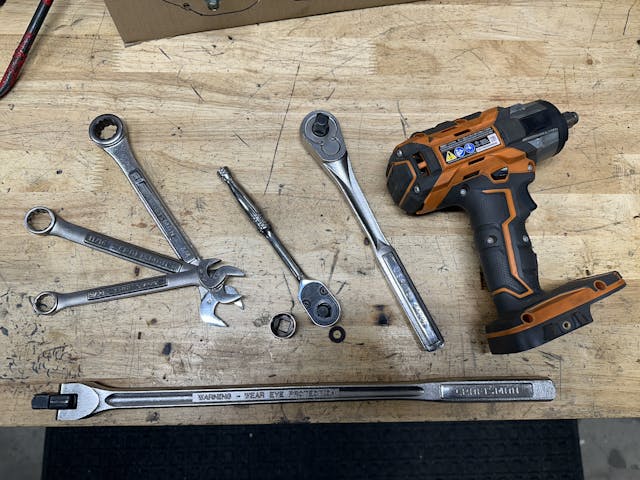
Level #5: Open-End Wrench
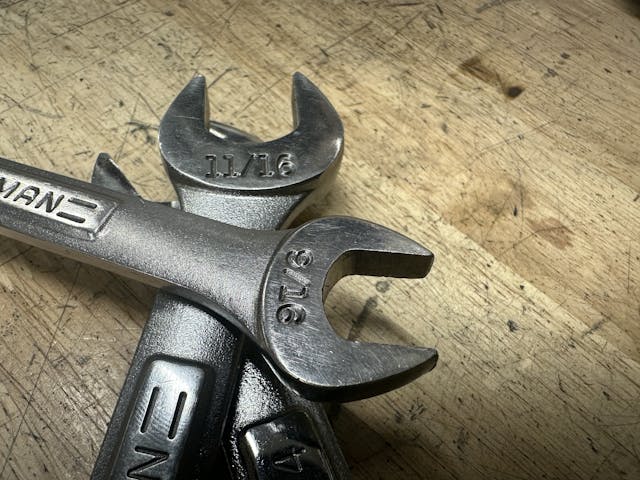
An open end wrench is nothing more than two parallel surfaces that meet two sides of a fastener. This often means only truly gripping near the corners due to tolerance in production of both the hardware and the tool. Sometimes, the fit is plenty tight and less than one foot of leverage is plenty. There is a reason wrenches are standard in every automotive toolkit since people started working on cars; wrenches pack light, are simple to produce, and are durable for many years if not abused. Sure, long-handle versions exist, but most of those are box-end, which means they are basically a worse version of a …
Level #4: Socket and Ratchet
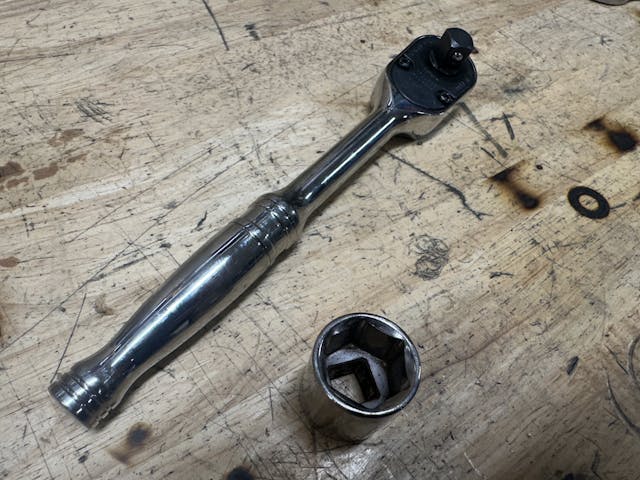
The combination of a socket and a ratchet steps things up in a couple different ways: First, by providing additional contact points with the stuck fastener. Whether 12-point or 6-point, a socket provides more even contact with the fastener, and a ratchet allows us to shift the angle of the lever to maximize the force applied by our muscles. That handle can easily be exchanged for a …
Level #3: Longer Ratchet
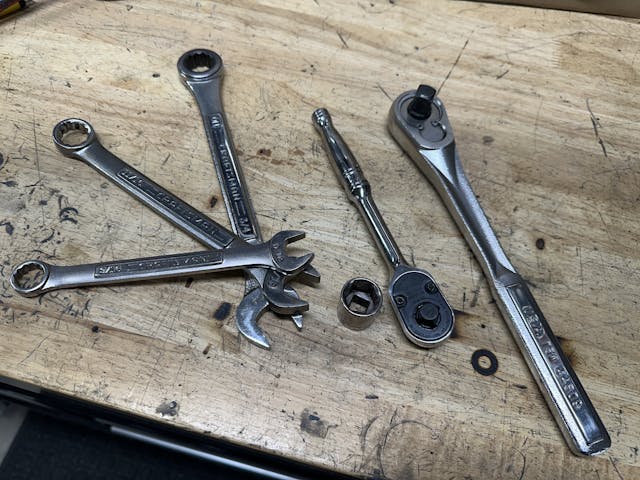
The socket is giving us good positive engagement on the hardware, so if it hasn’t moved yet, we must add force. Long-handle ratchets are handy, because it can be difficult to reposition a long wrench multiple times just to rotate a fastener one turn. Sadly, the most helpful part of a ratchet—the rotating head—is also the weak point, and if you treasure your tool you will likely grab one with a longer handle before adding a cheater bar or hitting the handle of your ratchet with a hammer. Sure, you can buy rebuild kits for some ratchets … or you could avoid stripping out the catch pawls inside the head in the first place.
Level #2: Impact Wrench
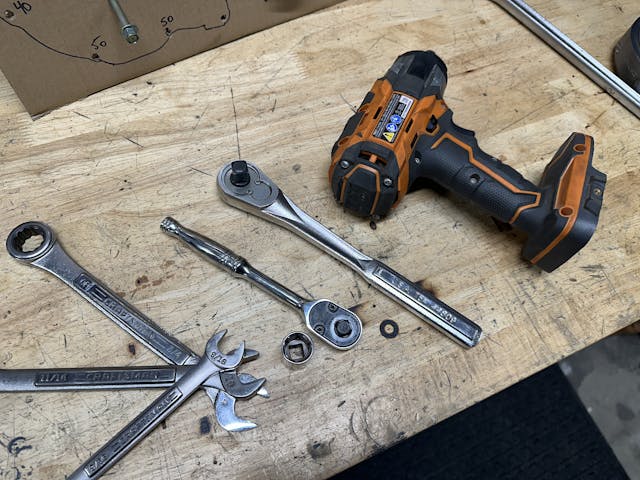
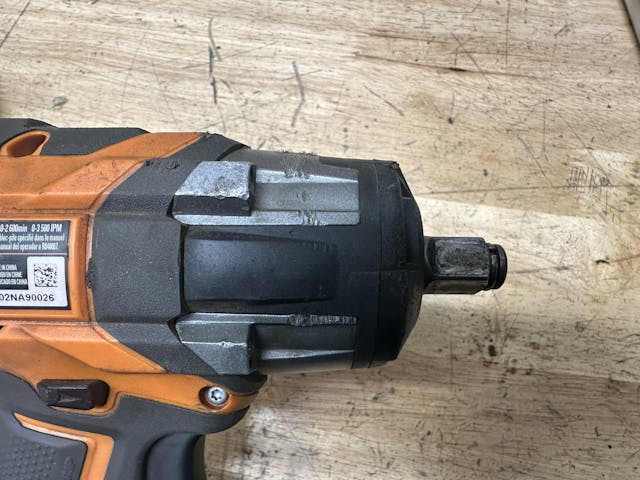
Leaning your weight on a long lever is one way to impart force. The other is to apply it suddenly with a spinning hammer. That is the basic function of an impact wrench, which generates high amounts of force in short bursts to help break loose the corrosion that forms inside threaded joints. Better yet, impact wrenches are powered by compressed air or by batteries, not by elbow grease, making them the hot ticket when dealing with stuck stuff. The only problem is that the torque capabilities of an impact wrench are limited by design, as the motor, hammer, and anvil can go get so large before the tool becomes unwieldy. You might have to switch back to brute force and grab the …
Level #1: Breaker Bar
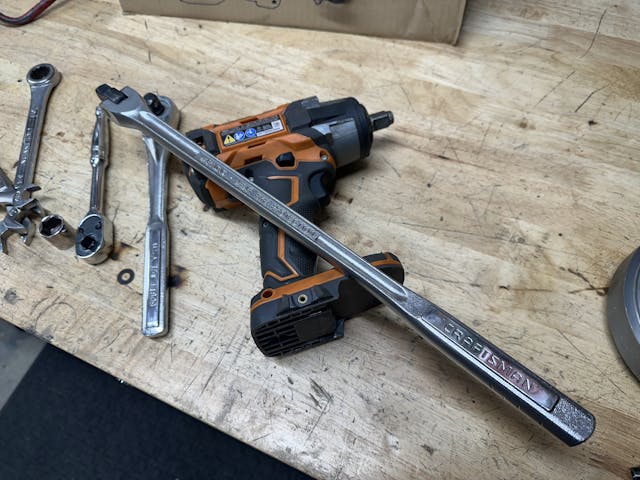
At the end of the day, physics always wins. While inconvenient compared to the luxury of an impact wrench, using a long bar to apply torque to a proper-fitting socket is by far the best way to put absurd amounts of torque onto a stuck fastener.
A long enough lever will snap the hardened head off every breaker bar you can find. And that is what you are often hoping for, at this point—the sweet release of tension by any means necessary. Just break already. The drill and tap set are already on the workbench.
***
Check out the Hagerty Media homepage so you don’t miss a single story, or better yet, bookmark it. To get our best stories delivered right to your inbox, subscribe to our newsletters.
Kyle, this is a minor point to some but a major point to me. My comment has nothing to do with your article. It simply has to do with the way I do things in my shop. Your Impact Driver as well as all your tools should never be shown in an article with grease all over them. I always clean my tools up before, during and after I use them. It actually makes your article more professional. I feel the same way when I see a You Tube video on articles like yours as well as articles on fixing things. I am not being critical. I am just trying to be helpful. Thank you for your article.
I usually like your articles. This one is poor at best. I don’t consider it stuck unless one of your 5 methods didn’t work first. Here’s my 5 methods for actually stuck fasteners: 1) a torch 2) inductive heater (expensive but they work!) 3) acetone and transmission fluid. Outperforms most penetrating oils. FYI wd40 isn’t very good. 4) liquid nitrogen for Bolts only. 5) Hammer on it with a punch. It will heat it up and break some of the rust loose.
I have found that not having to drill and tap a fastener is a blessing . Therefore I first try to loosen it with a wrench or rachet handle ,if it won’t budge ,I then try to tighten it slightly before again trying to loosen it after soaking it in penetrating oil. I will then tap it with my BFH and try again . If that does not work then if possible I will heat it with my torch . As a last resort I will brake off or grind off the head and then drilling and taping .
Since Level #0 is already taken. Level 0.5: Ye Olde Cheater Bar.
PB Blaster/ repeat/ let stand / works every time. Especially on brass marine parts.
If the threaded fastener is frozen, penetrating oil and heat (induction or flame) can help. Goal is to remove without snapping off heat. If all else fails, grind off the head. Then deal with the thread in a tapped hole. Ugly though.
When putting back together, use an anti seize thread compound.
Removing the head releases tension on the fastener – as well as eliminating head friction – sometimes allowing the fastener to be removed with a common stud remover
Spray them a few days before even attempting to loosen with Kroil. I have used now for a few years and penetrates better than anything else I have used. I actually try to tighten just a little first then loosen. If that that does not work, like the song goes ,”Shock the Monkey”, with a BIG hammer on a very good quality closed end wrench.
Heat rusty bolt cherry red then quench with water. You will be amazed at what will come apart. This works for for rare parts that you must save. ok I have slowed down. Now will you publish?
Here’s a new one. The lug nuts on the new Ford maverick are torqued to 140 ft lbs. Try taking one of those off along side the road. Definitely impossible with the oem lug wrench provided it just bends. My 1/2” breaker bar plus my trusty 3’ pipe finally broke them loose. Really 140 ft lbs ? Why?
Aluminum wheels are always torqued higher. My 02 silverado is 140lb so this isn’t anything new.
That one is really weak. No one starts off with an open-end wrench on a stuck fastener, being we already know it’s stuck we reach for the next level now. There are a lot of variables here; corrosion, over torqued, damage and thread lock compound to consider. We may need to physically “shock” the fastener next with a strategic blow from a hammer/punch. Getting an impact is the next logical step on many occasion as the percussive effect of the tool is often helpful. Lubrication and heat may be required for it to relinquish it’s grip. If it’s still unyielding to these attempts there is another option, wait it out with repeated cycles of the previous methods. And then there’s the destructive method; grinder, drill, torch etc.
As a restorer of antique furniture, my first effort is to tighten a bolt first. Here’s why > In the case of old hand cut square nails, they are tapered so as they are hammered in they force the fibers of the wood to go in the direction of the nail. This is one of the key reasons they hold fast once driven in > the fibers act as a wedge to assist in their holding power. Once a nail has been in place for so long, it’s almost like it’s welded in permanently. Because of this it will have less resistance going in further than to try and pull it against the fibers. By hammering it in a little this breaks the bond to allow it to be pulled out the opposite direction. I believe the same holds true for bolts. Therefor first go in the direction it last went then loosen it.
Another tip regarding screws into plastic > When re-assembling I always turn the screw backwards until I feel the “click” of the threads meeting the start of the threads in the hole. This way you are always returning the screw into its original thread pattern and not cross threading the hole thereby wearing it out prematurely.
Clearly it’s not easy to come up with a new (good) article on a regular basis…
Dont forget about the buggered up bolt head or phillips screw head…I have found that applying torque to the
fastener head via an old punch with a sharpened end much like a chisel with a steep angle to dig in the screw head perimeter can save the day in some delicate hard to get at assemblies..Kroil helps too!
About the open end wrenches, you need quality tools like Snap-on, Mac, Husky is ok, there’s probably others but cheap wrenchs don’t fit with precision then the bolt corners get rounded off before it breaks free.
Wait, let me check my calendar. Is today April 1?