Old-Fashioned Air Cleaner Service
Most likely, the air cleaner on your modern car is probably a throw-away item. When you bring your car in for an oil change or tune-up, the service technician takes the old filter out, gets a new one, pops it into a plastic housing, fastens some wire clips and away you go. In most cases, the new air-filter costs less than $10 (although there are some high-performance filters on the market today that are re-useable, but cost $60 or more.)
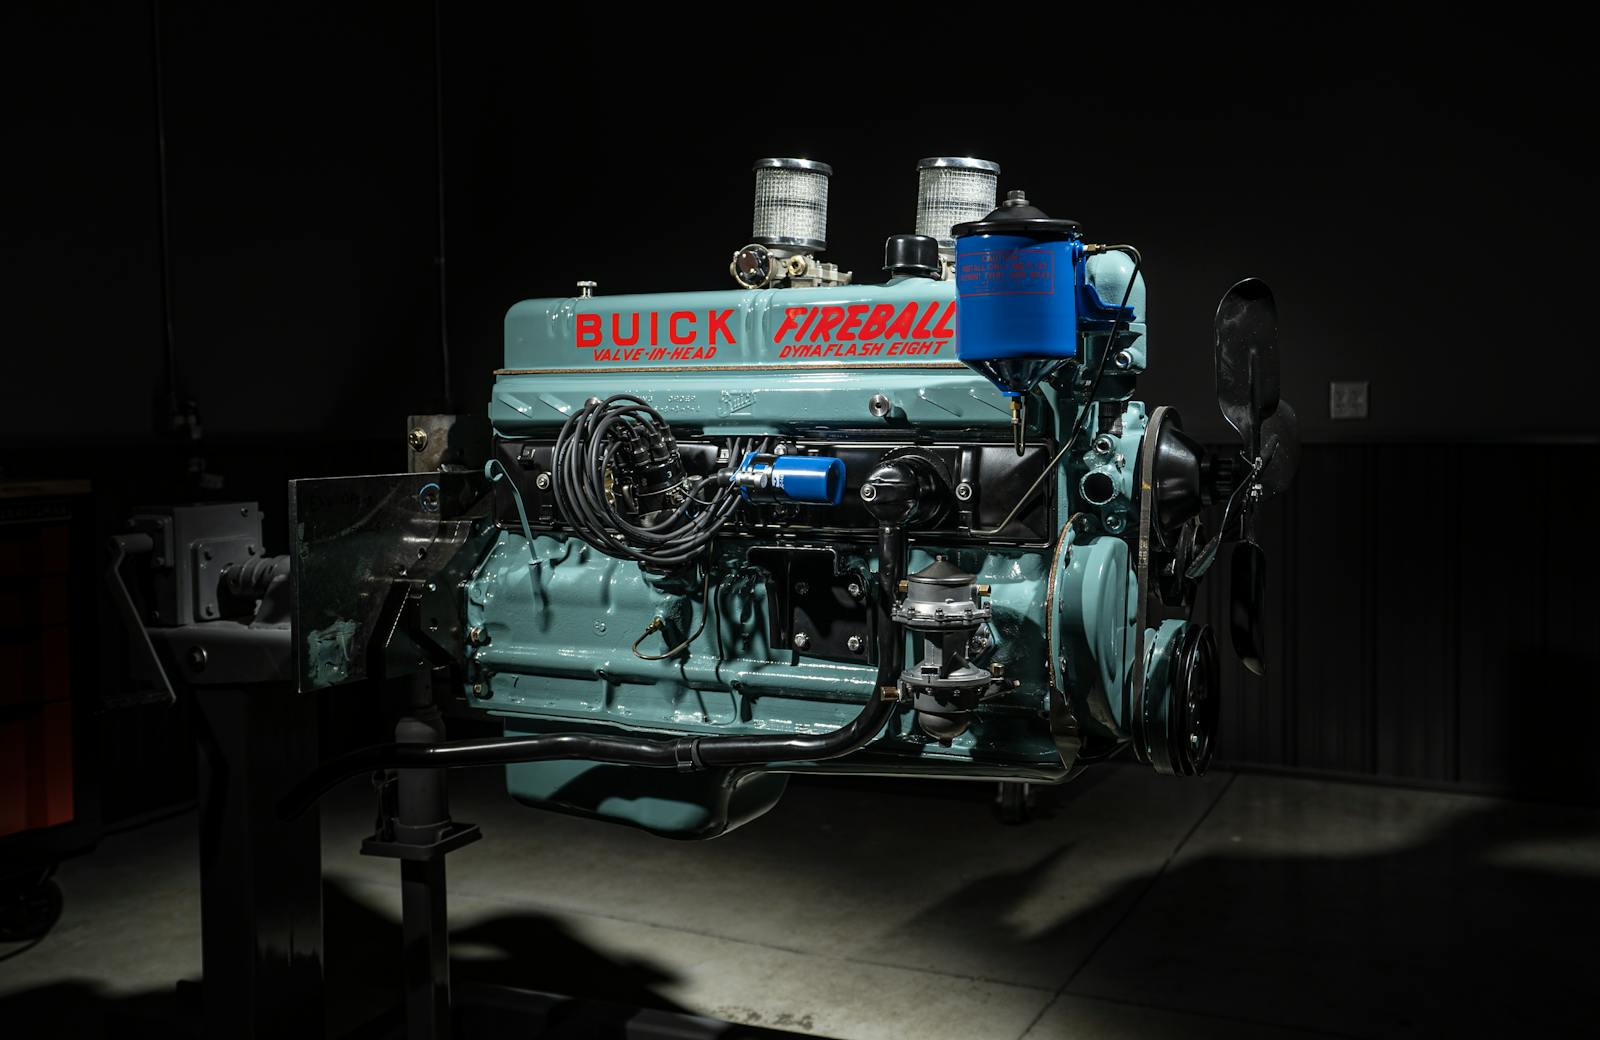
Things were different in the “good old days.” Until the late 1980s, most cars had carburetors and what we call an “air-filter” now was then called a “carburetor air cleaner.” Throw-away carburetor air cleaners started to appear in the late ‘50s but prior to that, the carburetor air cleaner was a component designed to be disassembled, cleaned and sometimes re-oiled in the spring and fall, or at least every 10,000 miles. If a car was operated in dusty conditions, it was suggested to service the carburetor air cleaner every 2,000 miles.
By the ‘40s, most automakers offered car buyers a choice of standard and oil-bath type carburetor air cleaners. Both types actually had to be re-oiled, but the oil-bath designs were heavy-duty in nature and had an oil reservoir. They are also more popular with modern collectors, as they were an extra-cost option. Carburetor air cleaners served two functions: They filtered air entering the carburetor to keep dust from getting into the engine; and they silenced the noise produced by air rushing into the carb.
With standard carburetor air cleaners, the filtering function was accomplished by passing air through a filter element that had been moistened in heavy engine oil. The element was made of a stiff metal mesh held between two circular sections of metal screening that fit into the top of a metal canister and were held in place by a lid. A thin bolt passed through a hole in the center of the lid and accepted a wing nut that held the lid on tightly.
The heavy-duty oil bath-type carburetor air cleaner was intended for use in cars driven in dusty areas where the standard air filter couldn’t keep the air clean enough. The heavy-duty one had an oil reservoir in its base. The air entering the carburetor first had to impinge on the oil stored in the reservoir, which took out some of the heavier dust particles. The high velocity of the air stream picked up some of the oil and carried it upward into the filter element. This kept the element continually washed and moistened with oil.
Servicing an old-fashioned carburetor air cleaner is simple, although it can be a bit messy. It’s also an operation that many newer collectors aren’t personally familiar with. To service a standard carburetor air cleaner, undo the wing nut and take off the lid to remove the circular wire screens with the mesh held between them. Put the wing nut in a safe spot, as it’s easy to lose. To do a really good job, remove the entire air cleaner canister. It probably has a spread-ring that tightens around the neck of the carburetor with a screw-type clamp. There may be other braces securing it in position. By loosening attaching bolts it will come off fairly easy.
The wire mesh element can be cleaned in a parts washer or by plunging it up and down in a safe, non-volatile parts-cleaning solution made for use in a parts washer. (While your ‘50s shop manual may say to use gasoline or kerosene for cleaning the element, that’s not exactly safe or politically correct today, so don’t do it.) If you removed the complete canister, clean that too. This will help give your engine that show-detailed look.
After cleaning the element, it should be re-oiled by dipping it in a plastic drain pan filled with clean engine oil. That’s right, you’re going to clean it and then dip it back in oil. Drain excess oil into the pan so it doesn’t mess up the engine compartment.
Clean all dirt out of the canister where the element sits in. Put the filtering element back in its proper position, and re-install the lid and wing nut to hold it tightly in position. If the entire canister was removed, put it back on the carburetor and tighten any attaching clamps, screws and bolts.
Servicing an oil-bath type carburetor air cleaner requires taking similar steps, but in this case the entire canister must be removed from the car so that the oil in the reservoir can be replaced with fresh oil. The filter element is cleaned by plunging it up and down in the cleaning solution, but the mesh element does not have to be oiled. Instead, it will oil itself by the air velocity system described earlier.
In the winter, it was recommended to fill the reservoir with 20W oil. When the temperatures were above freezing, 50W oil was specified. For collector cars, the 50W spec will apply in almost all cases.
John “Gunner” Gunnell is the automotive books editor at Krause Publications in Iola, Wis., and former editor of Old Cars Weekly and Old Cars Price Guide.


