How to install Euro-spec glass headlights on your Volvo 240/245
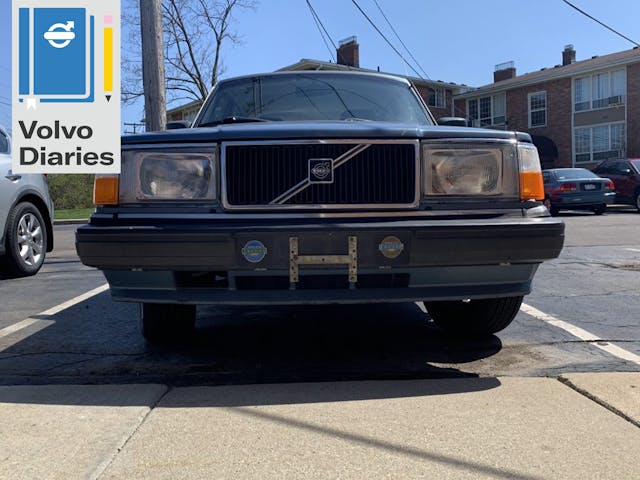
When you live in an apartment complex and are investing into the automotive hobby on a tight budget, the options to jazz up your “new” 1986 Volvo are limited. Slammed drift wagon? Michigan’s infamous potholes would like a word. LS swap? Pricey, and I have no garage for a large-scale project.
I’m still adjusting to my biggest adult purchase since putting down a rent deposit. Swapping out my Volvo’s cloudy, plastic headlight lenses for Euro-spec glass units struck me as affordable and not too intimidating. Once the weather decided to play nice on a free weekend afternoon, I got to work outside in my parking lot. Aside from my first sunburn of the season, here’s what it took.
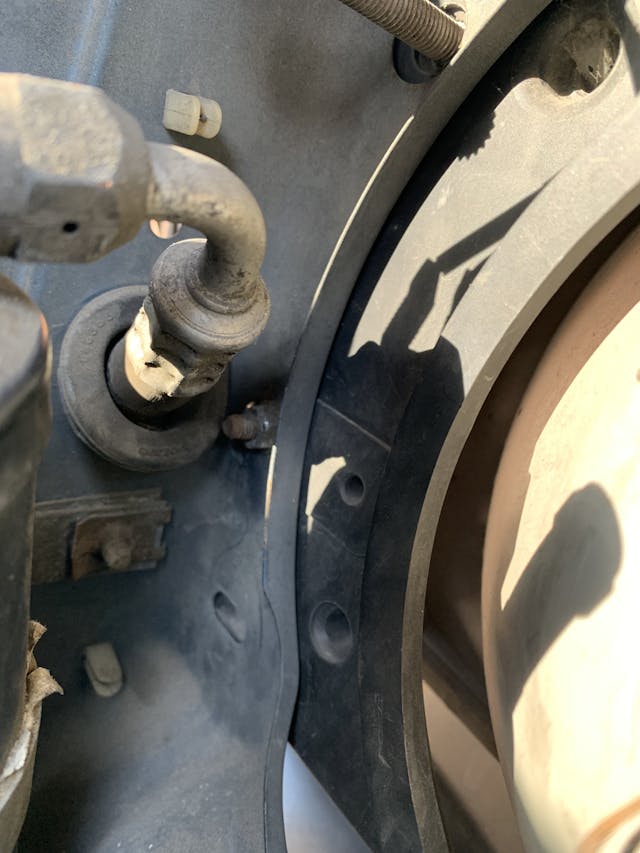
Before you extract the headlights, the grille needs to come off. Twist out the two plastic pins holding the grille in place and slide it out. Grab a 10-mm socket (if you can find one) and unhook the battery. For ease of access, lift out the battery entirely—it simply sits in a metal pan. Any exploratory attempts to unscrew the driver’s headlight ground (which lies dangerously close to the positive terminal) will be punished with alarming sparks if you don’t remove the battery first. The 10-mm socket will fit the three nuts holding in the driver’s side headlight assembly, and the four on the passenger side. If you want a morale boost, start with the driver’s side; if you want the worst over and done with, start with the passenger side lamp and wrestle with The Nut from Hell tucked next to the grille behind the A/C pump.
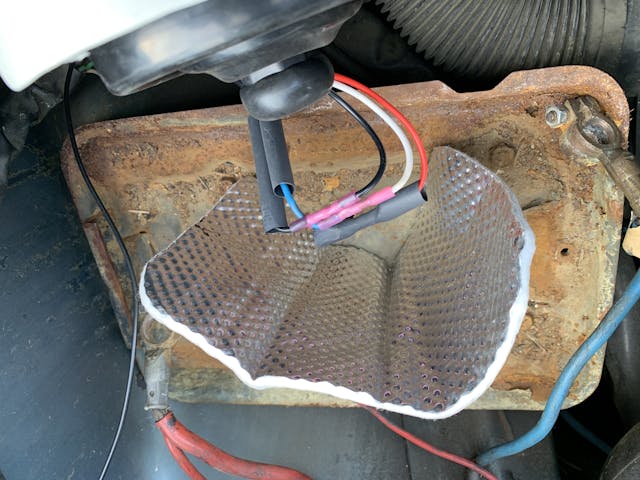
Thankfully, the ground connection for the passenger-side light is behind the easily-rockable coolant tank. Disconnect the old wiring harness, and don’t worry about being delicate. Pull the headlight wiring off each main light and work off the trumpet-shaped rubber boot to expose the three wires: red (high beam), blue (low beam), and black (ground). The blinker harness routes two wires through a (stubbornly snug-fitting) grey plastic clip-on connector.
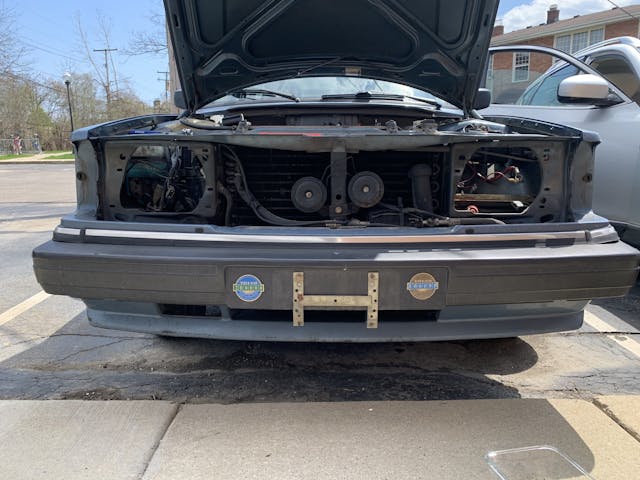
Once you’ve eased out the old units, resist the urge to chuck them aside; you’ll need to scrounge a couple pieces from them. Depending on which kit you ordered, you may need to save the seven nuts from before. Regardless, you’ll need to unbolt the plastic trim pieces on the grille-adjacent side of each light and reserve the bolts and accompanying washers. Grab the fasteners for the chrome eyebrows, too.
Though you extracted the U.S.-spec lights as one unit, with headlight and blinker assembly together, you’ll need to clip each e-code blinker unit to its respective headlight. Add the new chrome strips and plastic trim, each with the old hardware. After you stick in the new bulbs and work the rubber boots around them, set your fabulous glass lenses aside to prepare the wiring harness.
Cut off the old harness and either solder or crimp on the new one. I took the latter route, crimping on heat-shrink butt splices to each side before bolting in the new lamps.
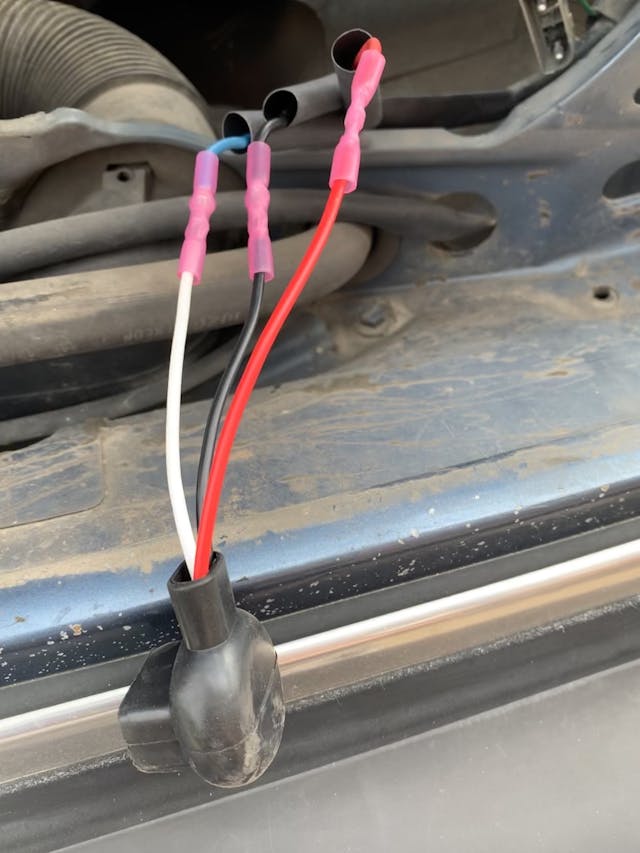
If you want to add an additional layer (or two) of heat-shrink tubing, you may need to trim back the rubber sleeve around the old harness to give yourself room. However aggressively you want to heat-shrink your harness, just know that a hand-held lighter in the wind is not going to do the job. I left the crimps for now, but I’ll get back to them as soon as I can find an extension cord long enough for my heat gun.
Now you can bolt the new headlight assemblies into your glum-looking brick’s empty eye sockets and plug in the new headlight wires.
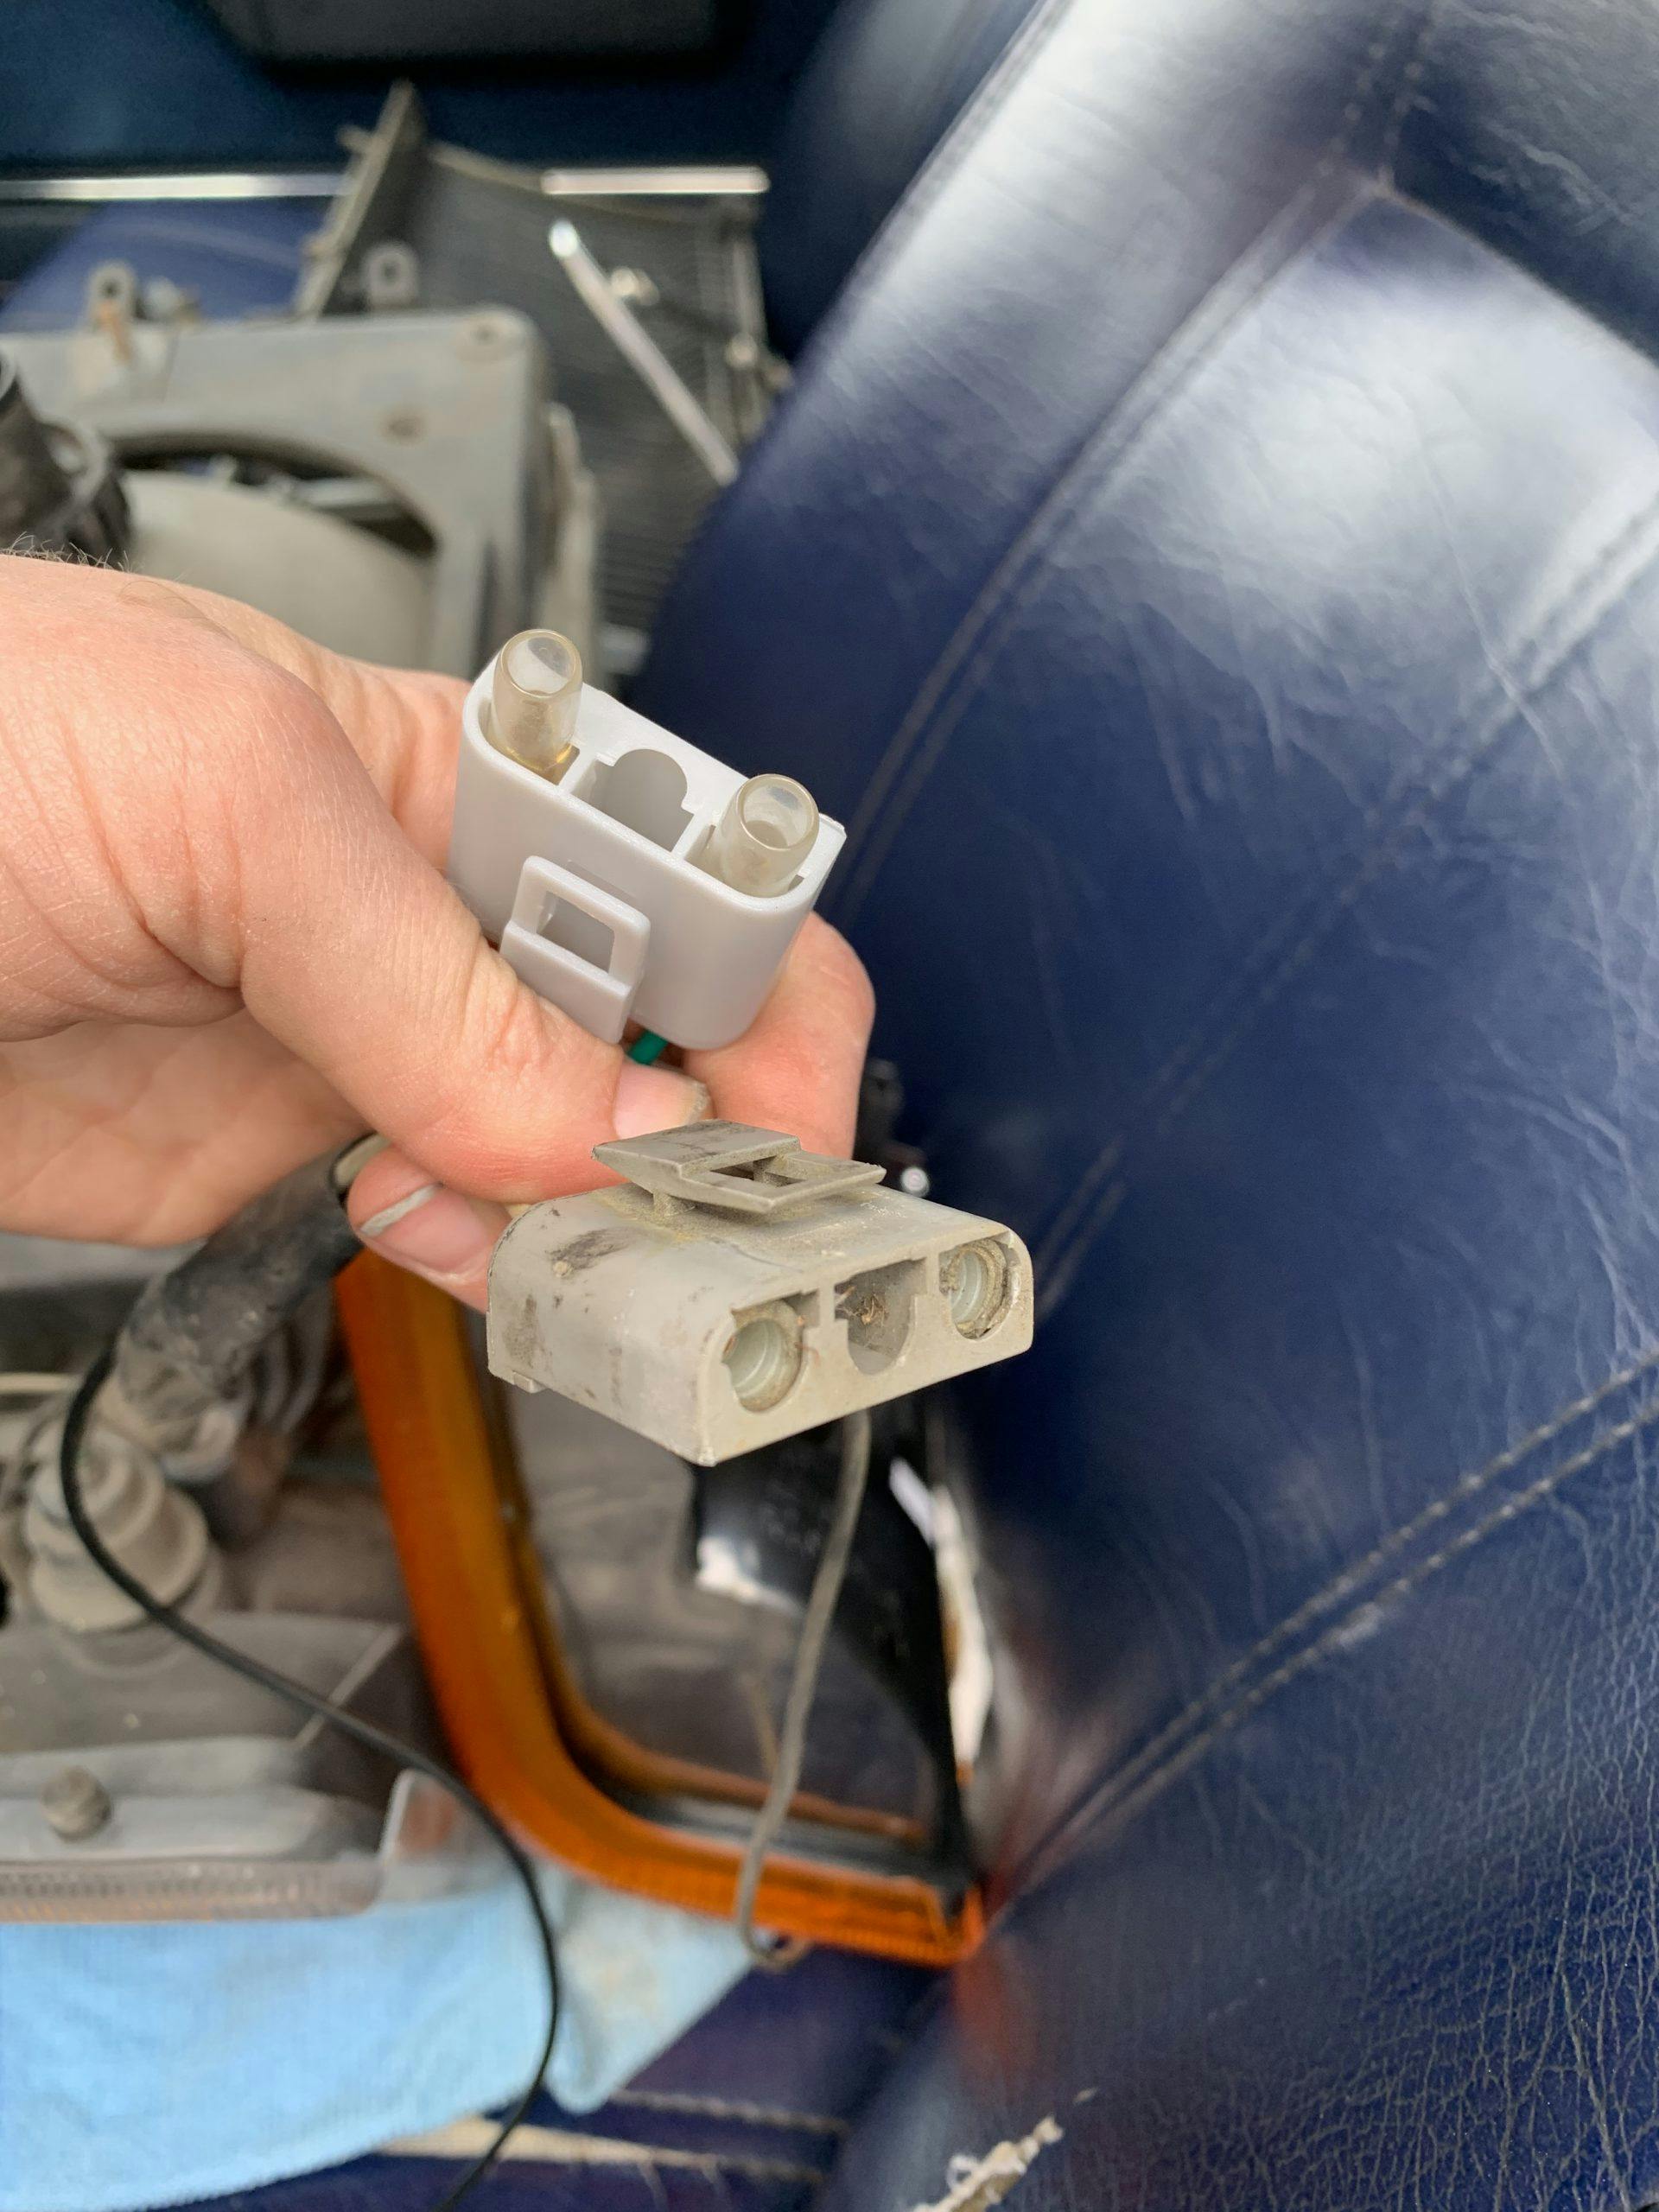
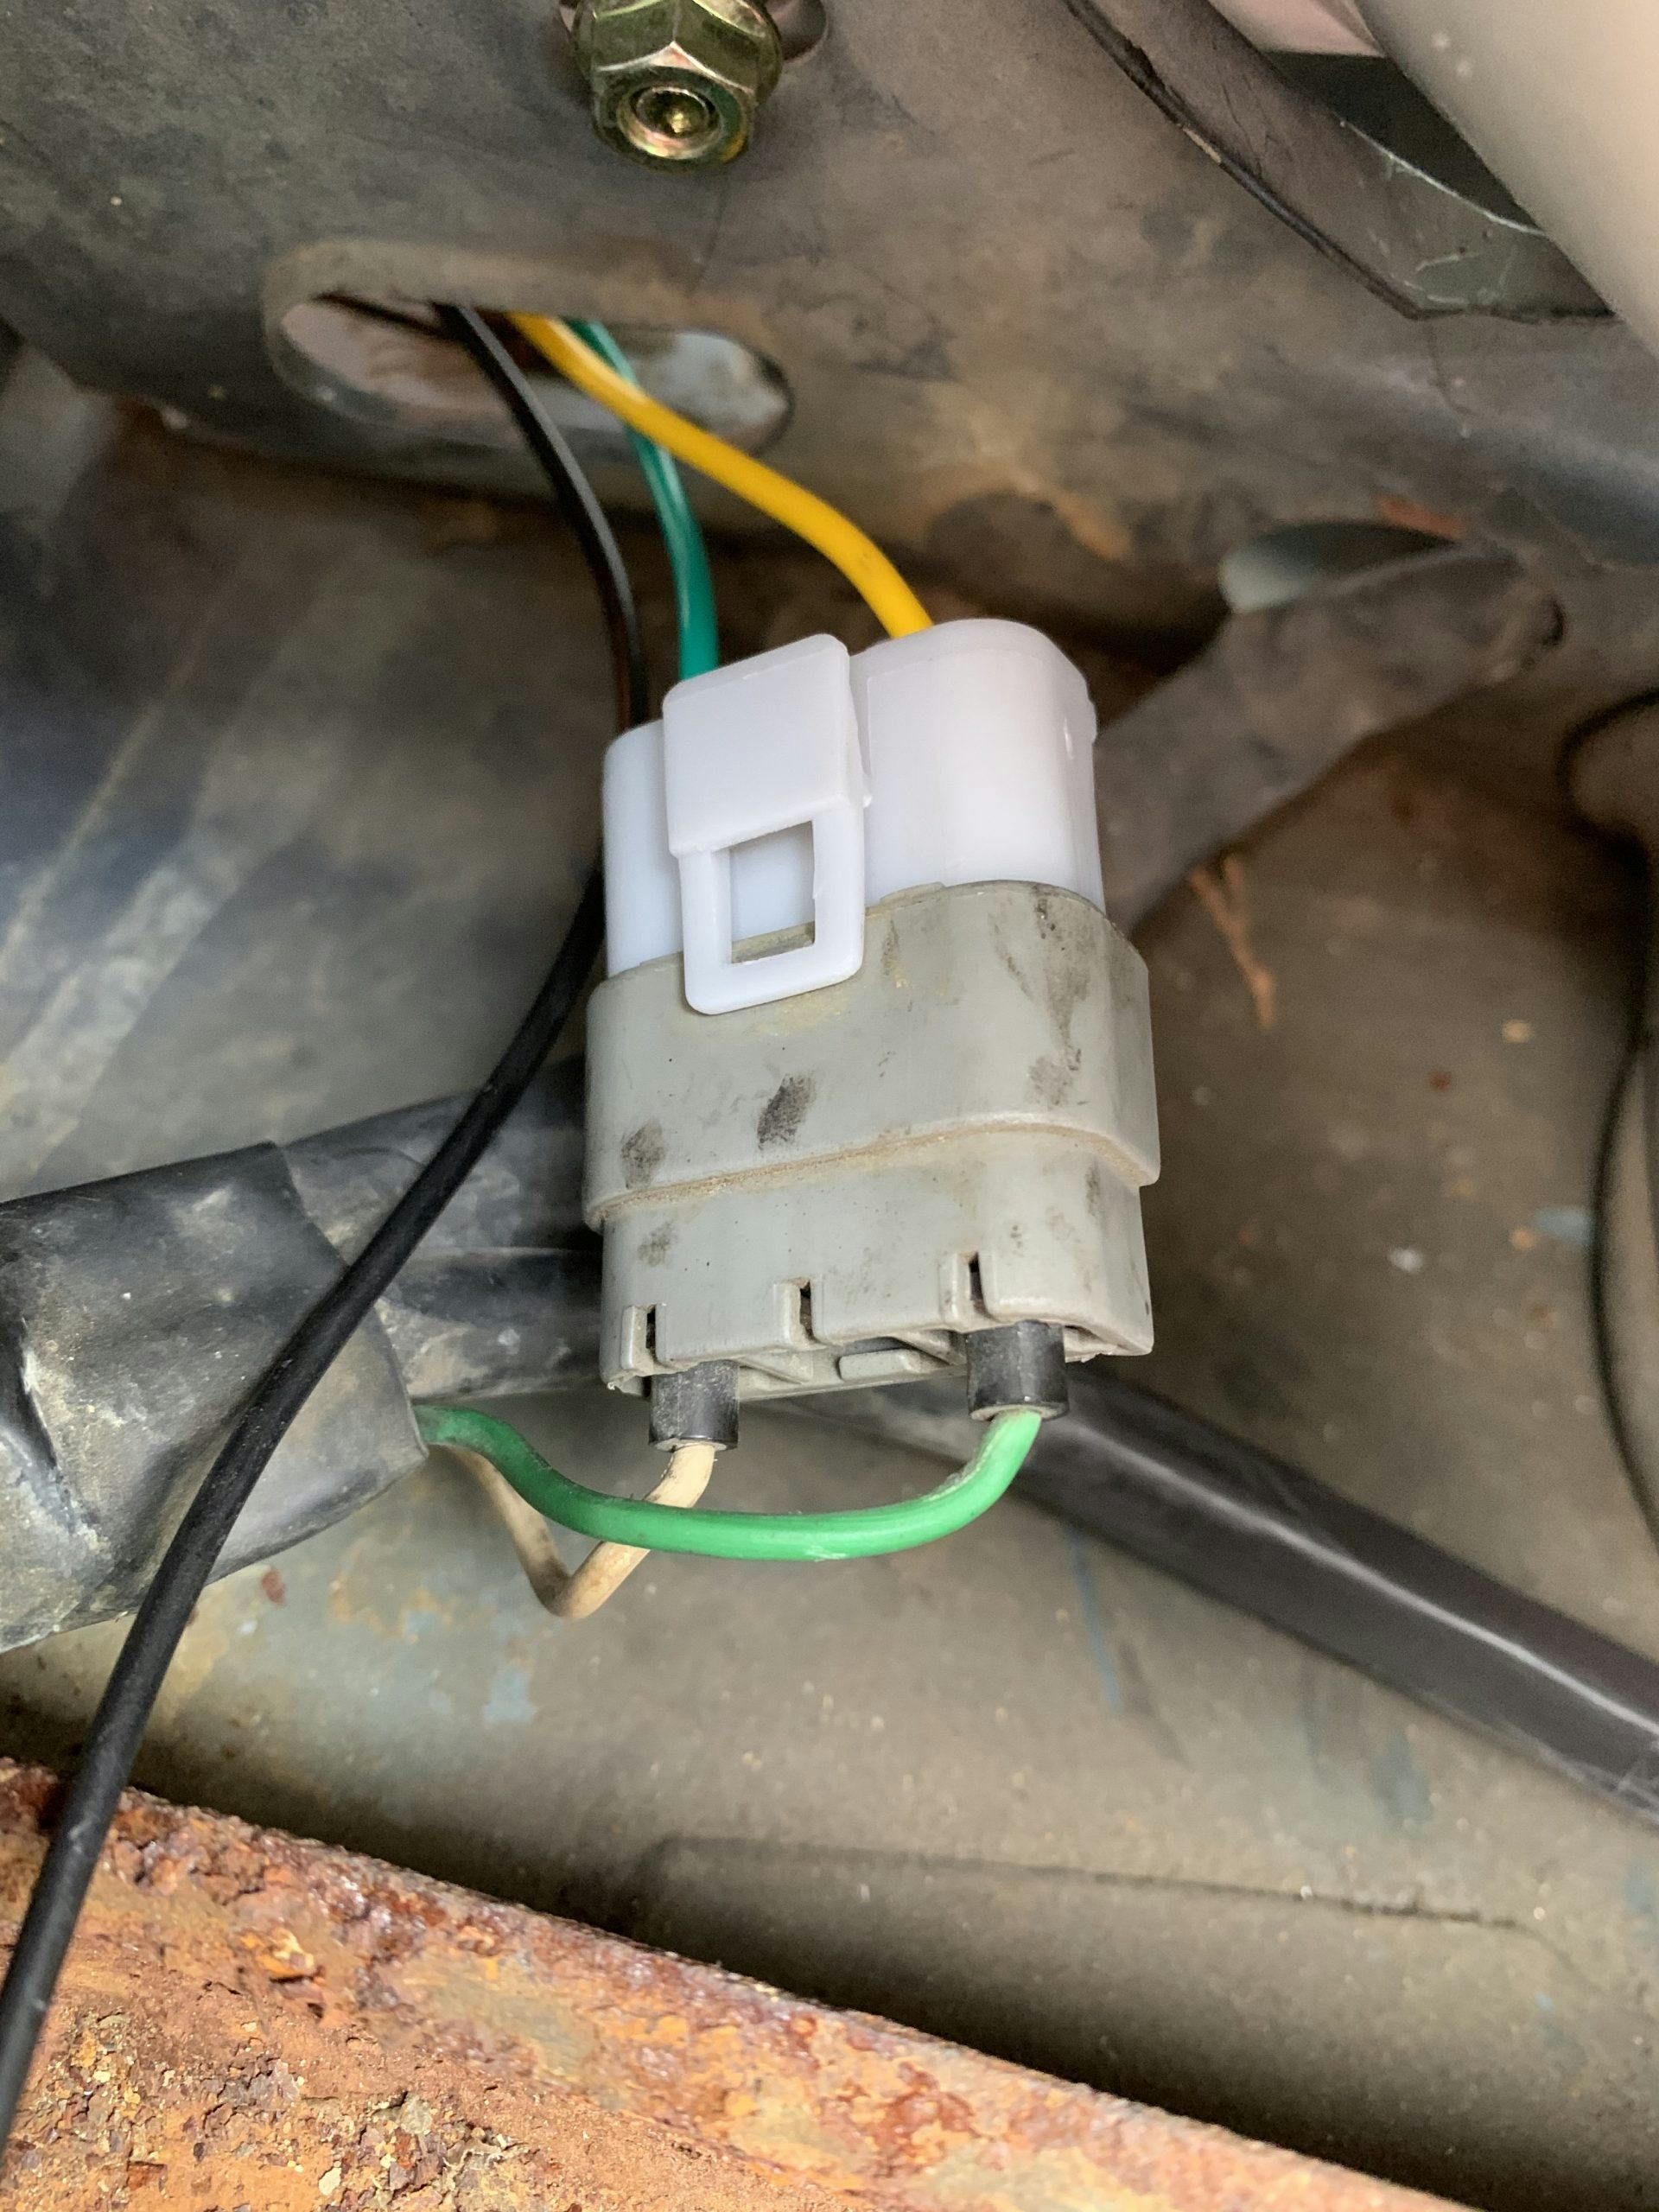
Connecting the new blinker harness doesn’t require any splicing; this kit includes a male connector that clips directly onto the old blinker harness.
Optional step: Decide not to reattach The Nut from Hell because your fingers hurt and the driver’s side lamp manages just fine with three fasteners.
Reattach the ground on each side before replacing the battery and reconnecting the terminals. Replace the grille. Slam the hood (like a boss). Crank the ignition and test your work. All that’s left is to find yourself a conveniently placed wall so you can get those suckers aimed!
In the next installation of “My Euro-chic Brick,” we will be tackling the heater control valve.


How did u get the “ nut from hell” loose me and my dad can’t get it off. What did u use ?
if Nut from Hell isn’t moving, perhaps try some pb blaster? no tricks, that i found, to accessing it from inside engine bay without tiny hands and lots of patience (i.e. swearing). full disclosure: i didn’t put replace it after the new lights were in. periodic tightening of the other two bolts is now part of maintenance. haha.
if you have a set of hinged ratcheting wrenches — i didn’t — that could save you.
alternatively, you could open up the headlight from the front, removing the lens and bulb to access the eye “socket” and bolts: not sure how that would work with the US-spec plastic lights (since i chucked them after installing the Euro eyeballs, i sadly can’t help troubleshoot), but this fellow does it quite easily with the glass E-codes:
https://www.youtube.com/watch?v=SDYqE3N5OOU&ab_channel=Involvo%27d
he has the additional complication of the bolts having broken off in their plastic housing.