How to improvise when you get shipped the wrong clutch cable

The excitement of the brown delivery truck can easily be quashed if the box it leaves on your doorstep contains the wrong part. Huge buzzkill, honestly. Such a mixup happened to me this week with the clutch cable on my 1972 SL125, but rather than ship back the proverbial lemon, I decided to make lemonade.
Here’s the deal: Anything you buy can be made at home with tools that most DIY-inclined folks already possess. The catch is that your product will take longer to produce, look worse, and require you to learn the process of making it. If you value your time at zero, as I often do, suddenly it makes sense to take bits and pieces and create functional things.

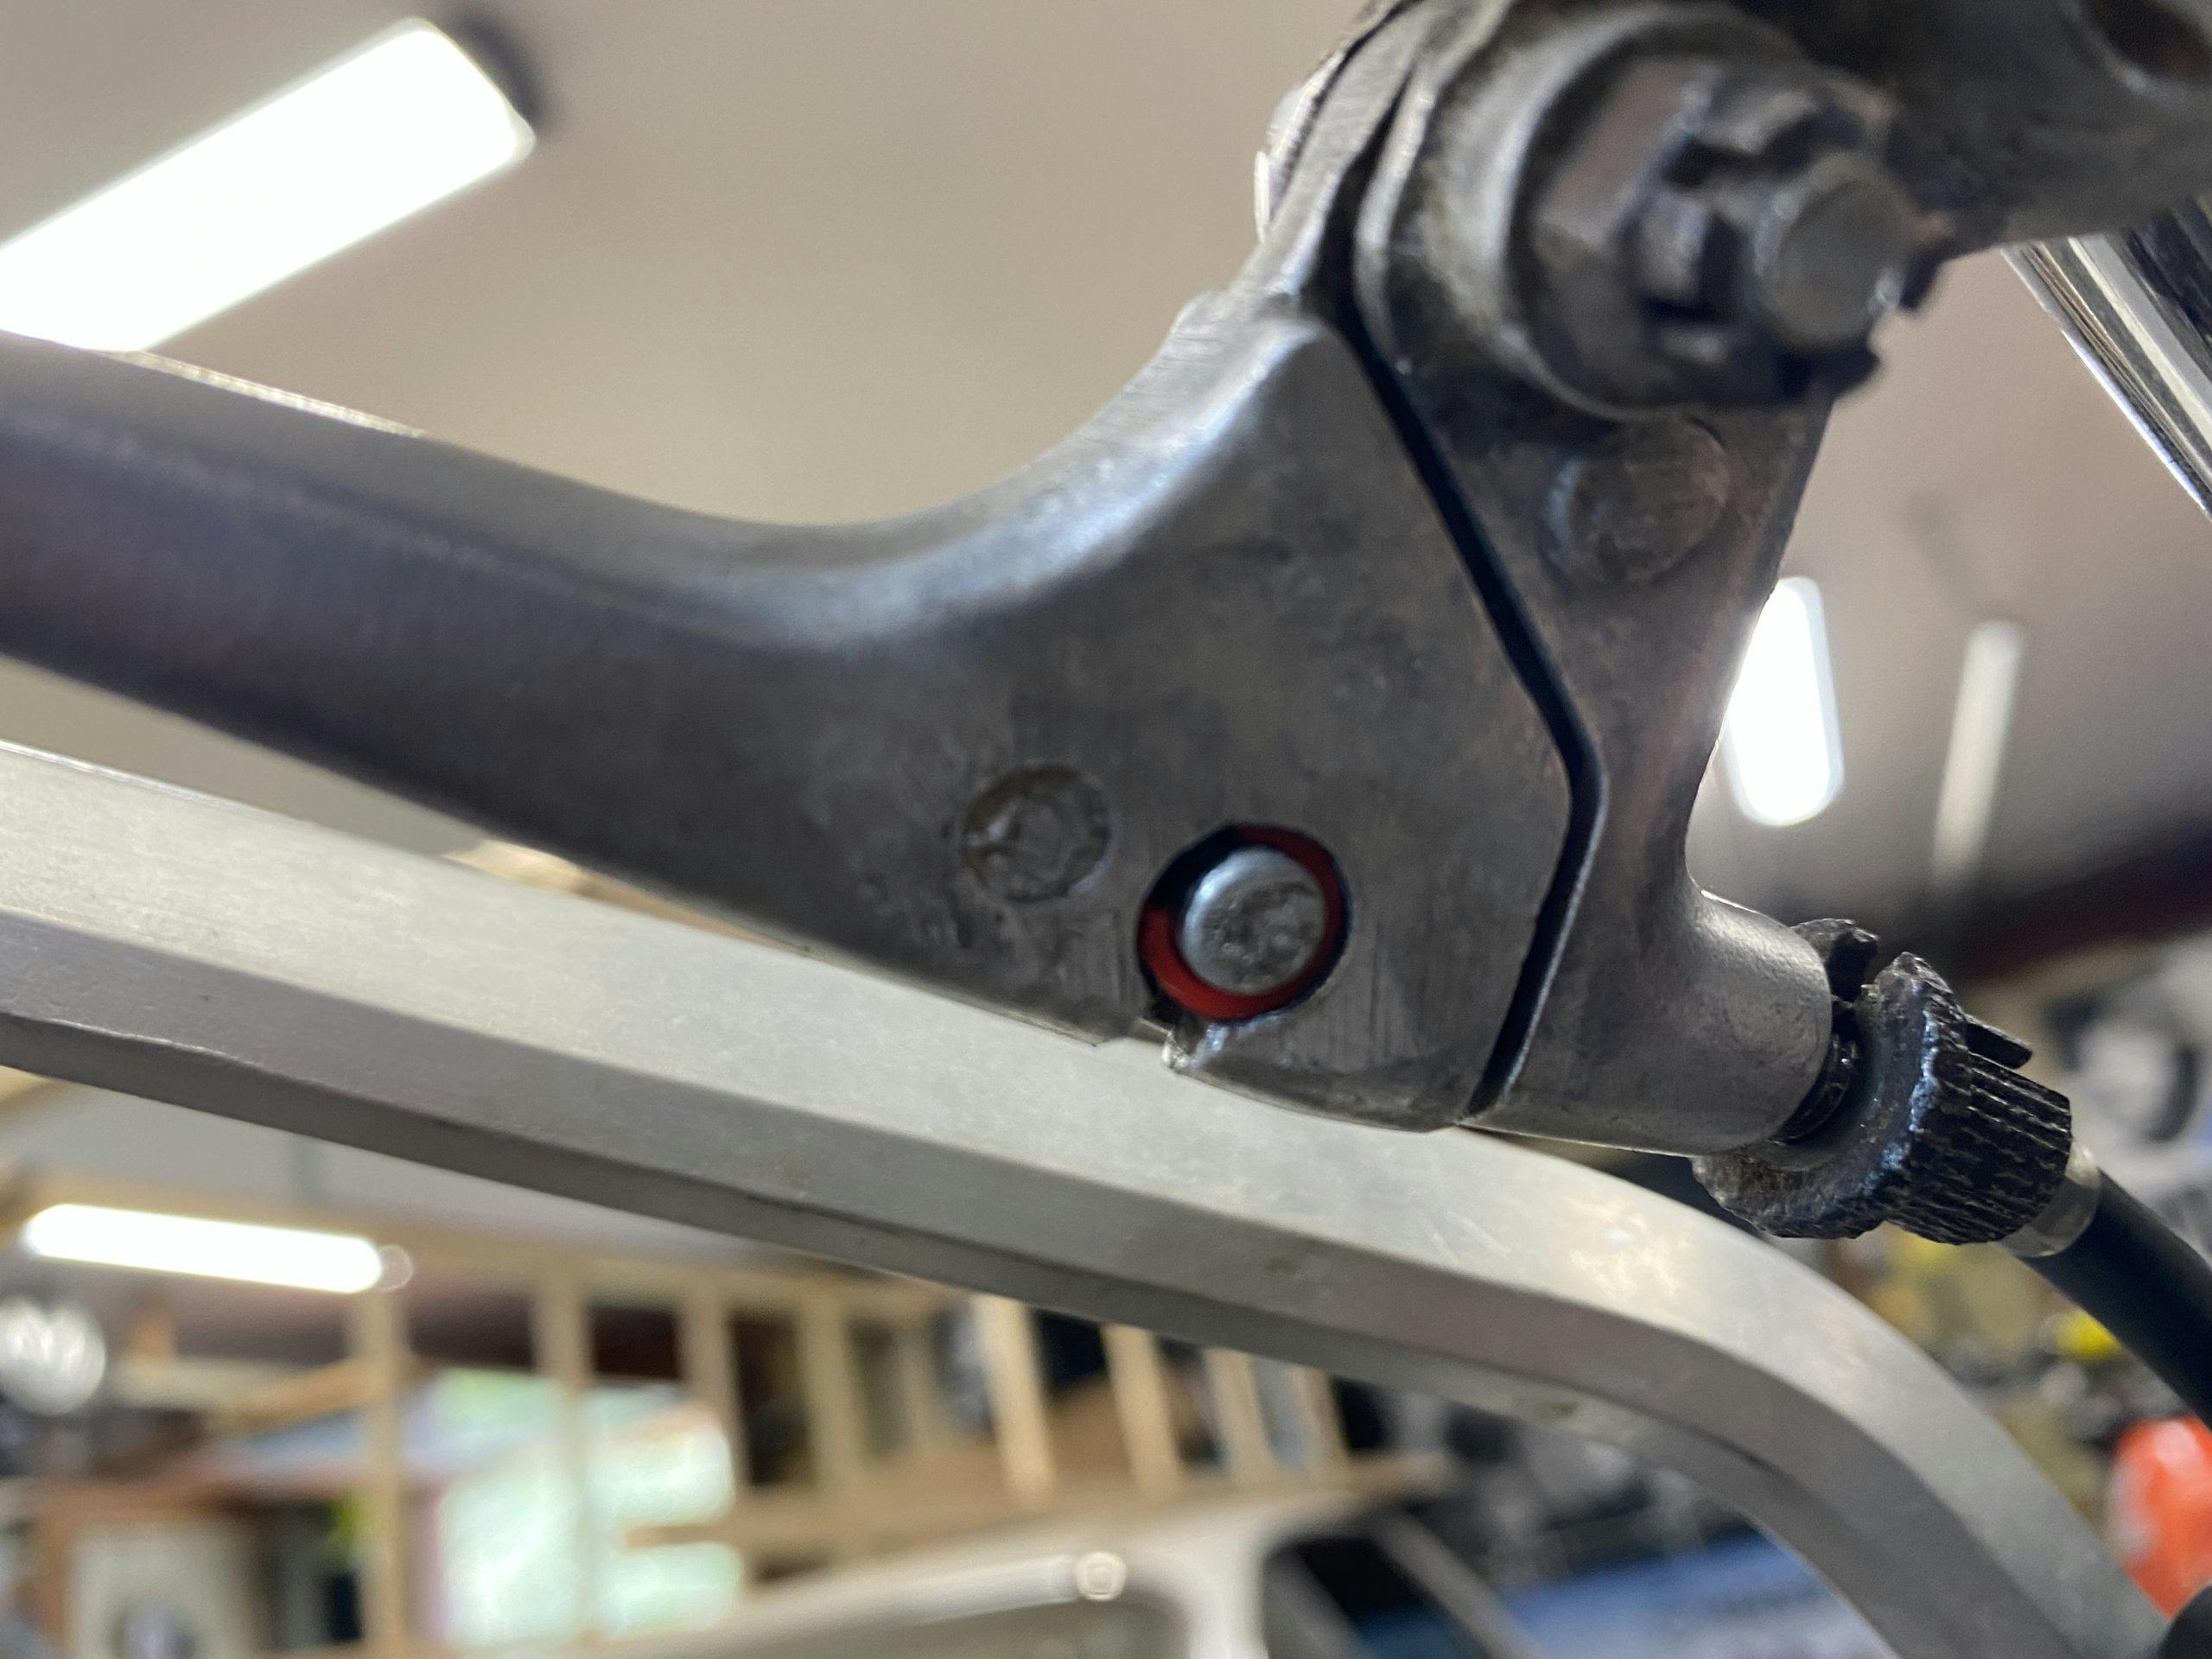
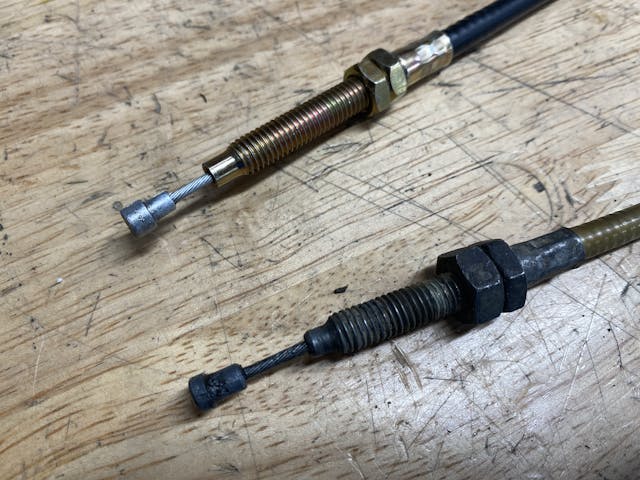
In this case, I had ordered a brand-new clutch cable for the SL125, because the one on the bike had begun to fray, which led to it no longer functioning as it should. Control cables like this one have two key measurements: inner cable length and outer housing length. Both must be correct for the system to work. The component that arrived in the mail had the proper outer housing size, but the inner cable was comically long. There was nearly an inch of extra cable, which preventing it from doing anything other than flopping around in the general area where the clutch pull entered the engine case. This left me with two options:
- Send it back to the seller. Order another, wait for shipping, and hope the replacement is correct.
- Grab my tools and correct the problem.
You’ve probably already guessed which option I chose, because anyone willing to compose this many words is not the type of person who thinks problems are best solved by printing off shipping labels. No, I’m here to tell you how to shorten a motorcycle cable, or create a custom one for your application.
(I’ll start by saying this is the second time I’ve undertaken this task. The first was the throttle cable on my terrible little 1967 Gilera 106SS, simply because the correct part did not exist.)
To be clear, there are kits that exist for building custom cables. Interestingly, those kits generally cost a good bit more than buying an incorrect part and modifying it yourself. Most kits I see start around $22. The incorrect cable arrived on my doorstep for $9.75.
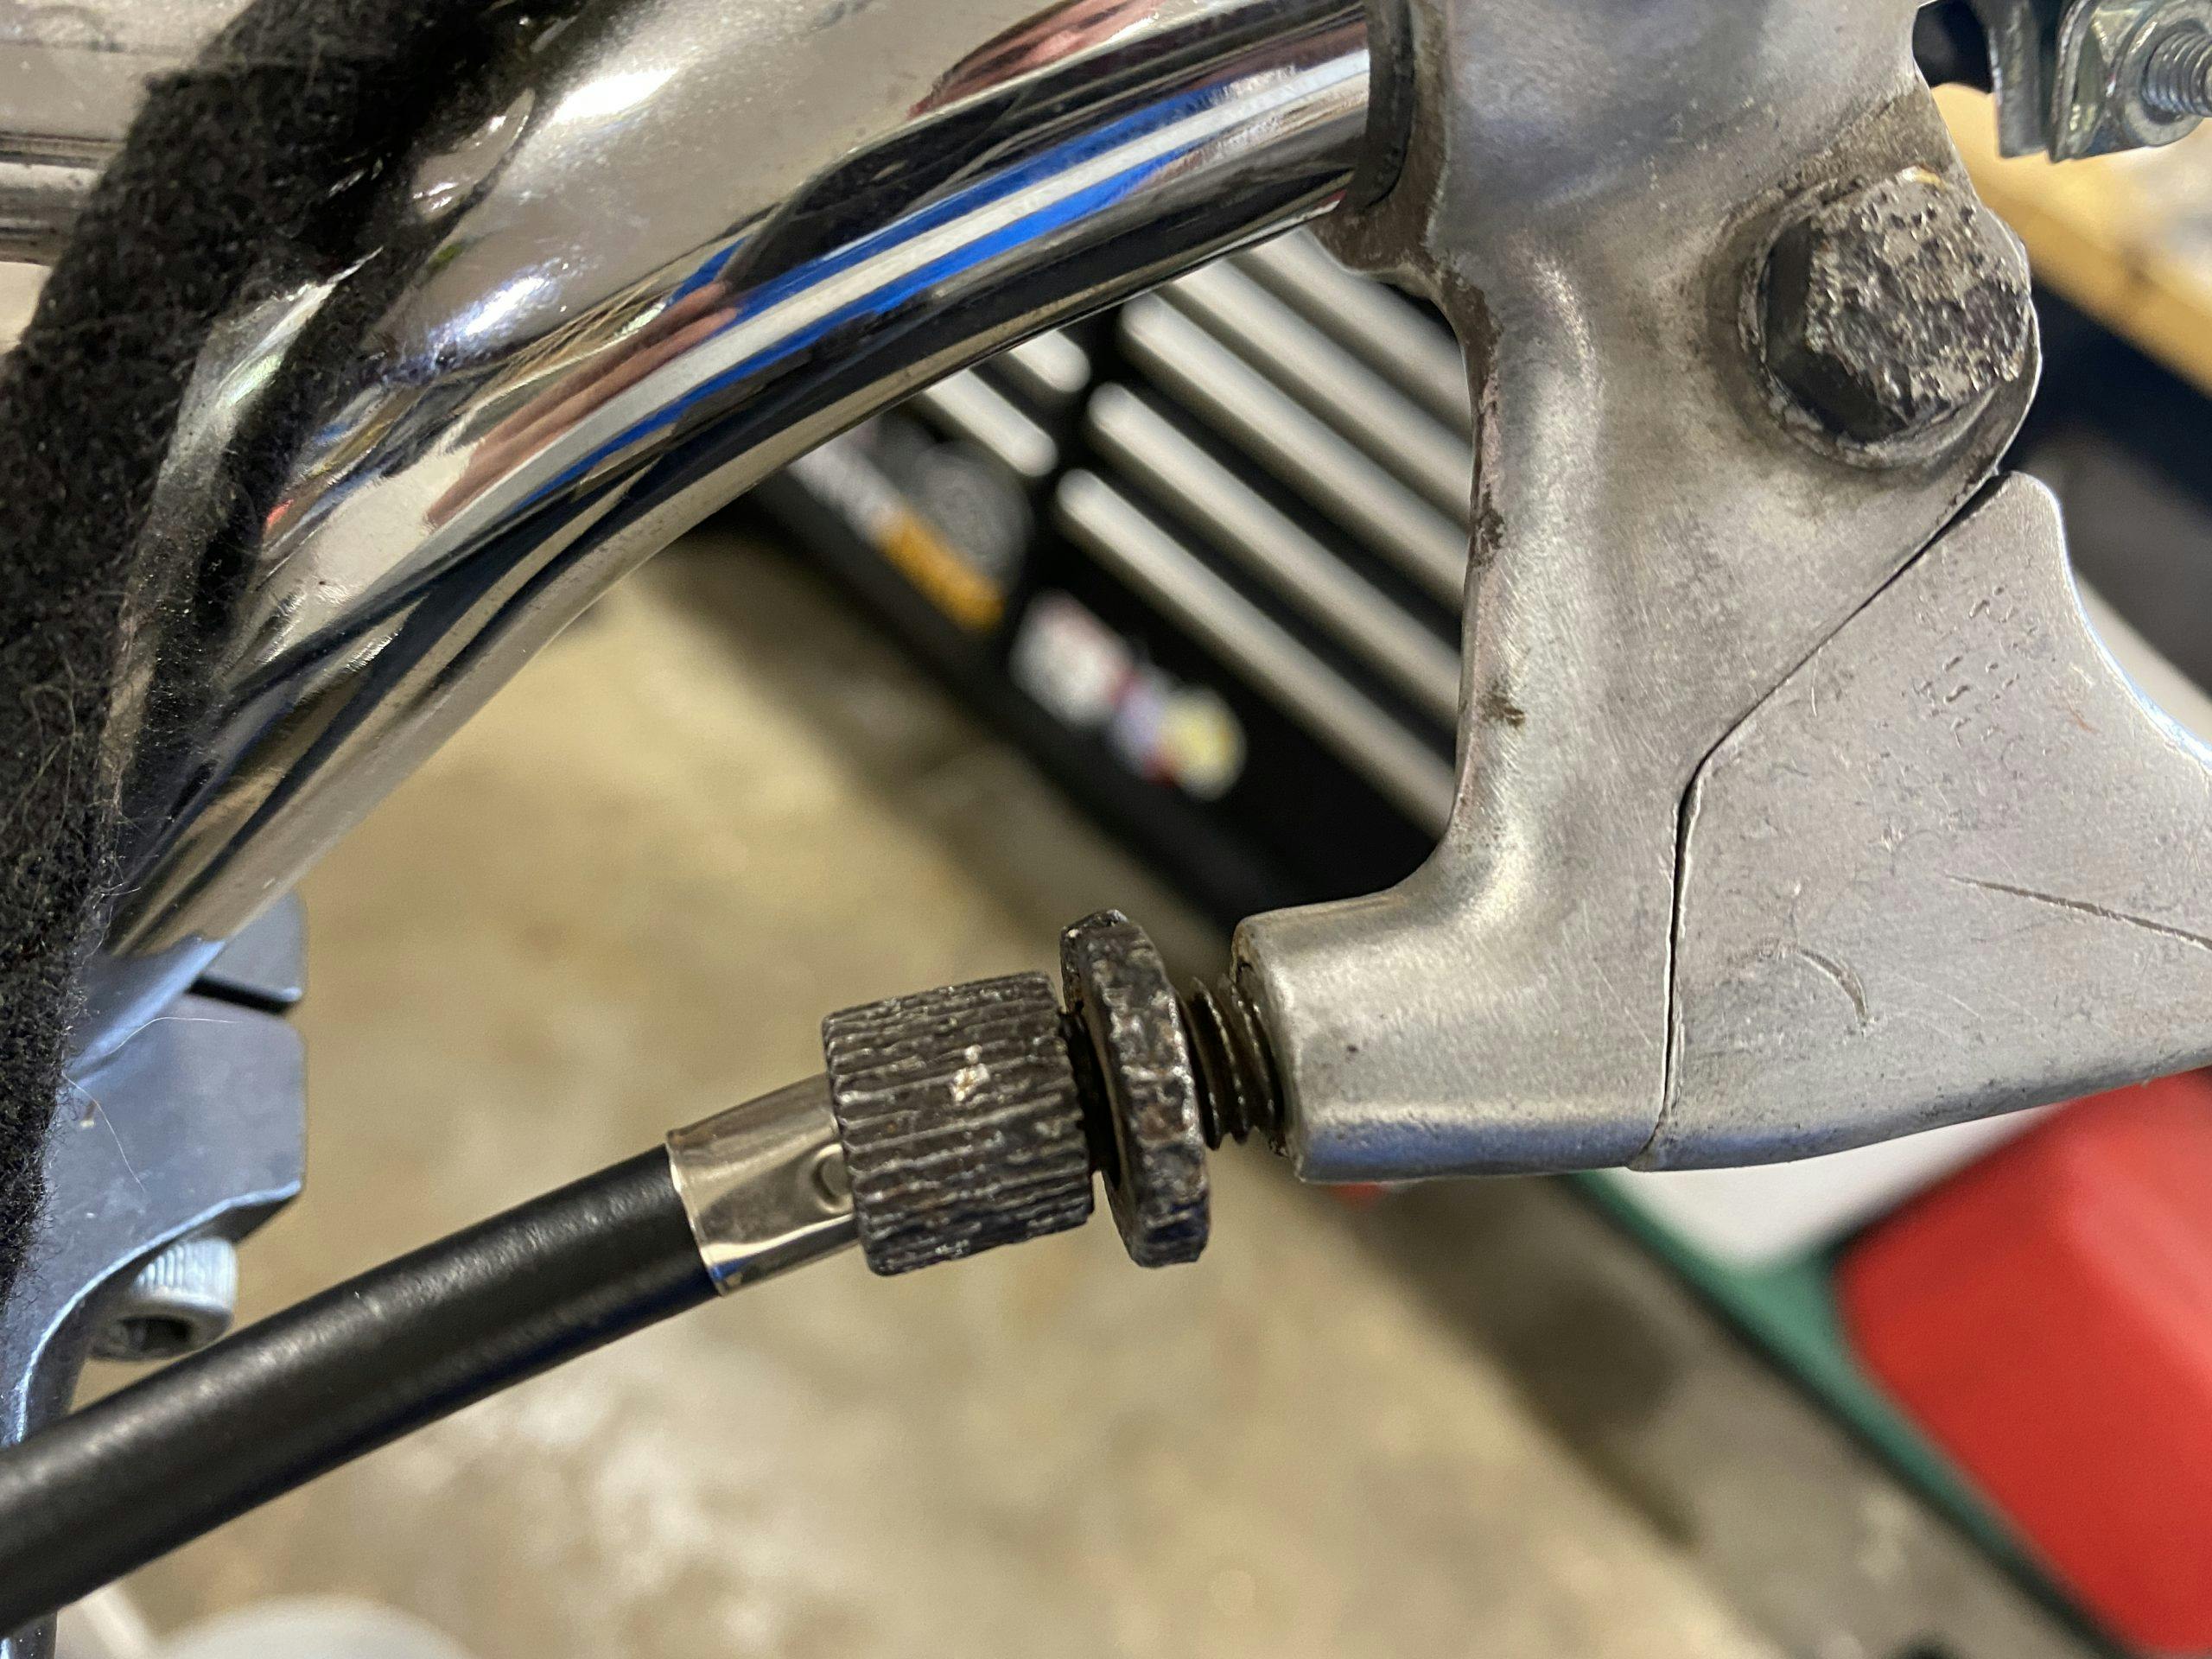
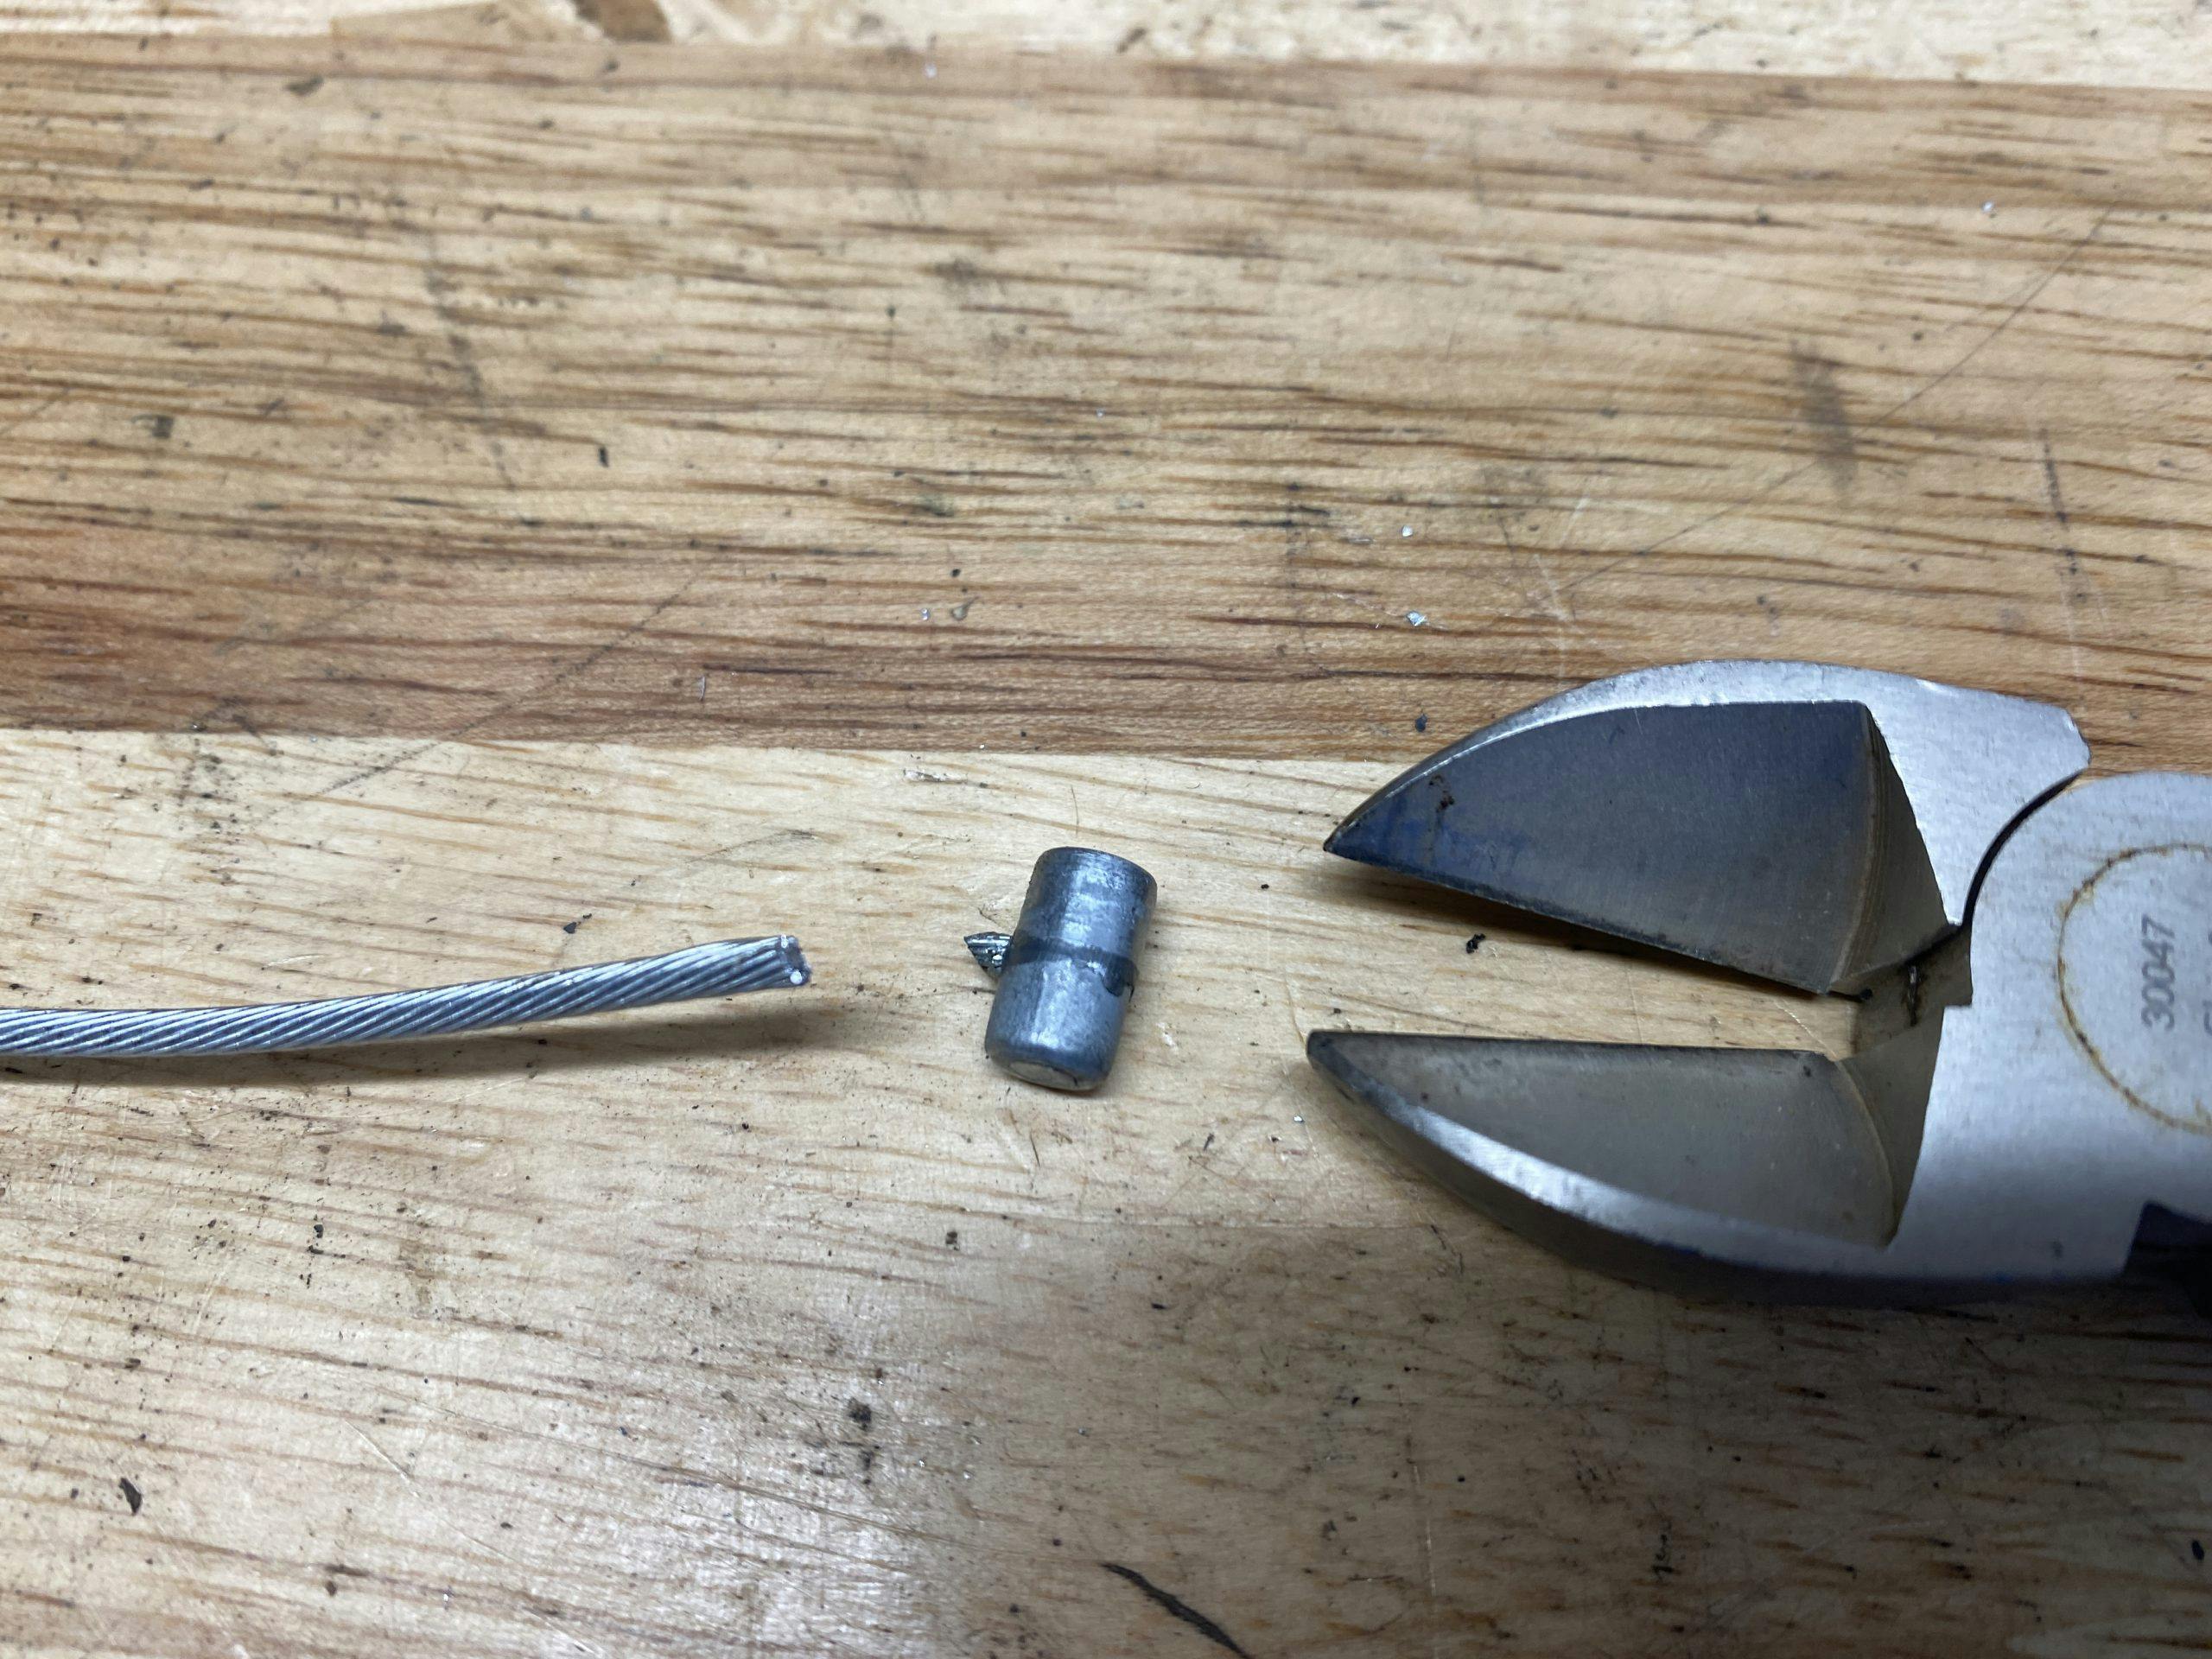
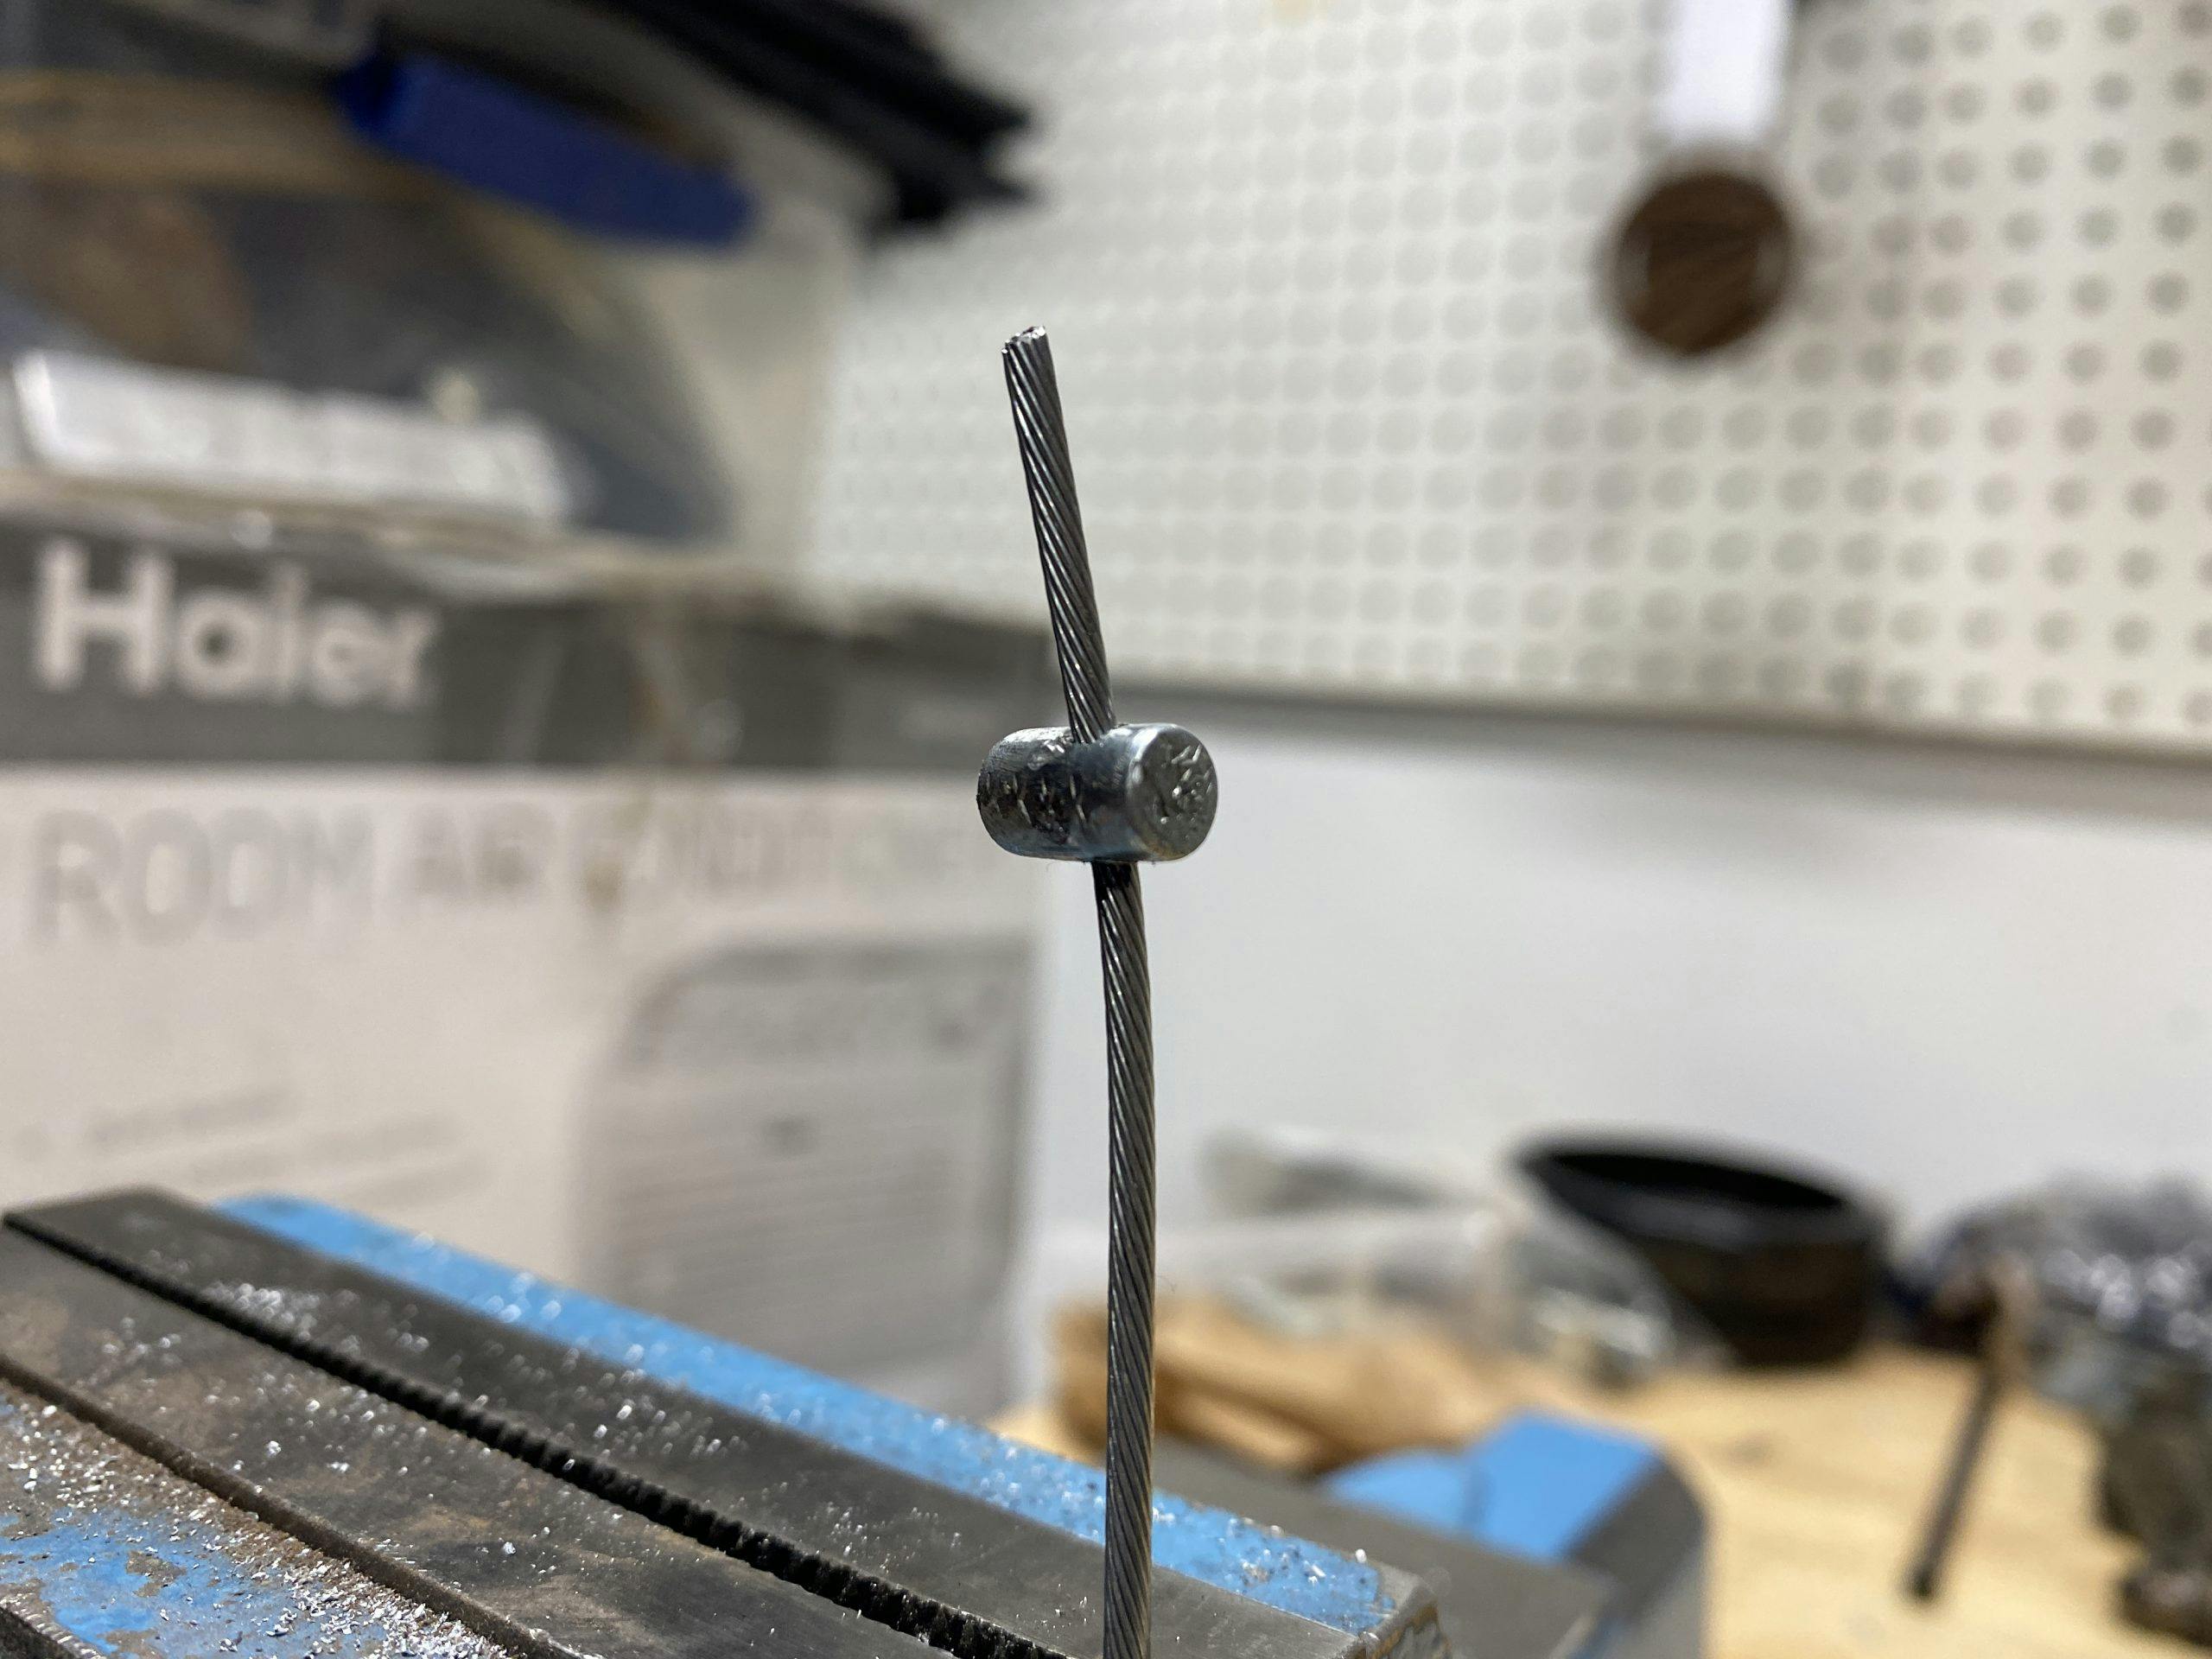
As intimidating as it can be to dissect an already functional component, that’s exactly where you must start. With the design of this cable, it made sense to cut at the handlebar end to give myself a better spot to drill and solder. The other end would have worked, but it would have been more visible. Since the handlebar end tucks under the lever, any clues of my repair would be easily hidden.
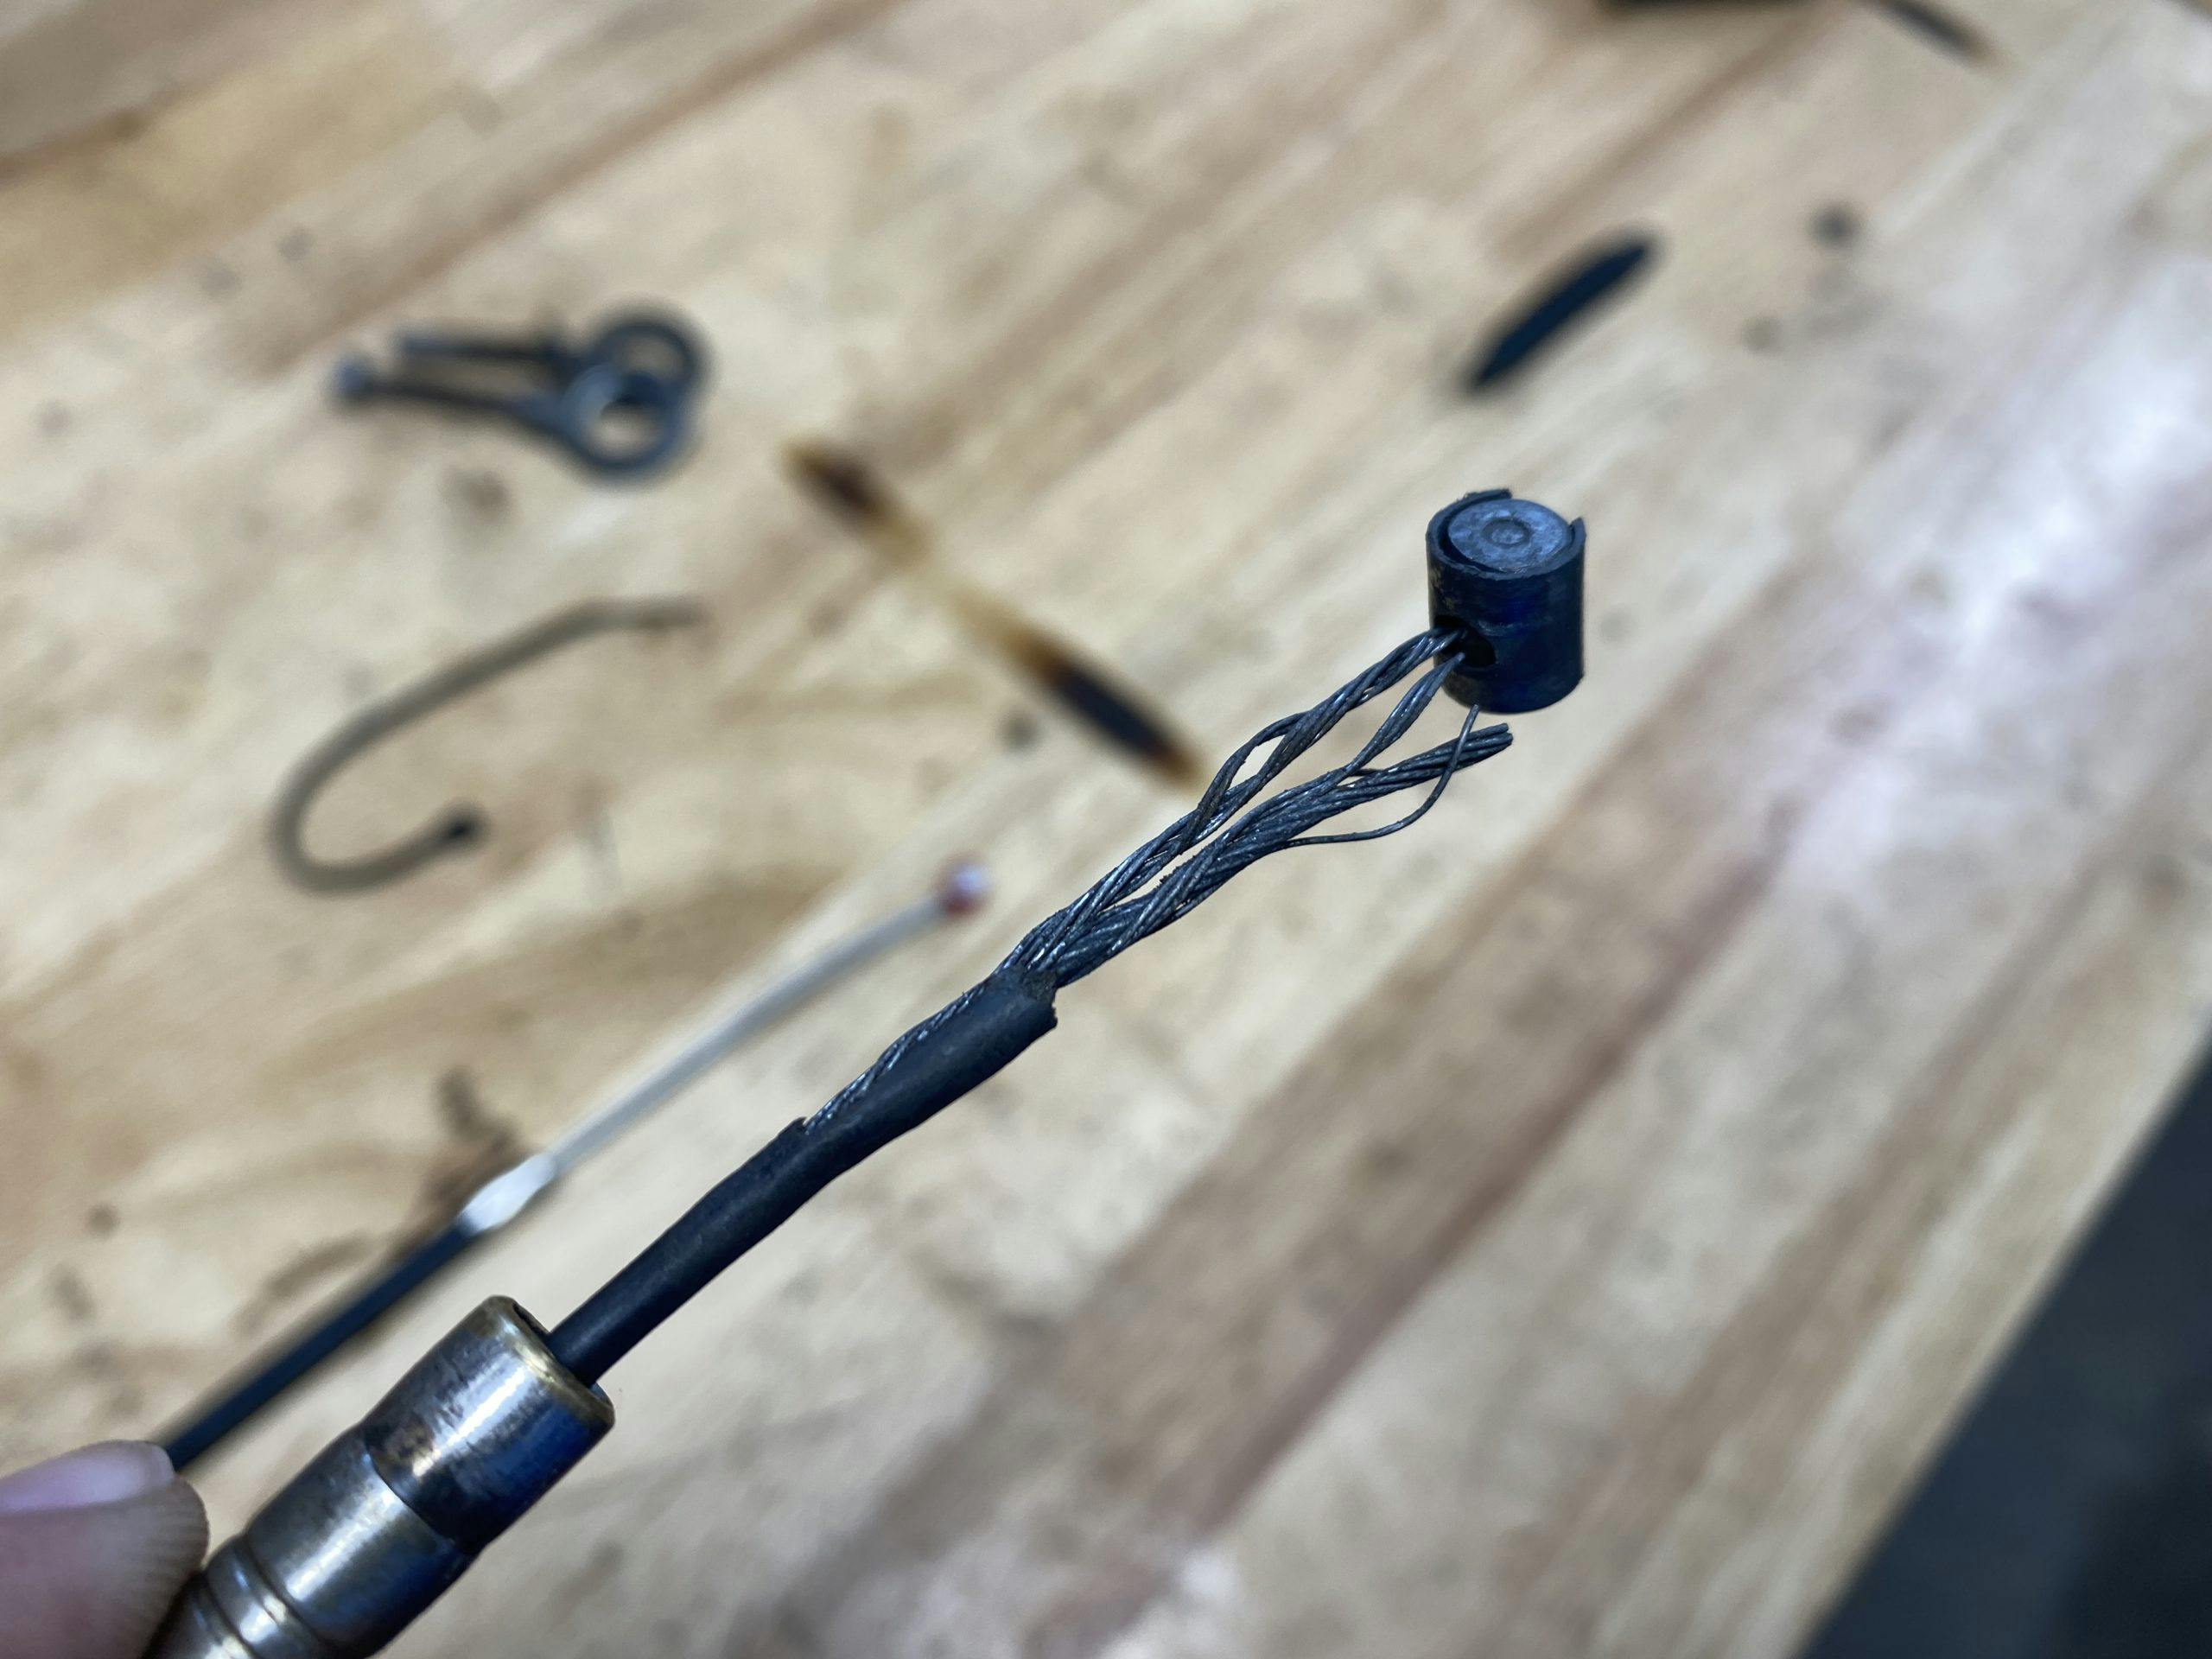
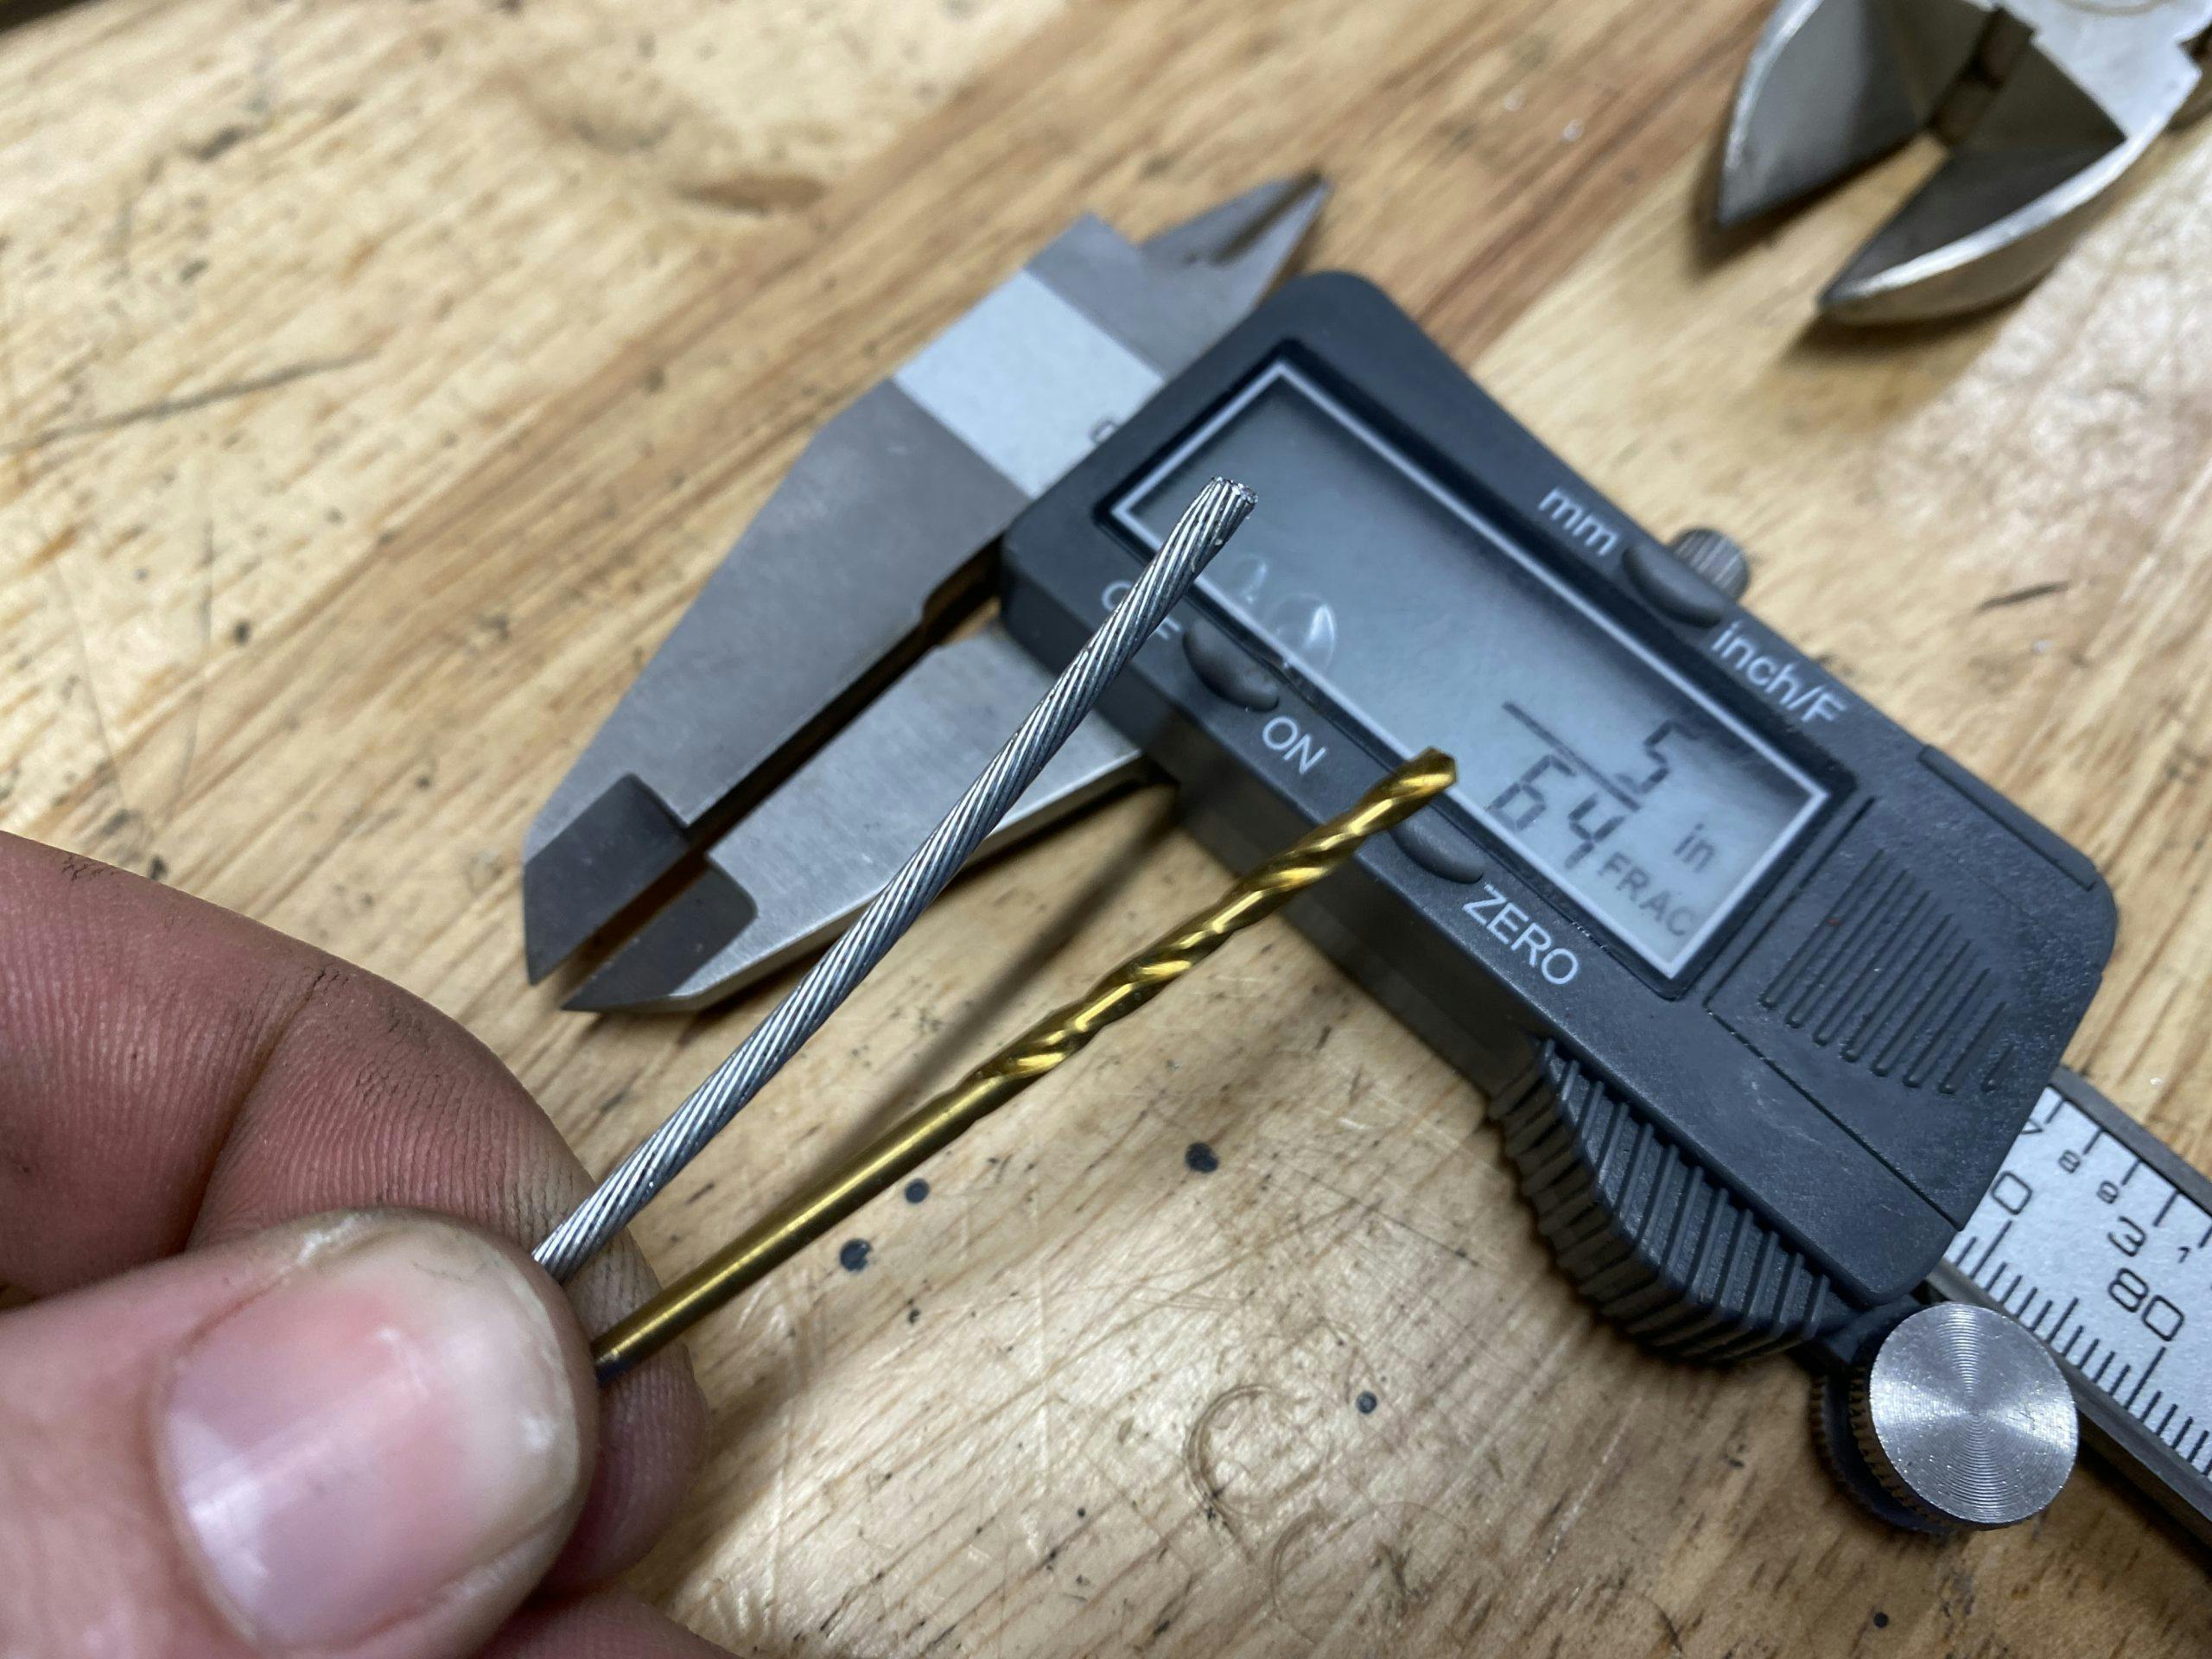
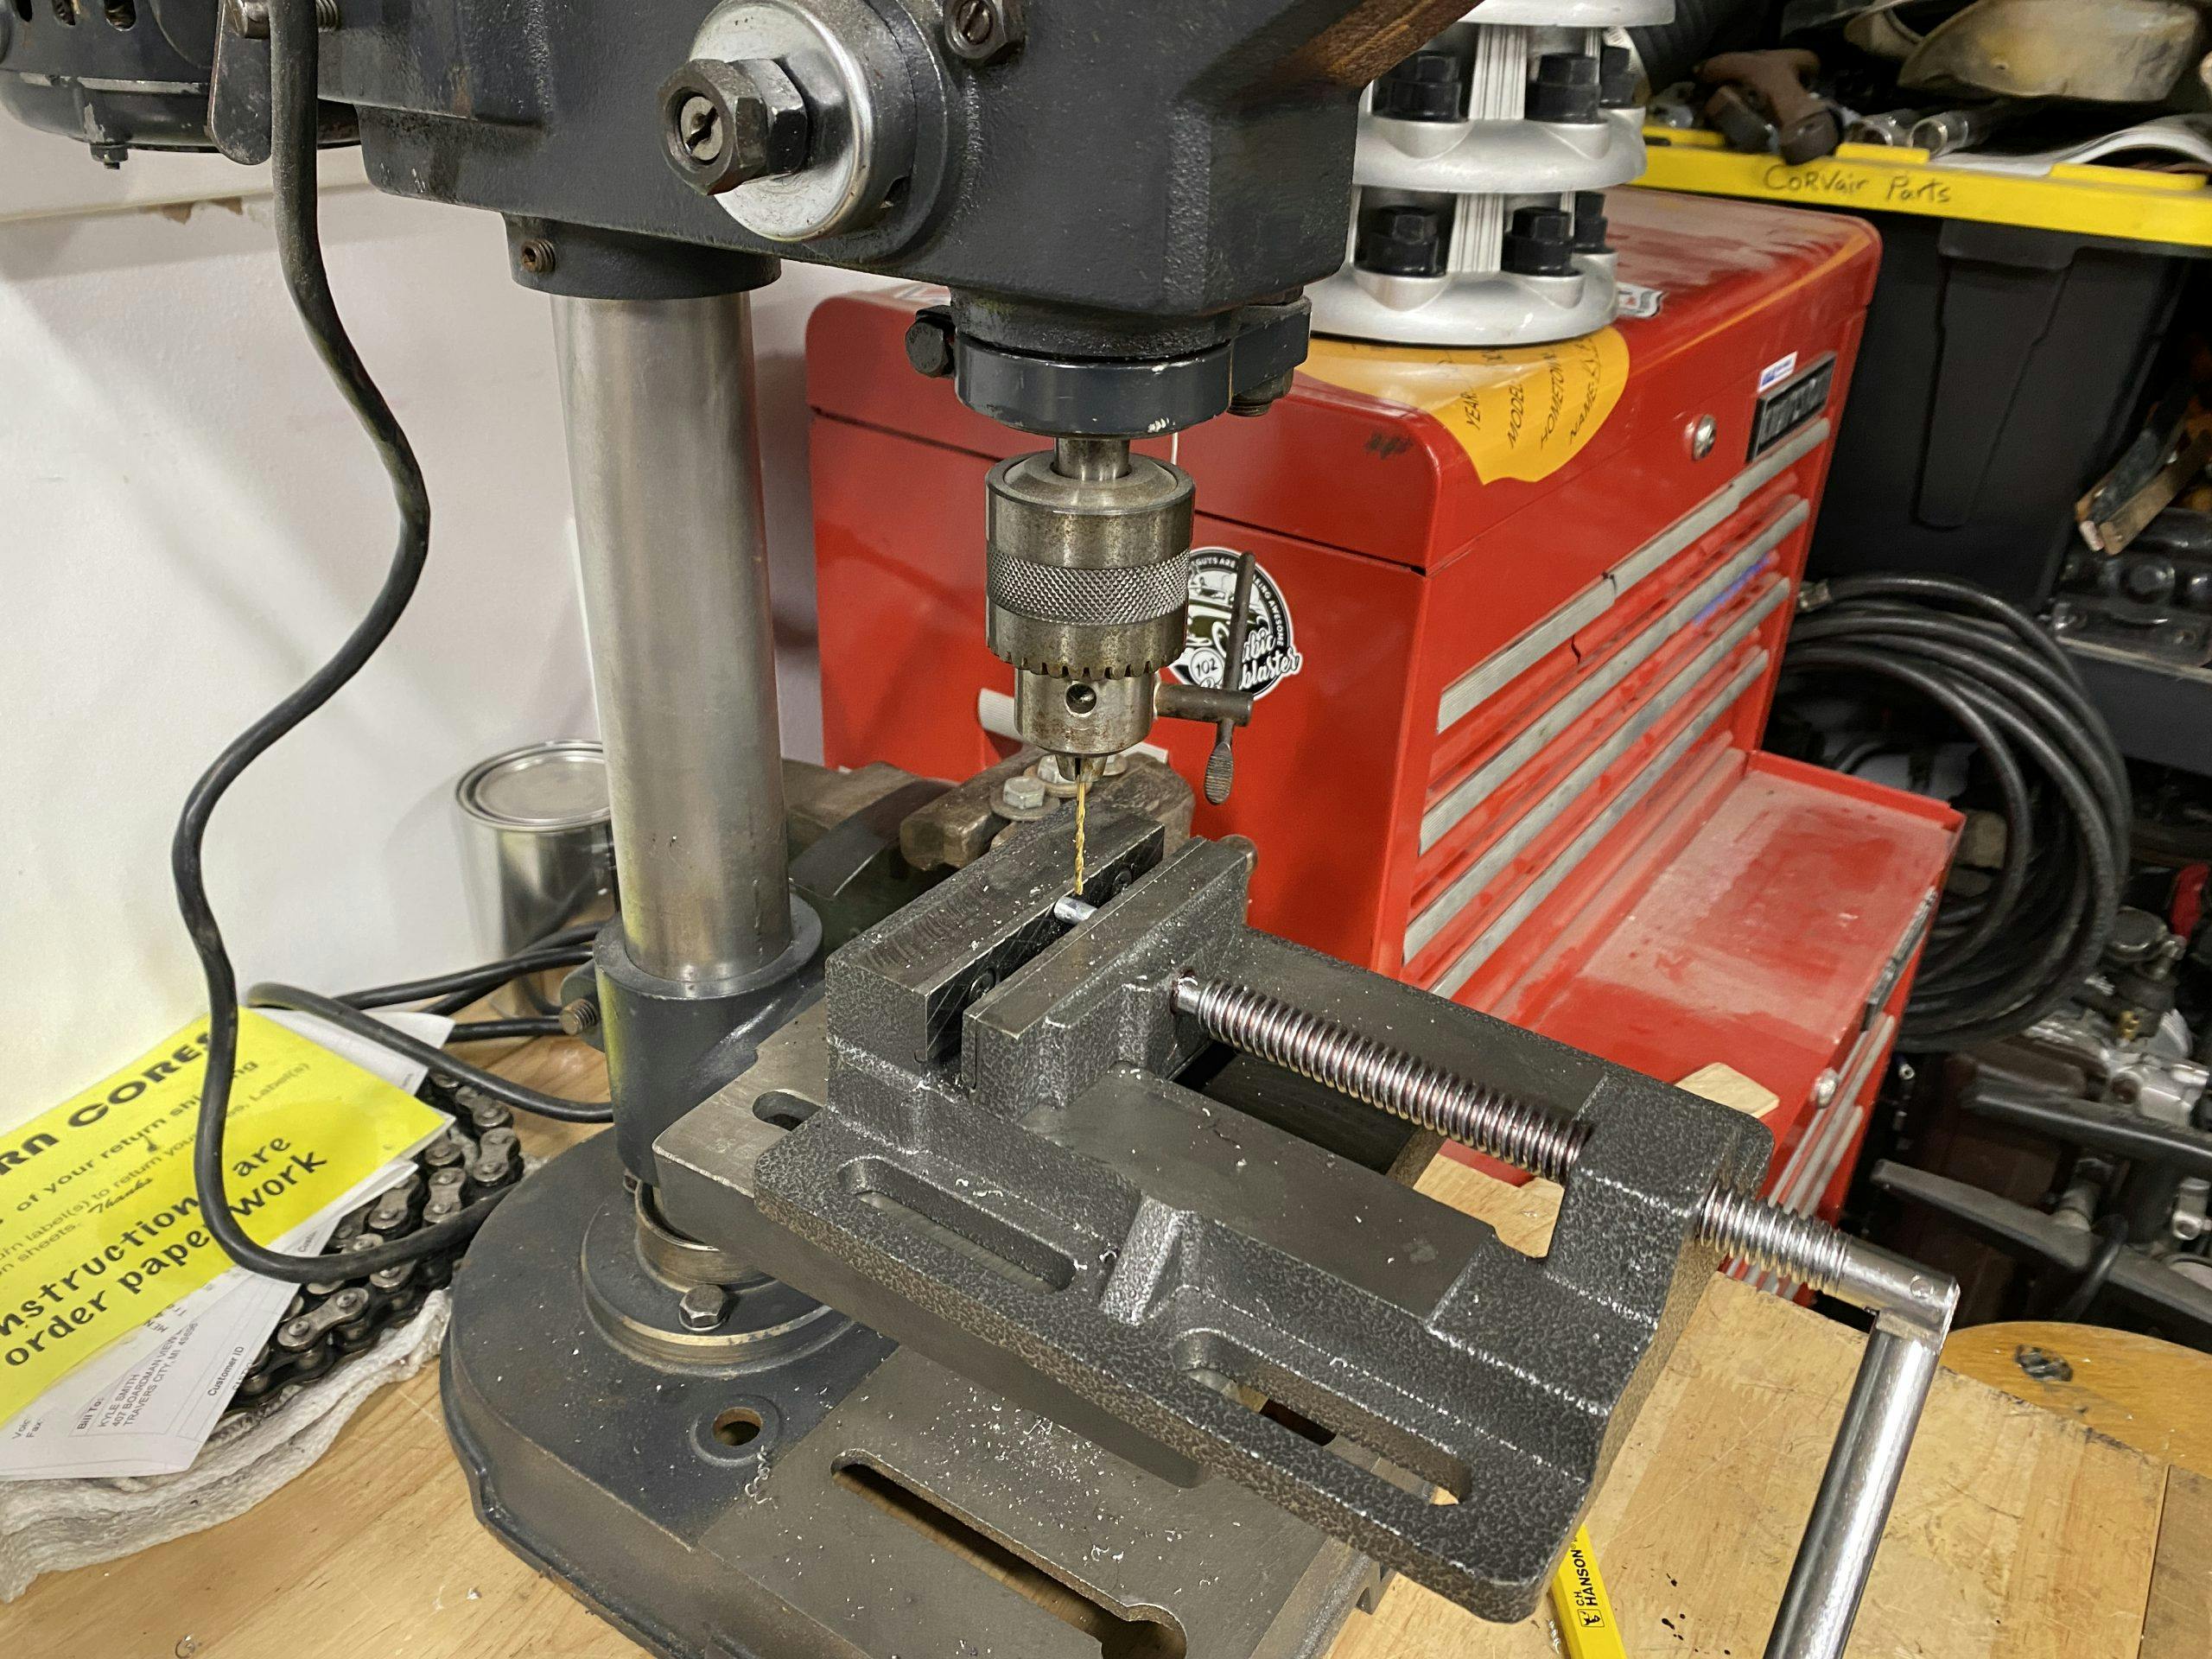
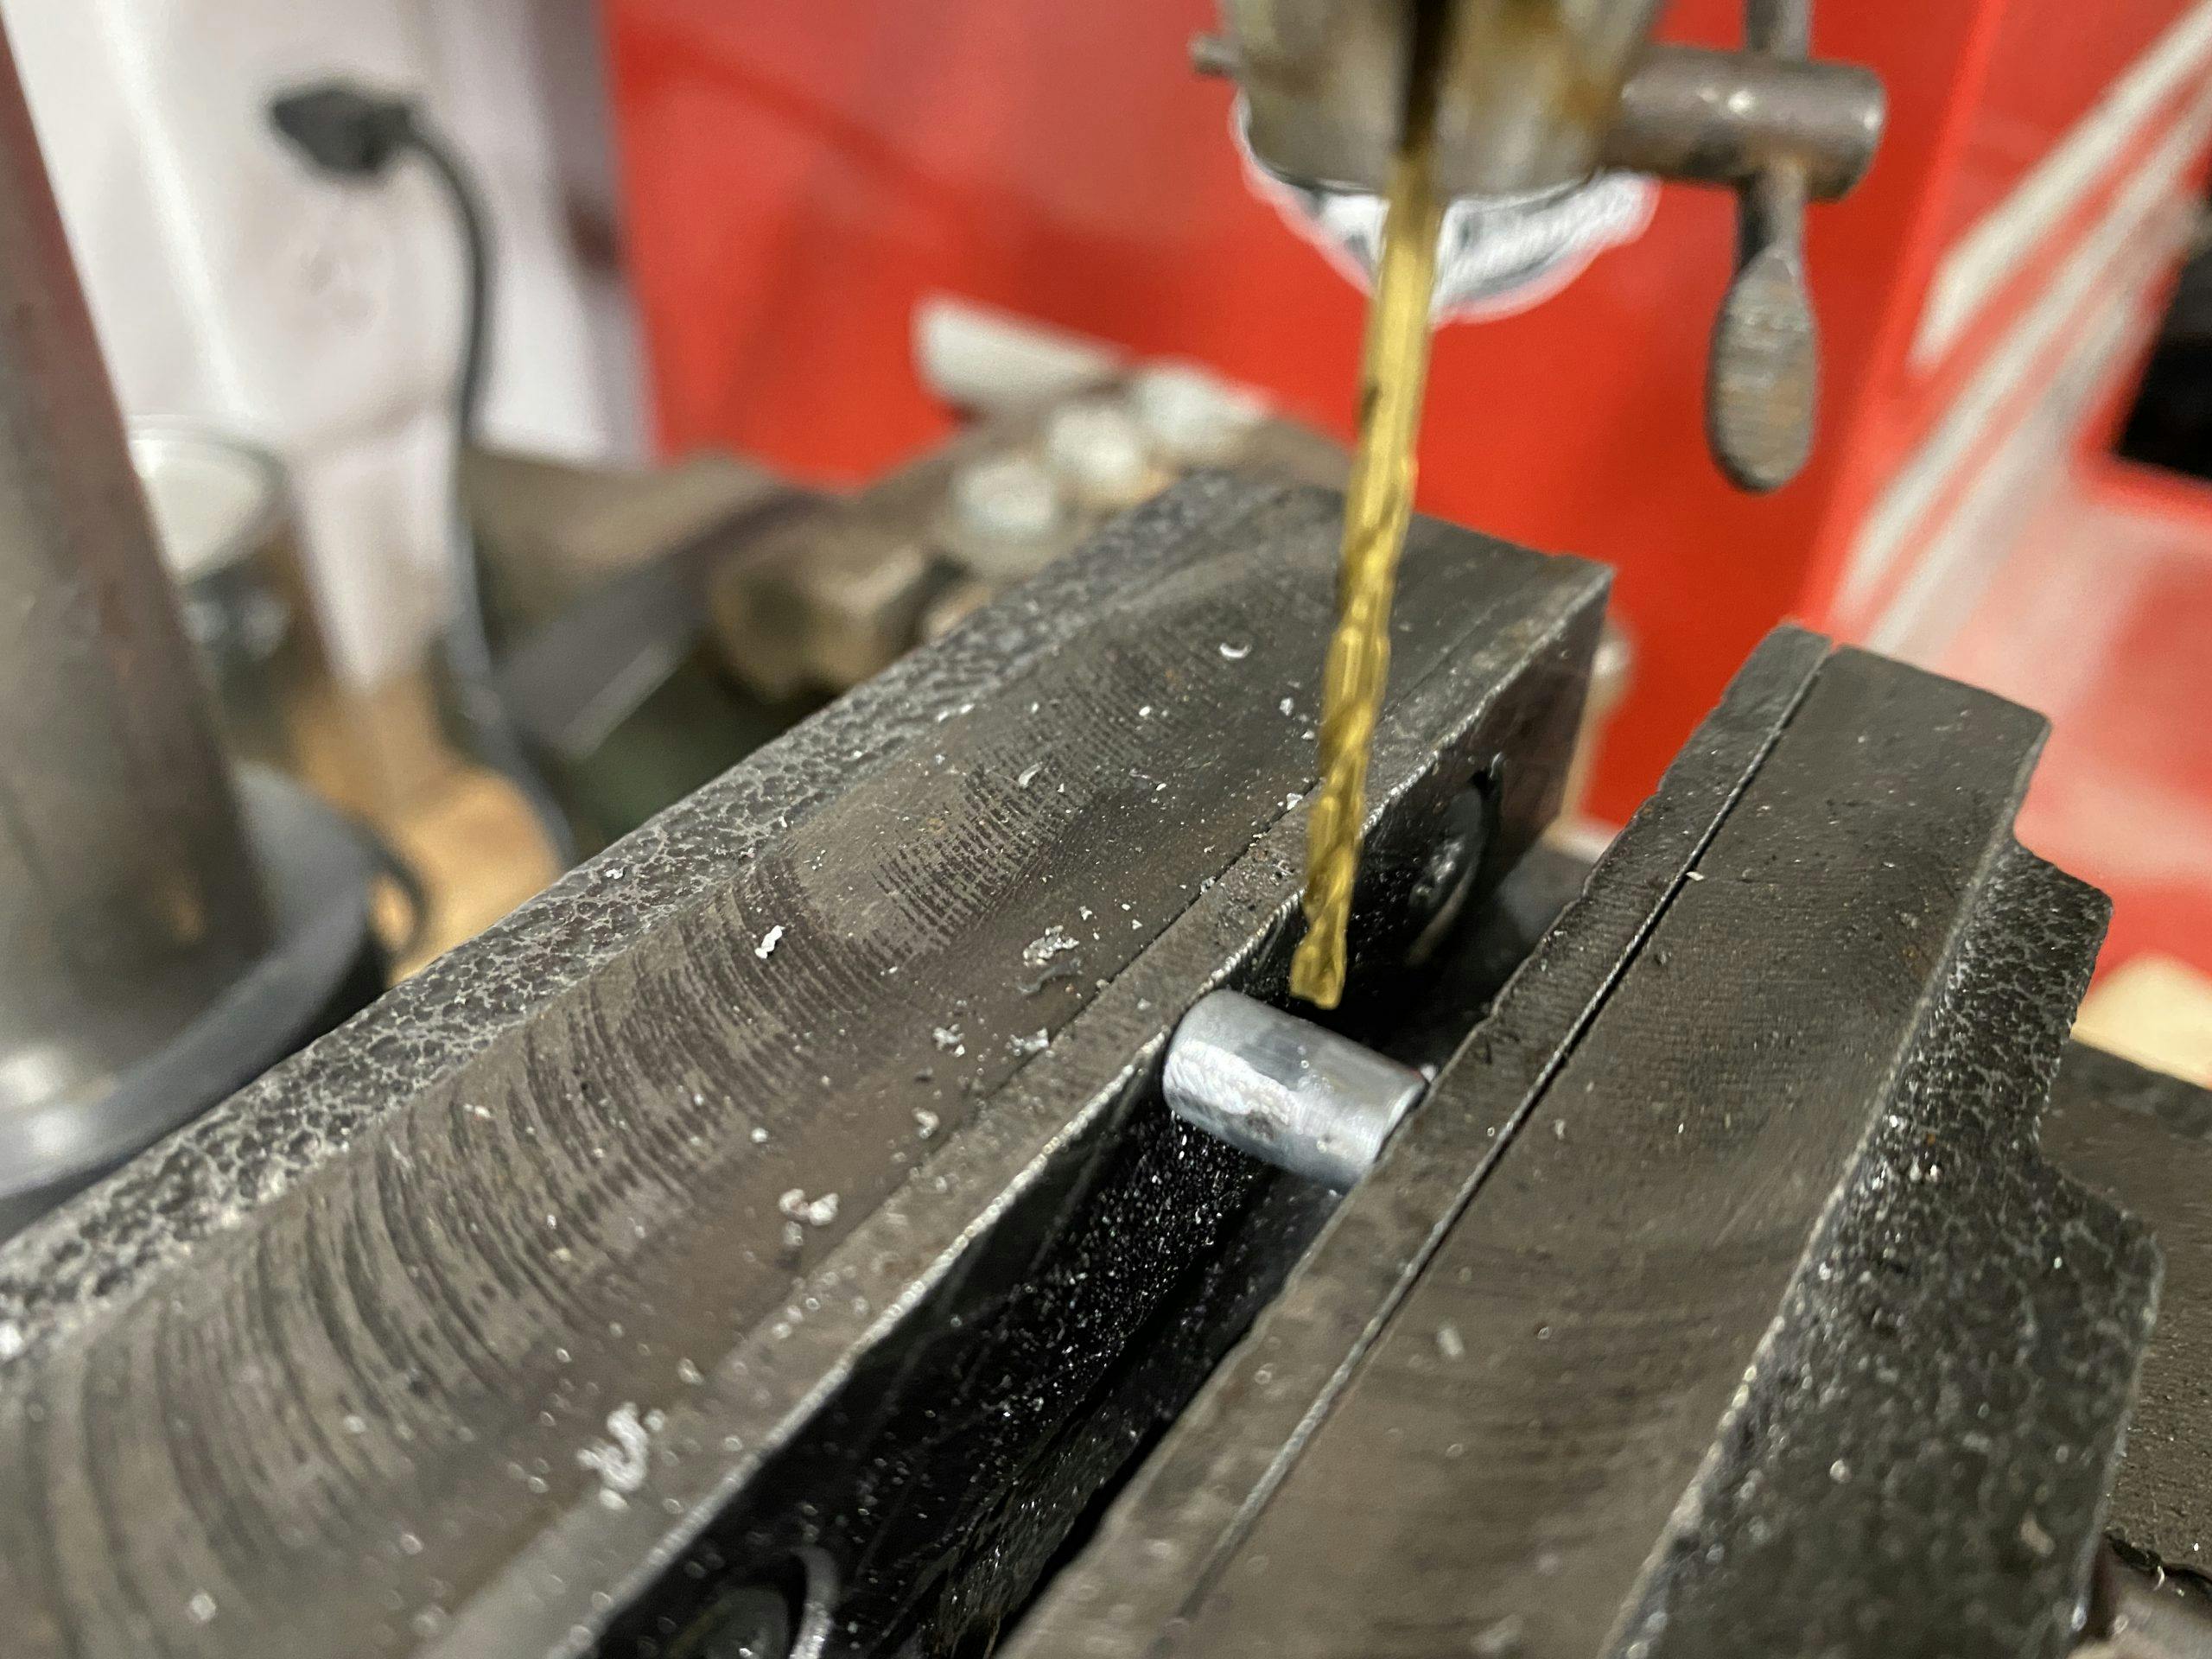
With the end snipped off, file the small bits of remaining cable off so the piece is nice and round. Then chuck it in a drill press and cut a tidy hole through which your cable can slide. Use the cable itself to size your drill bit—a snug fit is best. Now comes the hardest part: measuring for the attachment point of the cable end.
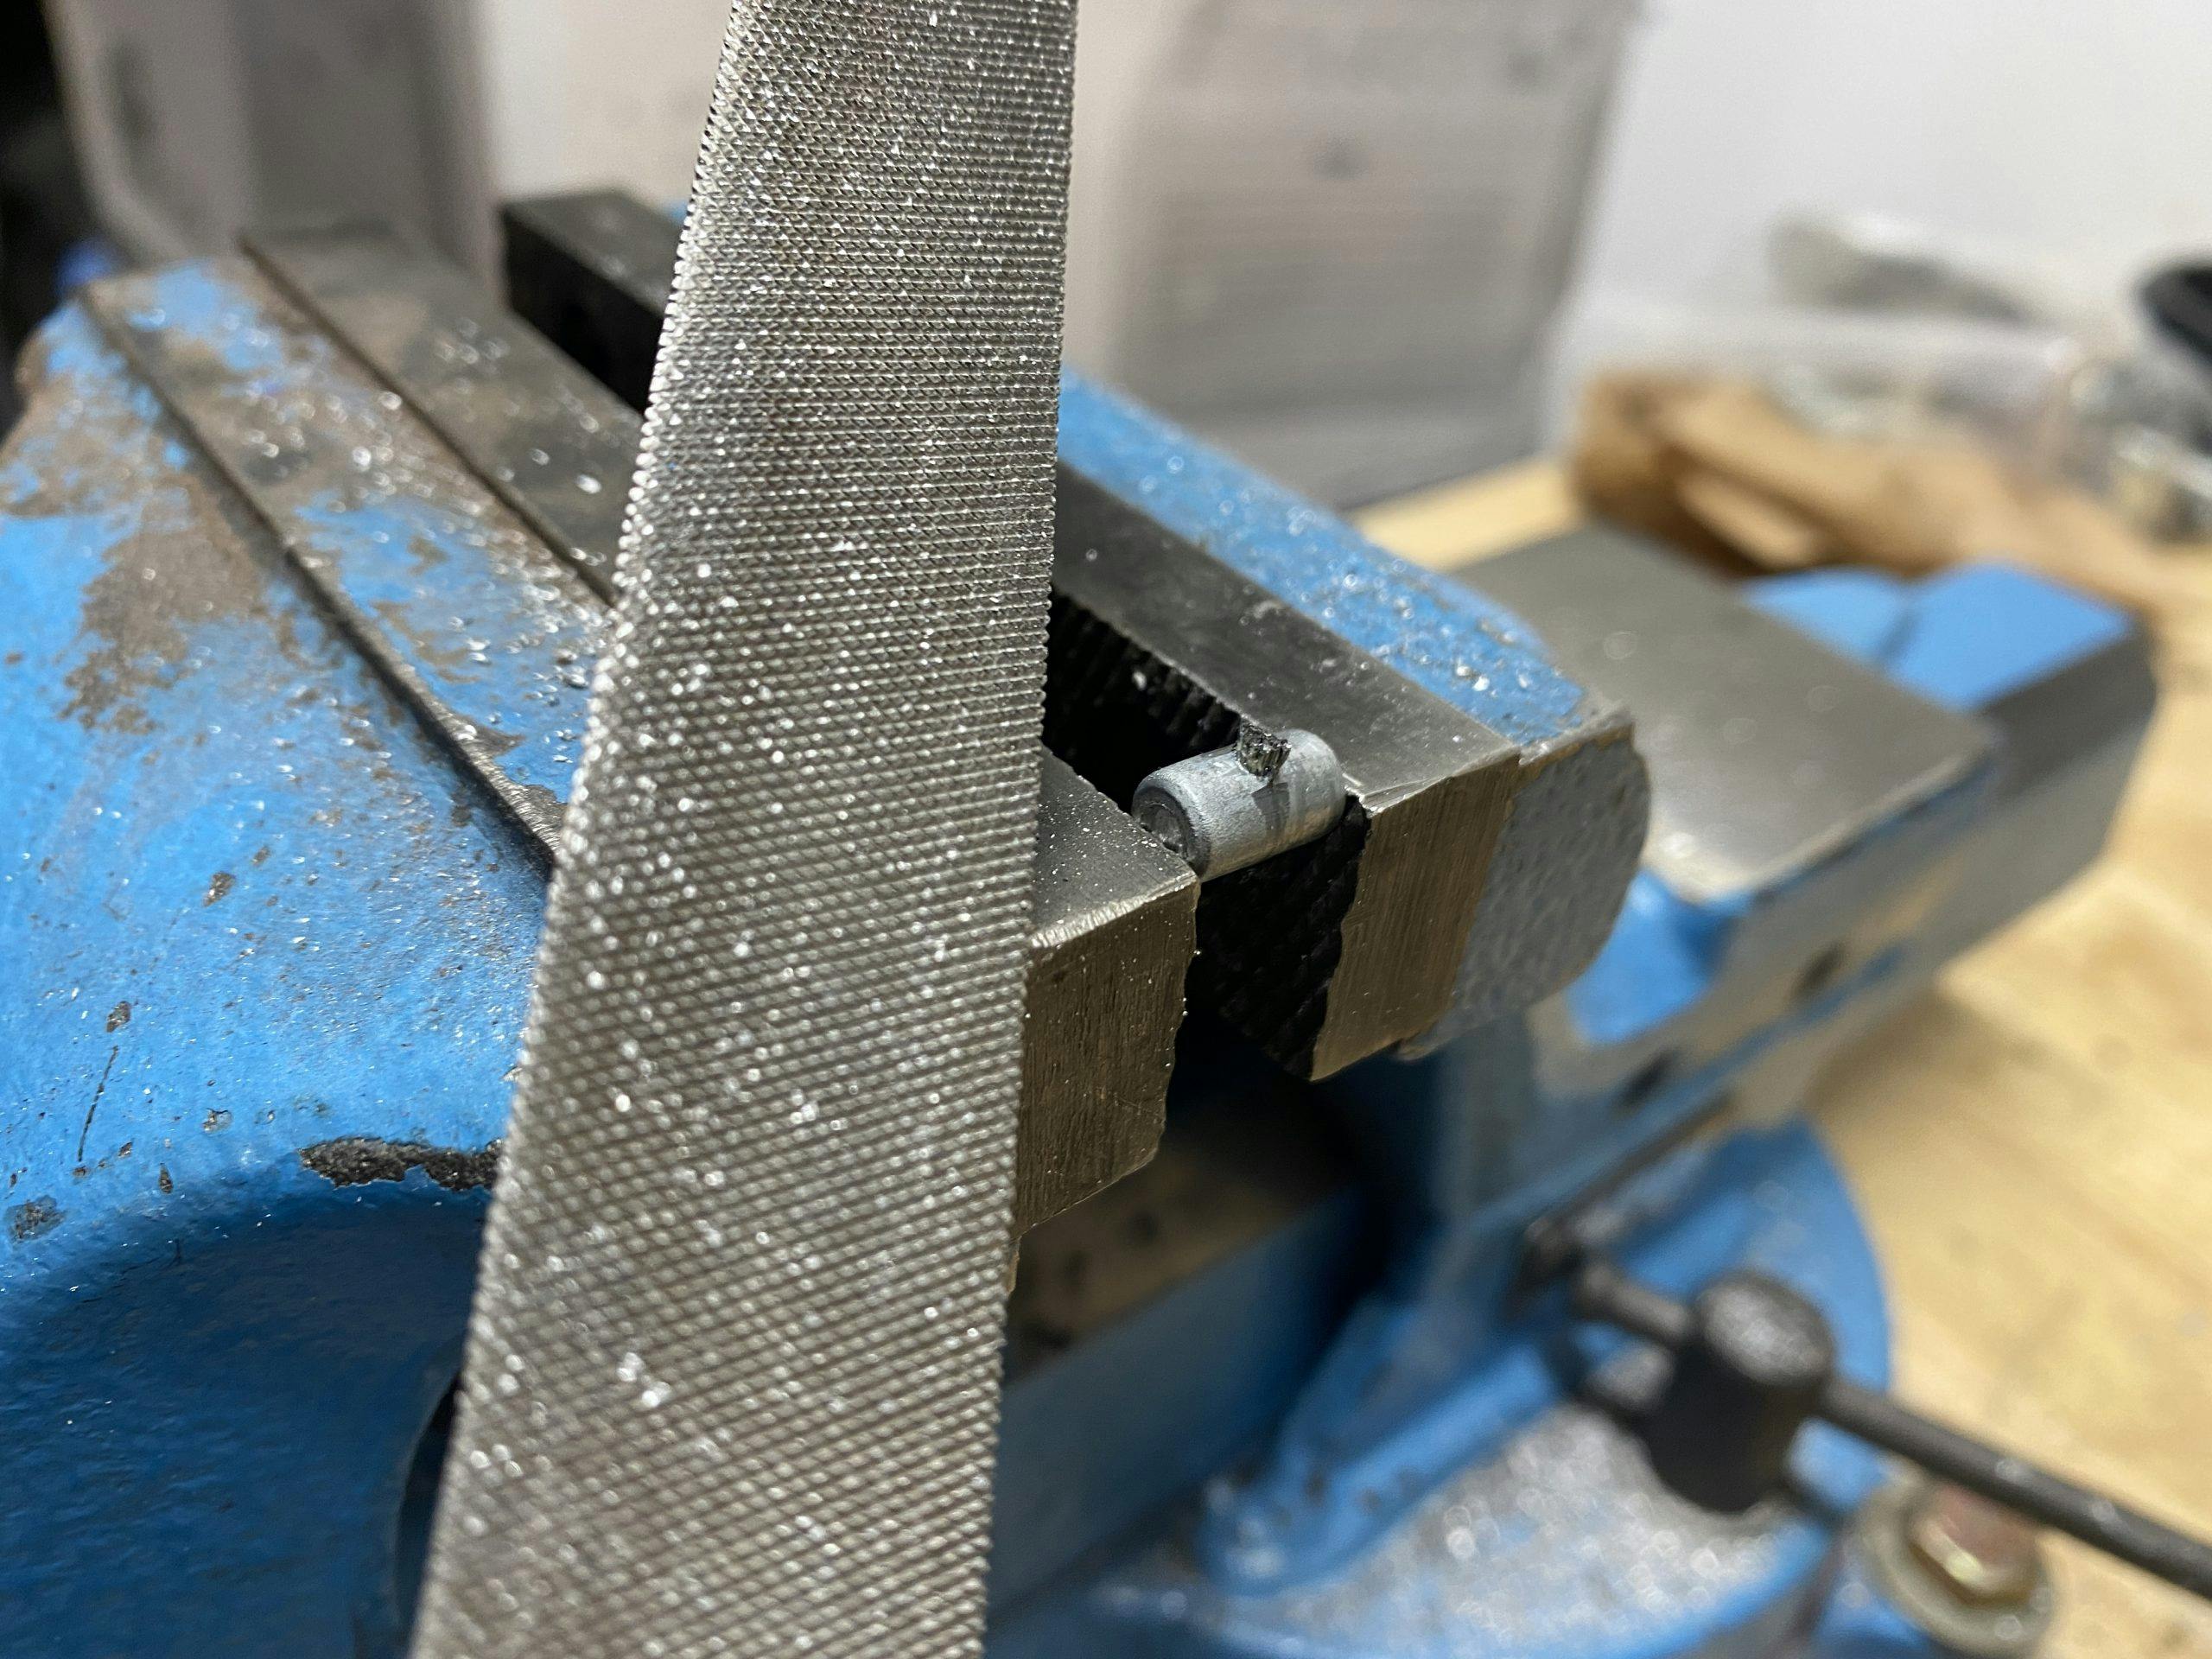
For me, this step was pretty easy, since I had a still partially useful component to serve as a template. If you don’t, install the cable on your machine and make your mark. Be sure any adjusters that would affect the cable length are tweaked to allow you to compensate for future cable stretch. Once you have your length marked, use a vice or pliers to lightly crimp the cable end in the correct place.
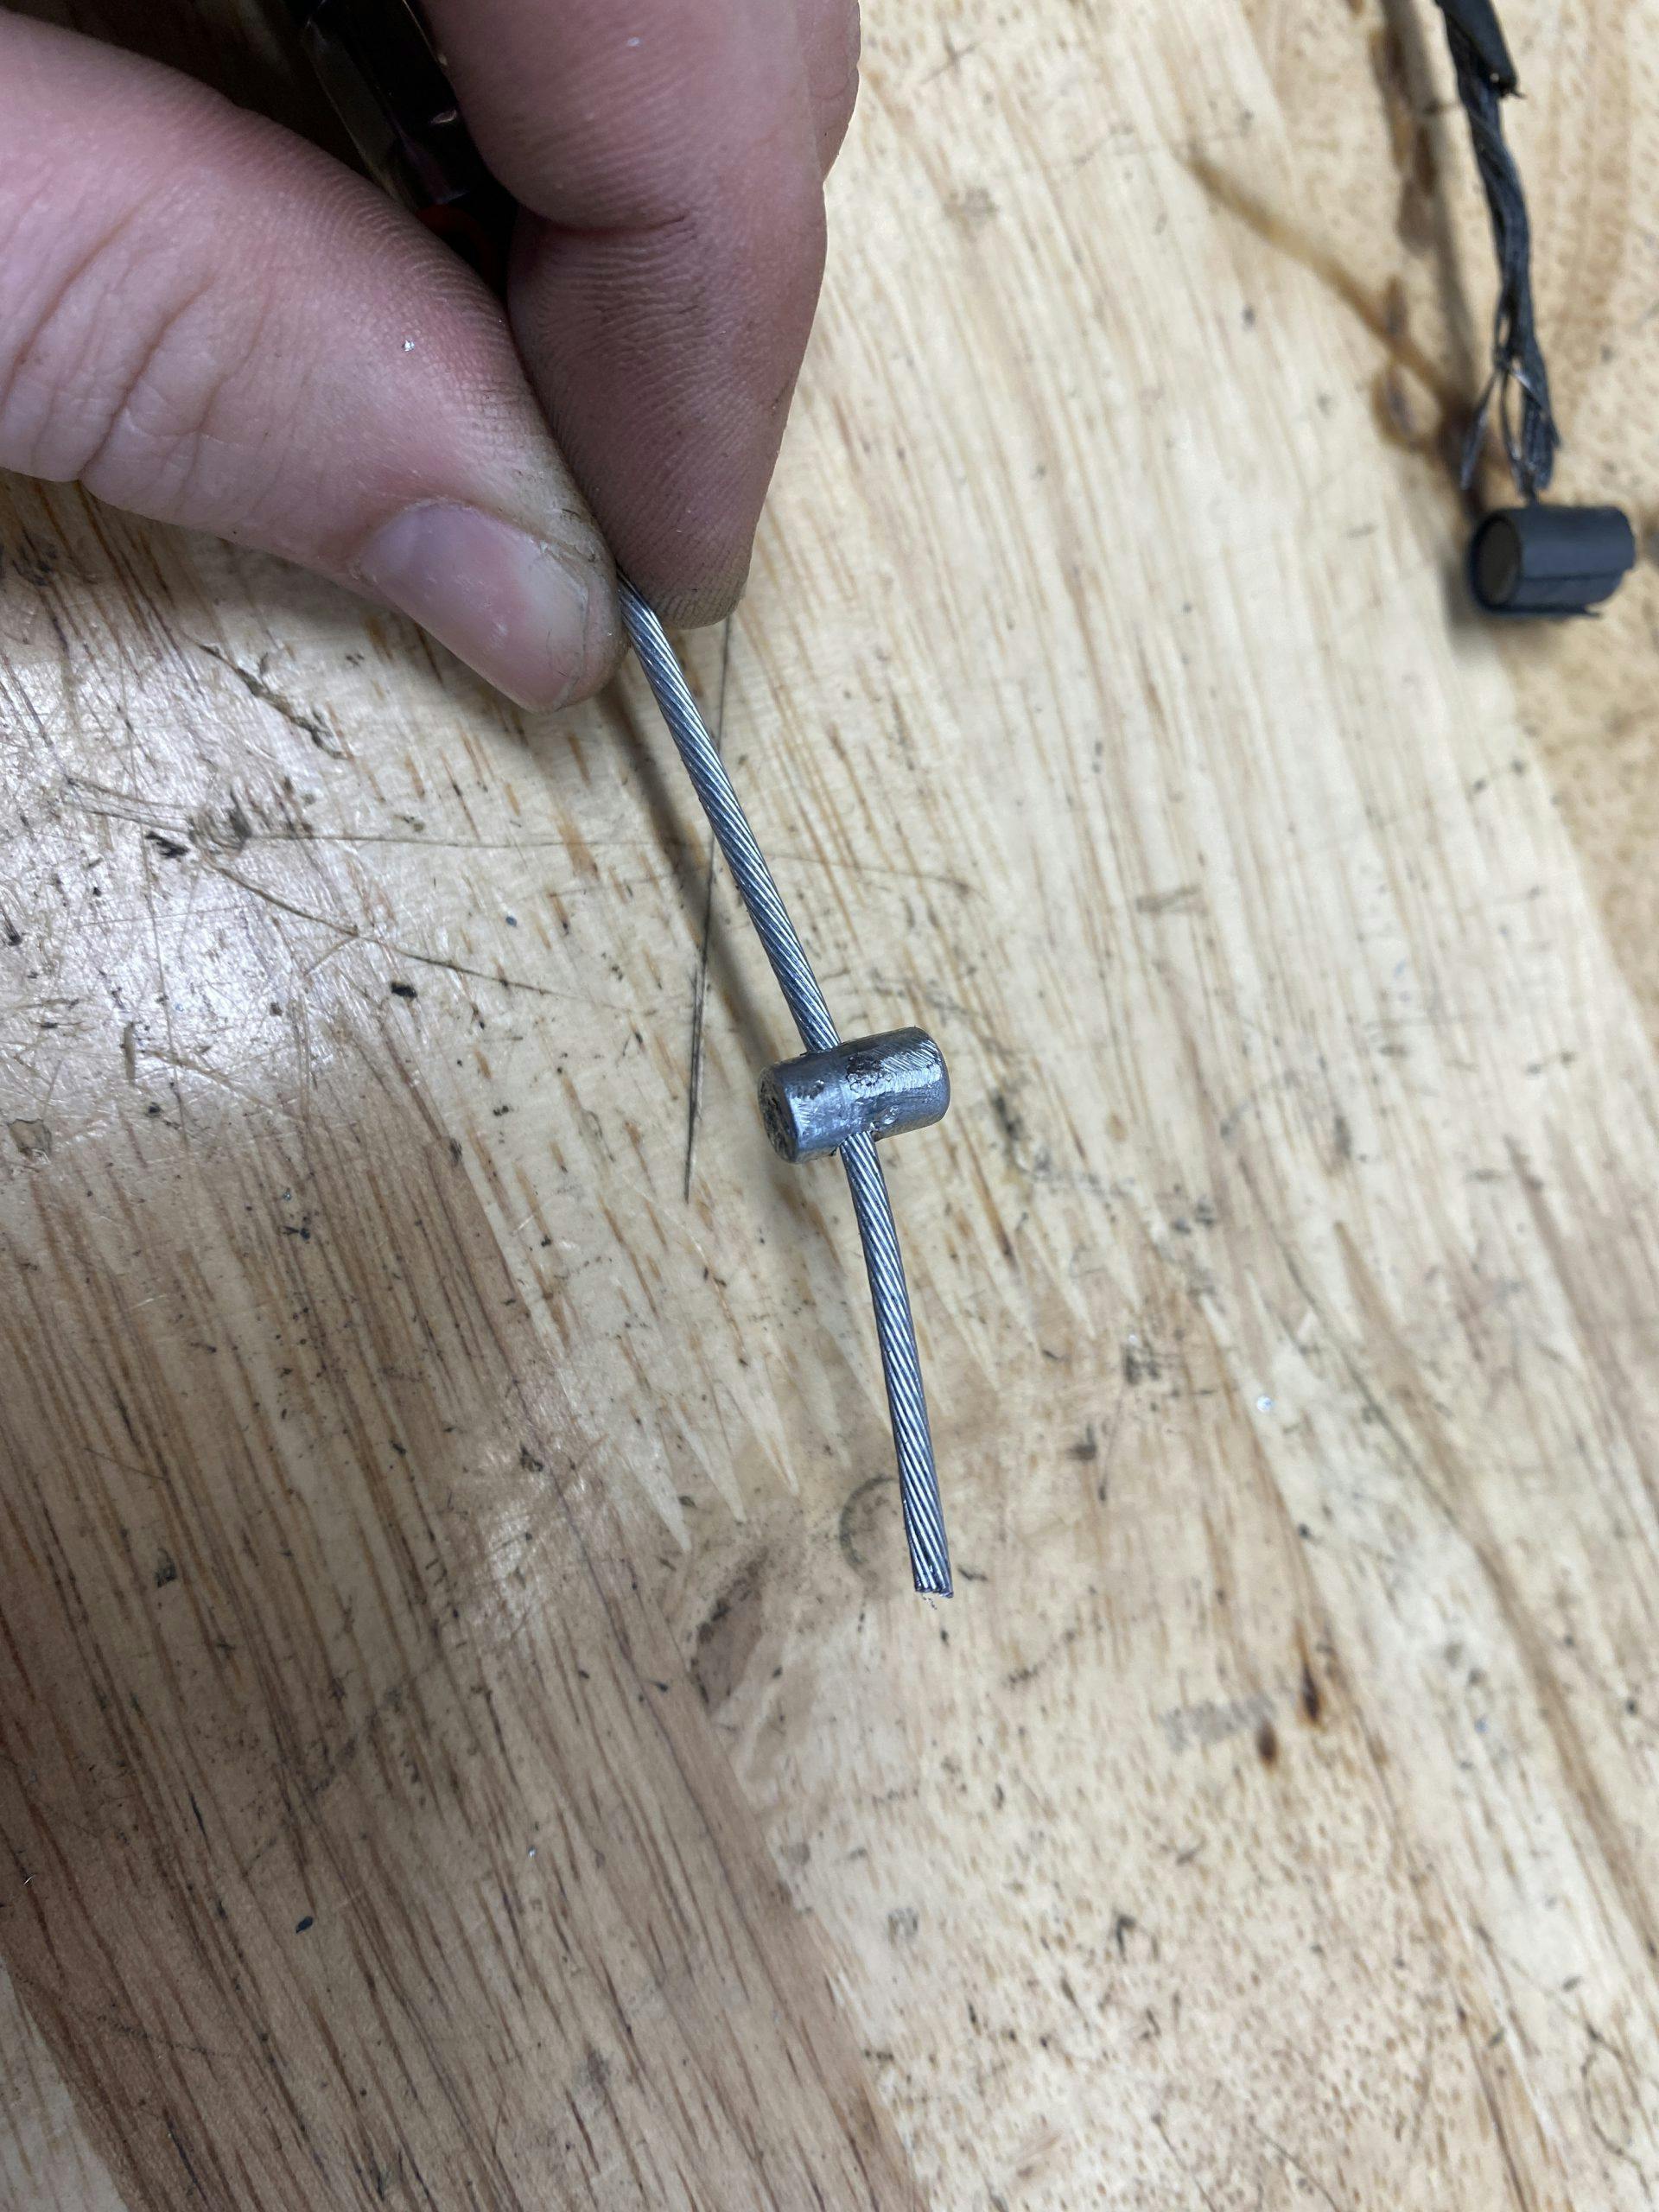
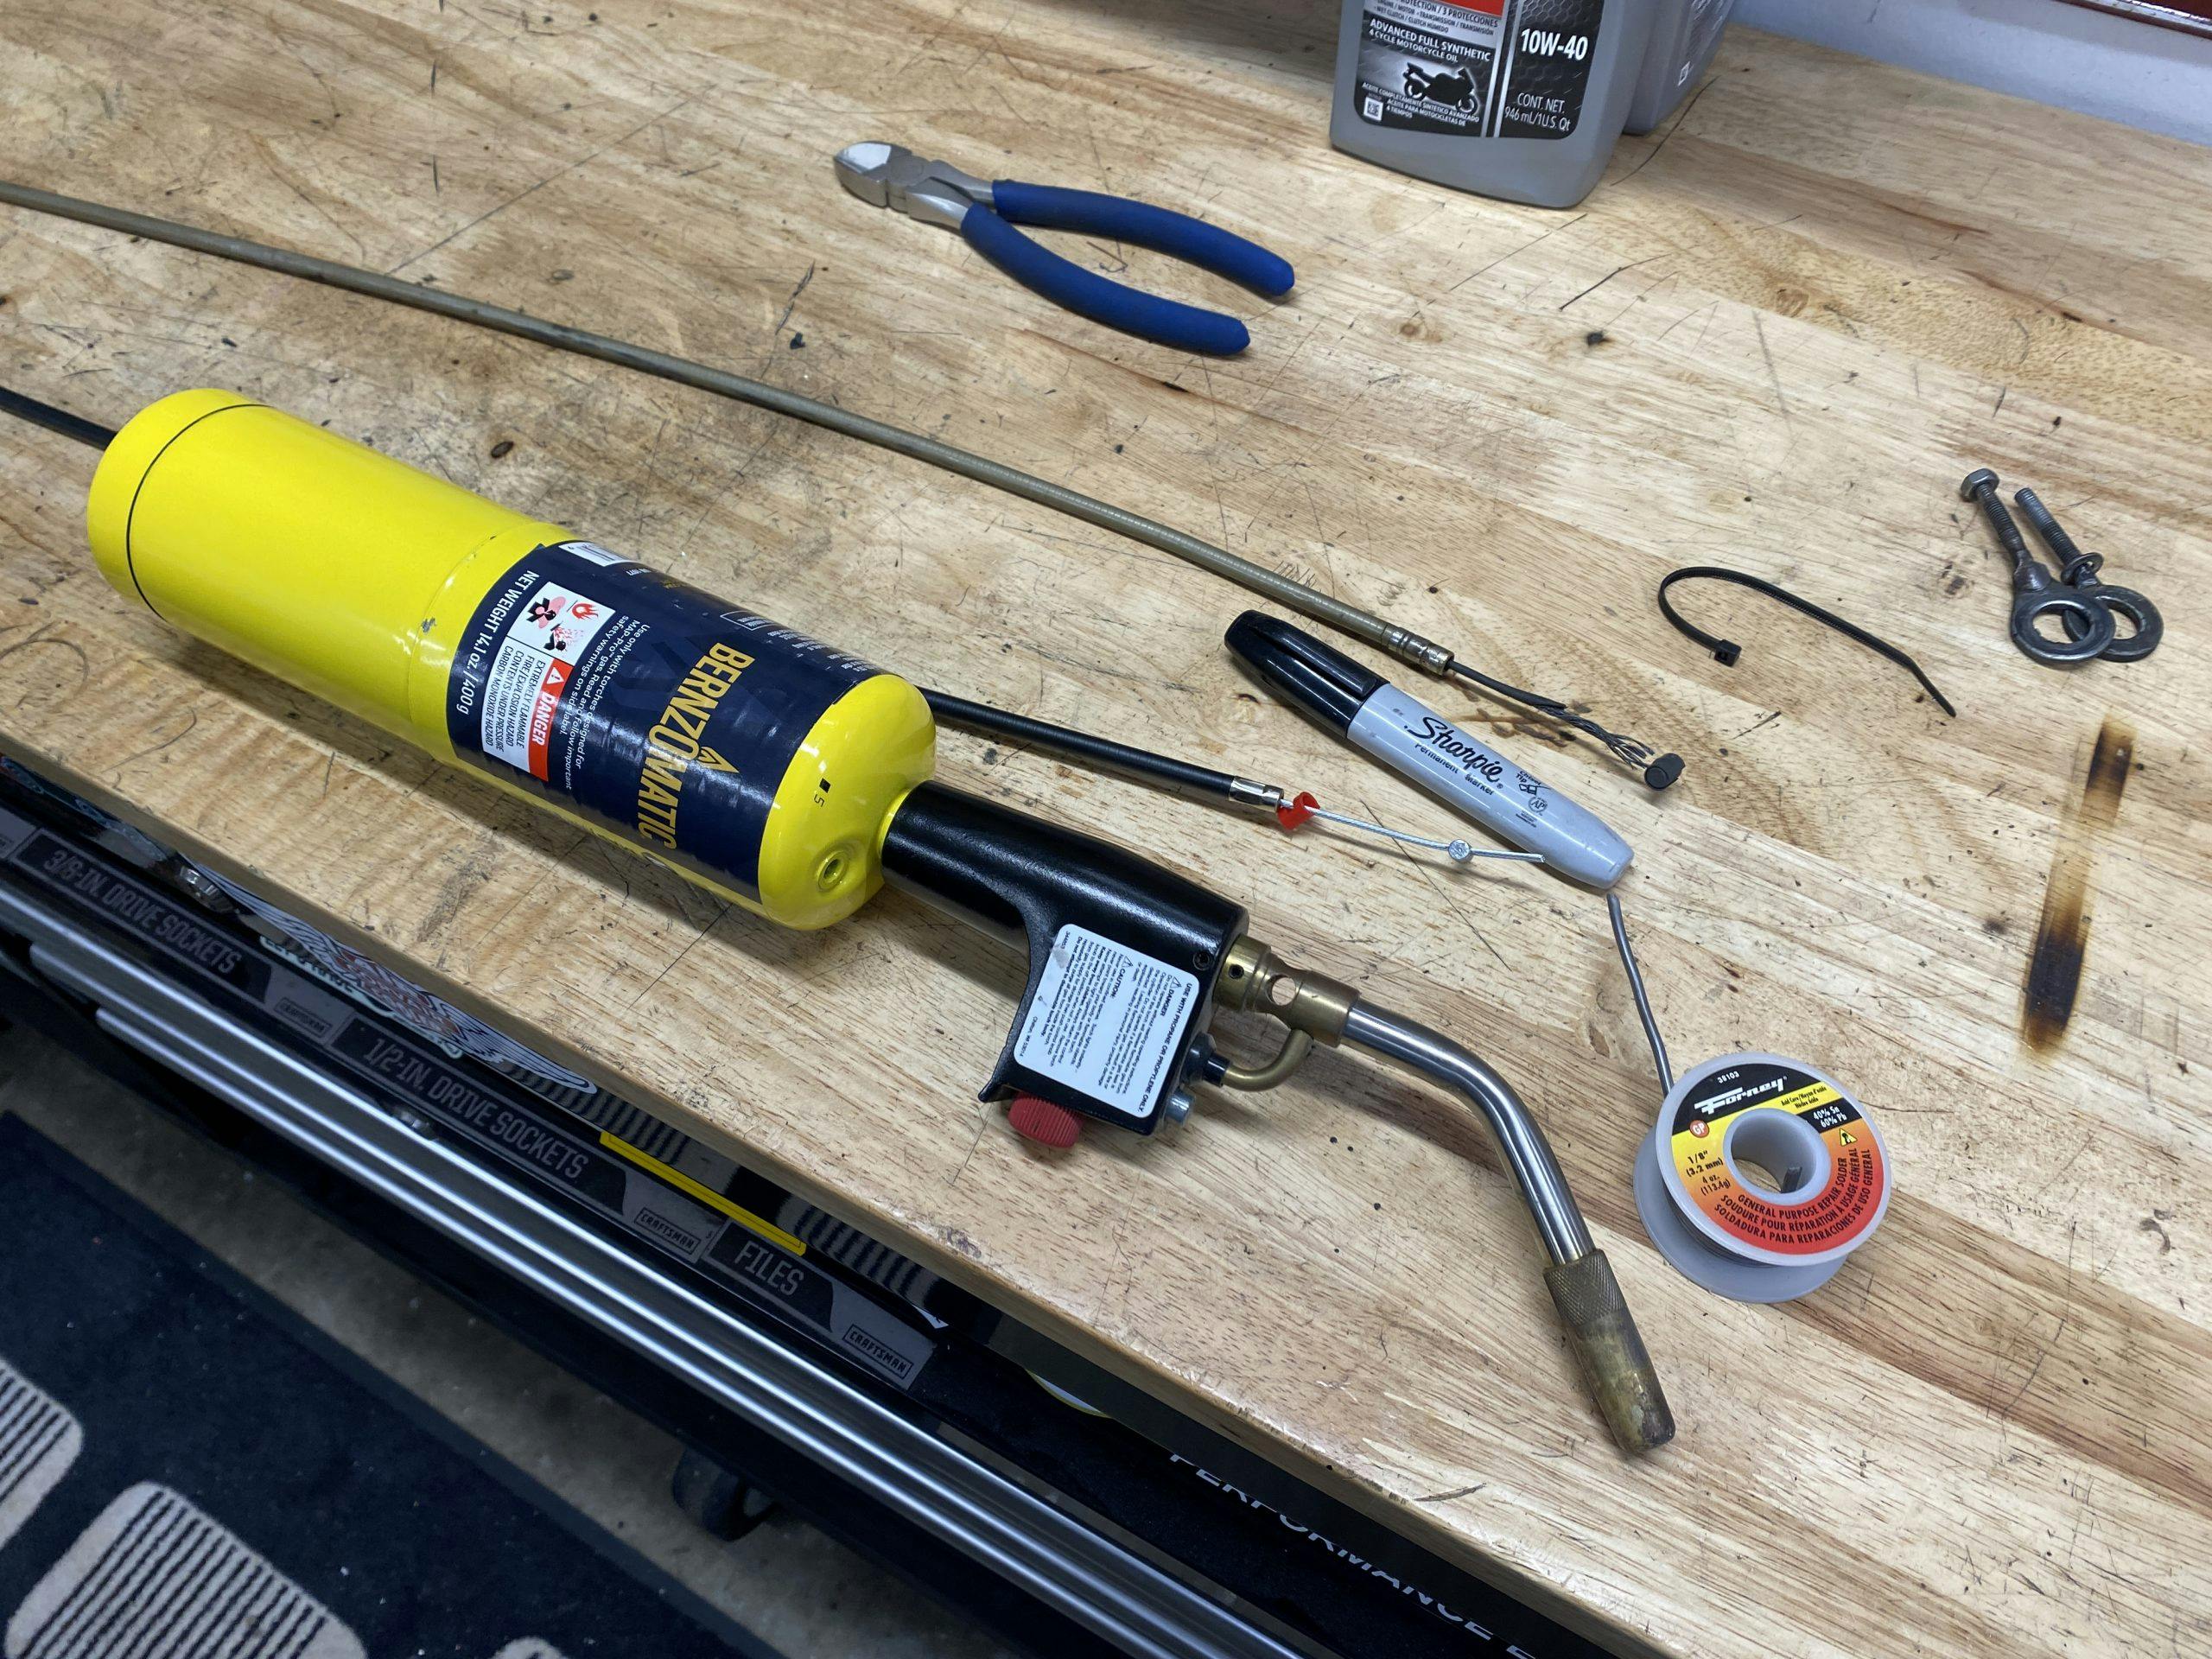
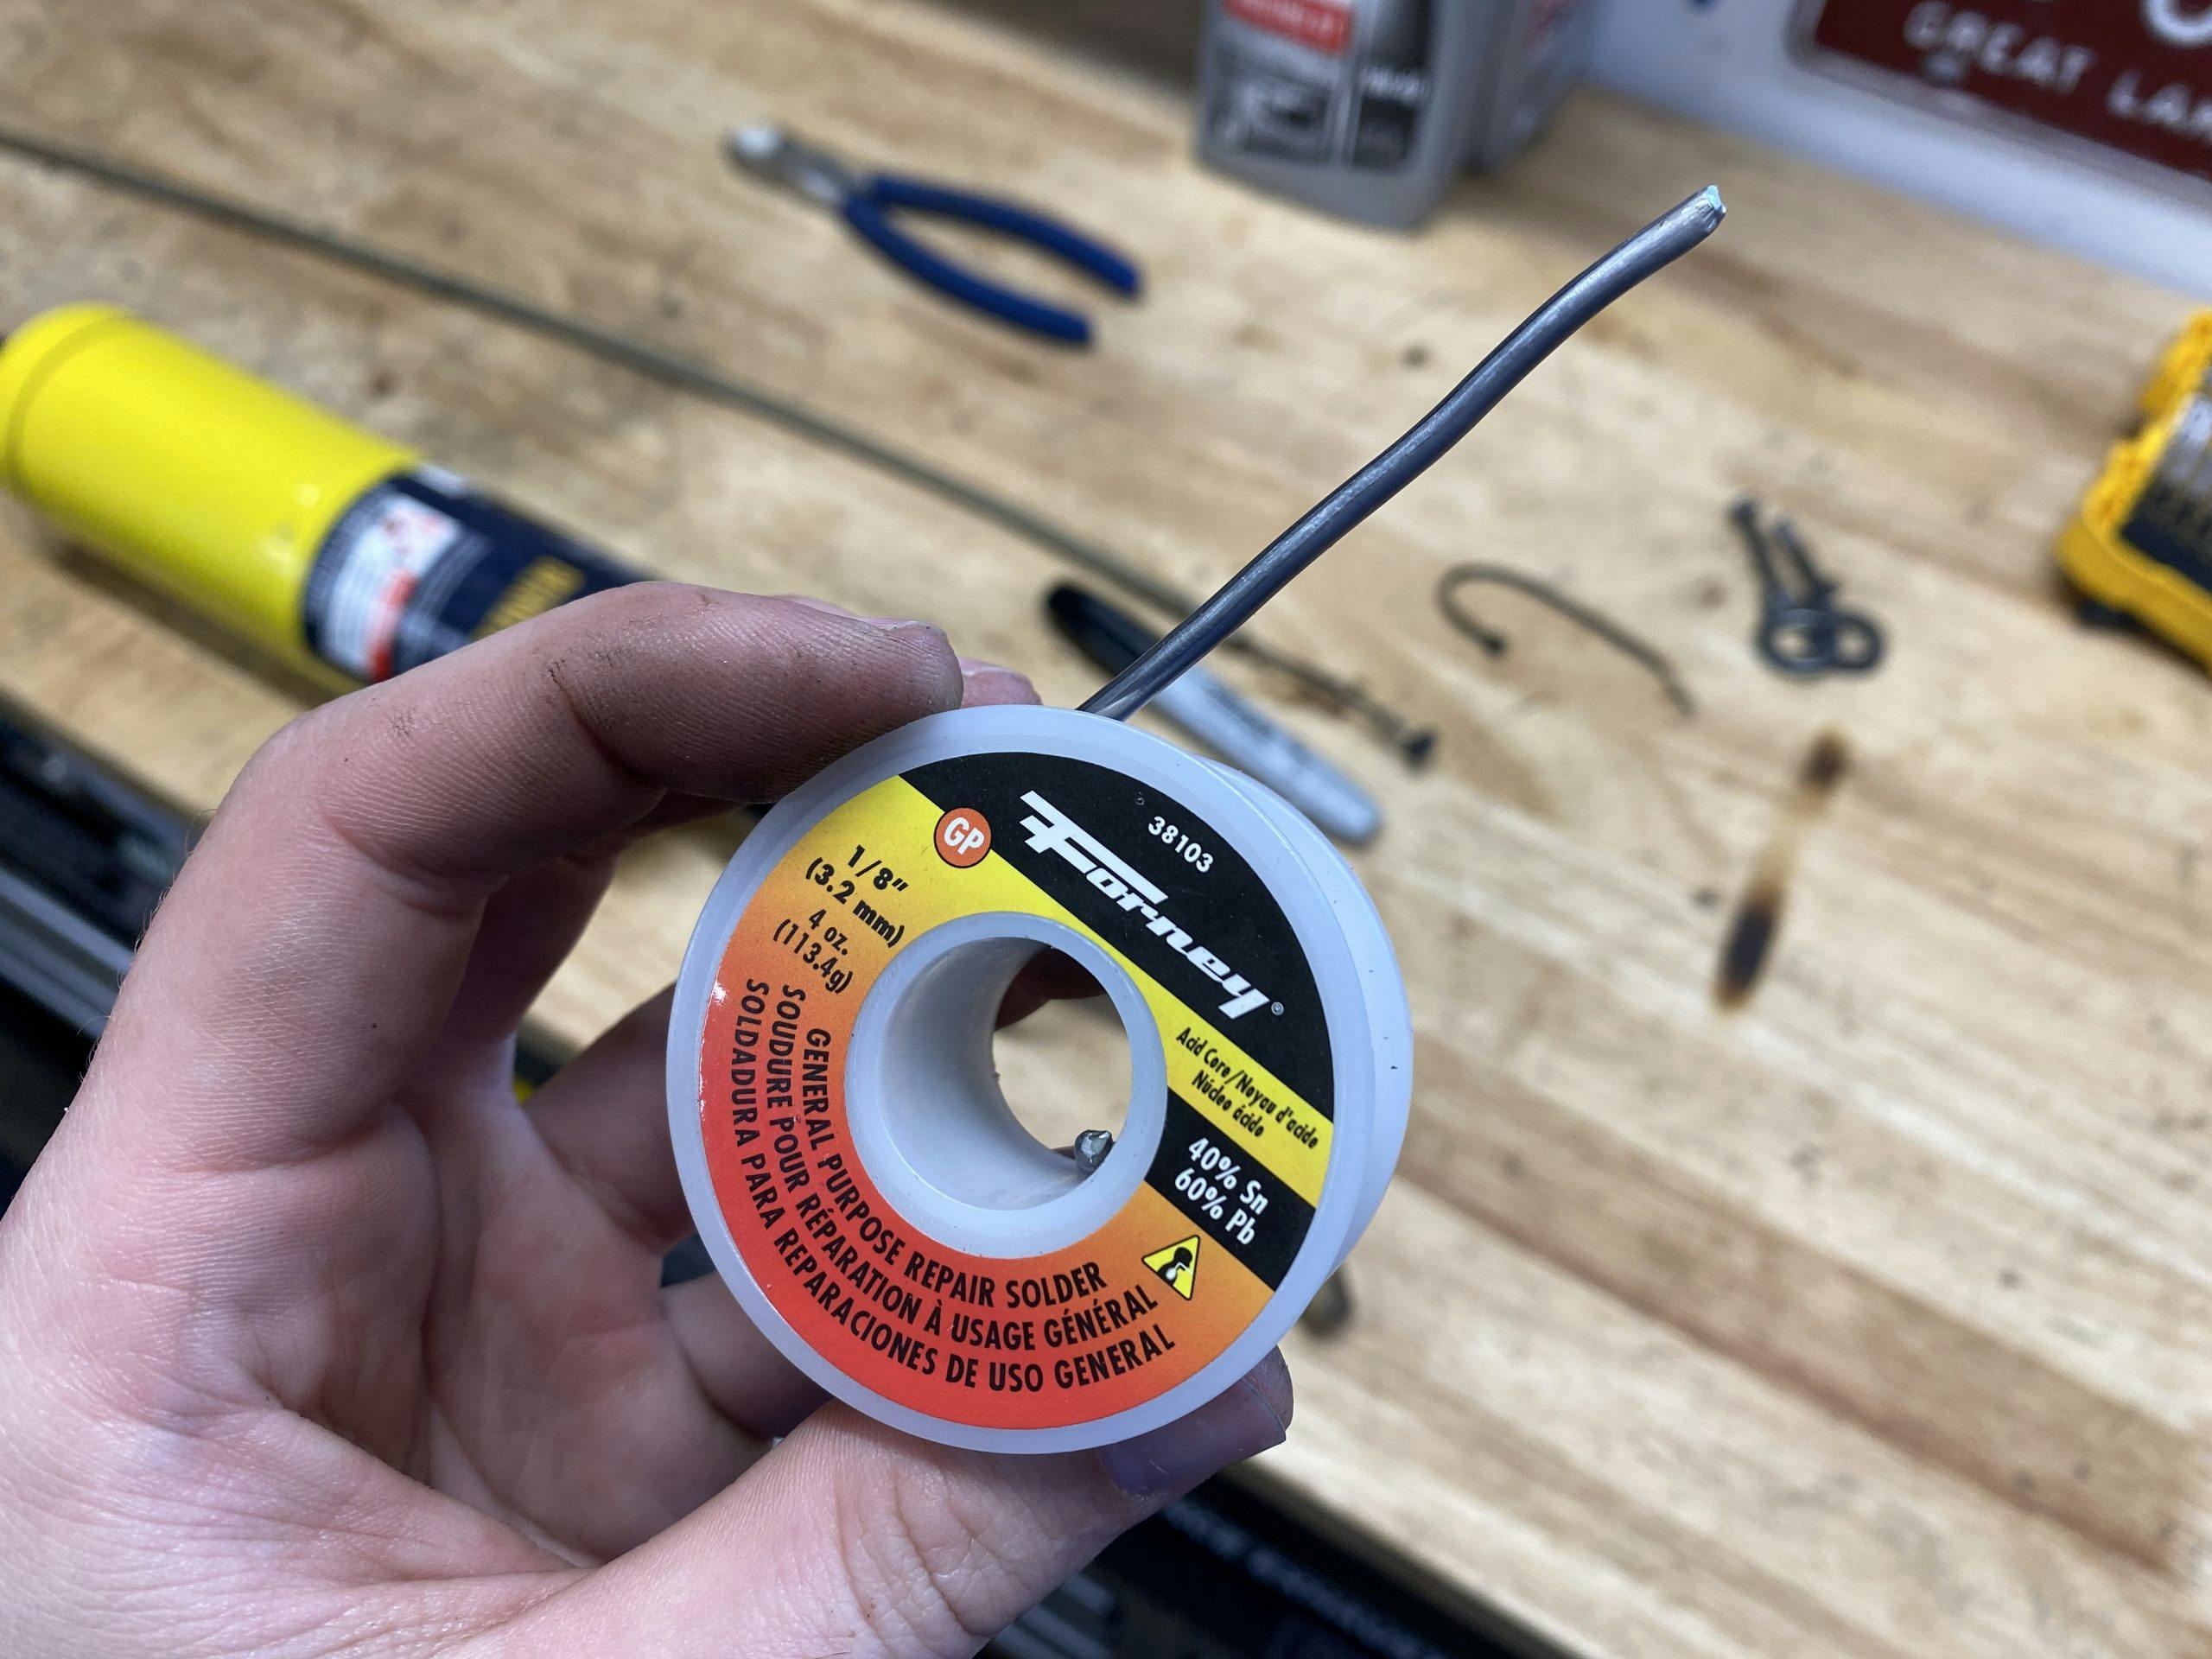
Now it’s time to solder it into place. Soldering is a careful task: You want to get enough heat to have good penetration of the solder into the cable end but not so much that the steel cable will work-harden quickly. I prefer to use a separate flux and then an acid-core solder so the joint will be more tolerant of oxidation. That matters when working with cable, whose individual strands make it nearly impossible to clean. Careful heat with my handy MAPP gas torch and a touch of solder locked the end in place. Final touch was to trim the excess cable and dress the end to final form.
With a final assembly and function test, it’s time to sit back and enjoy the fruits of your labor. Transforming the wrong thing into the right thing produces a great feeling—and no waiting for parts in the mail.
Is this the solution to every problem? Not at all. It’s a useful option to consider, however, and having one more skill in your DIY quiver is great. This little SL125 will soon head off to a new home, and I am happy the new owner will not have any problems with the clutch cable.