A beginner’s guide to rotating your turbo
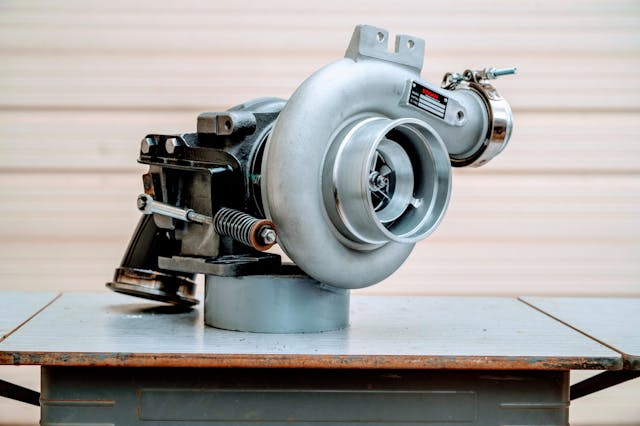
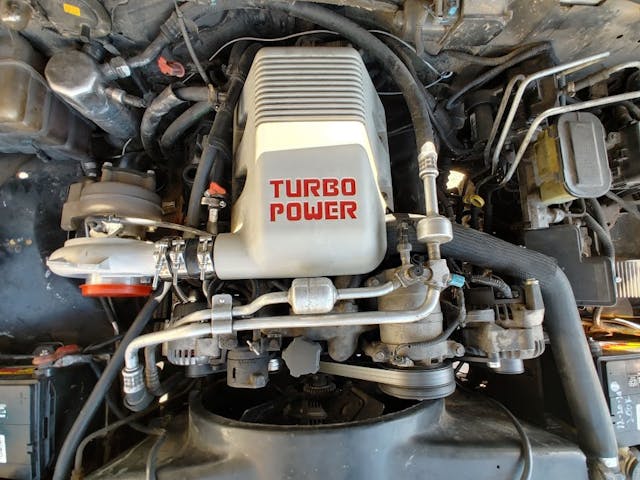
Turbocharger upgrades make everyone happy. More boost, less drive pressure, and even more whooshy sounds? Sign me up, buttercup. Such was my excuse for upgrading my 1996 Chevy Suburban K2500’s BorgWarner GM-5 when the old snail began to scream like a goat after the bearings finally wore out.
The factory GM-X series of turbos has a rather constricted hot side; they spool up instantly, but the resulting restriction can lead to elevated EGTs and coolant temps when towing heavy loads or climbing long hills. For every 1 pound of boost that my GM-5 makes, it demands 1.5–2 psi of drive pressure to spin. Bringing that ratio closer to 1:1 reaps benefits in fuel economy, power production, and durability. Since the factory unit needed a rebuild, I figured now was a good time to experiment with this philosophy by upgrading to a slightly larger HX35W to reduce drive pressure. That said, even if your goal is just to make a bunch of power, these steps will still help get any turbo set-up for your project.
Why do we need to rotate the turbo?
When you order a turbo, it probably won’t fit your project—even if your engine was already turbocharged, like the 6.5-liter diesel in the Suburban. Some fitment details are obvious—how the exhaust and intake manifold flanges will match up, for instance—but, on top of that, the clocked positions of the turbo’s three main sections will usually need to be rotated so that the inlet of the exhaust housing, the outlet of the compressor housing, and the center cartridge between them align with their new home.
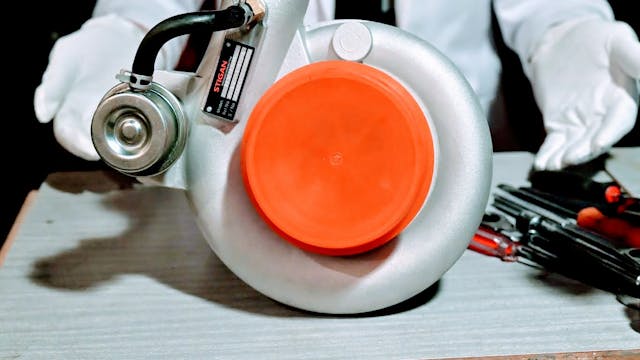
The HX35W I ordered was the type originally fitted to 1999–2002 Dodge Rams with manual transmission-backed Cummins. If I were to have bolted it onto the 6.5’s exhaust manifold, the center cartridge would’ve been upside down and the compressor housing would aim for the sky. I needed to rotate the turbo so that everything would fit an application that was different than the one for which this unit was originally built. Since the HX35W came with a pair of white gloves, I figured we’d make it an occasion.
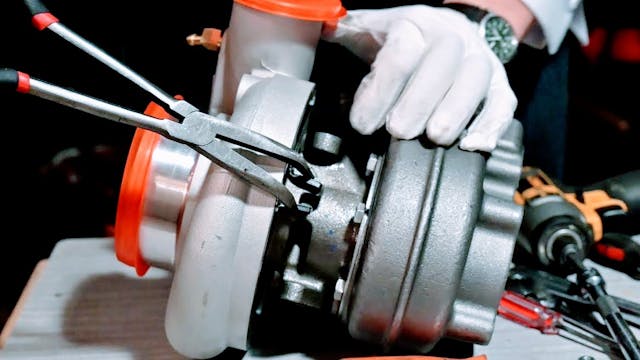
You’ll need a fairly basic set of tools, and every turbo is a little different. I was able to get away with a pair of needle-nose pliers, a 13-mm wrench, a soft-blow hammer, and a small screw driver; but it’s worth mentioning that, in my particular case, I also had to fabricate a new wastegate. We’ll go over that at the end.
It doesn’t really matter which end you start with on the bench, but we’ll begin with the exhaust housing because it’s the process you’d use if you were throwing it straight onto the manifold. The advantage of rotating the turbo on the bench first, instead of in the vehicle, is that you can inspect everything while having convenient access to the hardware that retains the housings. But if everything’s “close enough” in your case, this process can be easily done on the motor: Rotate the center cartridge first, by loosening the exhaust housing, and the rotating compressor housing last.
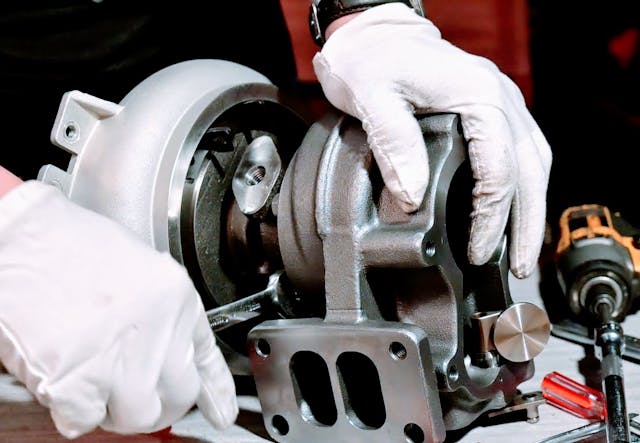
The relationship between the cartridge and the exhaust housing is the most critical one. The exhaust housing’s final position is dictated by the angle of the flange on the up-pipe, and we’re essentially clocking the cartridge and compressor housing to its placement. The cartridge is responsible for holding the turbocharger’s bearings, oiling ports, and cooling ports (if water-cooled), and its rotation in relation to the ground is vital to ensure that there’s good oil flow through the cartridge, because the draining action is almost entirely accomplished by gravity. If the oil ports in the cartridge are off-level by more than 5 degrees, according to most turbocharger installation specs, oil can back up as it drips down the wall of the drain port and cause the turbo to leak oil past the seal.
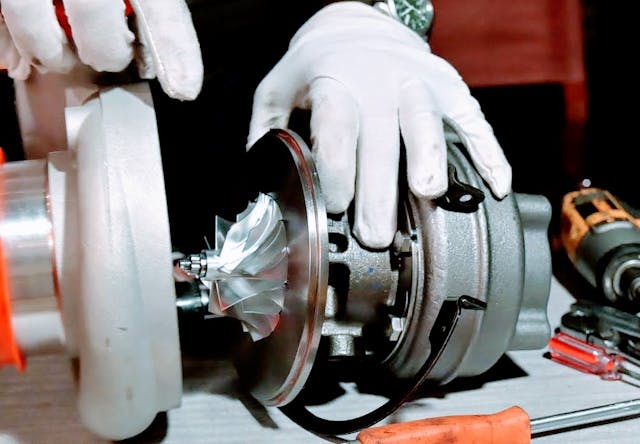
For the 6.5, the exhaust flange to which the turbo bolts is nearly horizontal, so I just matched the cartridge’s drain port to the outlet of the exhaust housing and will double check the cartridge’s position with an angle finder once it’s installed. Once happy, snug it down for now.
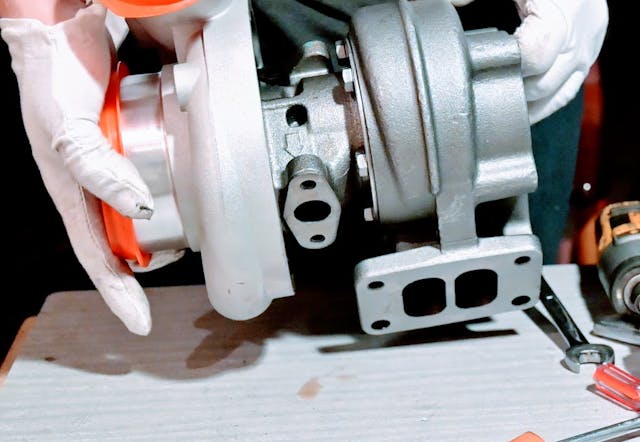
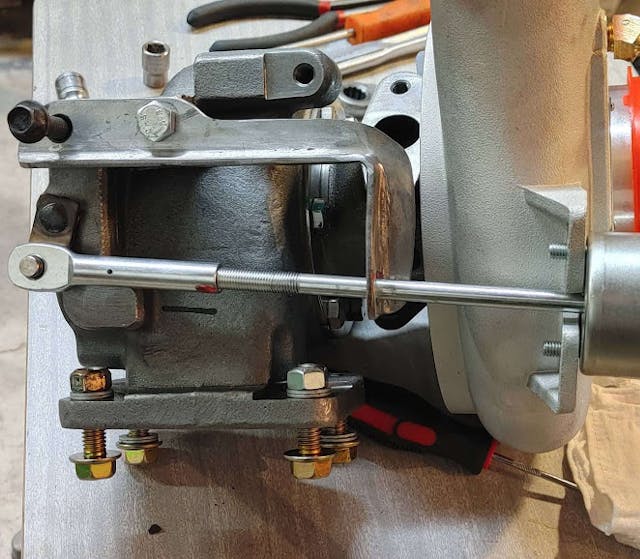
With the center cartridge aligned, the compressor housing can be rotated next. In my case, I needed the housing’s outlet shooting dead-right, rotated about 90 degrees clockwise. There can be a little RTV that seals the housing to the backing plate on the cartridge, and a dead-blow or rubber-tipped soft-blow hammer makes gentle work of breaking it loose. While my HX35W used a big spring clip to lock the housing down, some other turbochargers may use a series of bolts or a large clamp.
Once that’s done, go ahead and leave the compressor housing a bit loose; you’ll likely need to fine-tune its position once you’re dialing in the intake’s connections. If your turbo seals the compressor with RTV, it’s a good idea to clean the mating surface and reapply the sealant when you’ve determined the final housing location. Other turbos use an O-ring instead, and a little petroleum jelly or grease goes a long way to preventing the seal from curling or tearing while you’re rotating the housing.
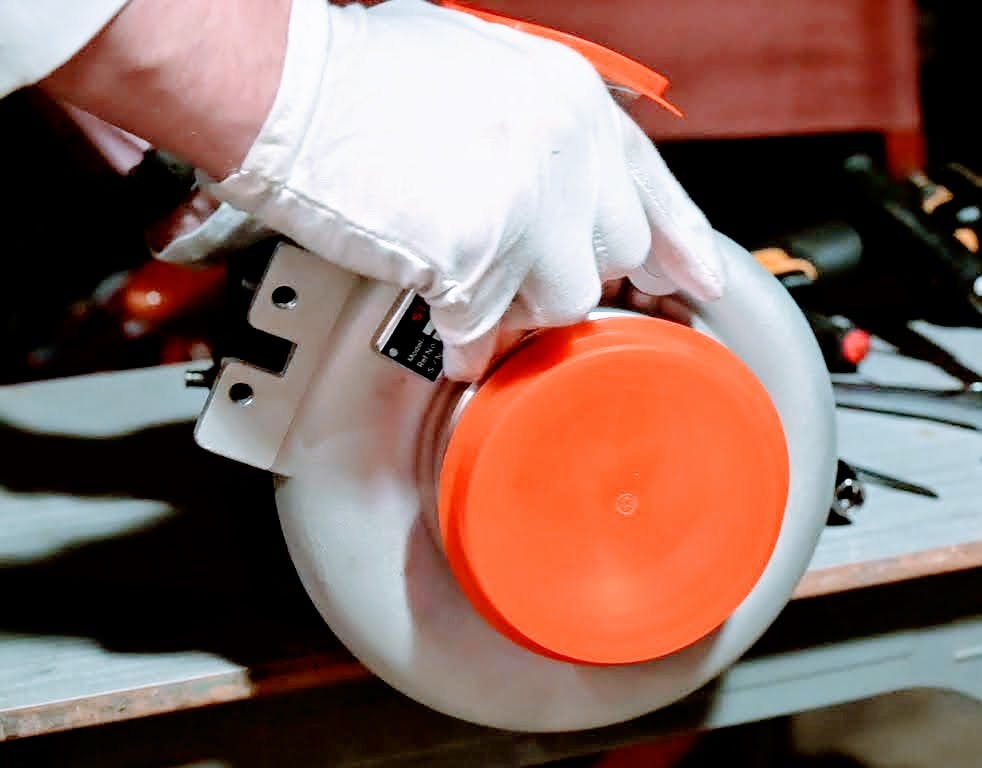
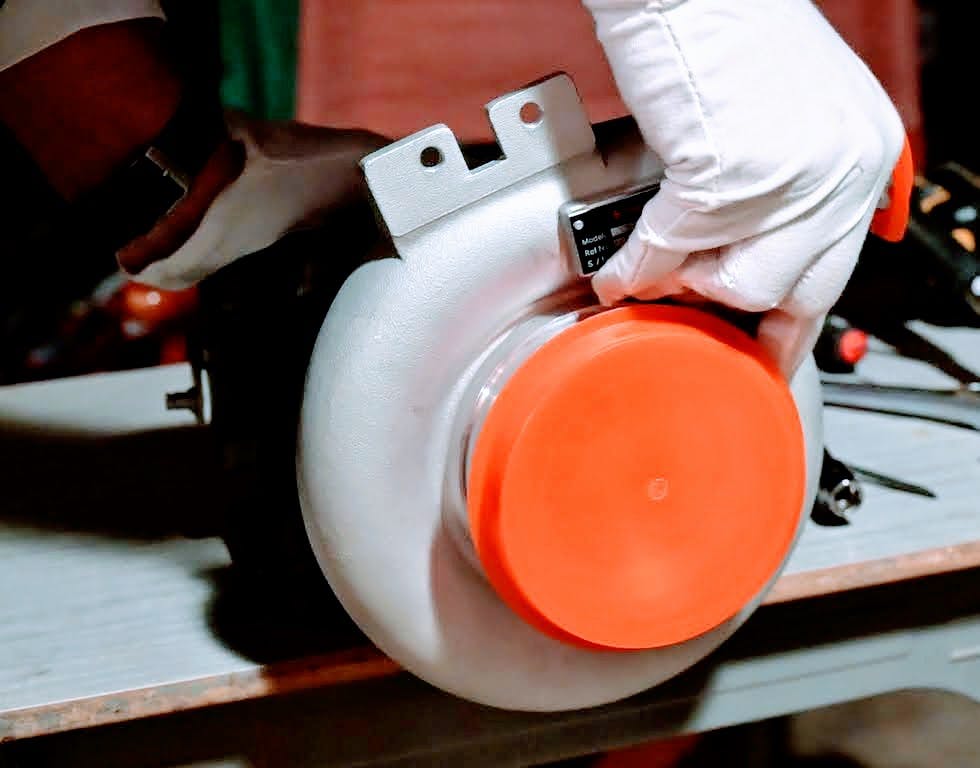
Once it’s on the exhaust manifold, re-confirm that the center cartridge is level, and then rotate the compressor housing to its final position before tightening everything up. Double-check that you’ve retightened all housing connections before you go to start the engine; you don’t want one slipping out of alignment and crashing into the impellers at some 100,000 rpm because you forgot something.
The details
Of course, there’s more to it, but that will ultimately depend on your project’s variables. Rather than going into depth on every possible scenario, I’ll work though some of the things I had to consider in this upgrade other than simply the turbocharger’s rotation.
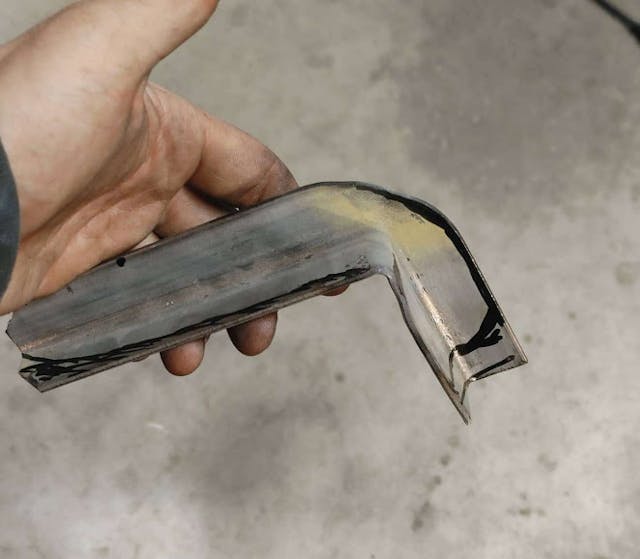
The wastegate was the biggest modification I had to make. Rotating the compressor housing moved the mounting tabs for the actuator and, for the time being, I won’t be running the 6.5 much beyond stock boost until its fuel curve can be tuned to take advantage of the extra airflow. Making a new wastegate solved the packaging and tuning issue.
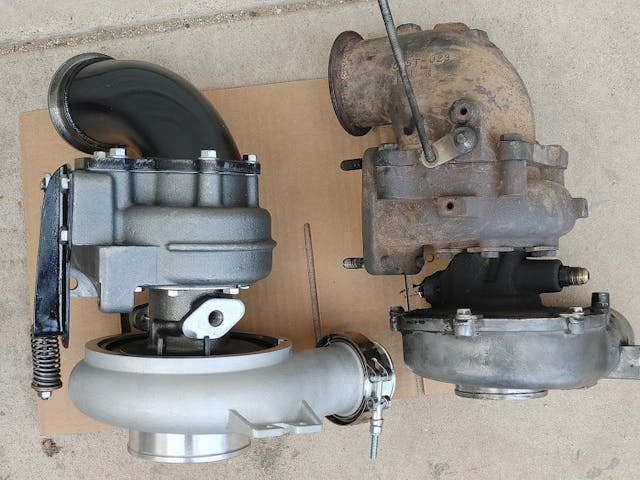
You’ll also have to run through your intake, exhaust, oil, and (if implemented) coolant piping to see what needs to be adapted. Since both the HX35W and GM-5 are both T3-flanged turbos, bolting it to the exhaust’s up-pipe was a no-brainer, but the down-pipe out of the turbo still needed to be connected, as did the intake manifold and air filter.
Airflow at the compressor was easy to sort. A 4-inch coupler allows the stock air-filter tubing to fit, while a V-band 2.5-in hose adapter seals the intake manifold to the compressor outlet without cutting off and ruining a perfectly-good V-band flange. (Other people will cut the V-band off the turbo, but this strategy can create boost leaks because it uses the housing as a sealing surface). On the exhaust side, I picked up PT Wiring’s exhaust elbow so that the HX35W would easily bolt to factory-style down-pipes, and sealed up the oiling system with feed and return fittings from Quadstar Tuning. These small details connected the last dots as I fitted the HX35W in place of my 6.5’s tired GM-5, but they’ll all change based on your particular needs.
With everything taken care of ahead of time, the actual install itself went quick and easy. The result is a mild upgrade to make life a little easier on the 6.5 this summer and produce a little extra pull to 3500 rpm, where the original GM-5 would’ve become asthmatic. Remember, engine parts are basically metal LEGO bricks—once you know how to bend the rules a little, you can make any of them fit your project.

