6 tips for applying decals to your ride

Your red Chevy Chevelle is unique, just like every other red Chevelle, but in the right crowd you might even find yourself walking up to the wrong car in a crowded lot. Lack of identity is not unique to modern boring-mobiles. Should you want to put a little flair on your ride it might be as simple as a couple decals on the windows or maybe even a sweet set of hockey stripes on the quarter panels. Either way, if you want to add some self-adhering style here are six tips to make sure you get it right the first time and the end result is exactly what you had in mind. Obviously, these tips also work well with race vehicles.
Dry fit
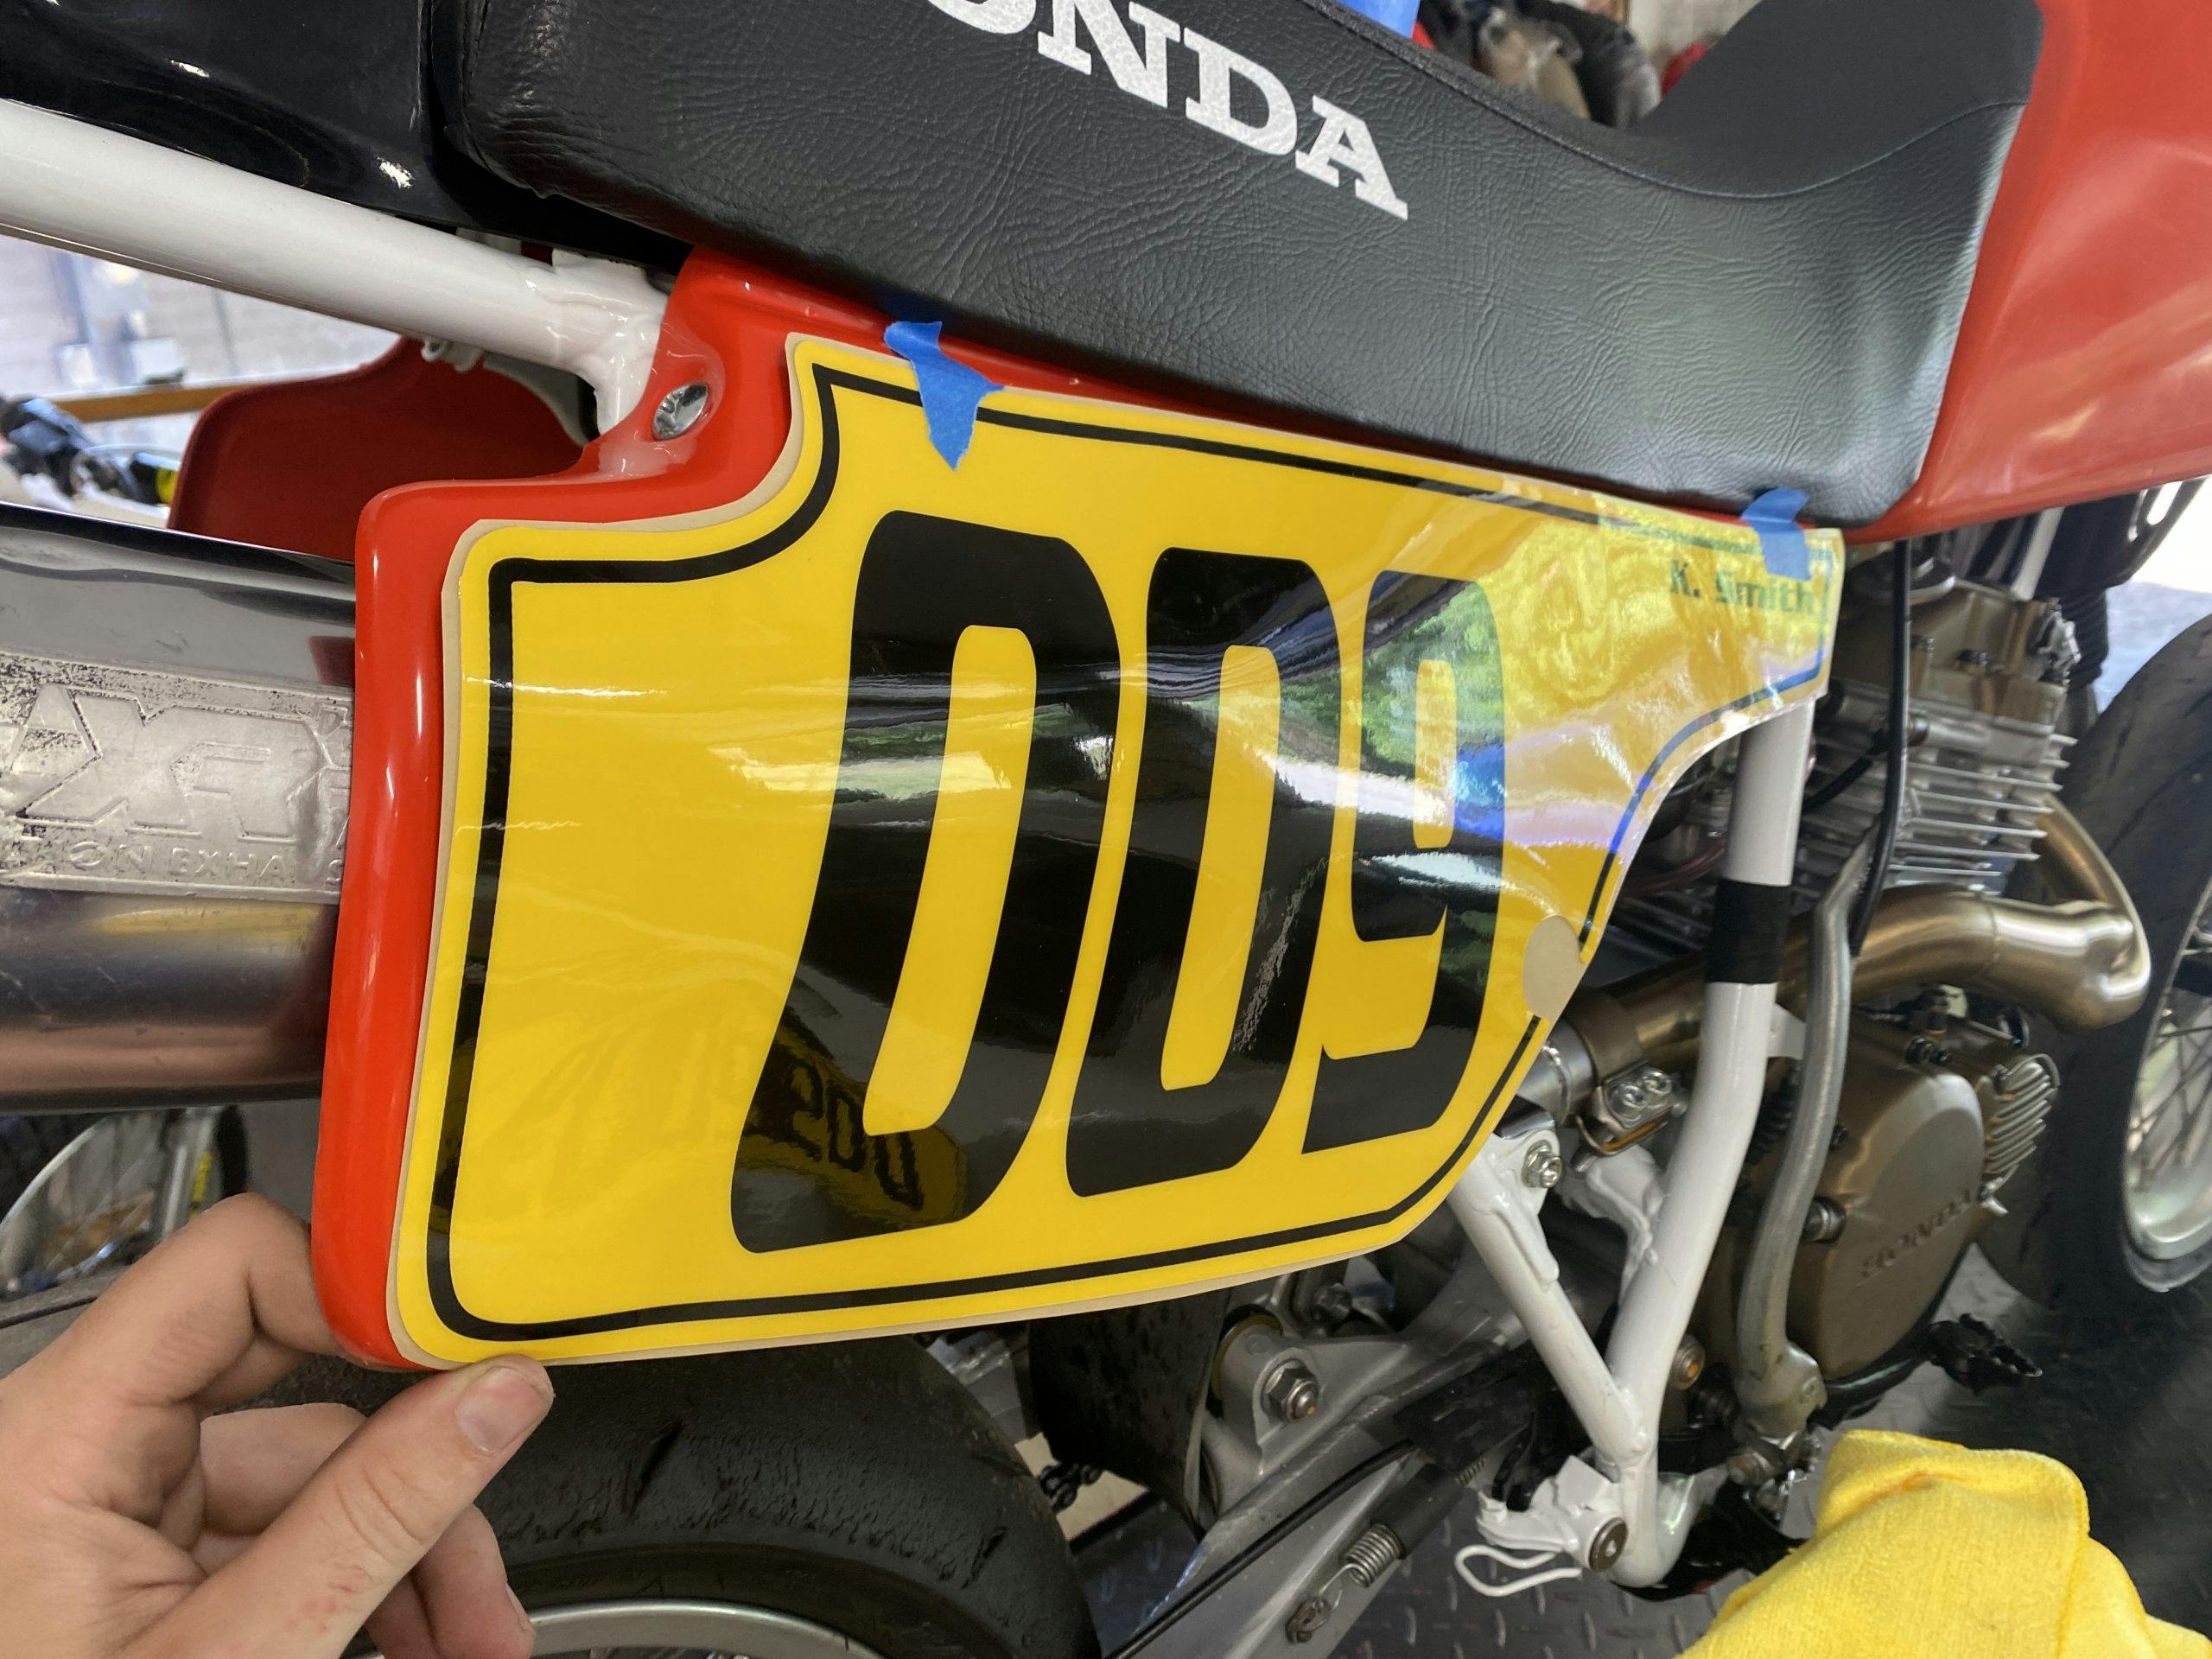
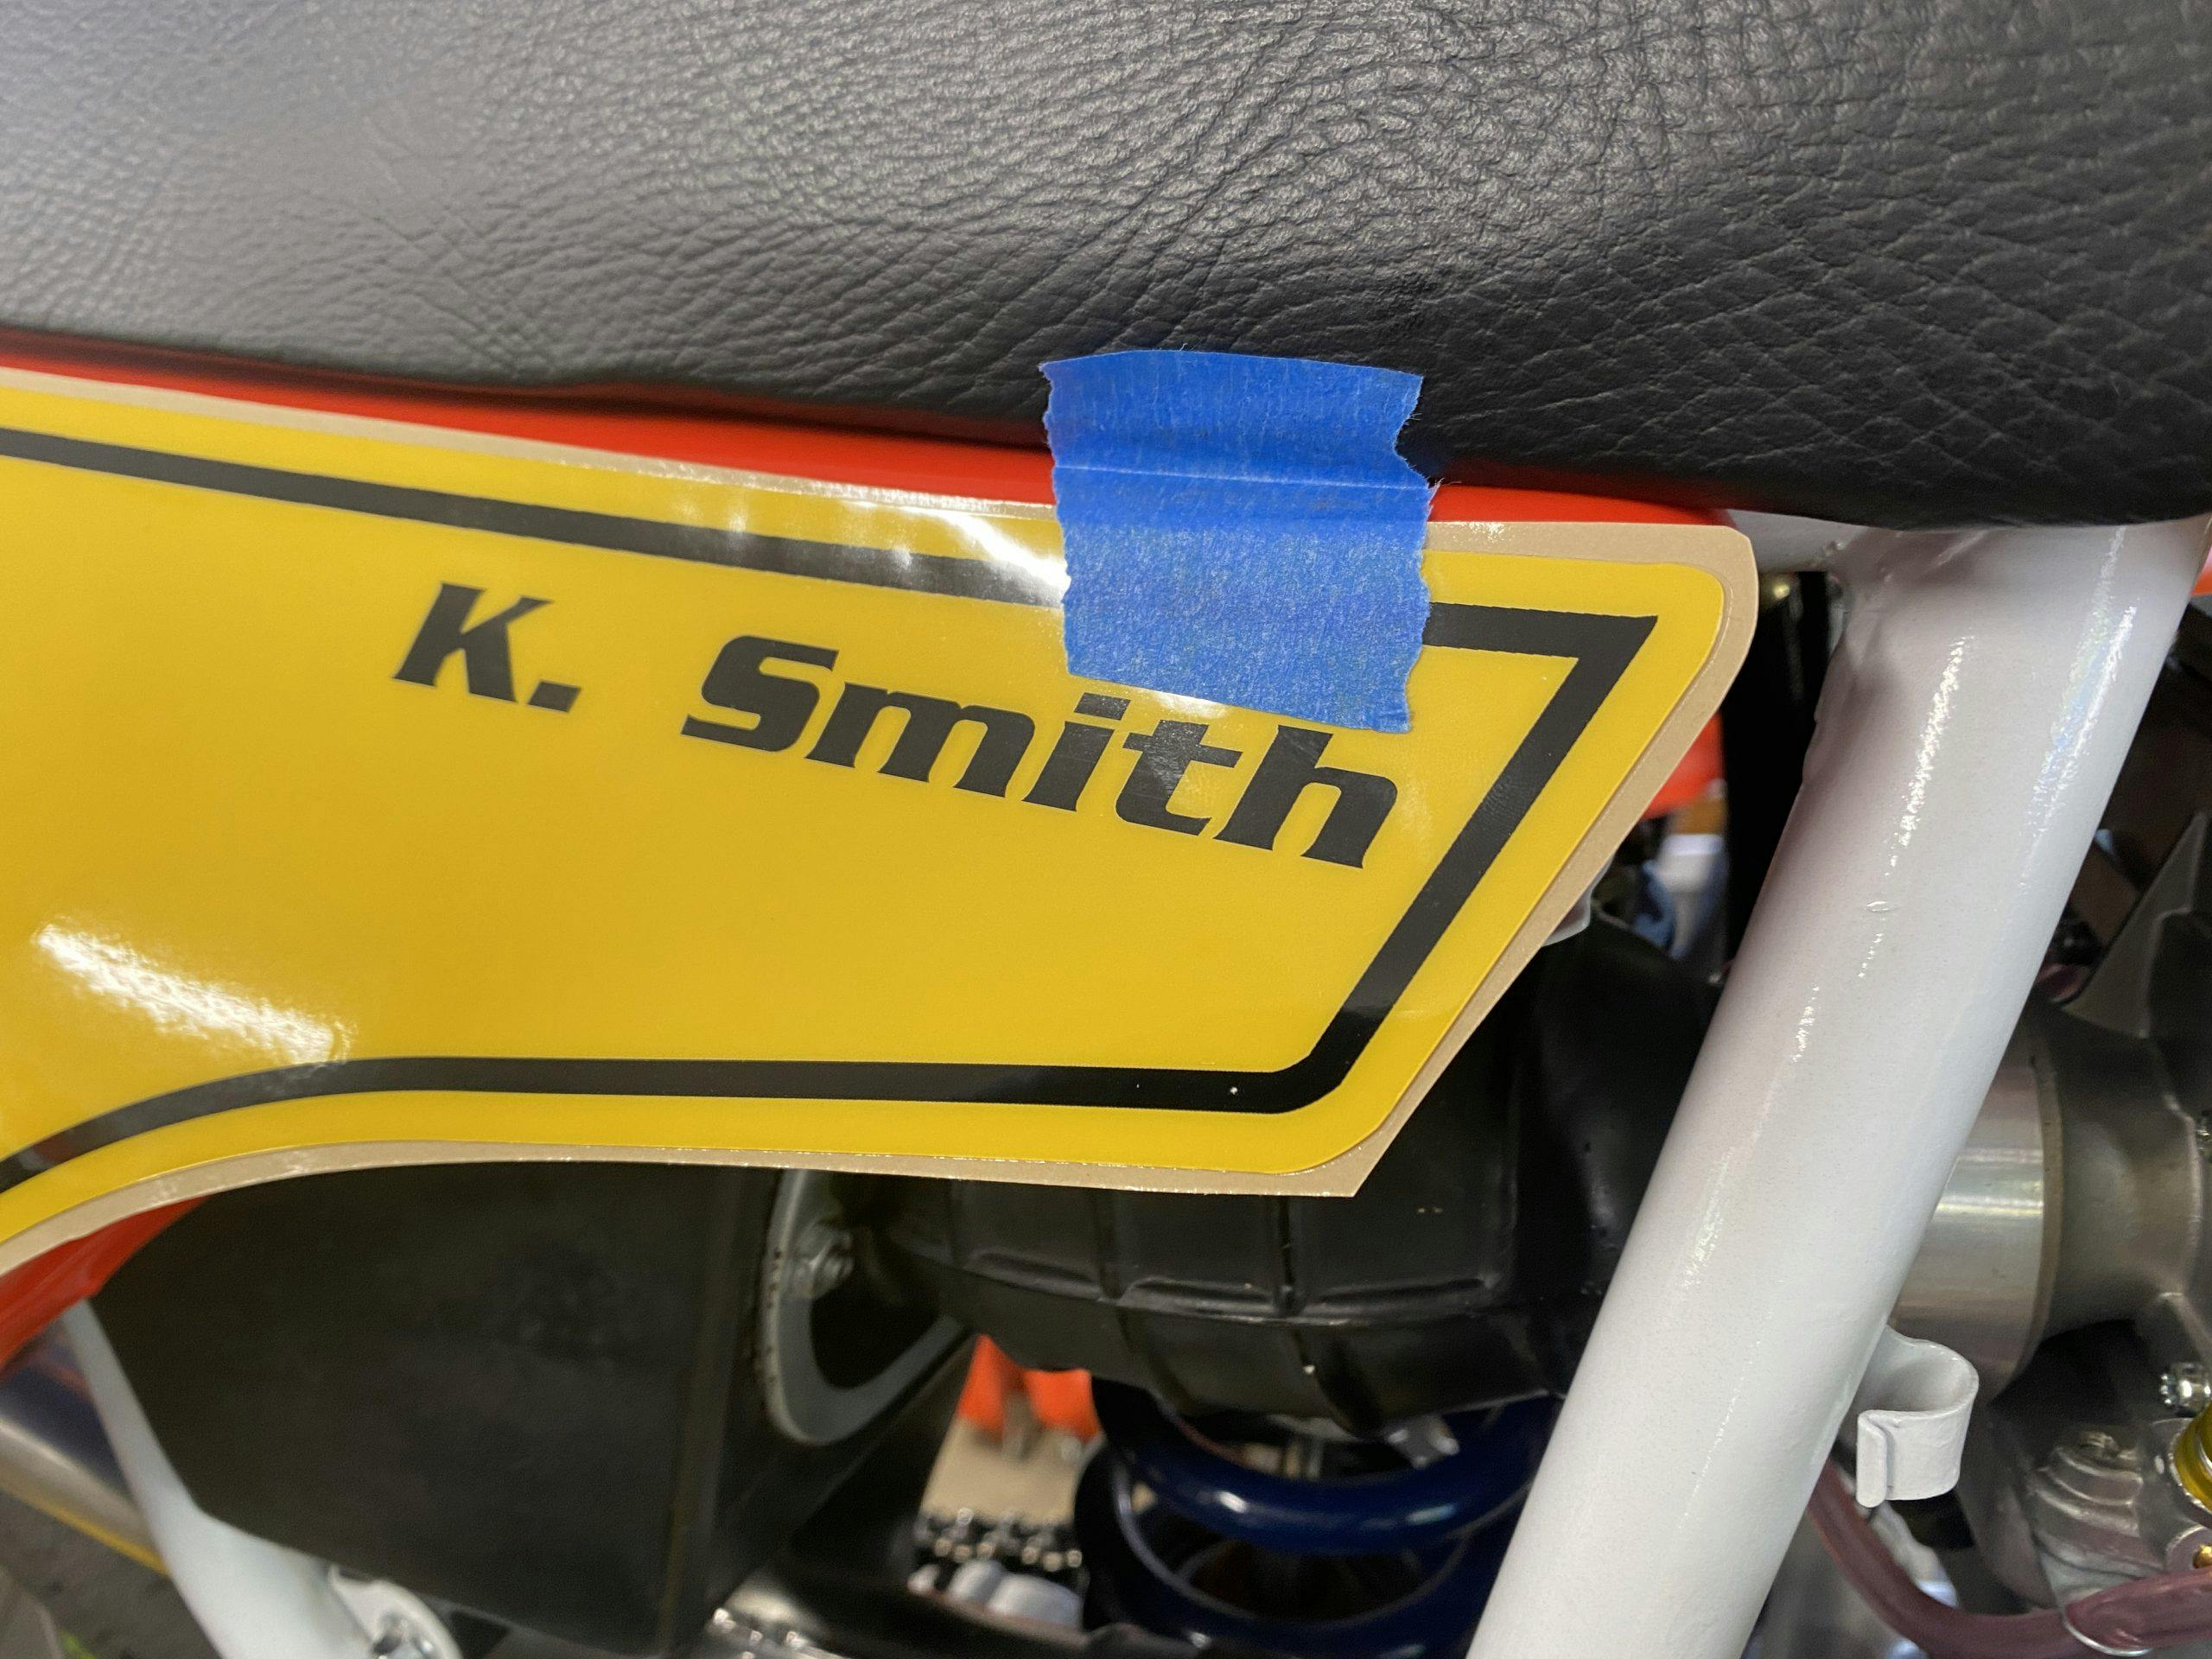
You could just peel off the backing and slap the decal in place, but the end result will look as though you did just that. Take the time to use a little blue painter’s tape to hold your decal in place so you can step back and get a good look at the placement. Is it even? Will there be curves you need to take into account? Take more time than you think you need at this step as the planning will really show in the final product.
Clean it up

Now that you know how it’s going to fit and where your reference points are, take everything off and get to cleaning. You want the smoothest surface you can get to apply any decal or vinyl over, as just one imperfection will pop right up and be visible under a decal. If it’s a painted surface, a quick rub with some light hand polish can remove much of the surface grit and texture. Depending on what I am putting onto the painted surface I might add a fresh coat of wax to ensure a clean removal. An example of this is the vinyl numbers on my racing motorcycles. I want those to come off cleanly when the time comes, so a little prep now makes that process easier.
It’s worth noting here that if you are applying decals like hood stripes to a freshly painted car, be sure the paint has fully cured–this can take days–before applying anything. Applying too soon can cause expensive complications. If you can’t put wax on the paint yet, don’t put a decal on.
Section the backing
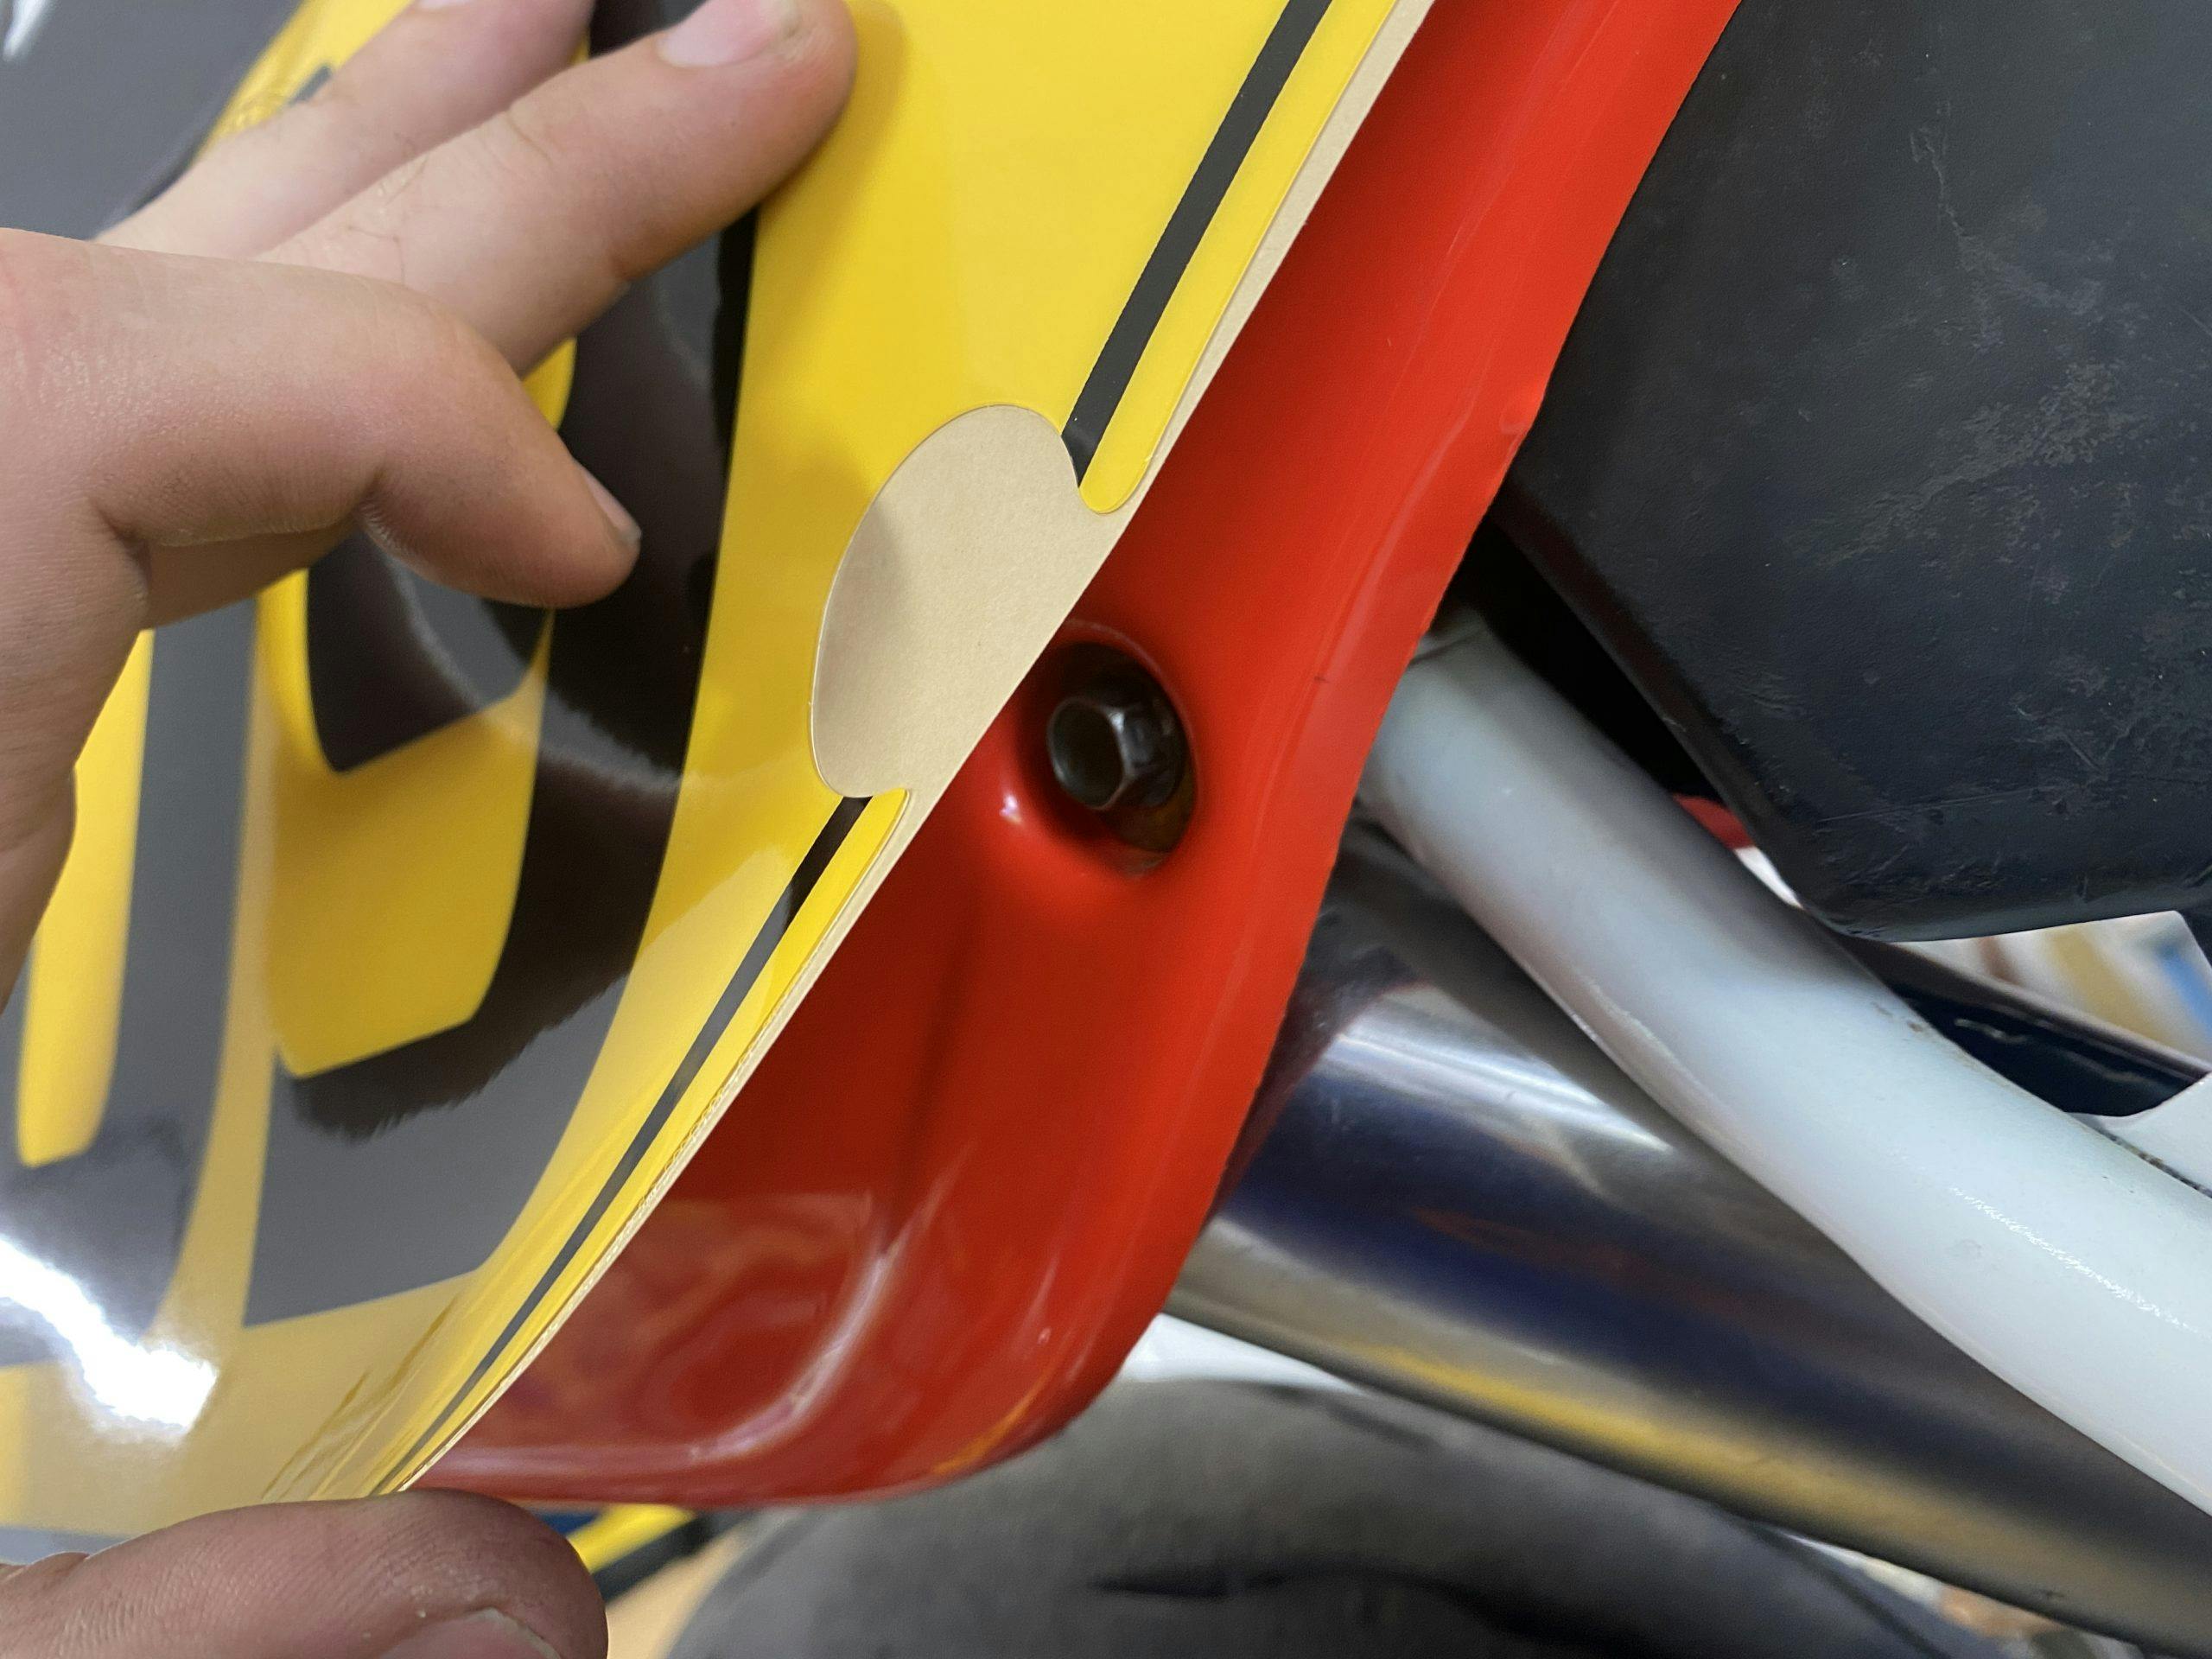
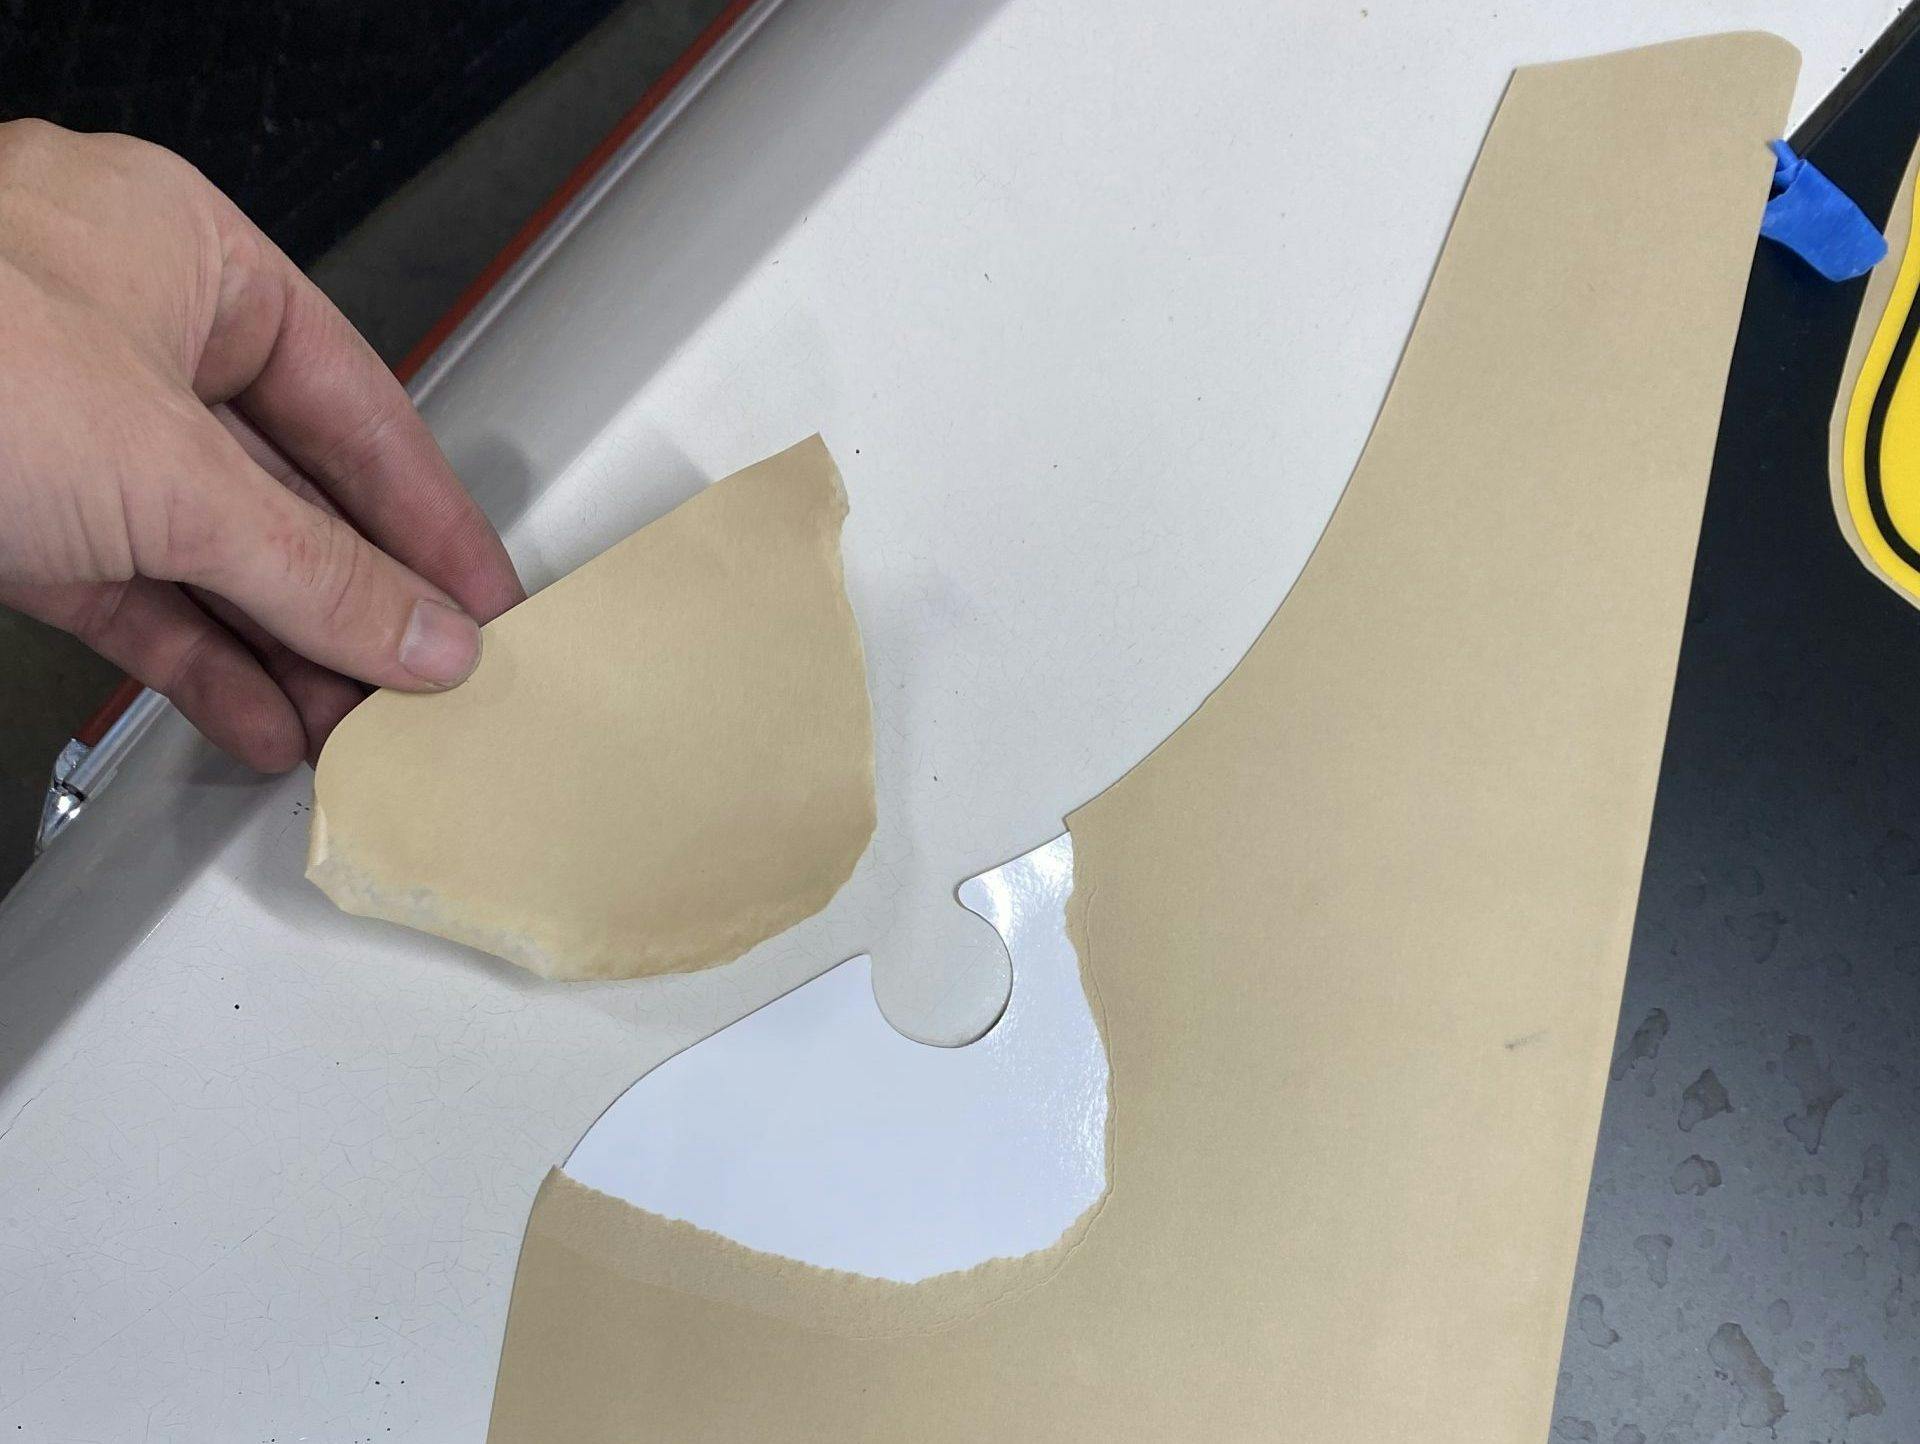
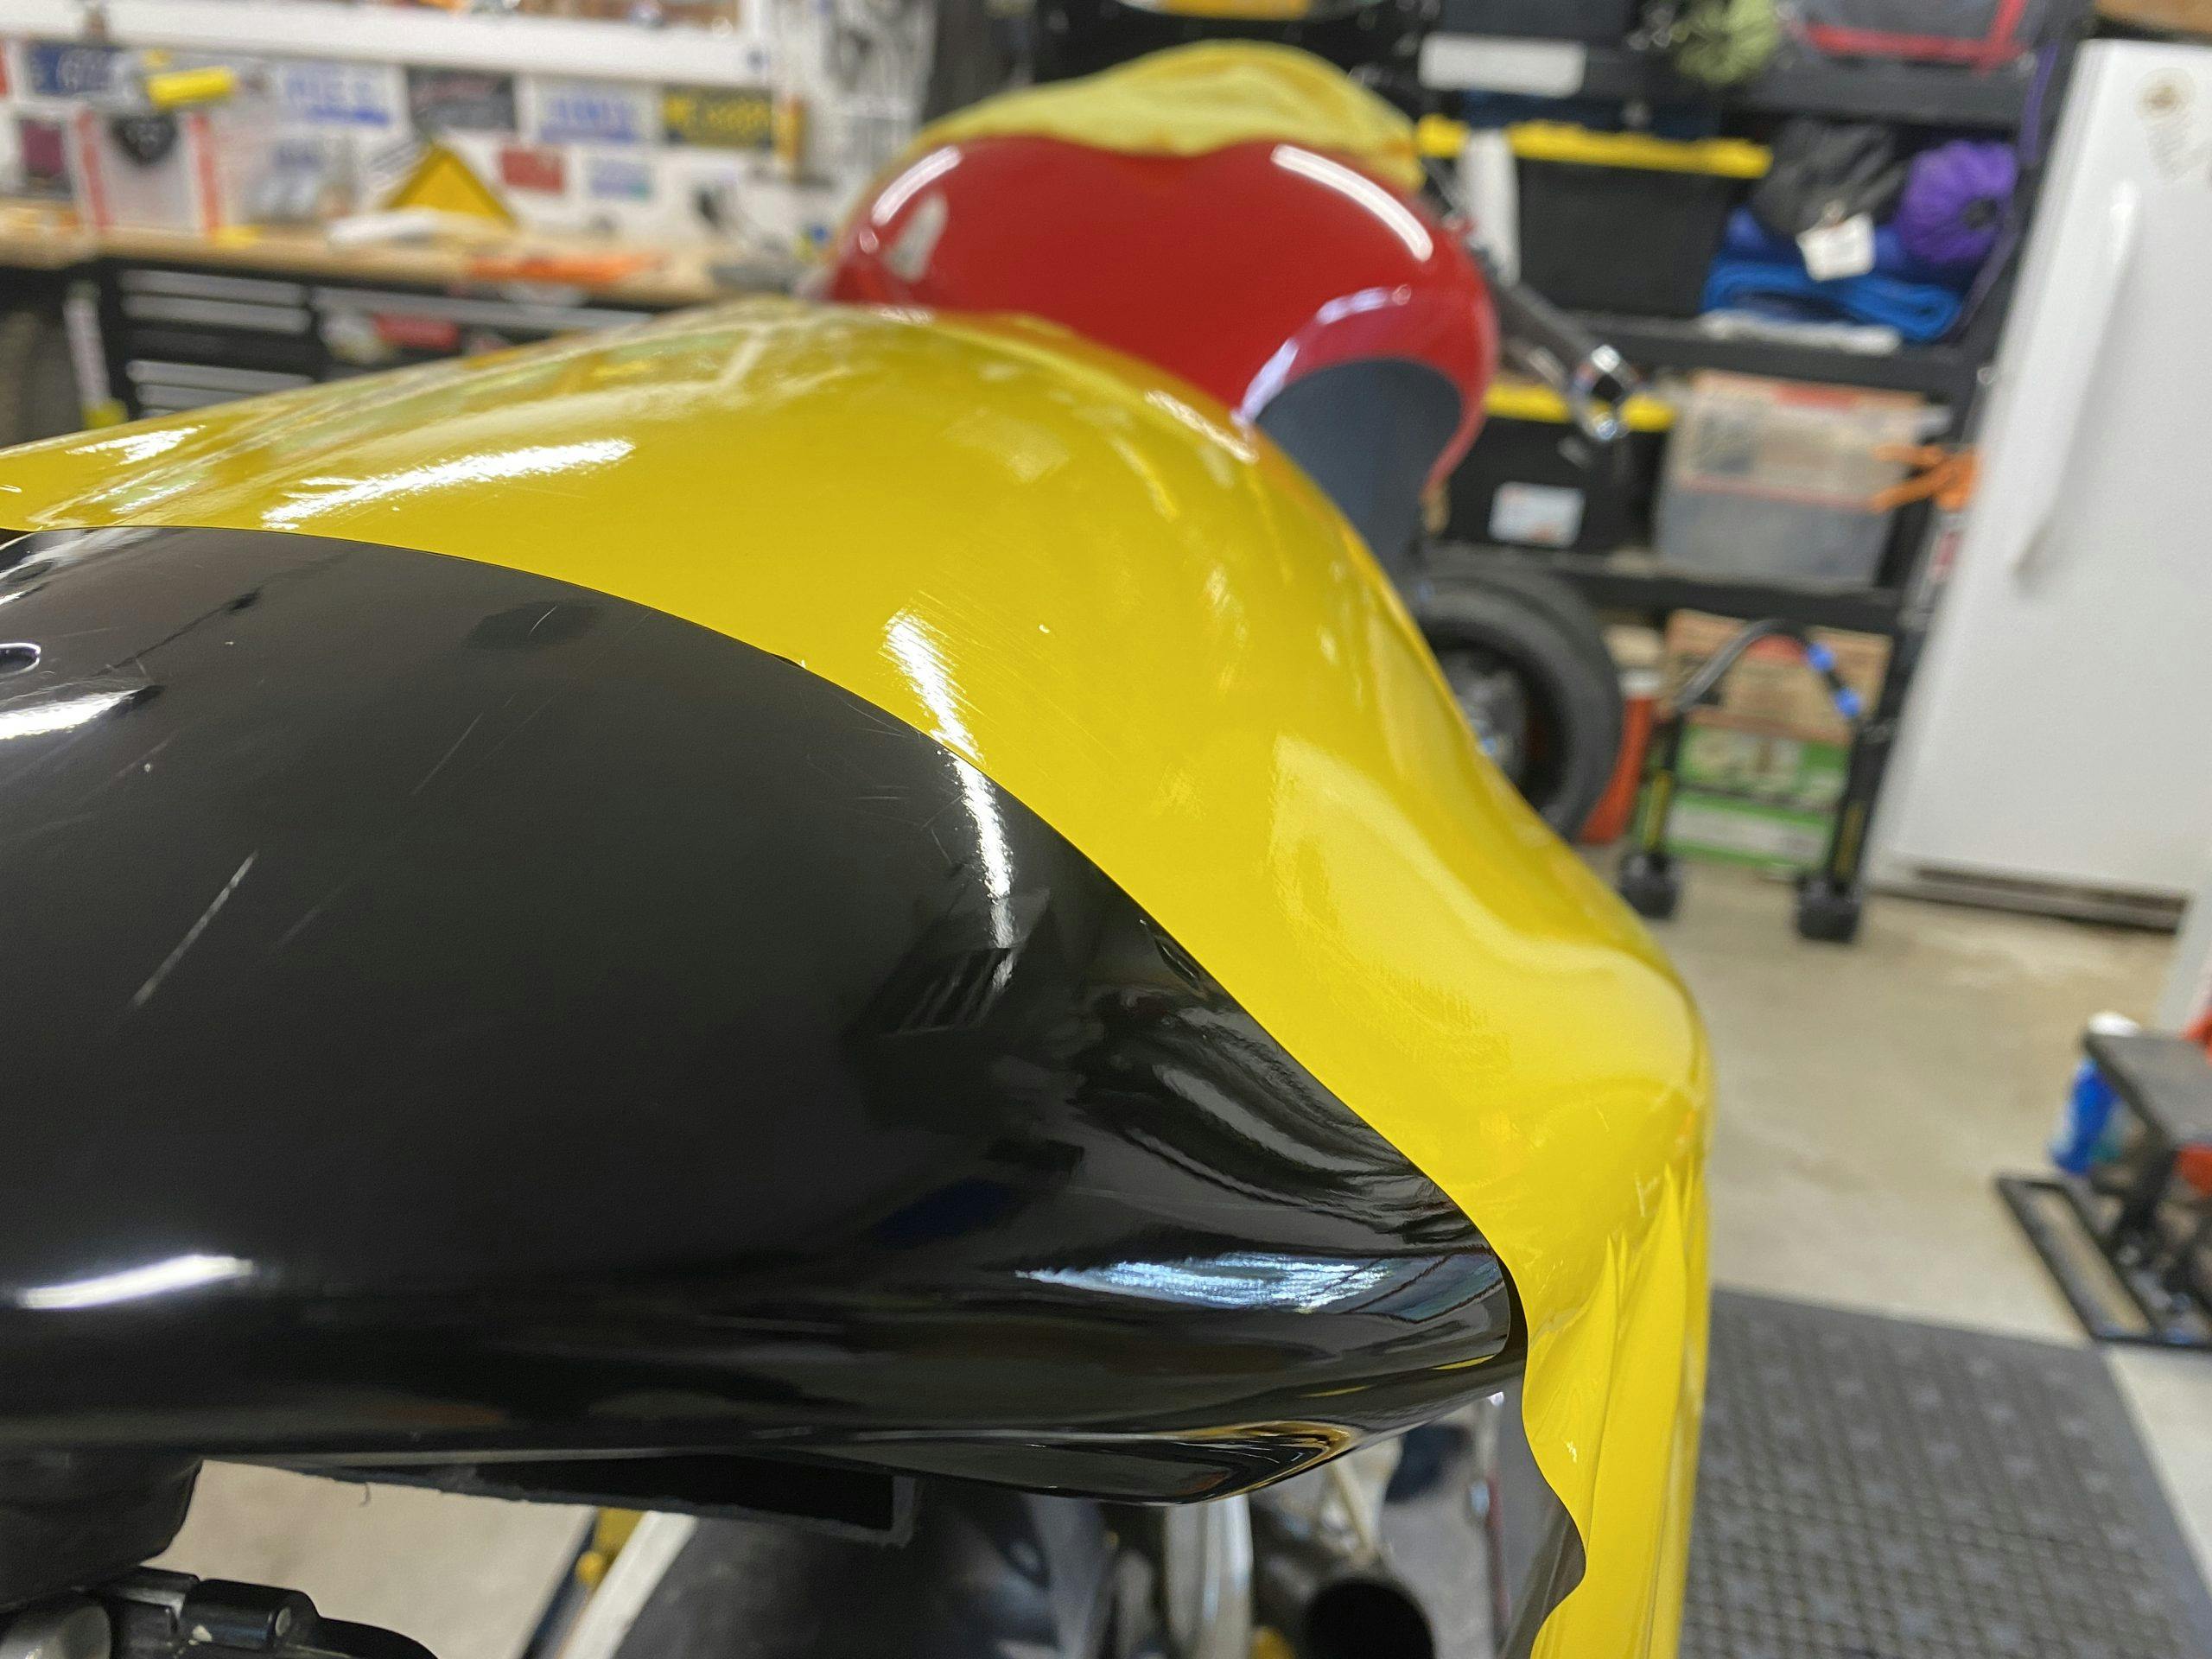
The key to smooth decals is that you have the ability to work out trapped air bubbles and make small adjustments as you stick the graphic in place. As tempting as it is to just pull the entire backing off and shove it into place, that rarely works out well. Most decals are thin, flexible, and have stretch to them. They also often get a slight static charge as you peel the backing off. Peeling the entire backing off is just asking for that delicate decal to fold to itself or just wad into a ball of sadness.
Remove the backing in sections as you apply the decal and it will allow you to work piece by piece and make removing air bubbles or re-setting a portion much easier.
Make a squeegee (or just use one)
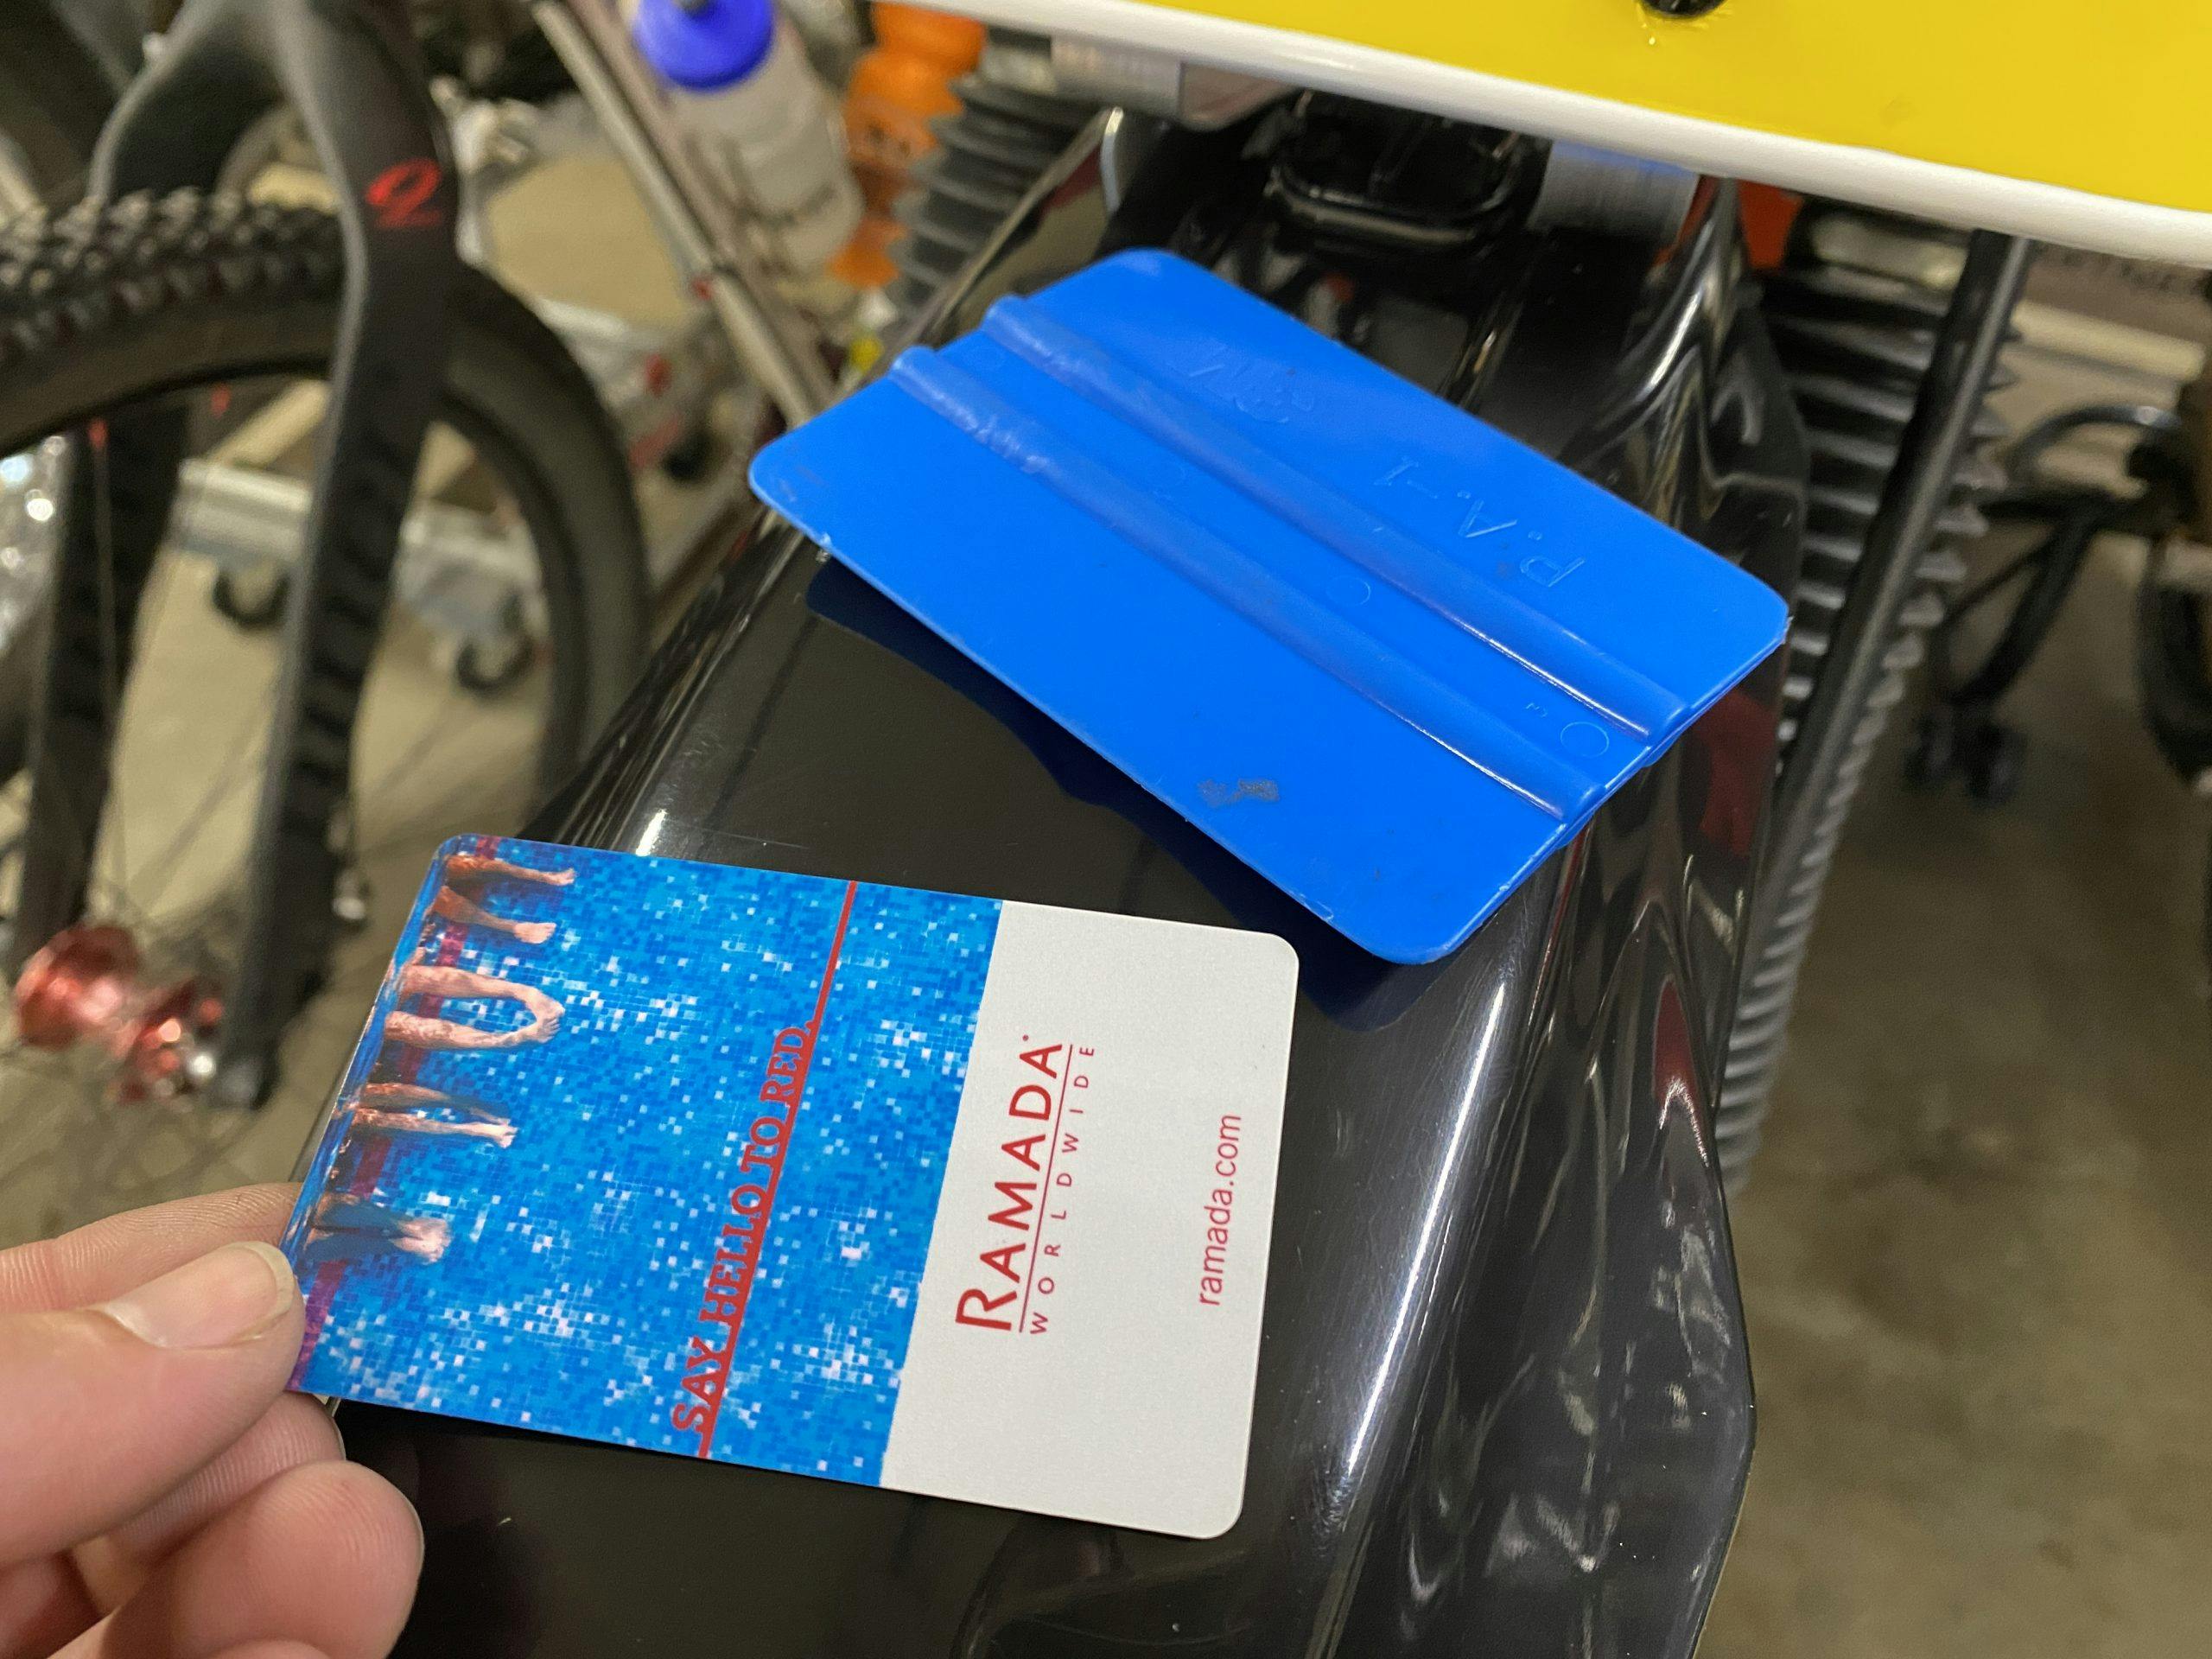
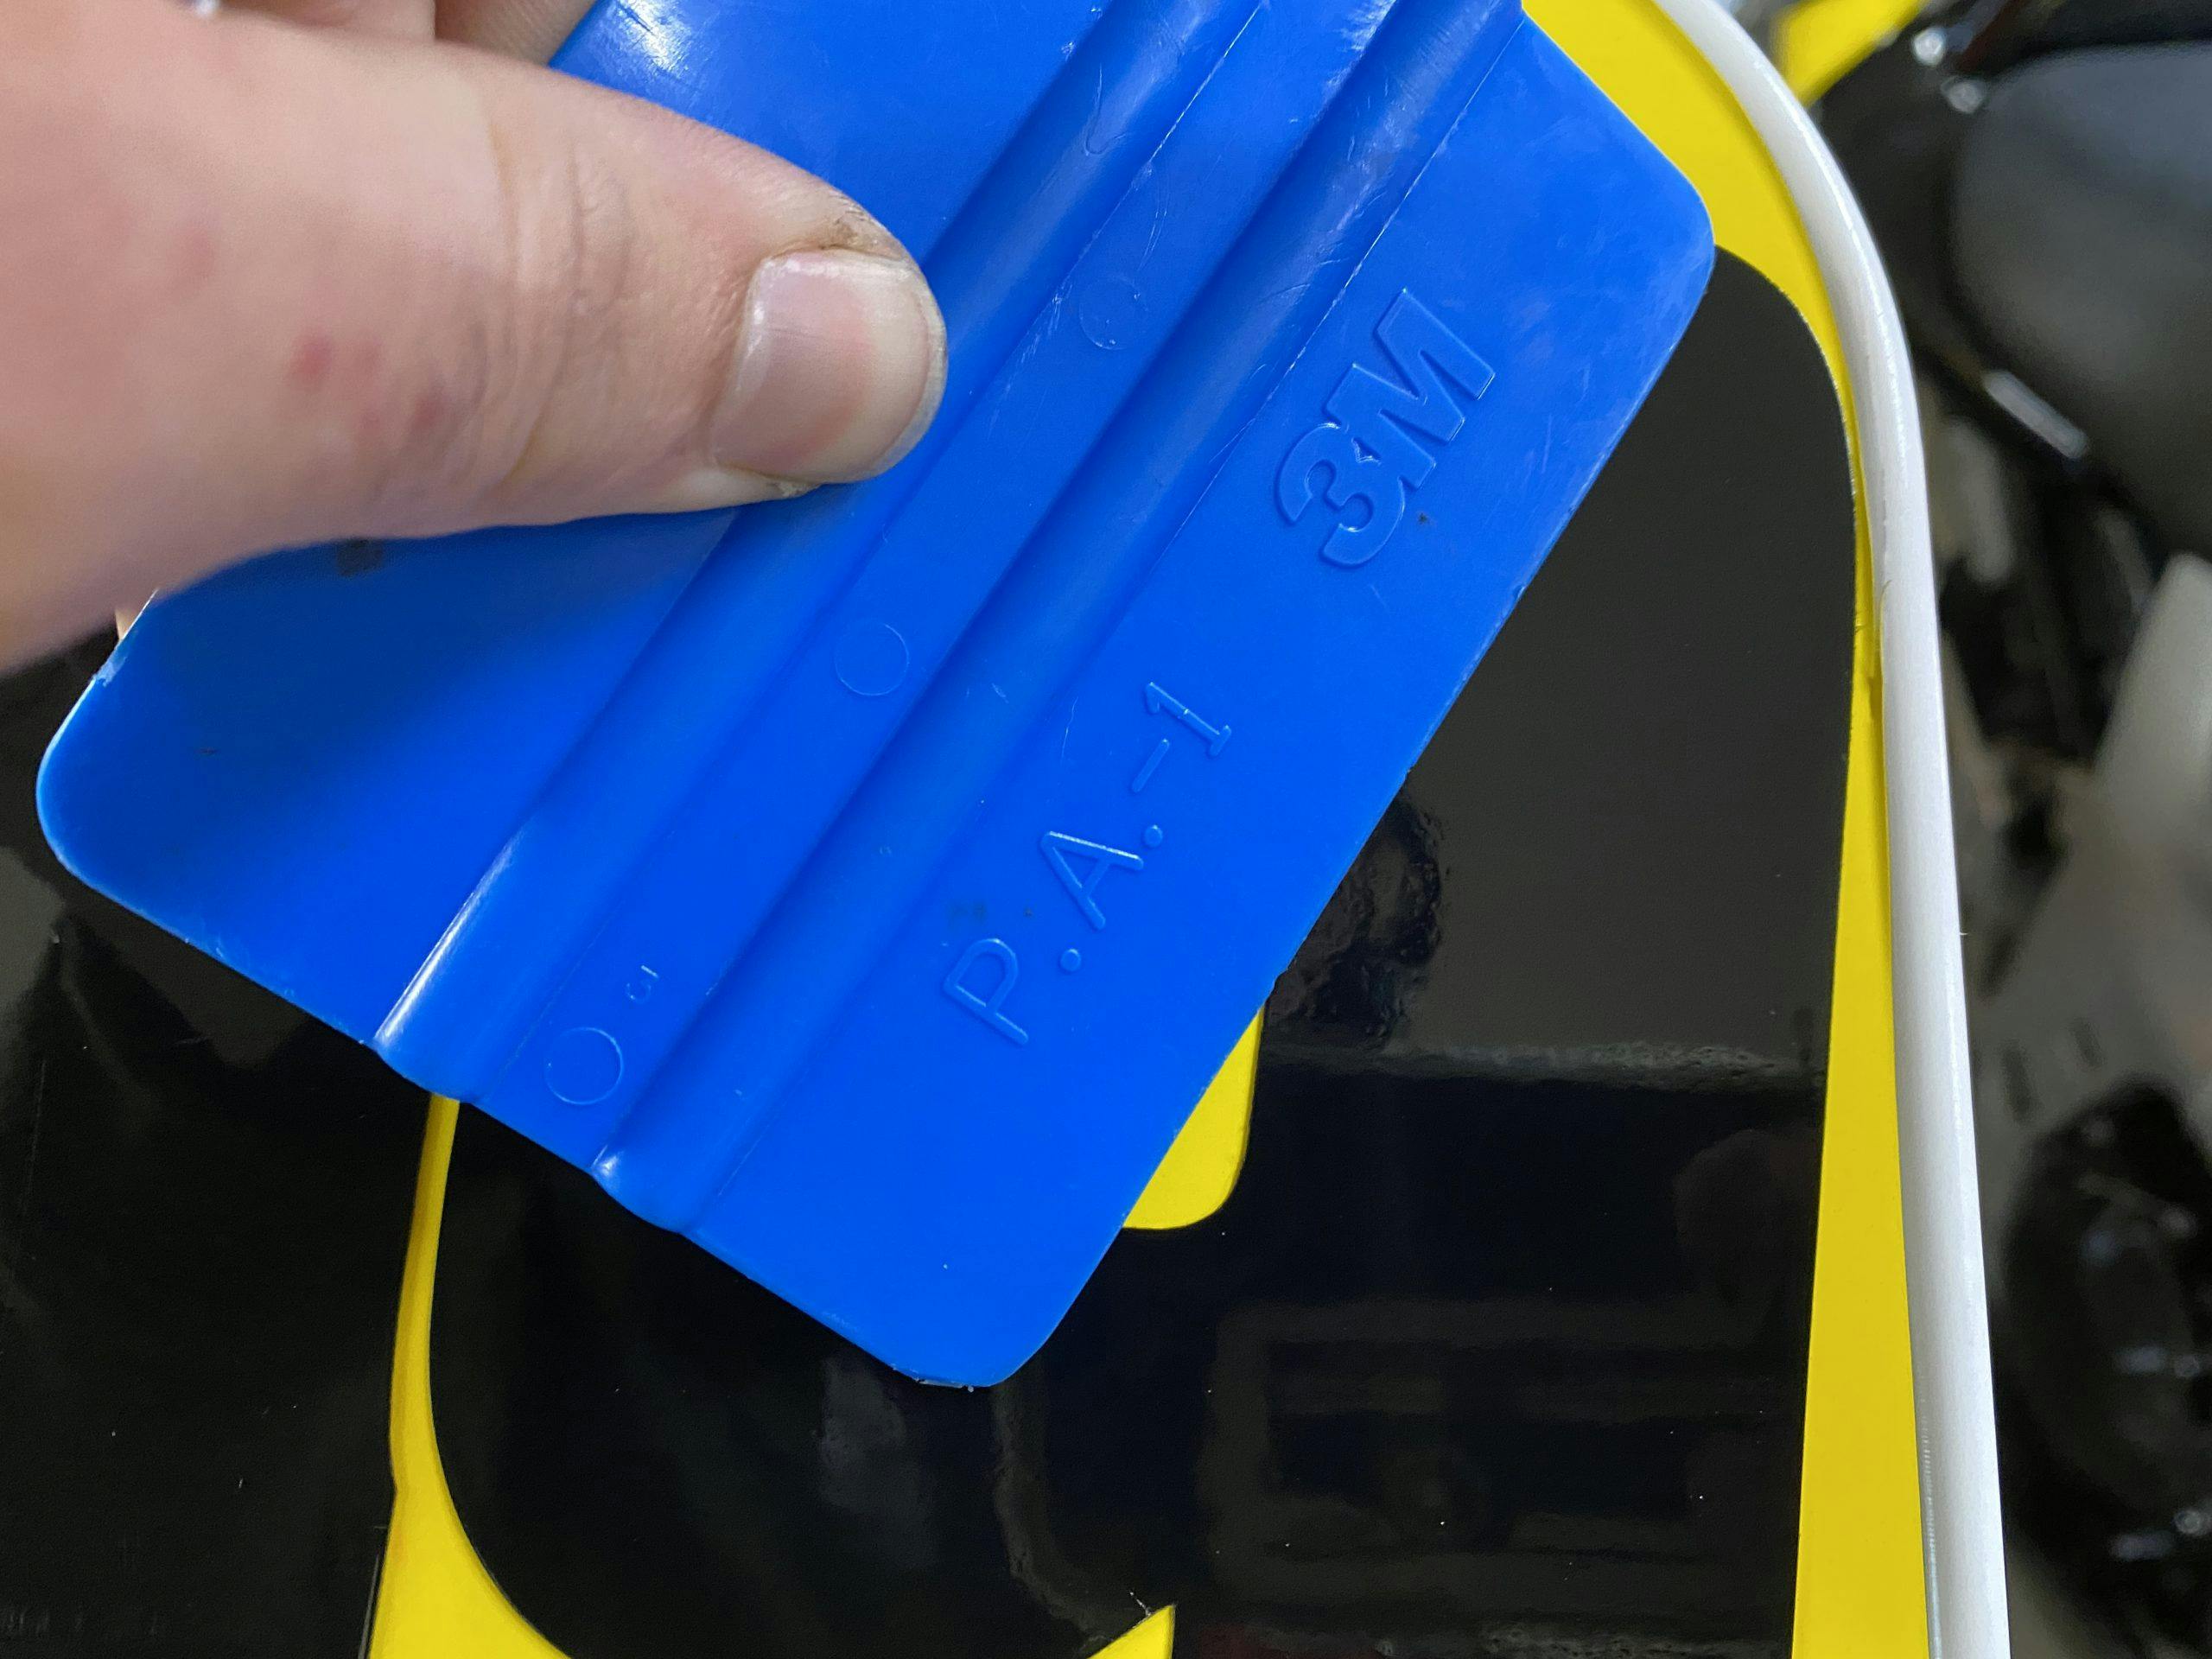
Of all the random things to keep around your shop or kitchen junk drawer, an old hotel key is a great one. The nice straight edge works beautifully for pushing air bubbles to the edge of a sticker. If you have a delicate decal, a softer squeegee likely is a worthwhile investment, or use a little glue to add some felt to the leading edge of that hotel key to prevent scratches or catching the edge.
Poke holes for bubbles

Bubbles happen even with a proper squeegee and careful technique. Sometimes pushing the bubble to the edge or peeling the sticker back is the best option, but in a complex curve or decal with very strong adhesive it is often best to use a sharp razor blade to put a very small pinhole right at the edge of the bubble and use the squeegee to force the air out. A clean nick often disappears once the bubble is gone. It can be your little secret.
Heat is your friend
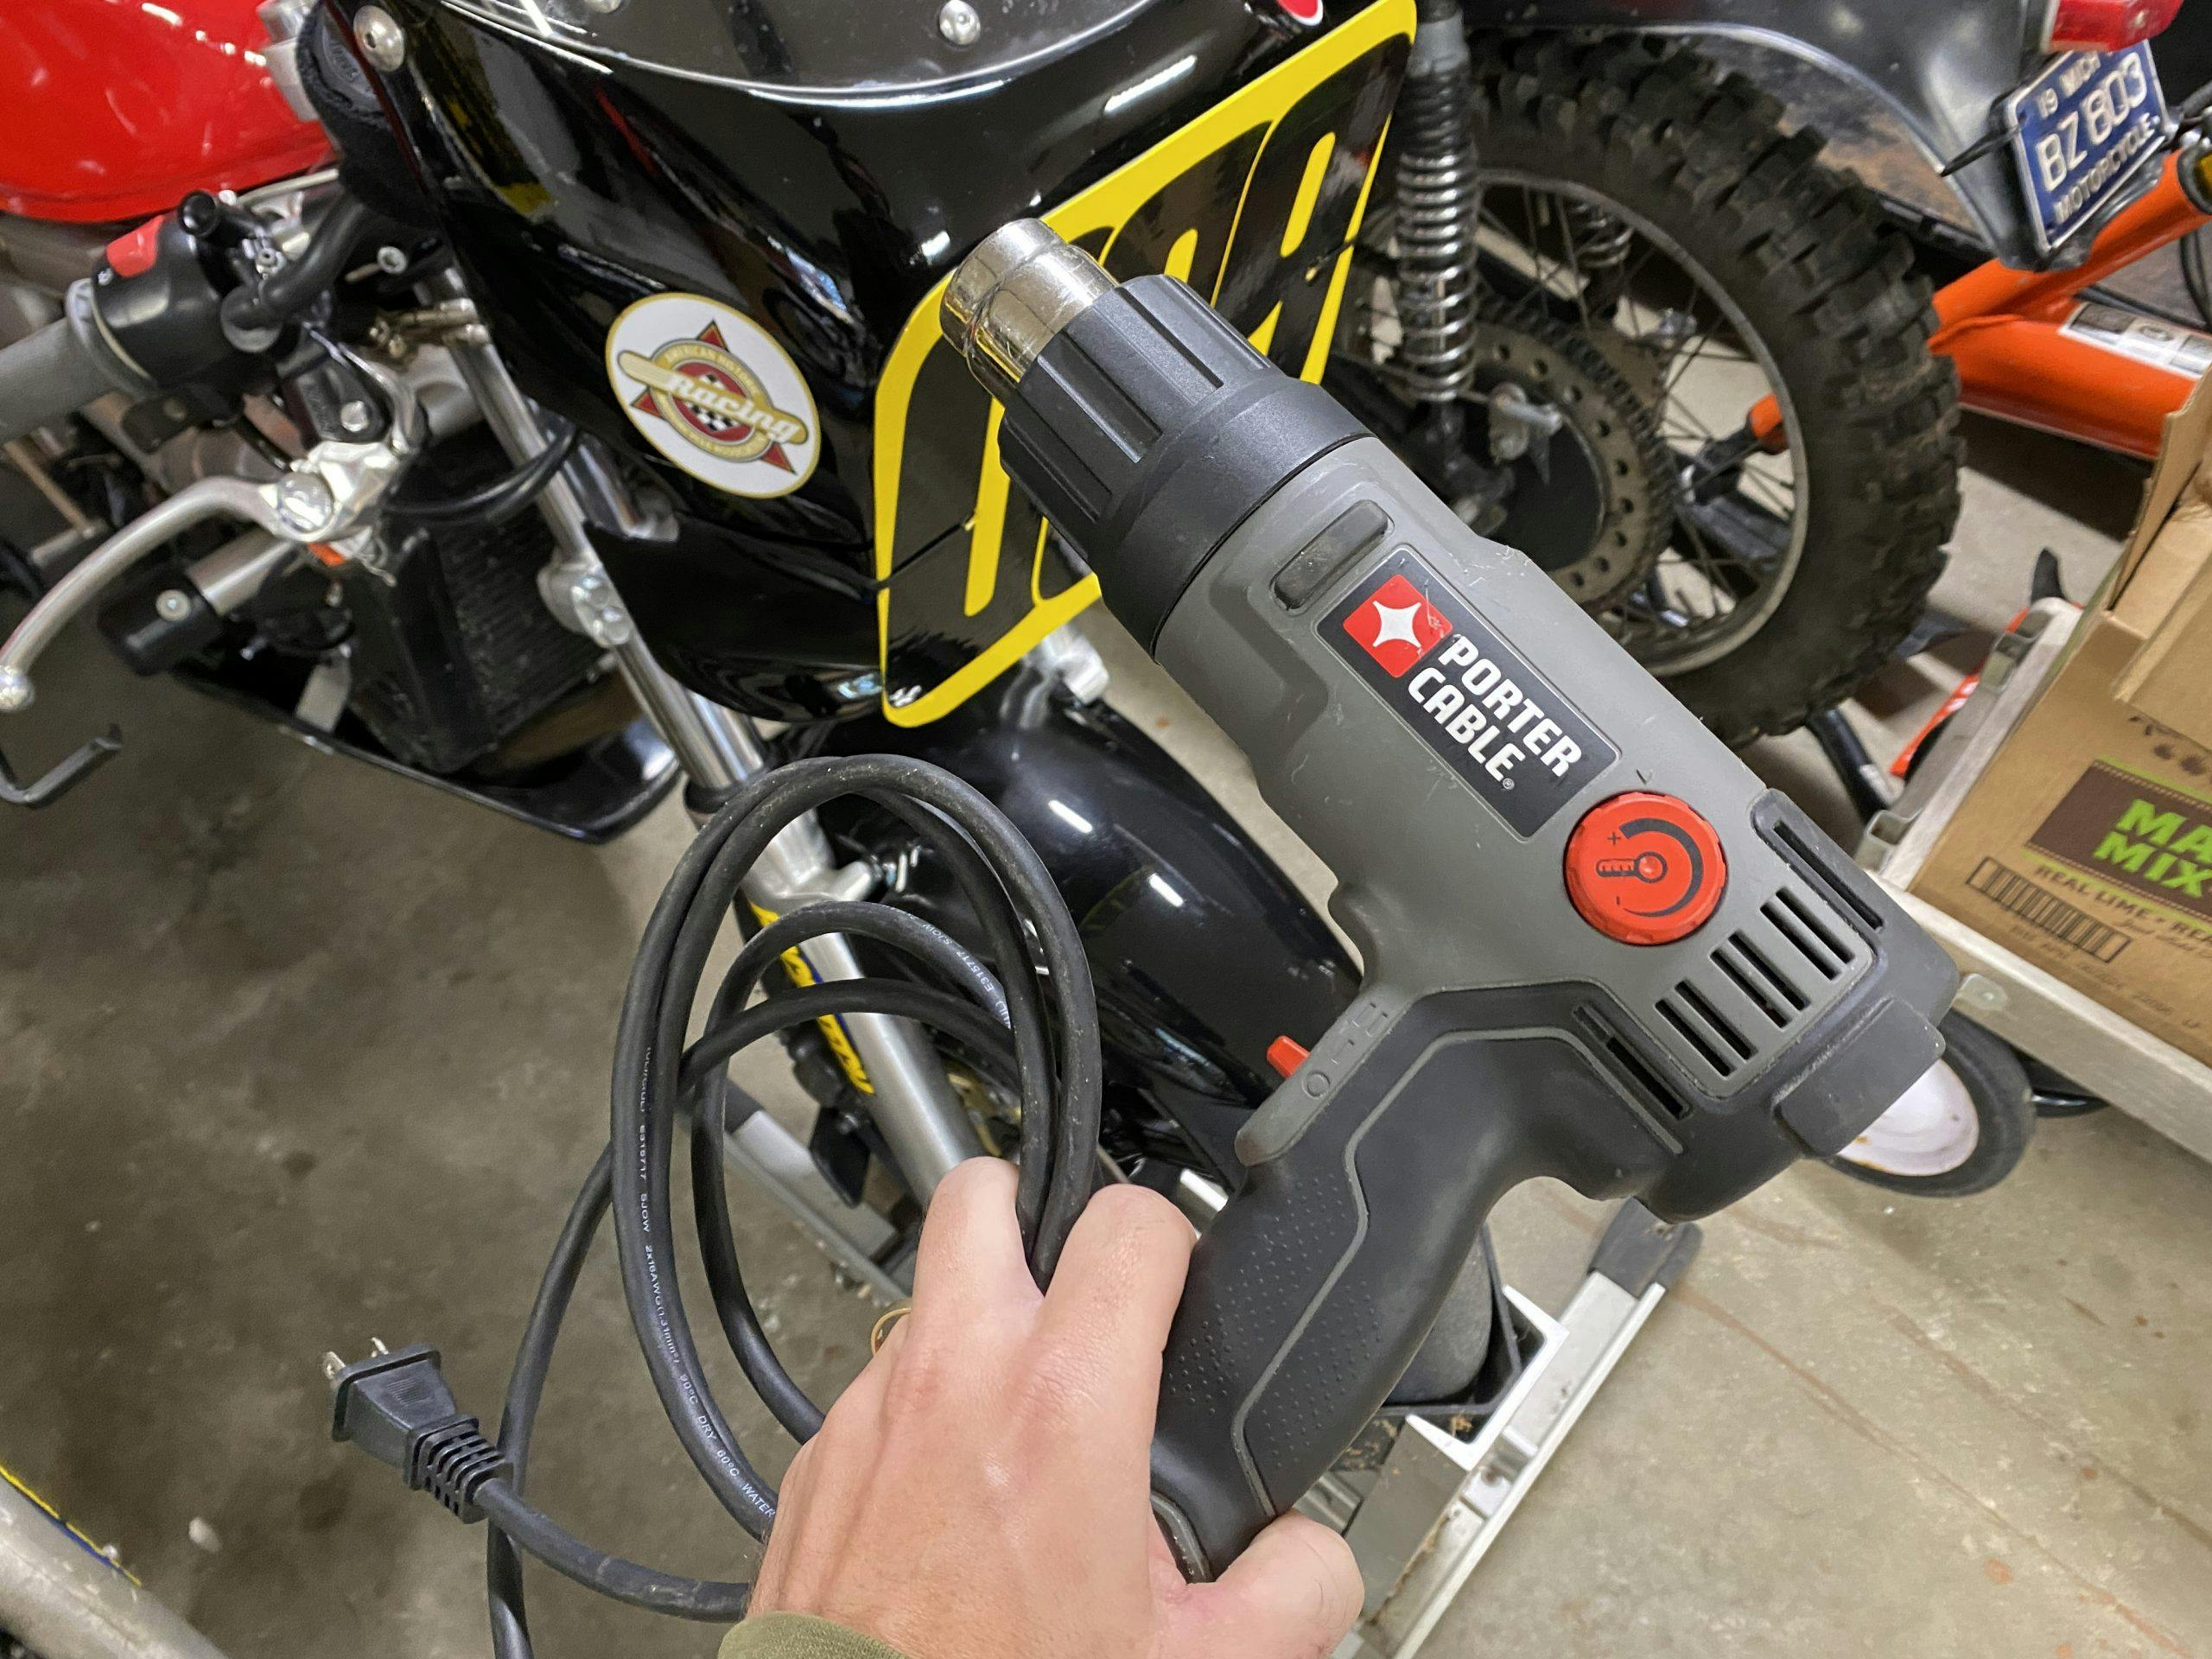
Plastic softens with heat and most decals are some form of plastic. Careful application of a little heat–think hair dryer on low, not heat gun on full blast–will allow your decal to stretch just a little and make wrinkle-free application possible. This is especially important when applying over curves. If no heat gun is available, lay the vinyl decals in the sun on a warm day and give them about an hour. That is often enough time to get everything to just the right level of pliability.
Lint

A final bonus tip for decals that you don’t want to be permanent: lint. I learned this one from Dave Hord who puts thousands of door decals on cars for rally events each year and has a keen sense for delicate paint. Use your codriver’s shirt back to gently stick the decal to, so that it loses some adhesion because of the lint it picks up. The final application might end up a tiny bit lumpy, but for something you want to come off cleanly in a week or so this is the way to keep your vintage paint on the door.