5 essentials to know about ultrasonic cleaners
New tool day brings a special feeling. It’s born of bliss, measured in hours, playing with the latest addition to the garage arsenal. We never tire of broadening our “I can fix that” aptitude to corners of the automotive that were previously inaccessible. “No longer,” we say as we swipe the credit card or hand over cash at a garage sale. “This weekend will be different.”
When the big brown truck of possibilities dropped off a large box for me last week, I recited these very words. Because of all the tasks that fill my time each week, the one I’d love to streamline is cleaning parts and pieces. The process usually soaks up mountains of minutes and, at the end, often leaves me feeling only mildly accomplished. Lacking the space for a large parts washer or a solvent tank for soaking, I turned to an ultrasonic cleaner. Listen up, ye wrenchers: I am here to evangelize the high-frequency gospel.
How an ultrasonic cleaner works

The ultrasonic cleaner on my workbench is essentially a speaker box. But instead of music it produces the most annoying noise on Earth this side of Ford’s seatbelt reminder chime. The speaker is actually a transducer mounted in the tub of the machine, where you’d normally expect to find a center drain. The transducer emits high-frequency sound waves into the tub. Normal sound waves are referred to as sonic waves, while these high-frequency waves are considered ultrasonic.
The sound waves agitate the solution inside the tub and in turn cause cavitation—the formation and collapse of very small bubbles up against the surface of the object submerged in the solution. Cavitation effectively scrubs the part and in turn removes oil, dirt, and debris. Adjusting the solution, or even just the temperature of it, can change the cleaning power from extremely mild to decently aggressive.
What ultrasonic cleaners can do
Yes, ultrasonic cleaners can replace all the hand-cleaning that ordinarily needs to be done for a part-cleaning project. That is indeed the beauty of this tool, but the best practice still involves a little bit of elbow grease. The best approach is to knock the worst grime or filth off any part before it goes into the bath, if for no reason other than to keep the solution and tank cleaner for longer. Doing this preemptive work also allows for shorter cleaning times and, ultimately, better results. Just a quick scrub with a wire brush is enough, plus a wipe with a rag. Then on into the solution.
Once submerged, the part will be subject to the aforementioned cavitation. That will break free everything else that is stuck onto it—including whatever gunk is hiding deep inside the part, as in small passageways or nooks and crannies left from the casting process. Suddenly, all those pain-in-the-butt places to clean are no longer a pain. Drop the part in the tub, press start, and move on to the next piece.
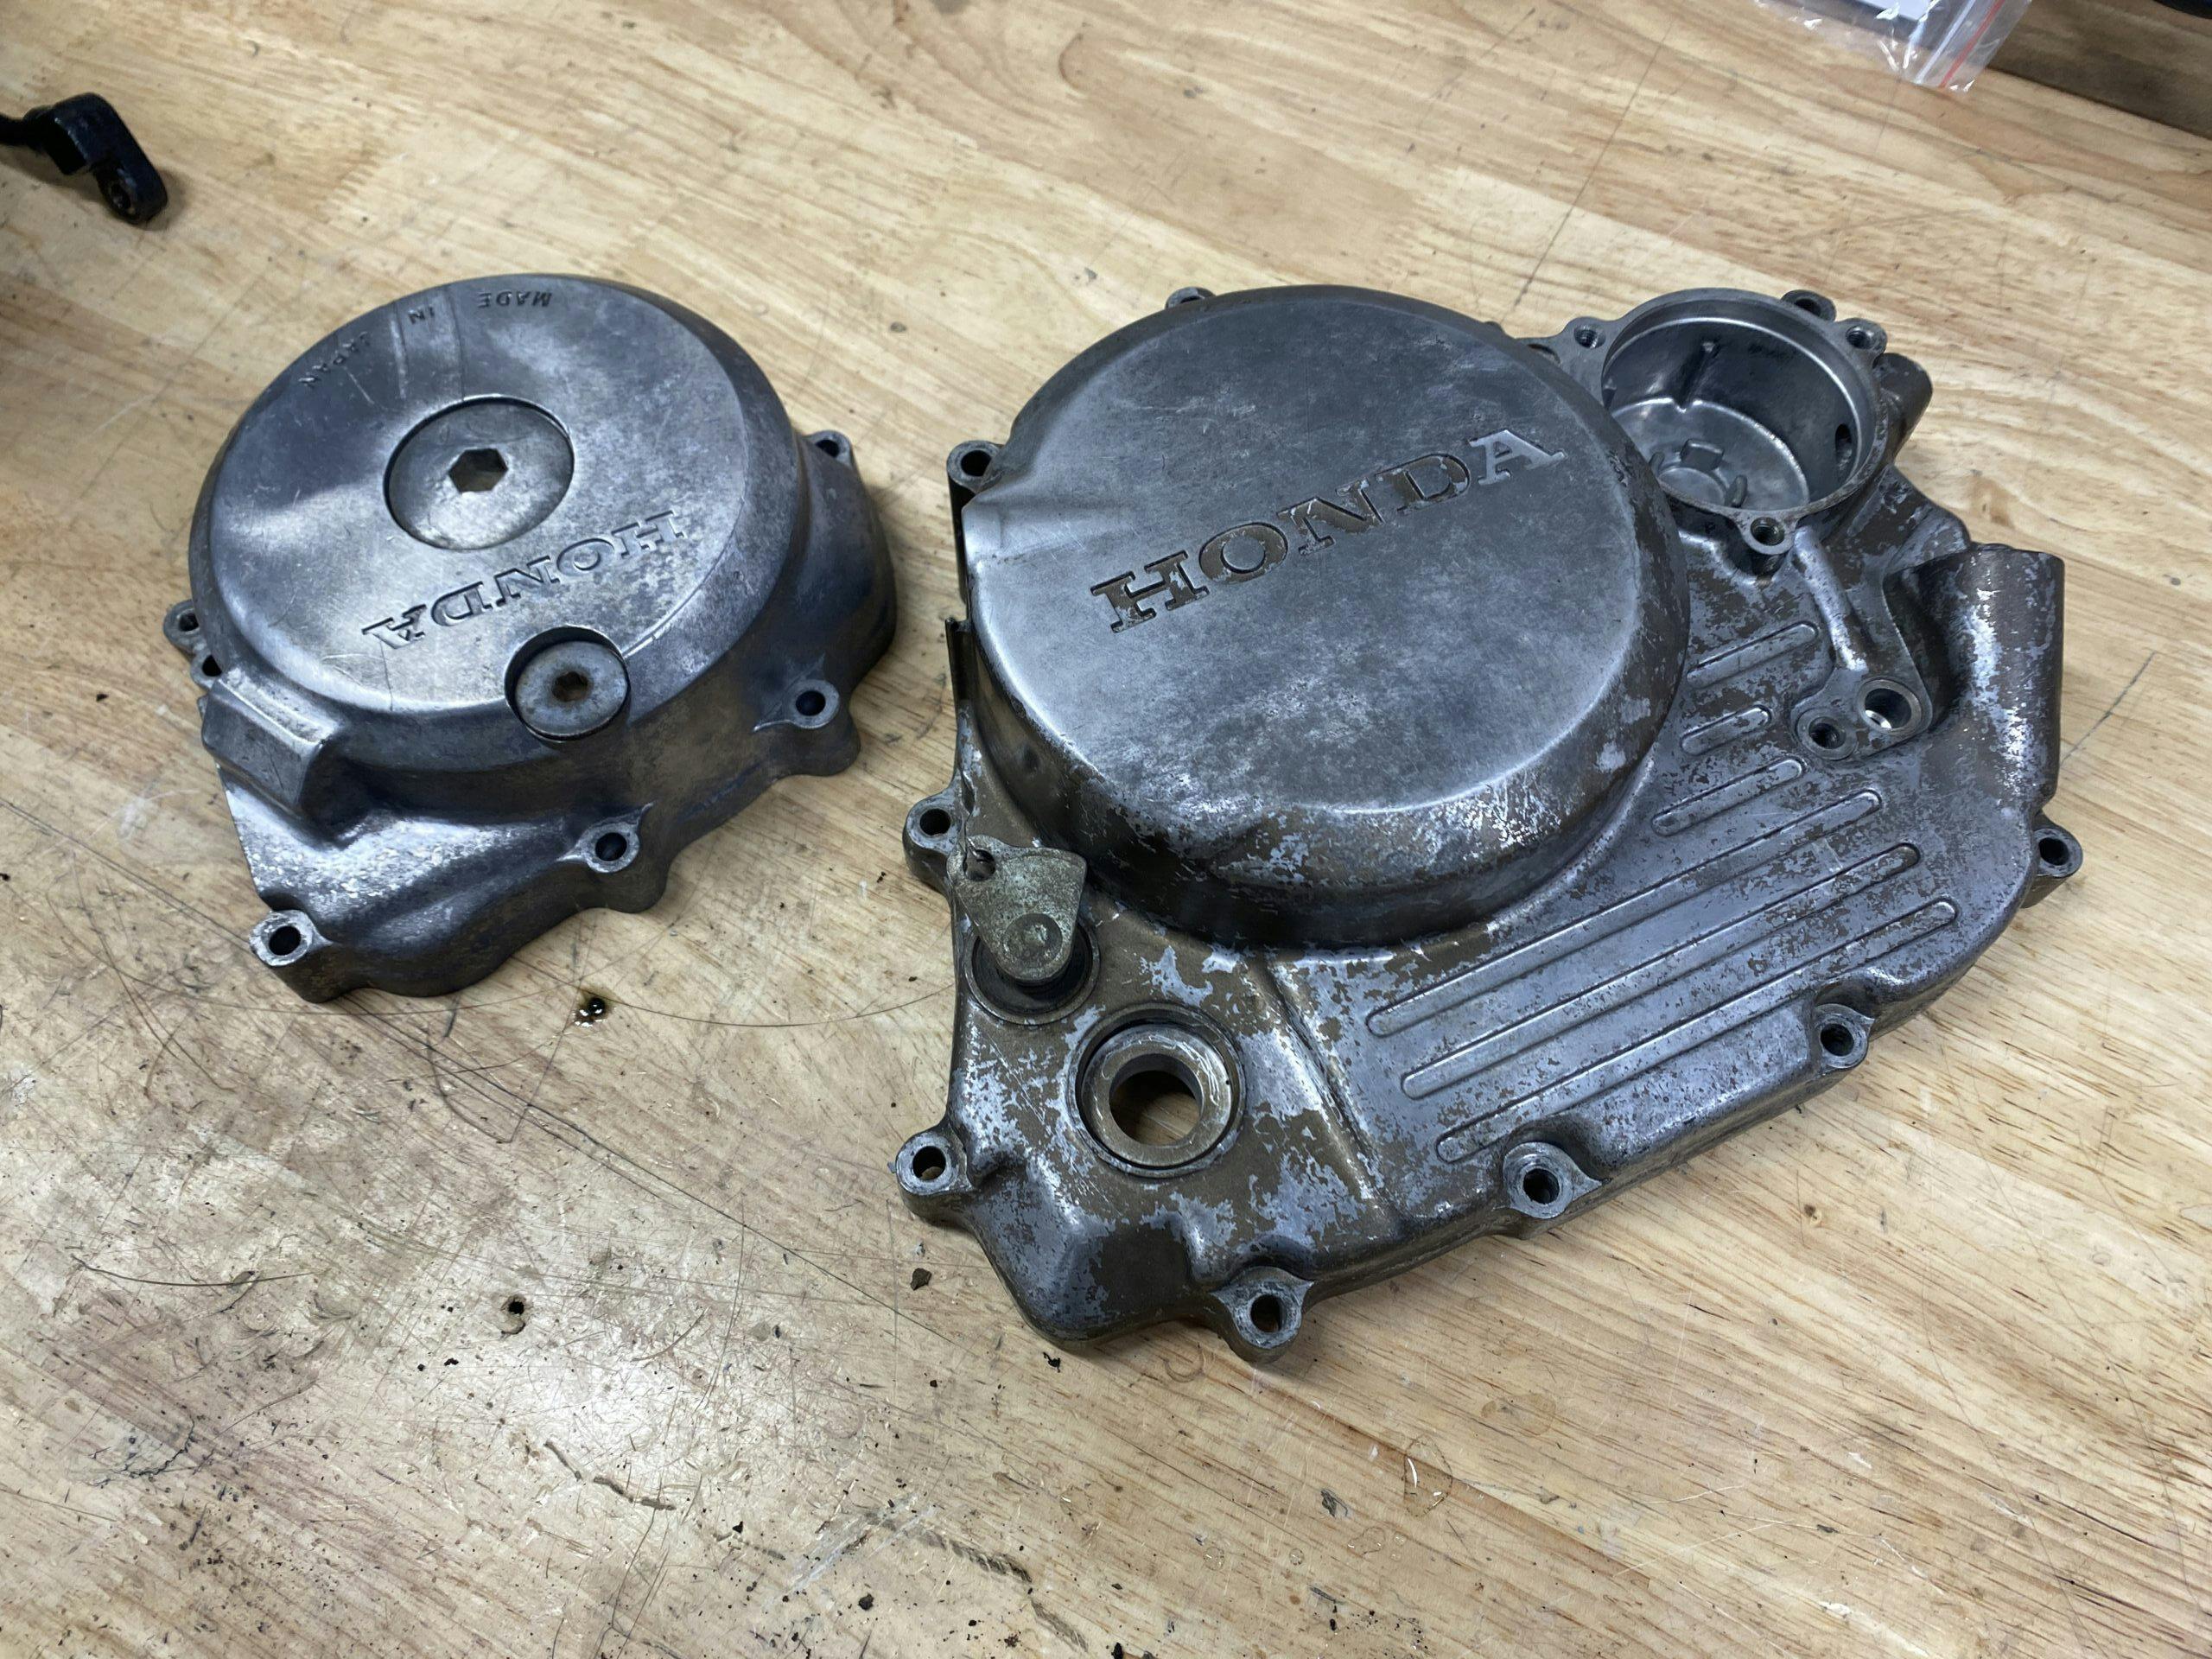
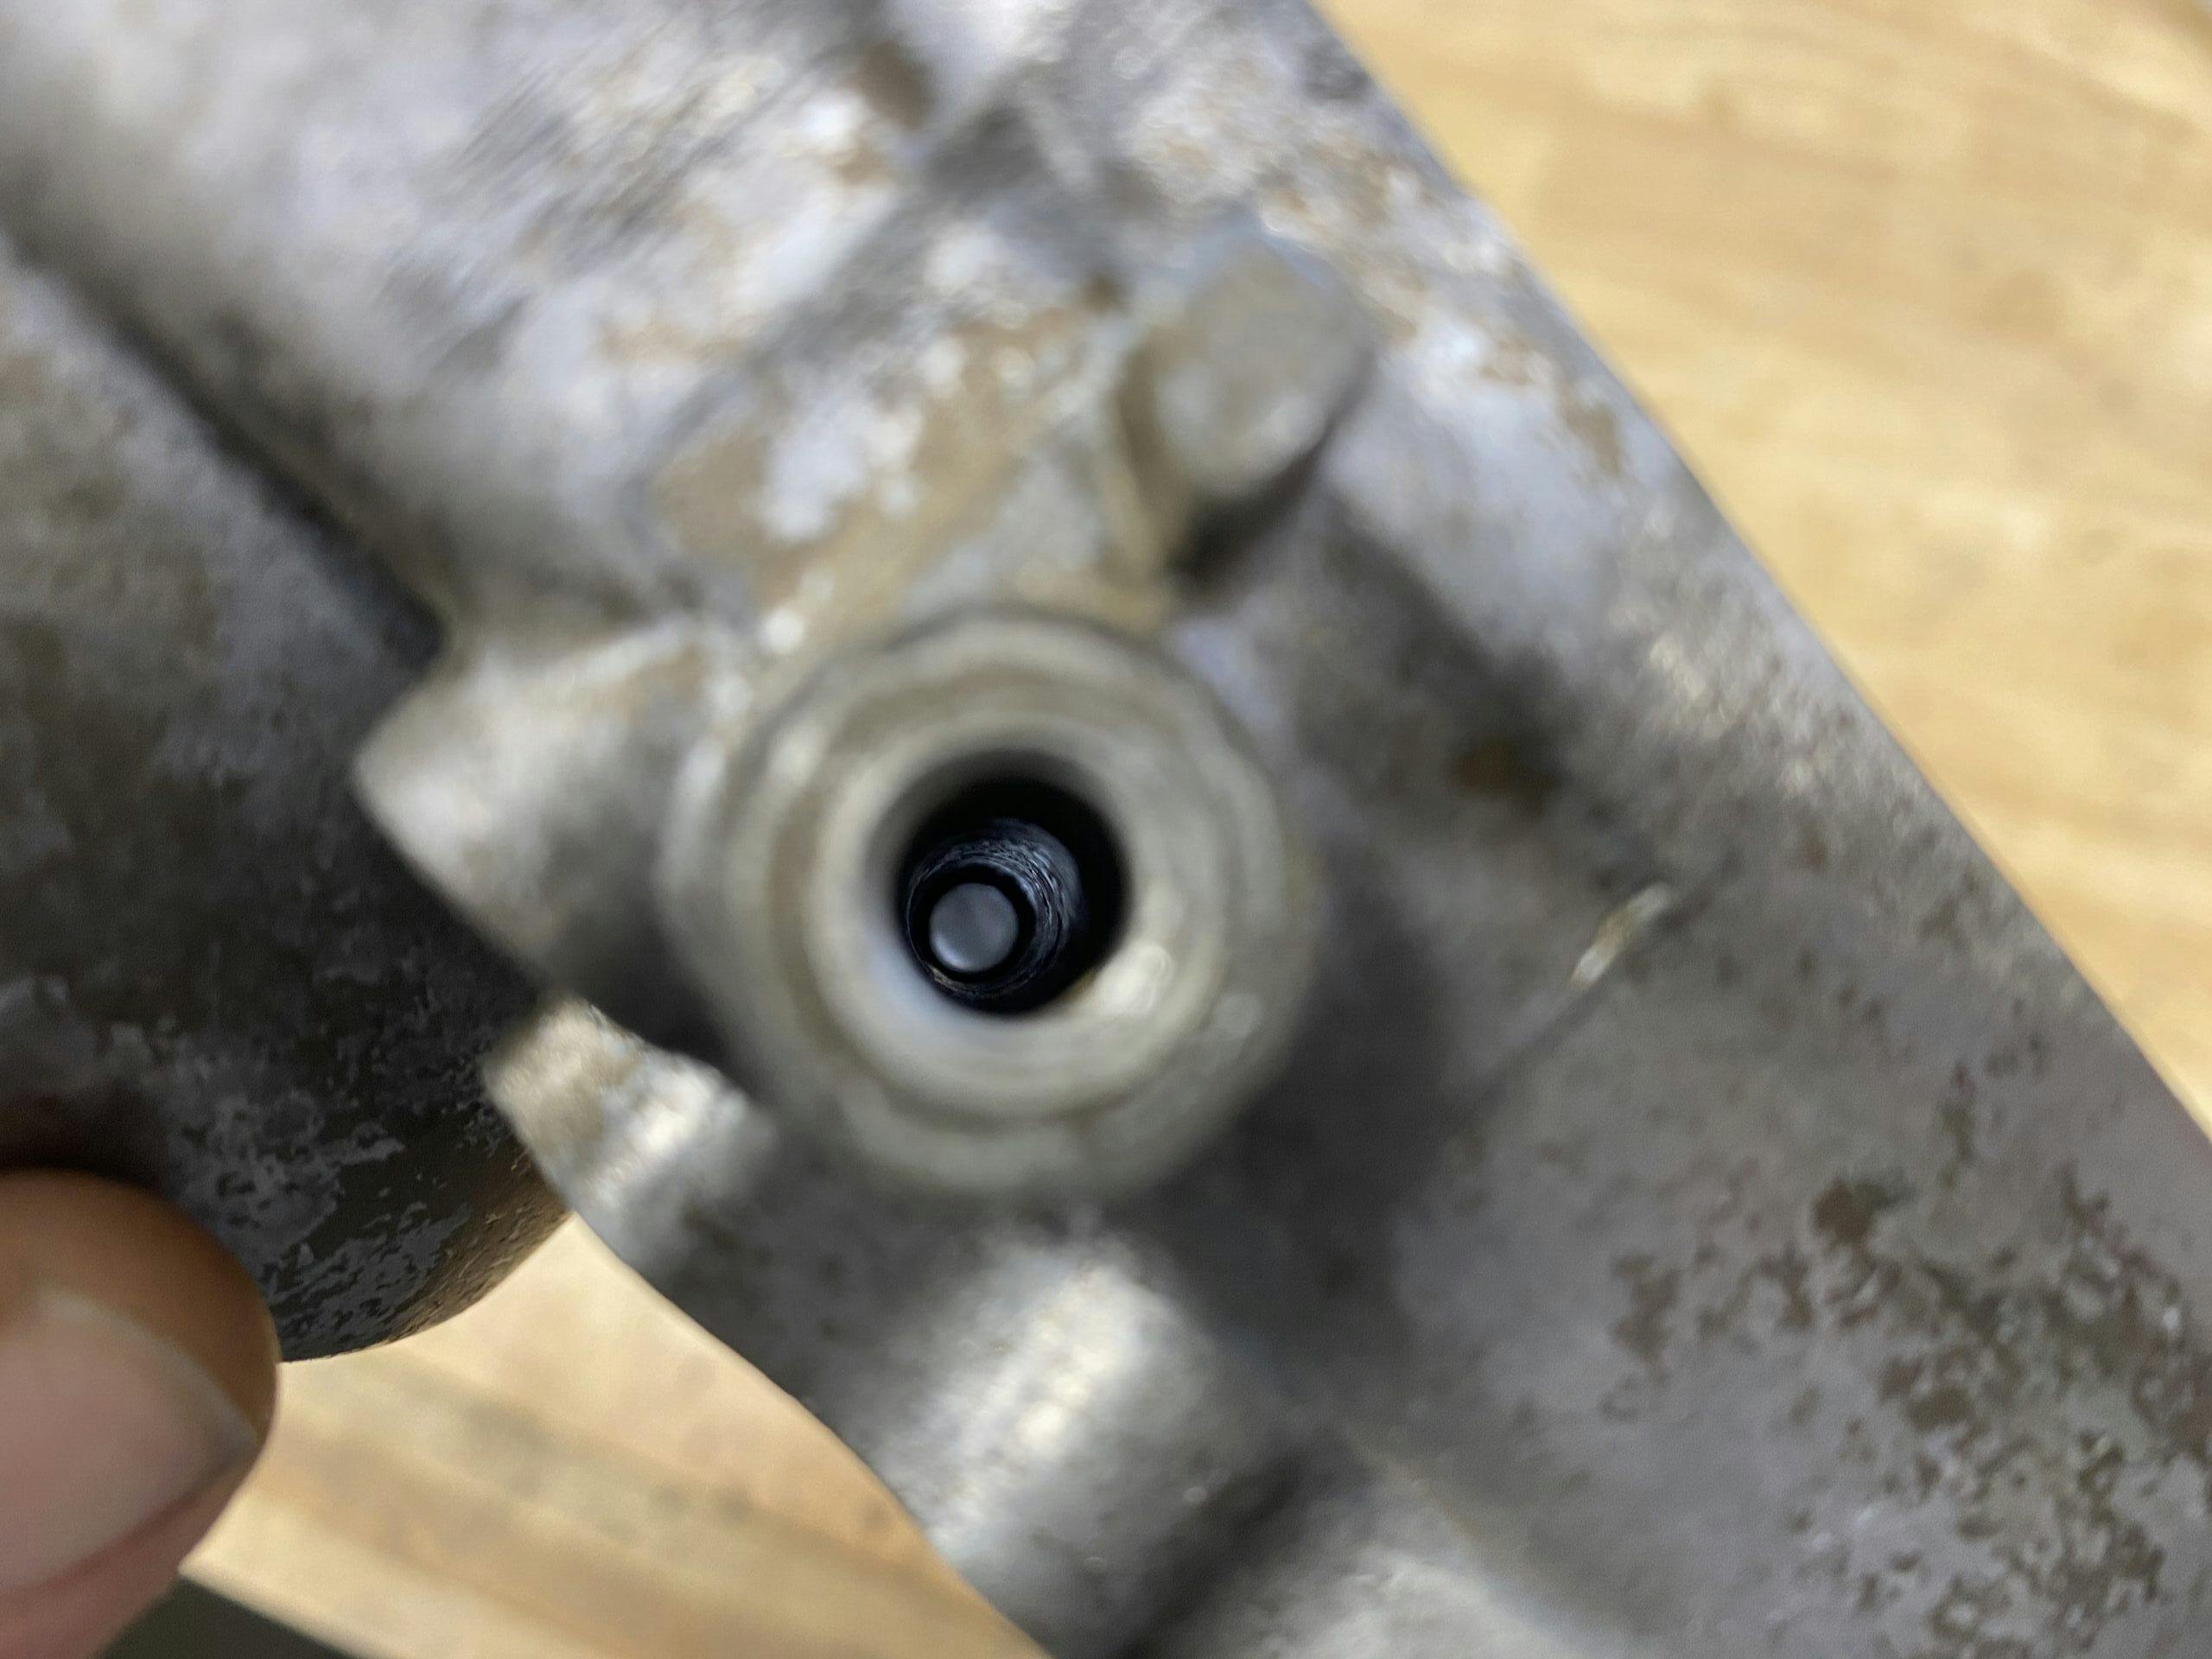
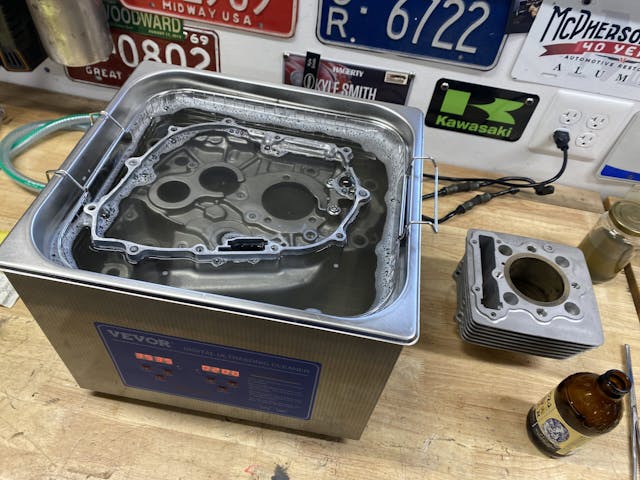
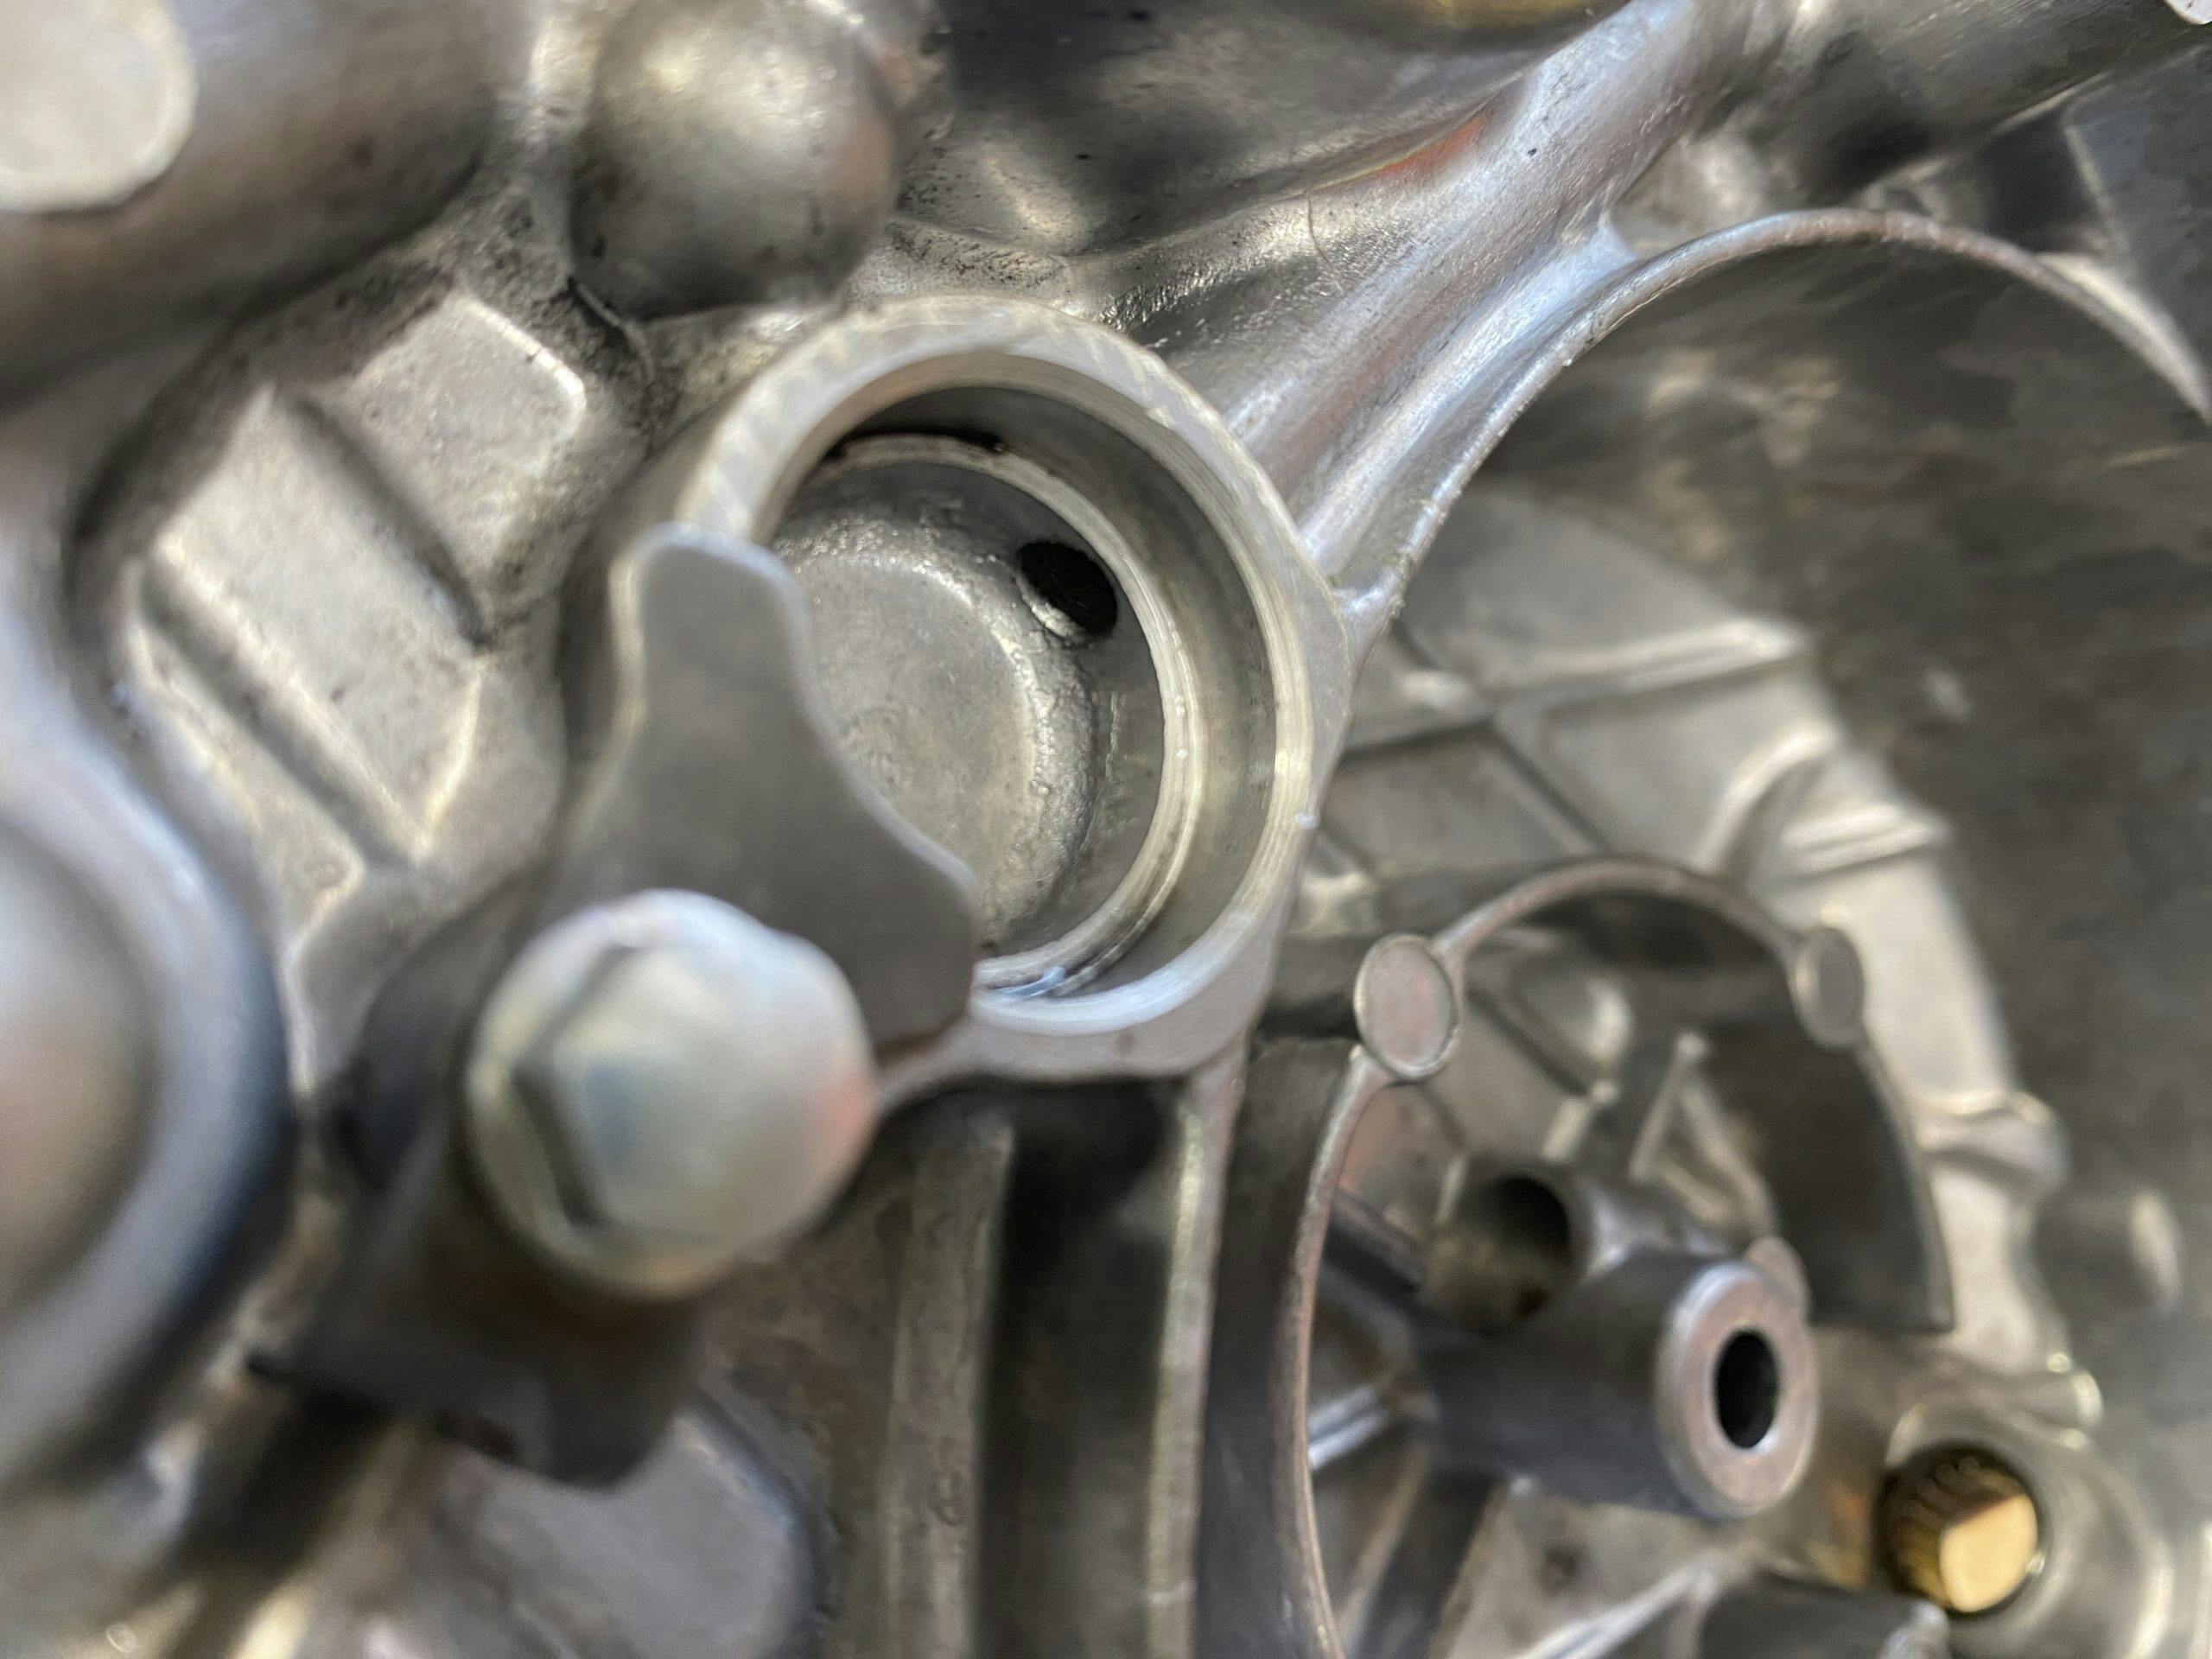
The key items that prompted me to invest in an ultrasonic cleaner are these motorcycle engine case halves, plus the side covers. The oil passageways snake through the castings, and the last thing I wanted to do while cleaning was accidentally damage the threads for the banjo bolts that carry oil to the notoriously delicate valvetrain. The ultrasonic cleaner allows me to drop in those parts, fiddle with a few other things around the garage, come back and rinse the parts, then blow dry. That’s it; no solvents, no gloves. Heck, I don’t even have to worry about caustic liquid drips when I pull parts out, because my cleaning solution of choice is just distilled water and a little dish soap. Harmless!
Plan on cleaning the cleaner
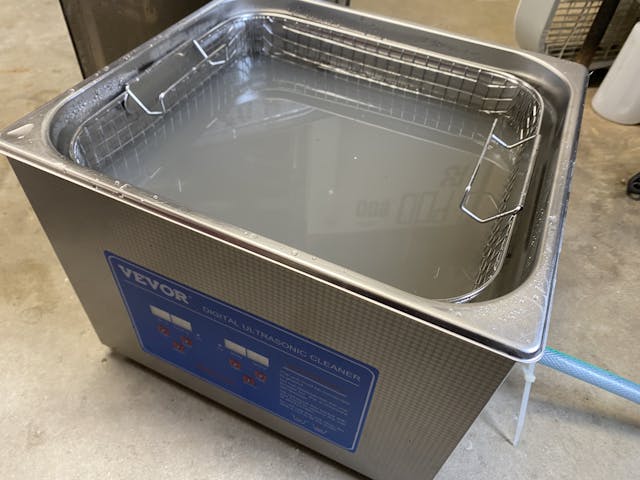
An ultrasonic cleaner does have a downside: maintenance. The tub is a closed system—no circulation pump or anything—meaning the solution inside quickly becomes a broth of all the nasty things that the cavitation broke free. Some of the time you save cleaning parts translates into time cleaning the machine. Luckily, the Vevor unit I bought has an integrated drain inside what is not much more than a stainless-steel tub. Easy enough to wipe up and then refill.
The time saver
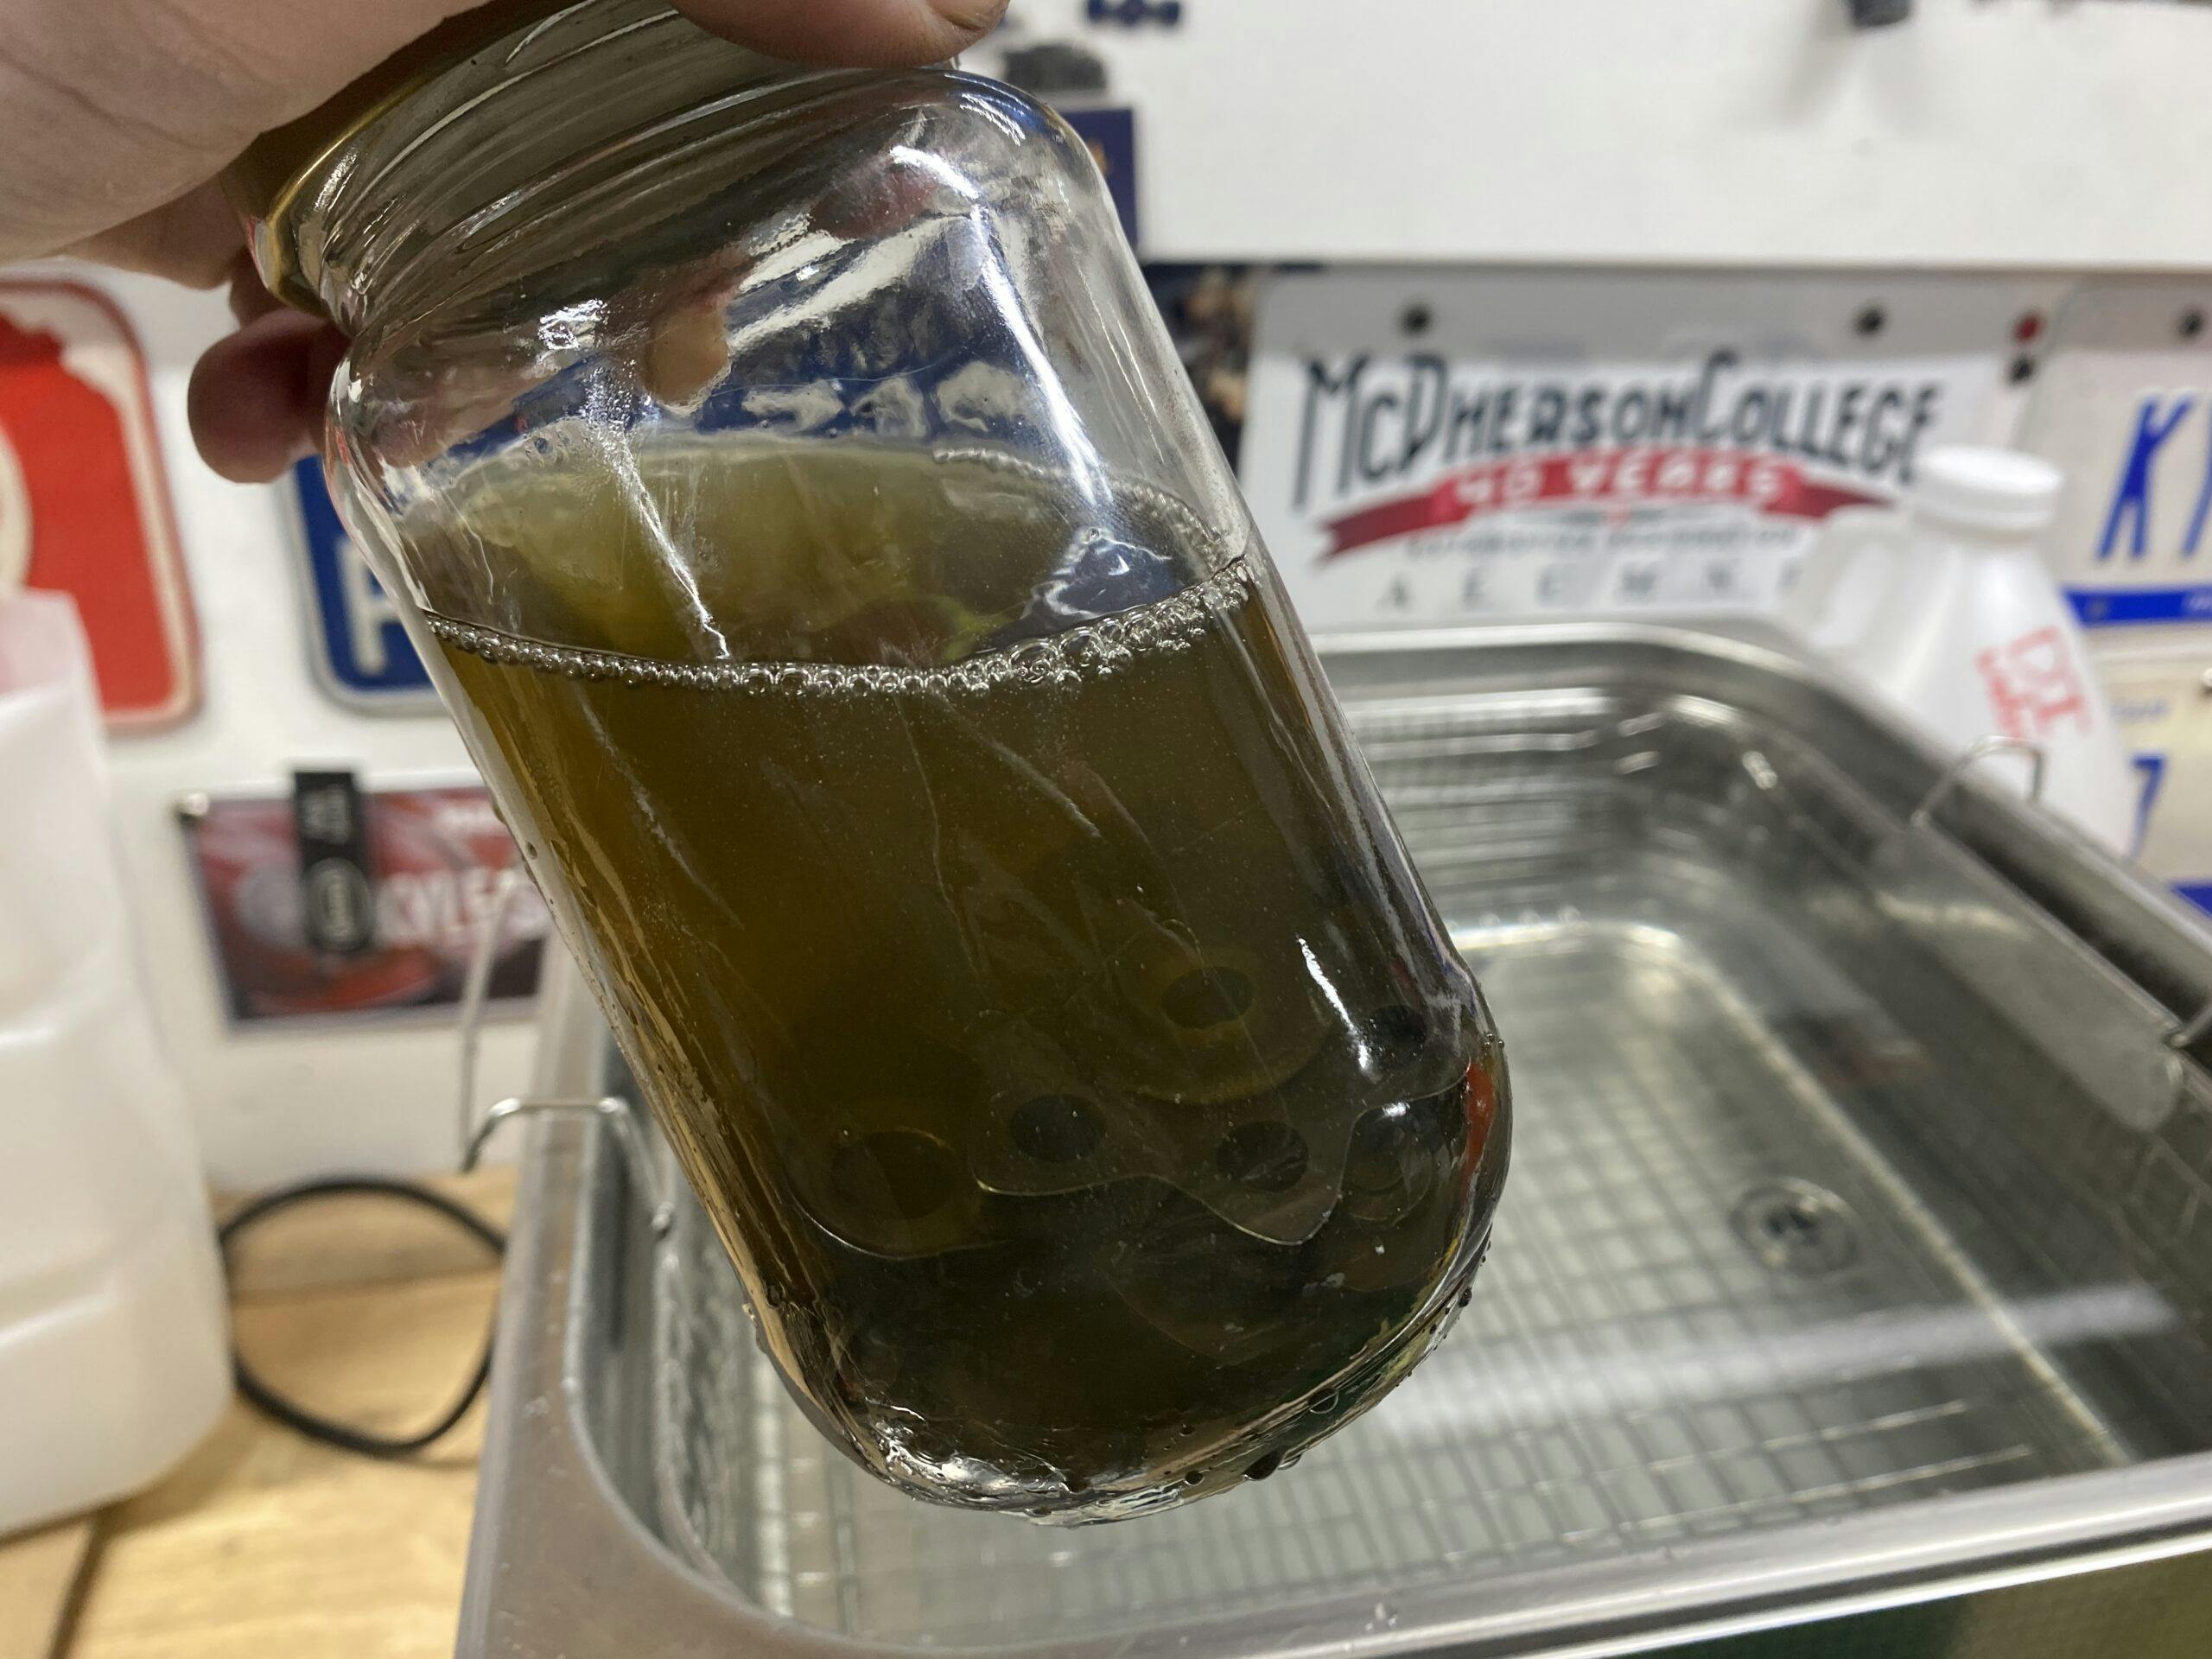
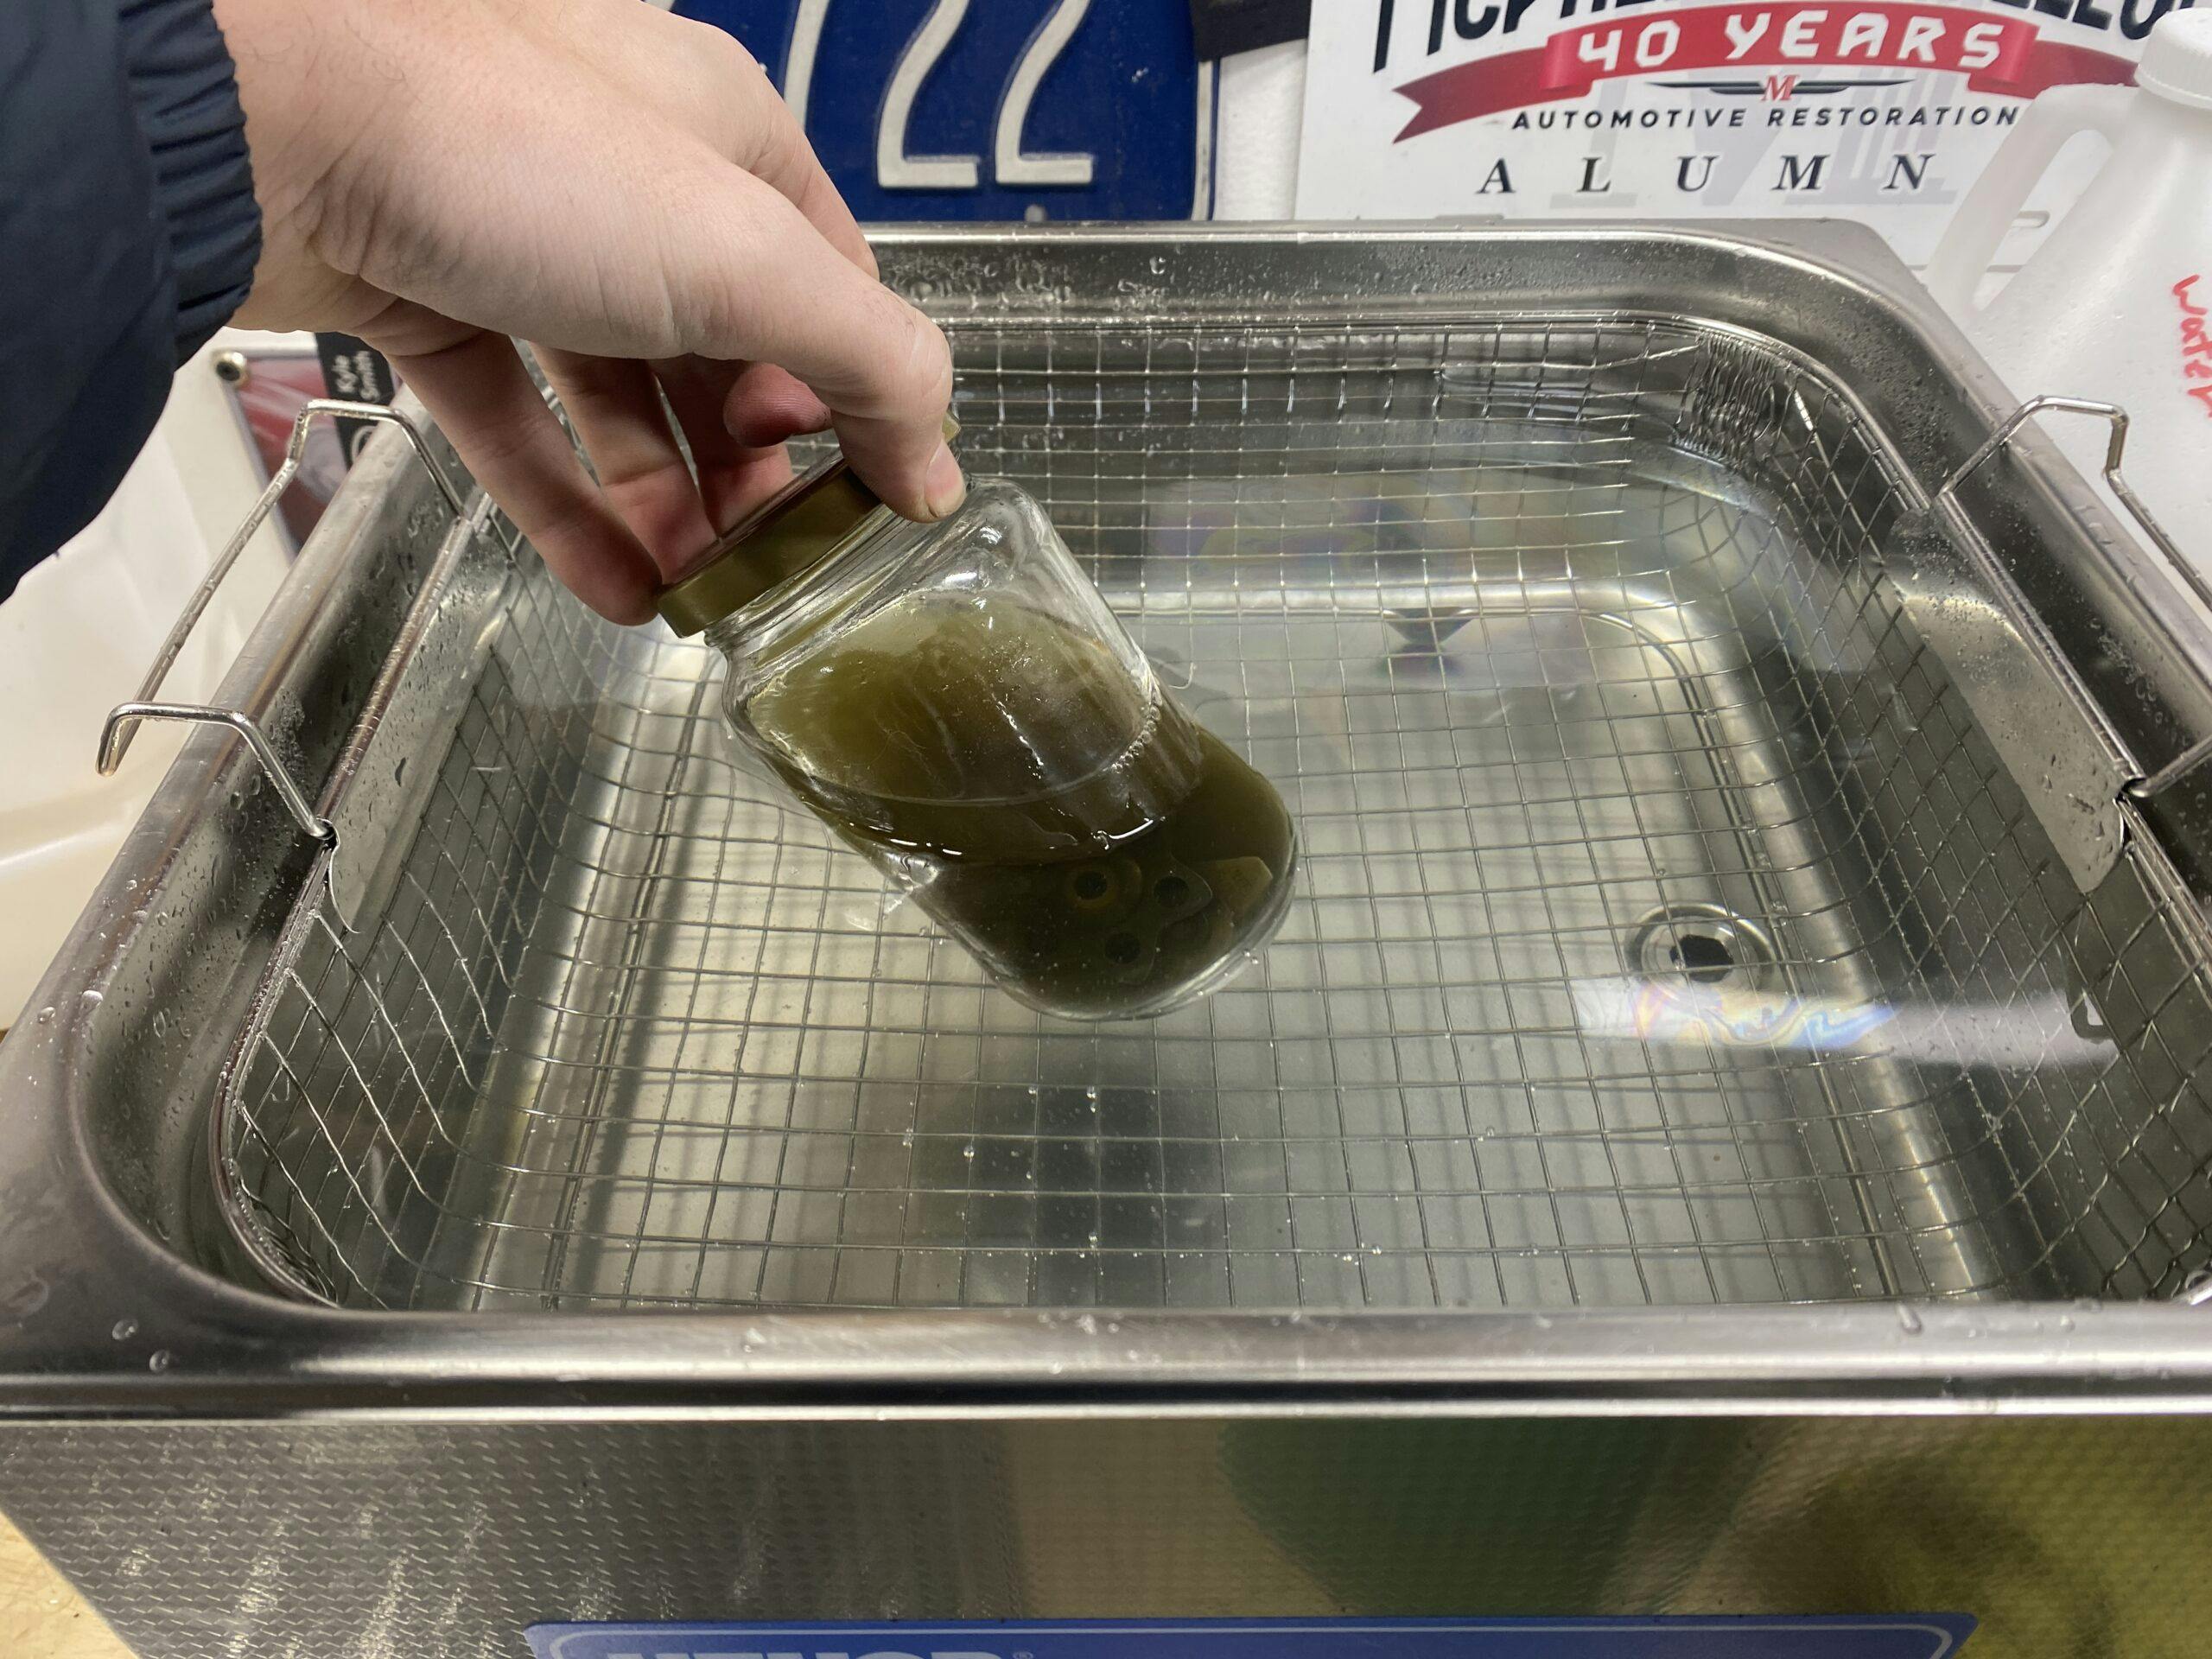
There is an even savvier strategy available for those who find even a simple wipe-up to be a little annoying. (Or maybe the idea of hazardous, oily water sitting around is something you’d prefer to keep contained.) That’s where jars or other sealed containers—filled with cleaning solution—come in handy; this method leaves you with smaller amounts of dirty broth.
Sound waves travel freely through plastic or glass with no diminished cleaning efficacy. The ultrasonic cleaner therefore does not care if the parts are submerged in the primary solution or the contained solution inside the jar. The water in the tub stays clean this way, which means the machine is always ready. Just toss your part in a jar and into the water and let the machine run. It’s a great option for smaller parts, in particular.
It’s (probably) not as great as you think
Not for me, anyway. I pictured just dropping parts in the first time, pushing a button, and pulling them out looking perfect and ready to go. Instead, there is a learning curve when it comes to choosing solutions and an overall process.
For me it meant getting over the fear of cleaning aluminum. Choose the wrong solution and there is a chance of cavitation pitting or even lose material. Lower frequency, like the 40-Hz found in most home machines, creates larger bubbles which are more powerful when they collapse—powerful enough that it can tear soft aluminum. Try a sheet of tin foil in an ultrasonic cleaner and watch it get torn to shreds; that could happen to the surface of the piece you are trying to restore.
So with that in mind, this is †not the be-all end-all garage accessory. It is a really handy thing, though. If you are at all like me and have the basics tools for DIY maintenance and upkeep of vintage machines already covered, an ultrasonic cleaner might be worth it. The cost has come down enough that even ones like the 15-liter unit I purchased can be had for under $200. With this tool in my arsenal, my favorite sub-$1000, “just needs carb work” motorcycles from online classifieds don’t stand a chance against my newfound cleaning confidence.
***
Check out the Hagerty Media homepage so you don’t miss a single story, or better yet, bookmark it. To get our best stories delivered right to your inbox, subscribe to our newsletters.


A poor mans cleaner is Dawn dish soap and a pan. I have cleaned many things including gunked up carbs this way with great success.
Always enjoy Kyle’s articles- very informative for us amateur mechanics. I’ve been wondering if an ultrasonic cleaner would be helpful (or harmful) in resurrecting the 4 carburetors on a Kawasaki that hasn’t been run in about 15 years. How about a follow-up with specifics on temps, frequencies, solvents, etc? Thanks Kyle!
Good suggestion, Steve. I too have been putting off investing in an ultrasonic cleaning tank, and became convinced to try one after reading Kyle’s article. Some specific “recipes” would indeed be helpful. Funny though, I read the article shortly after watching a YouTube video (Den of Tools), where there was quite a discussion about VEVOR and how to be beware of the company’s perhaps shady practices – and then there is Kyle’s machine proudly on display! 🙄
Dub, Do yourself a favor and get an Ultrasonic Power unit. The old adage, you get what you pay for. See my post at the bottom, the units like Vevor are cheaply constructed, of course they are not the only ultrasonic company to offer that type of ultrasonic tank. cheers!
You mean 40khz don’t you?
40kHz is the most common Kilo Hertz mode for ultrasonic tanks.
ive had one for years, got it for cleaning injectors
Loved the idea of putting small parts in a plastic container, and then in water in the tank. Very important to reach a minimum column of water if your cleaner has a heater.
I often use simple green as a solvent to clean my bicycle chain & gears.
Al, Use Pyrex instead of a plastic container. Plastic is an acoustical sound absorbing material. Using plastic will greatly diminish the ultrasonic sound wave. Cheers!
been wanting to get a ultrasonic for a while to actually clean my india black ink art pens that have incredibly fine tips that get permanently clogged after lack of use for a few weeks. some jewelry cleaners are very inexpensive AND still big enough to hold something like a fuel injector size part. Your tip of putting a dirty part in it’s own jar instead of the main tub is so smart!
TPC, good idea but make sure you use a detergent that will solubilize the coagulated ink. Using a pyrex beaker would be better because the ultrasonic sound wave will pass through glass and cavitate the detergent water in the vessel. Ultrasonics will crack regular glass over a period of time.
The ultrasonic cleaning tank featured is an inexpensive, cheaply constructed unit NOT intended for industrial use. It’s fine for lab or jewelry cleaning applications or the home mechanic. Why? Because the pan is thin 300 stainless steel. A thin ceramic ring (transducer) is bonded to the bottom of the tank, wired to a cheap PC board (Generator). They last max 2-years. In a production or commercial maintenance setting you would want an industrial grade ultrasonic tank that comes with a pump and filtration kit. Heavy gauge 316L SS, industrial grade LZT piezoelectric transducers provided intense effective cleaning. These units can be found at Ultrasonic Power Co. They are pricey but worth the $. You will get 15-years life out of an industrial grade ultrasonic tank.
Great article, Kyle! How has your Vevor unit holding up? I’m a Hagerty client with several Rolls-Royces… lots of parts I’d like to clean. THX!!!