4 tips for re-covering a motorcycle seat like a pro
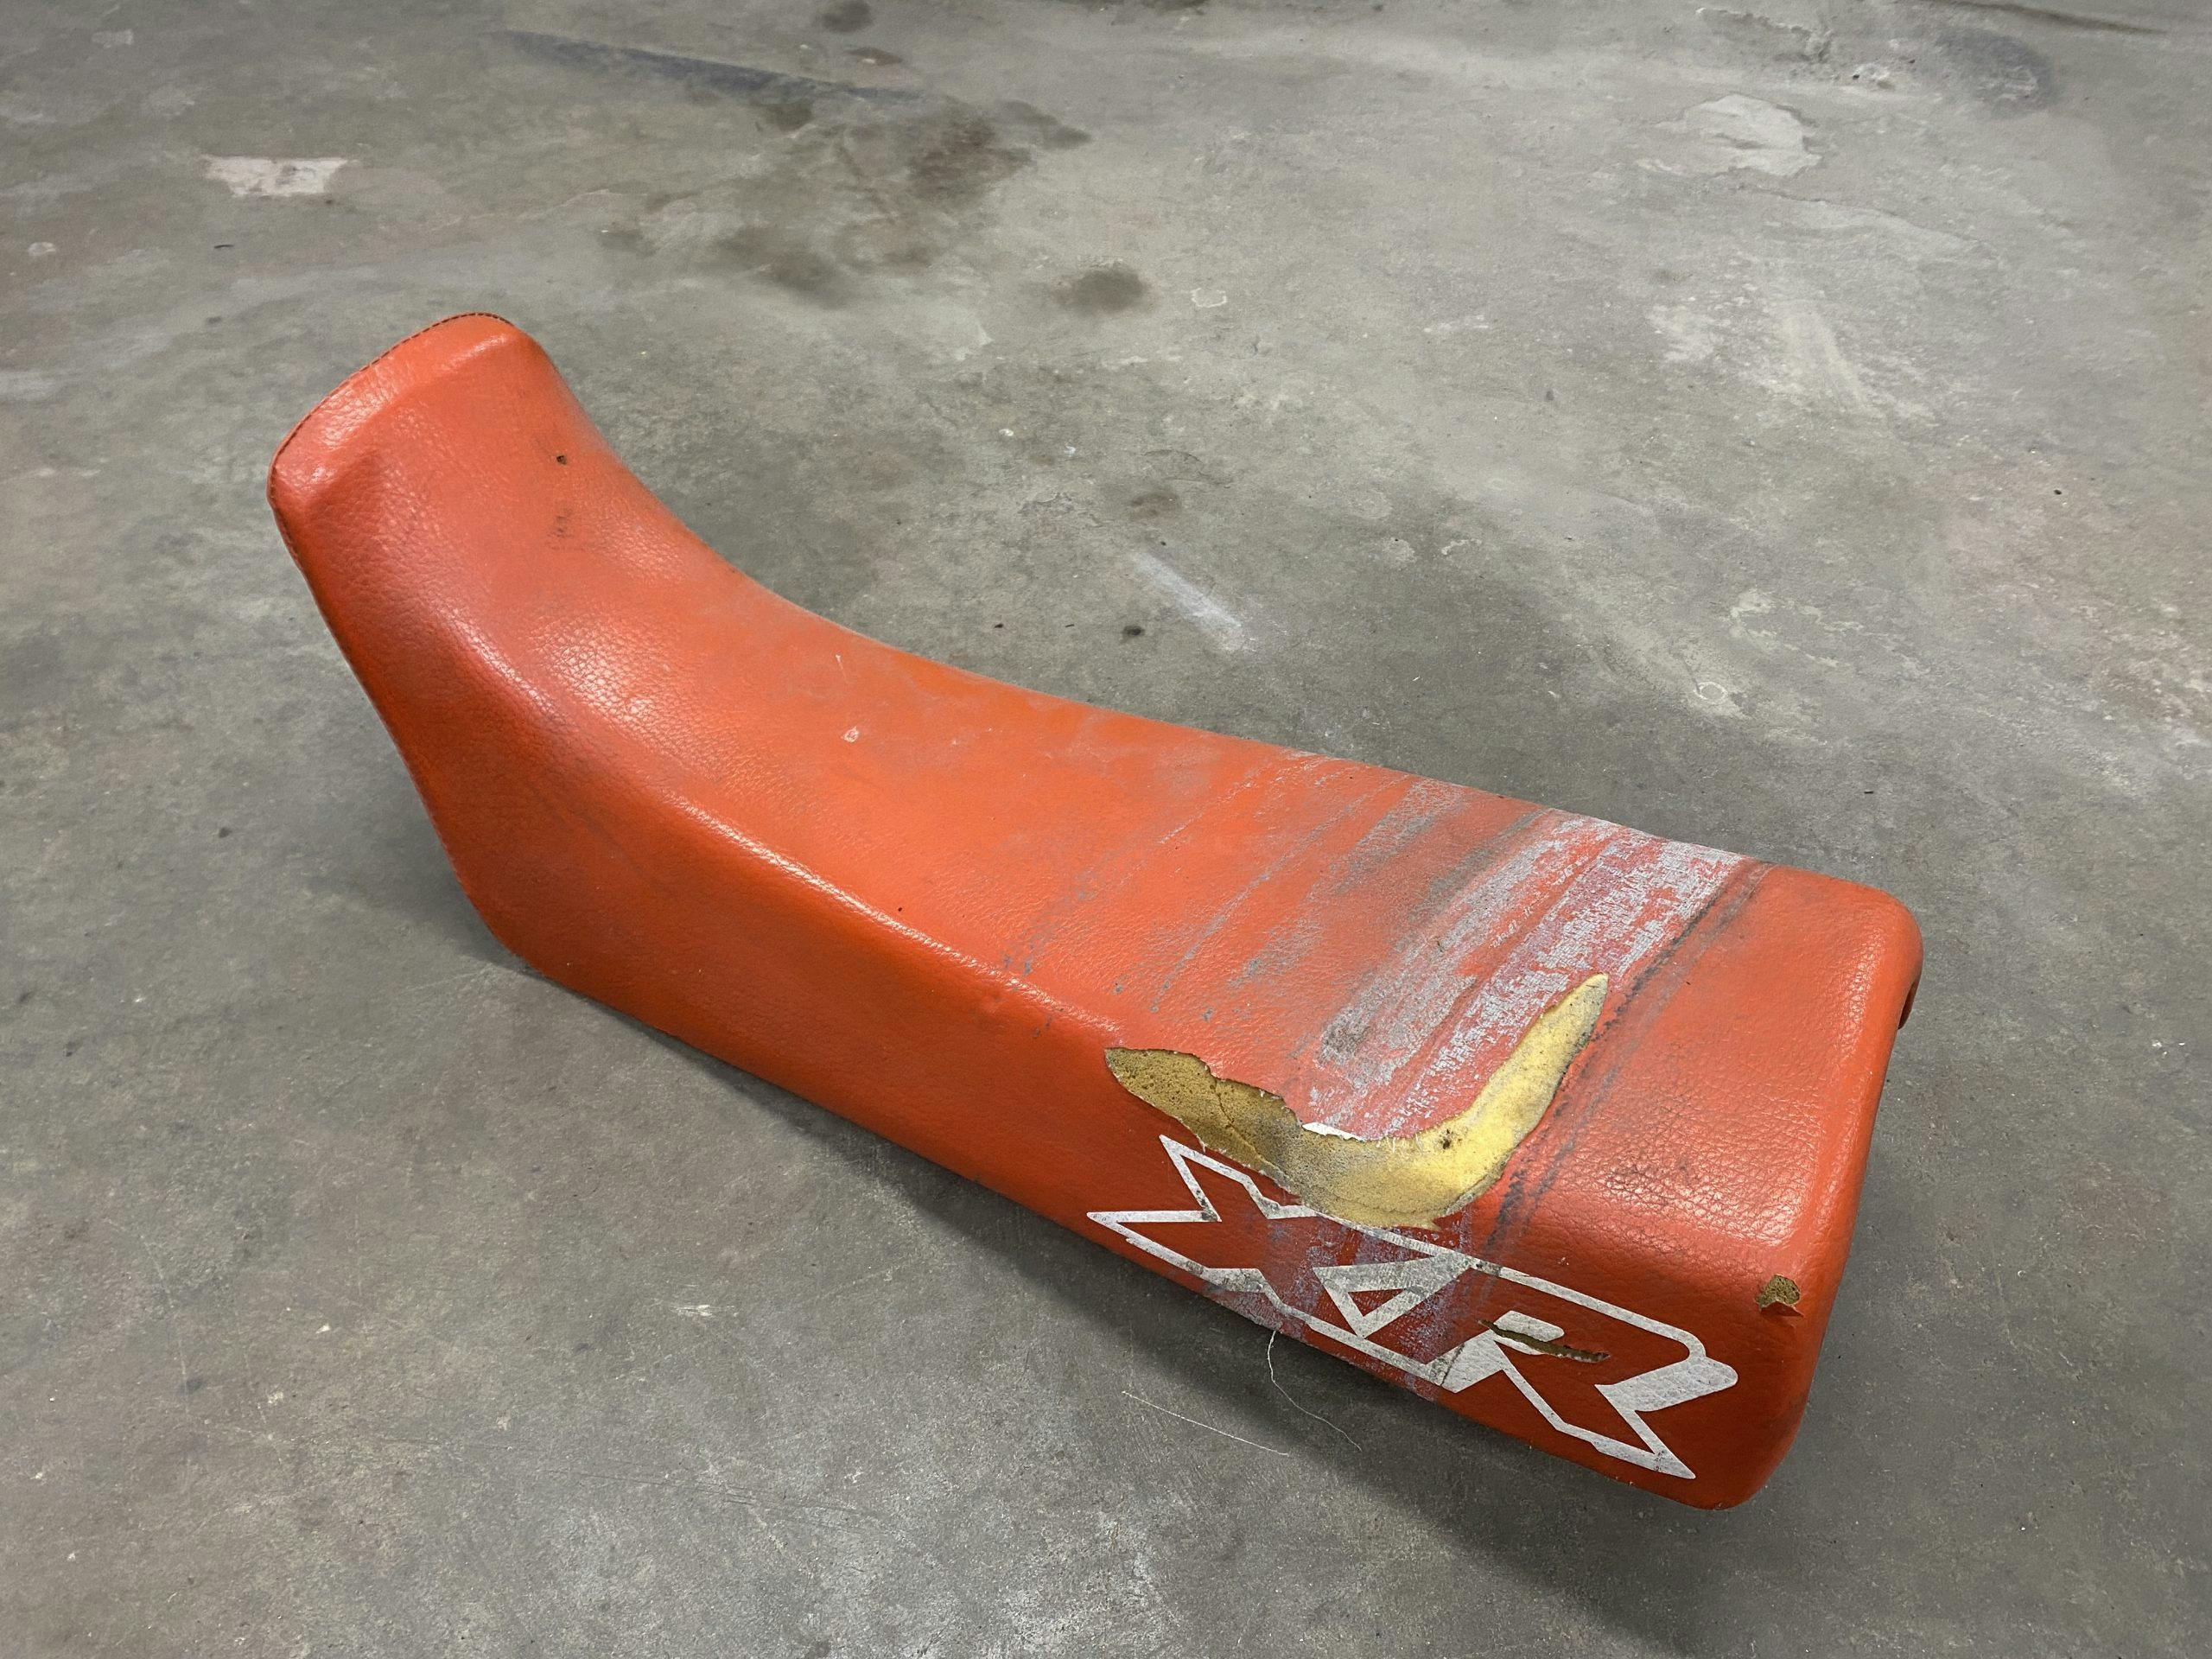
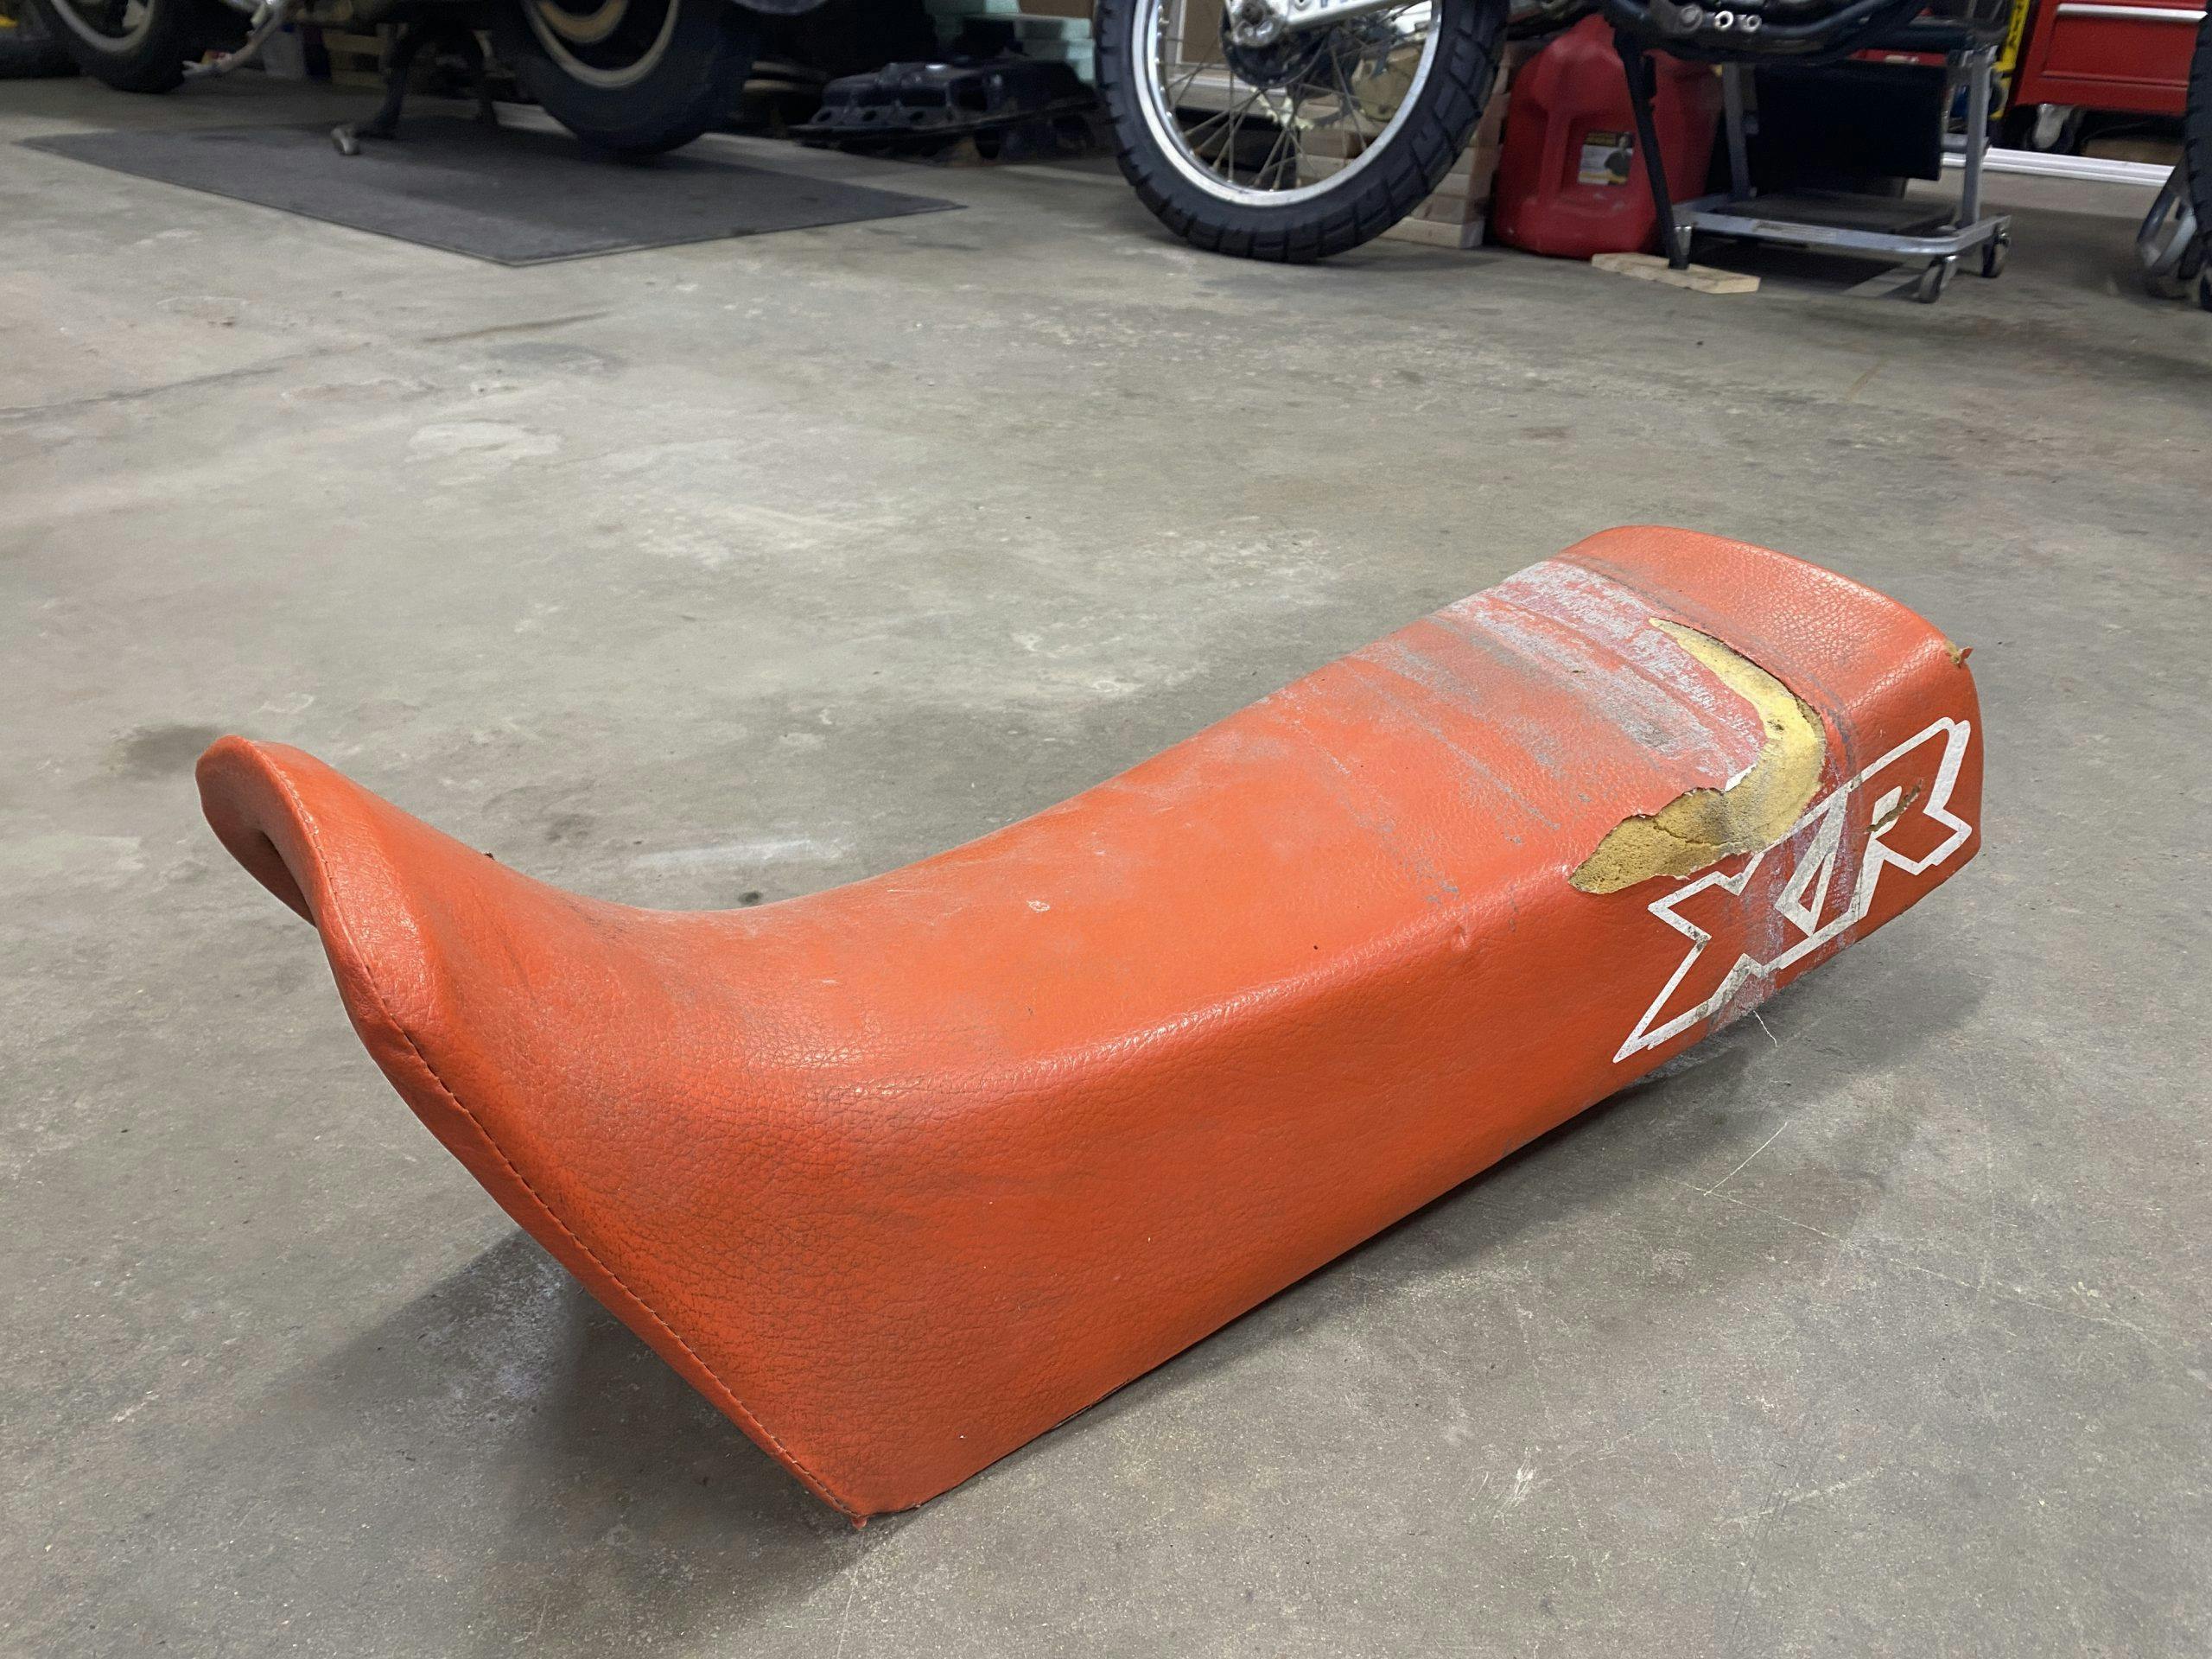
The rough-and-tumble condition of my Honda XR250 has been its best feature over the last year. The mismatched and broken plastics combined with the torn, duct-taped seat meant that I simply had fun riding the thing. If I or a friend dropped the bike on the trail, no one needed to feel the least bit of guilt. There were plenty of vehicles in my garage with nice paint and carefully preserved finishes, but this XR wasn’t one of them. That is all starting to change, though.
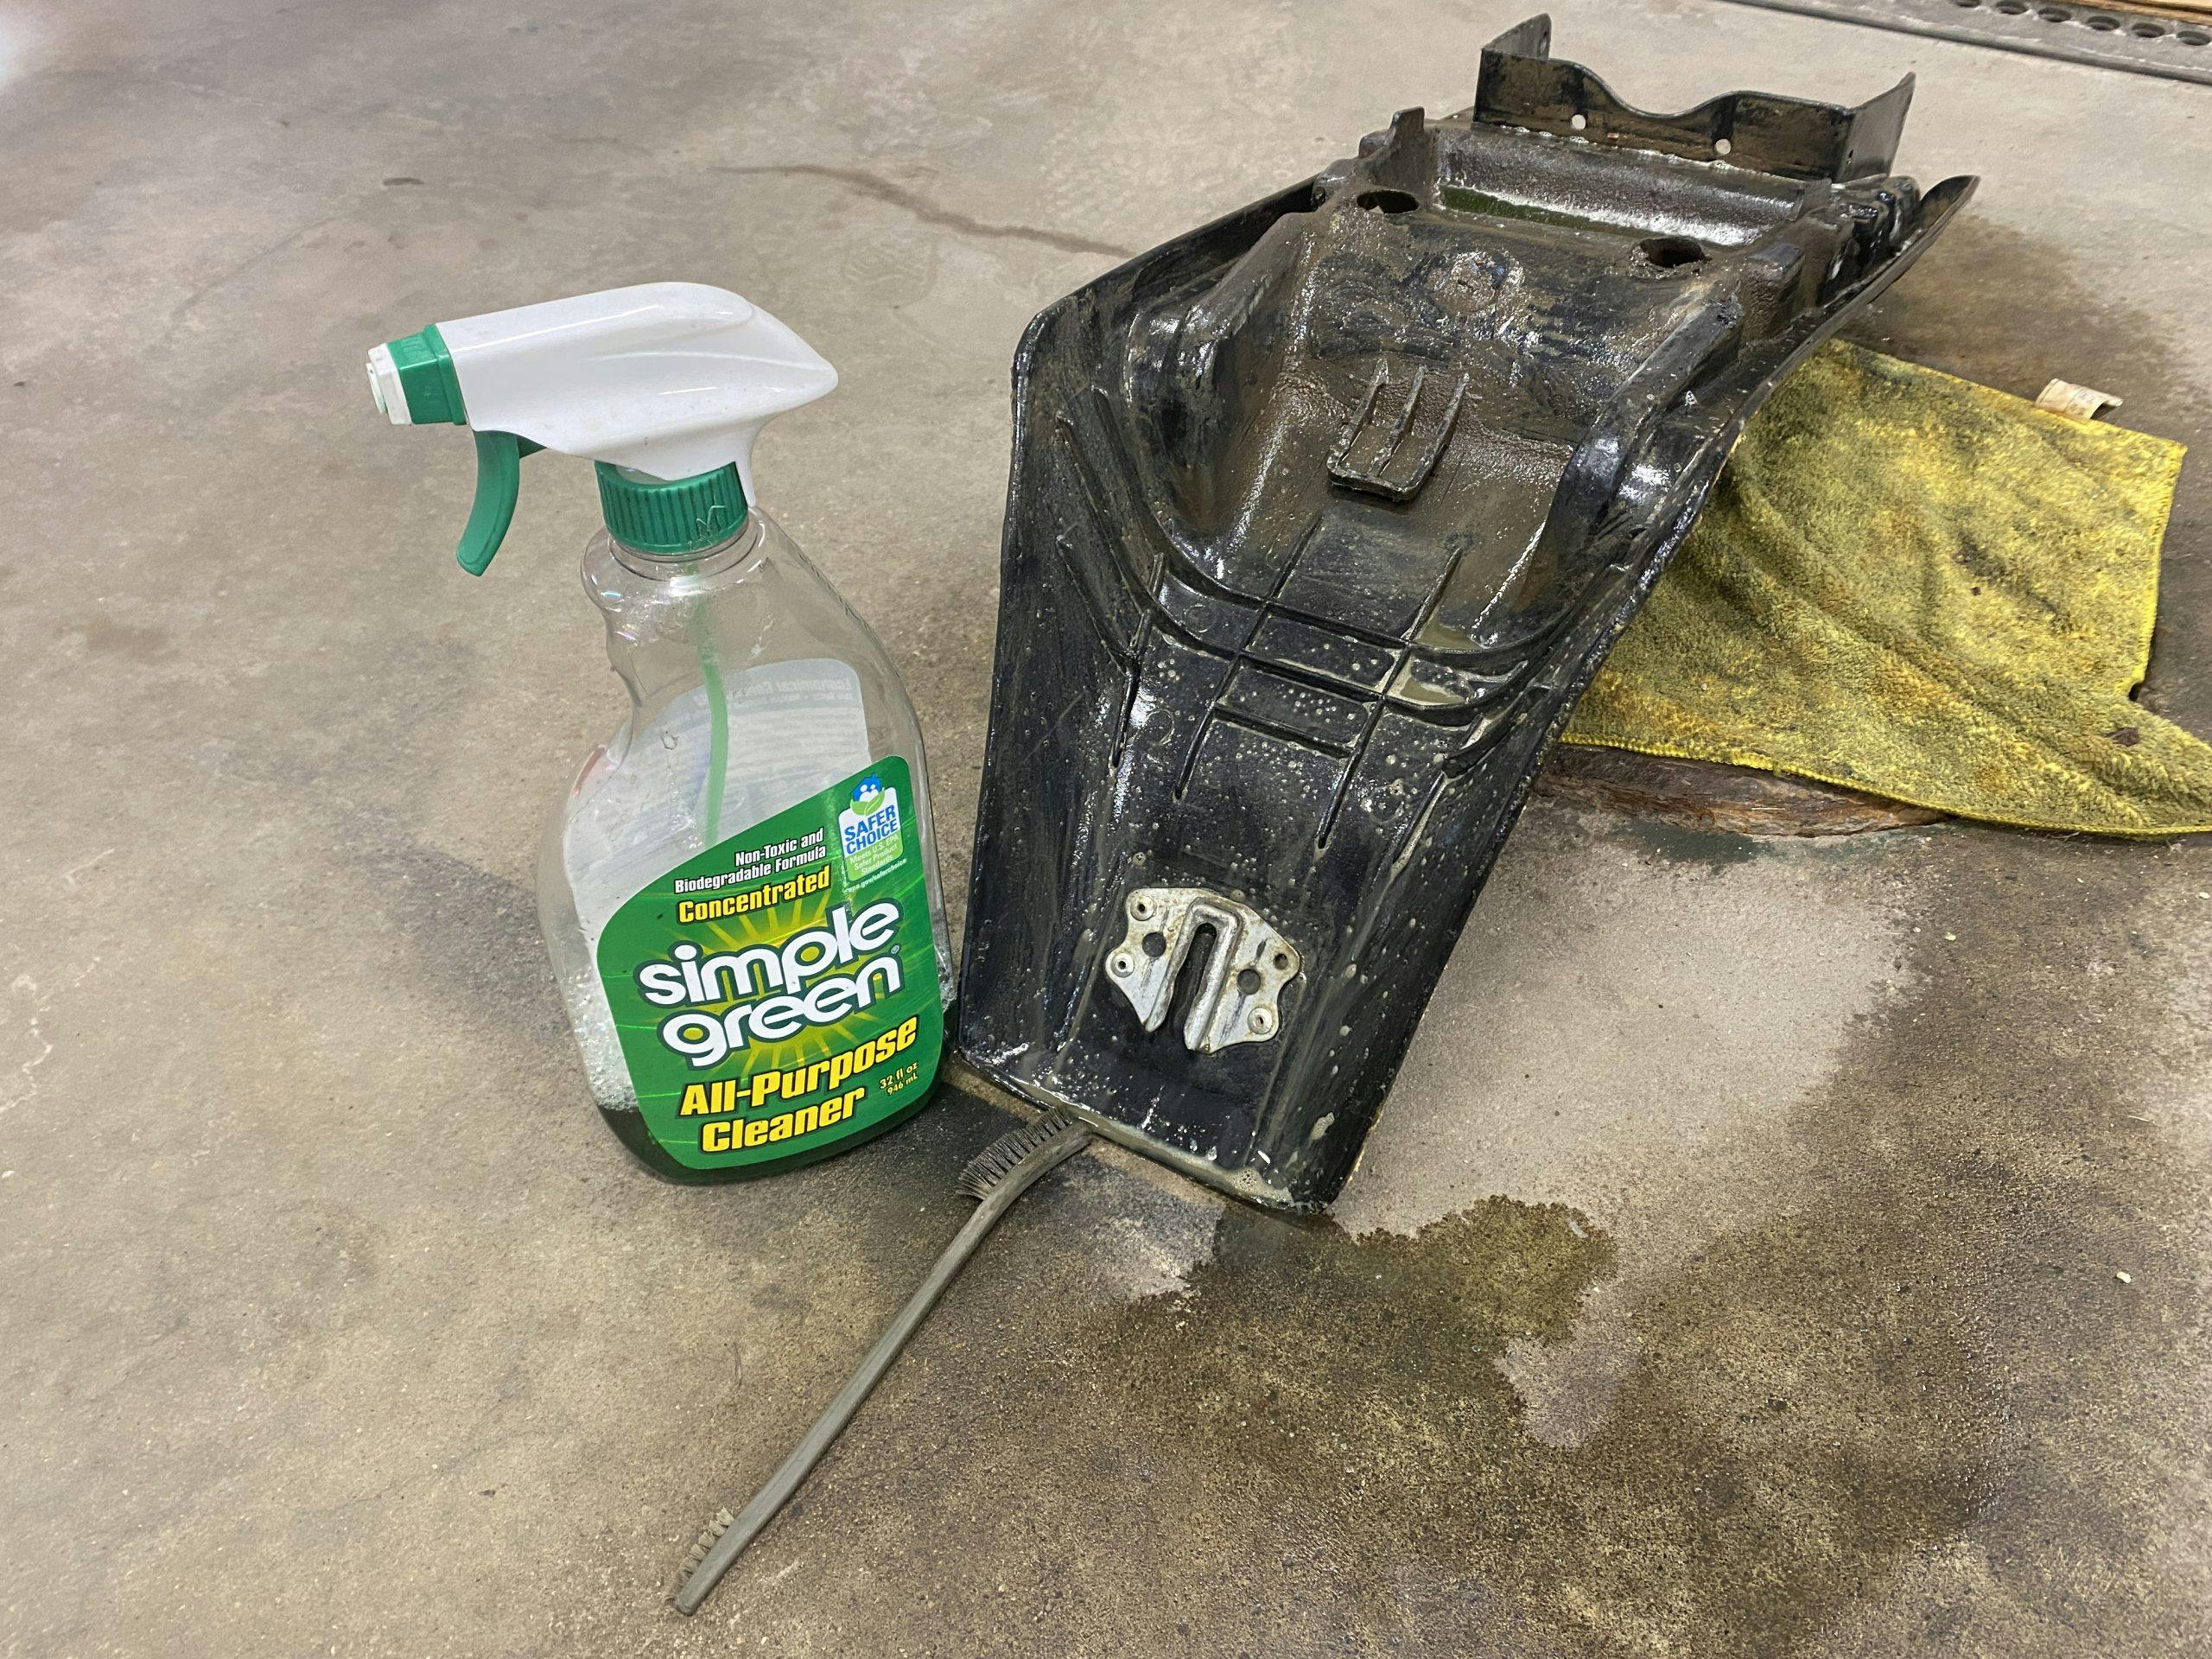
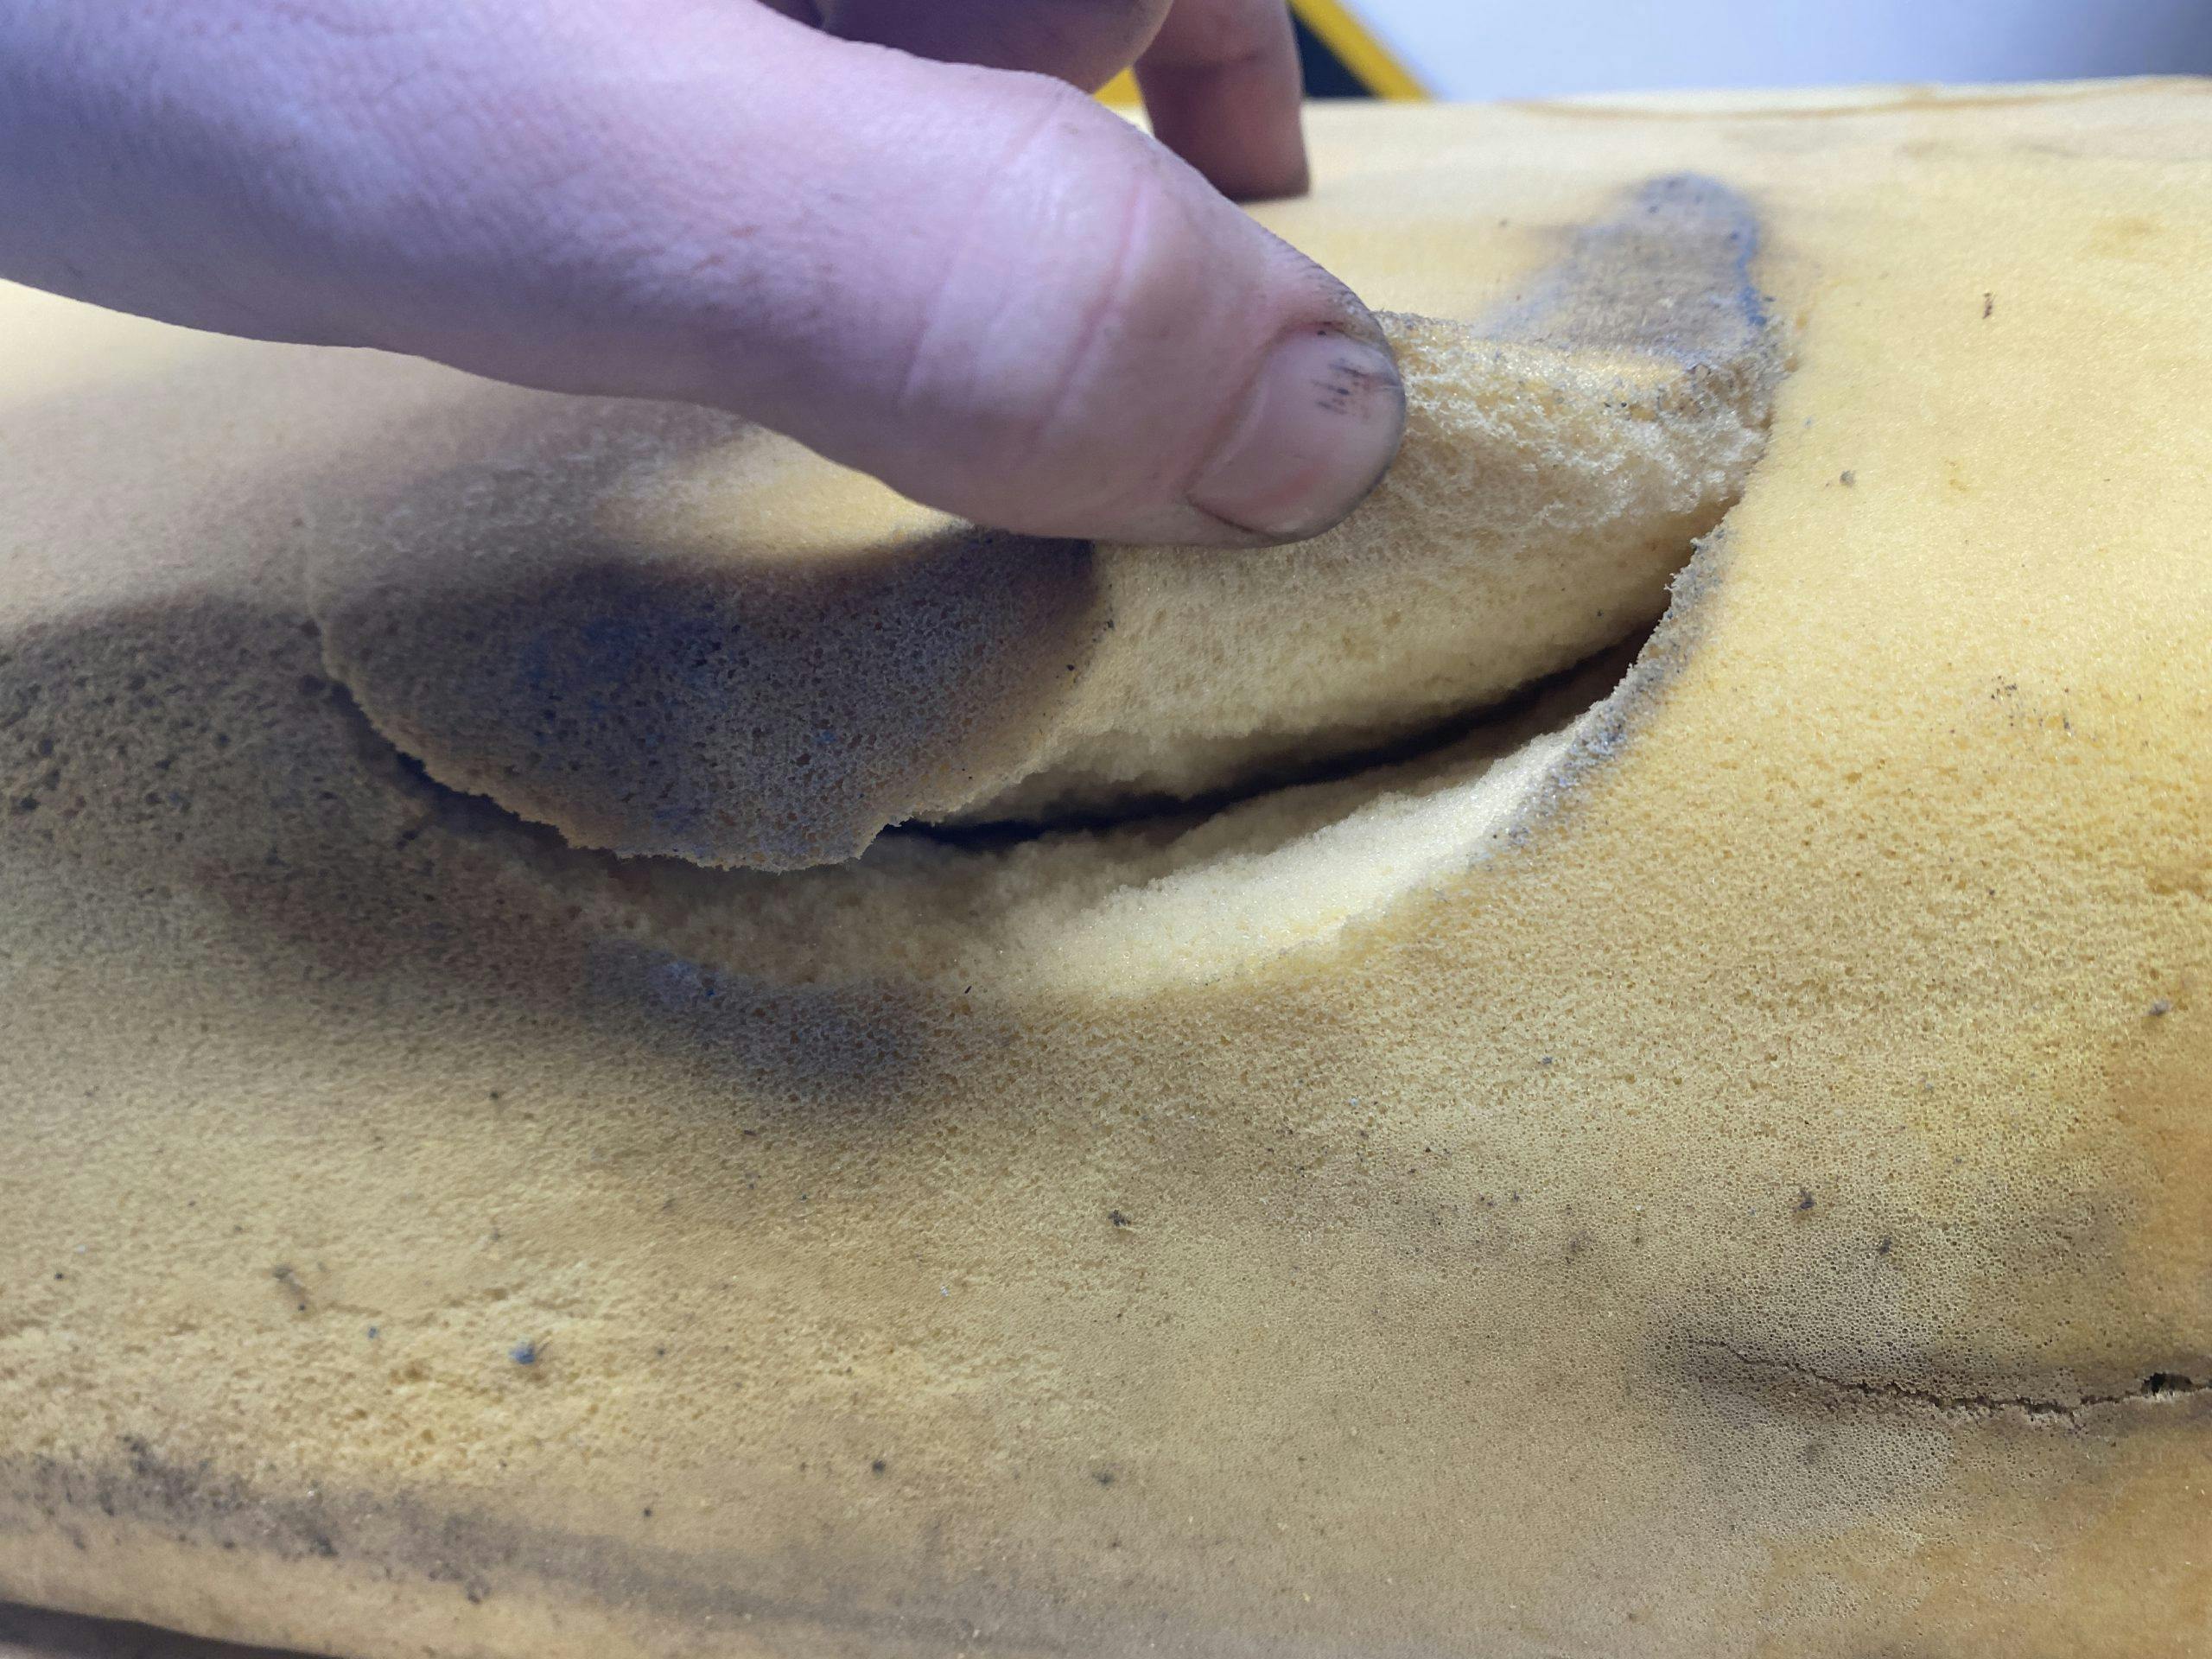
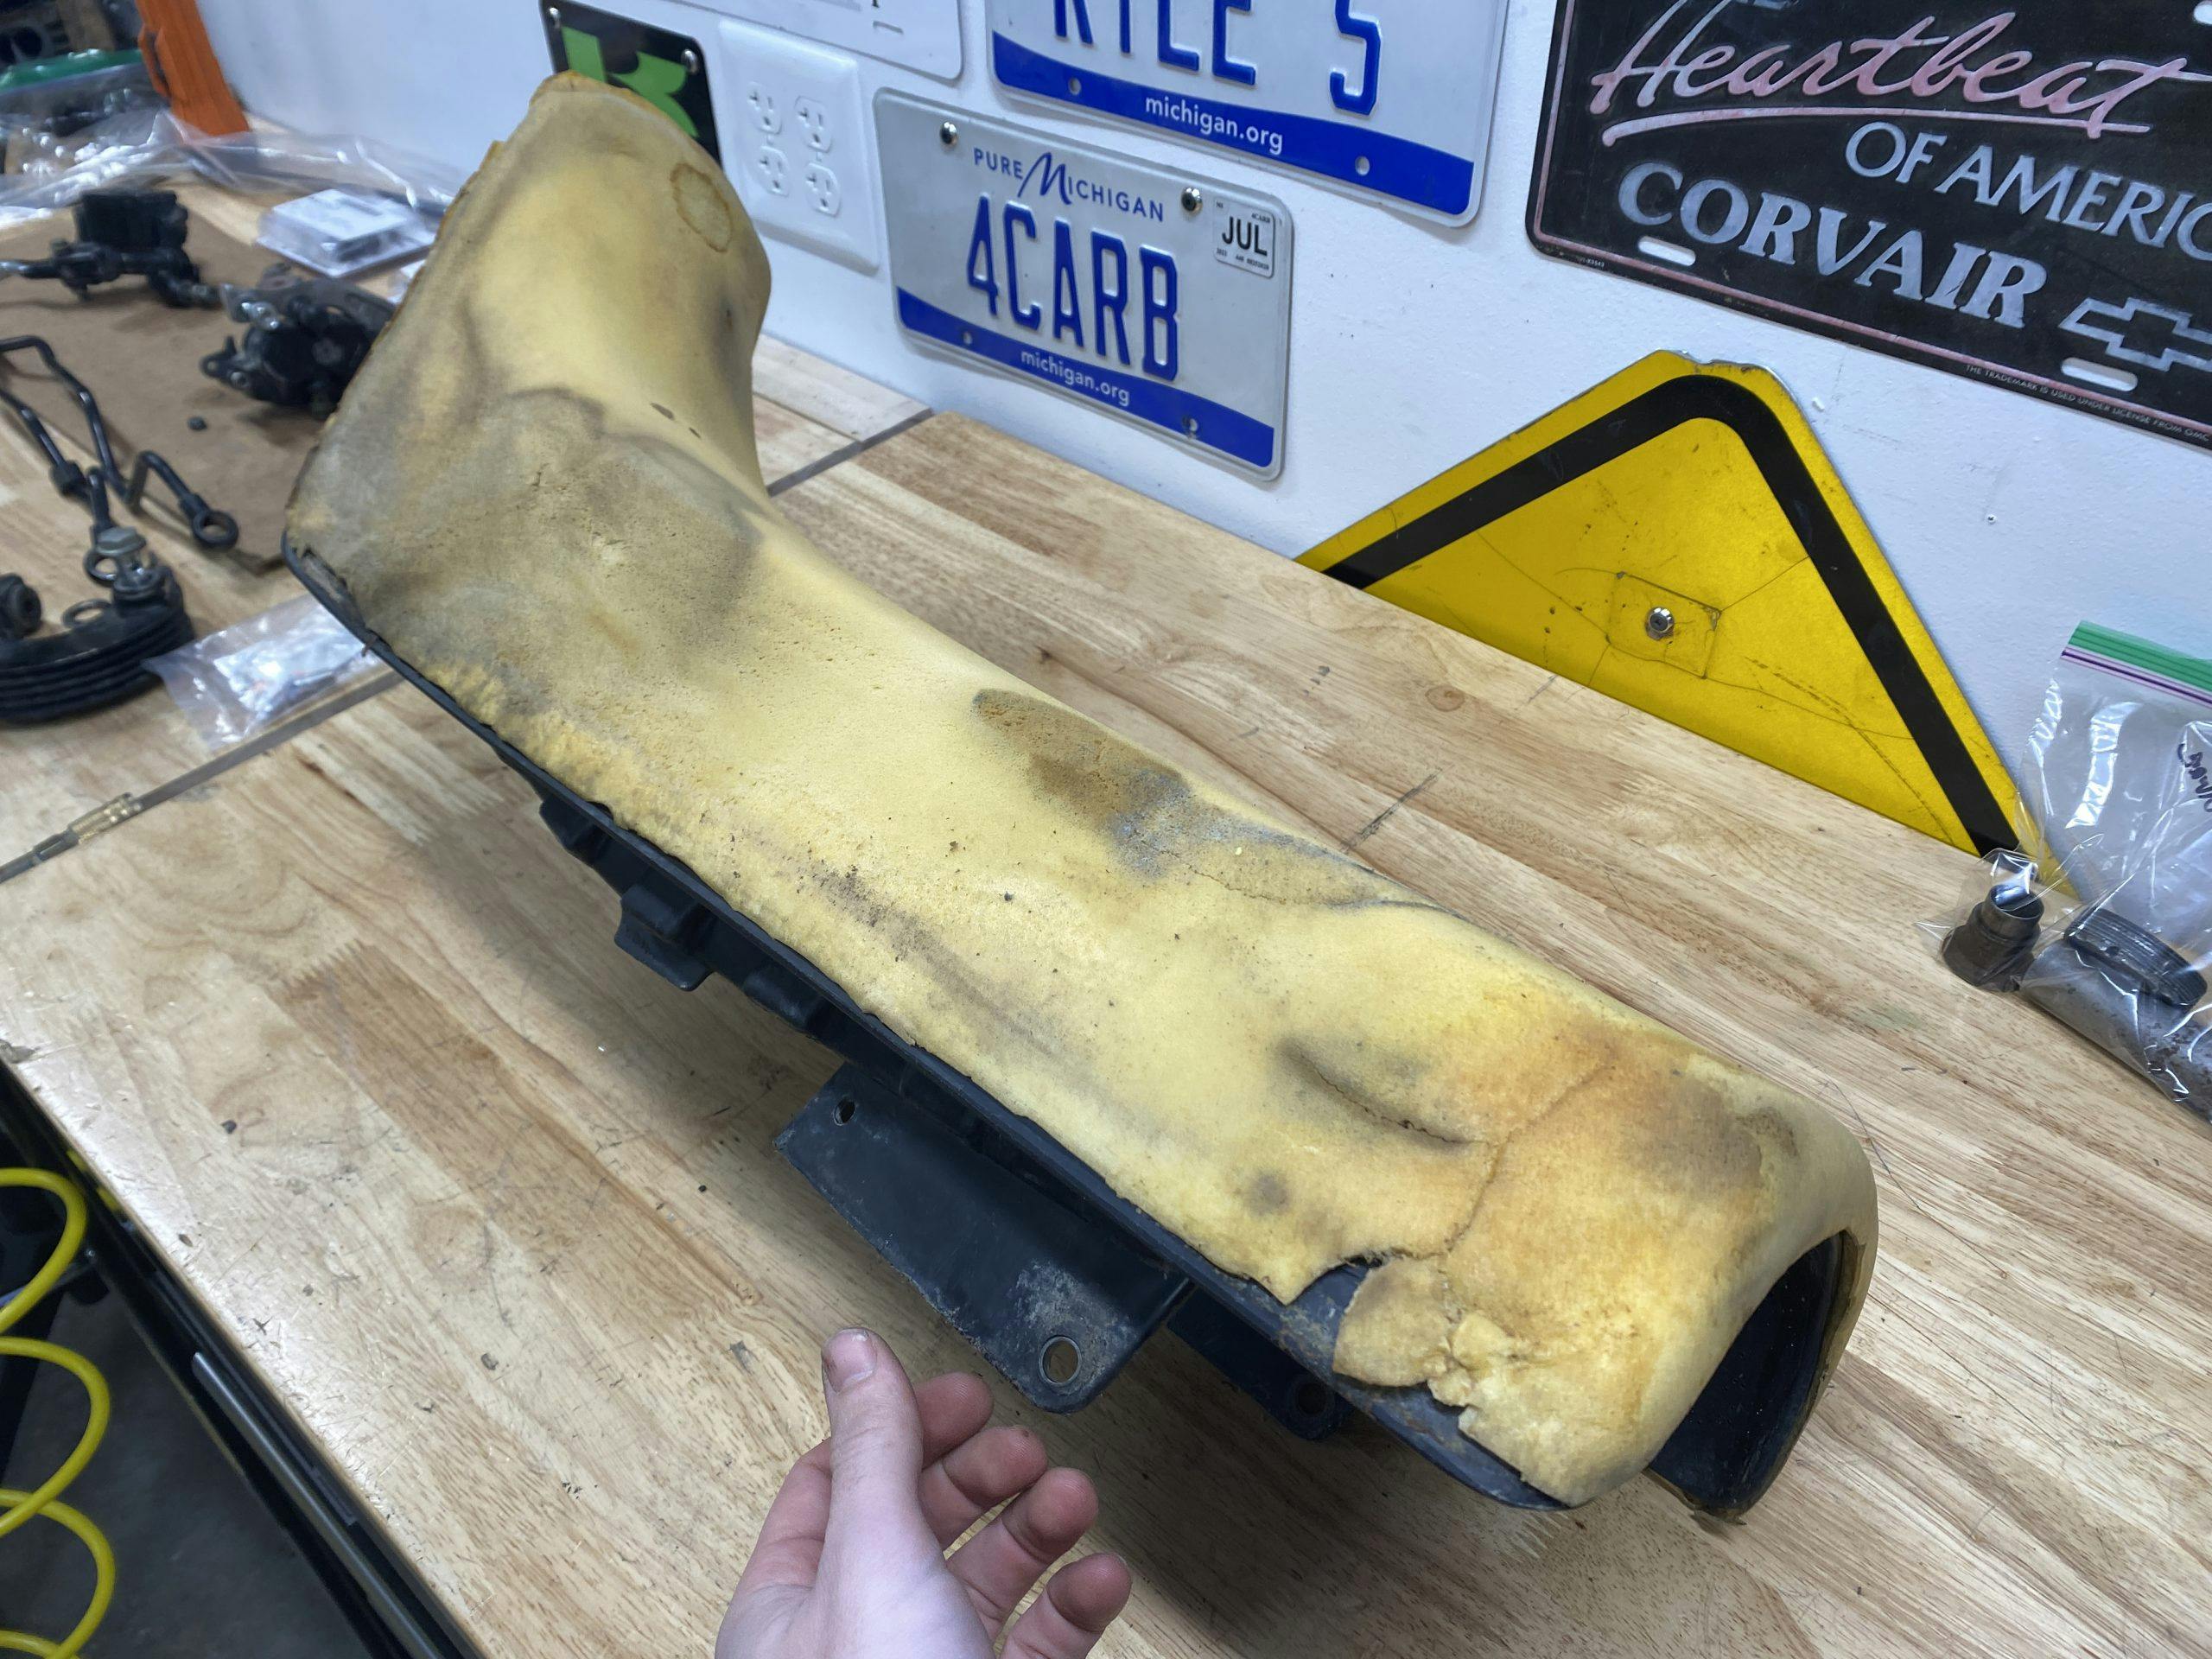
I’ve torn this machine all the way down to its skeleton, and I’m carefully rebuilding it to function flawlessly but still be genuinely usable. One item that wouldn’t pass muster was that duct-taped seat. Even when I tried to ignore it, that tear bothered me. It wasn’t simply an aesthetic problem, either, because the rip was allowing the foam base underneath it to deteriorate. The seat needed a new cover.
Re-covering a seat is not a big deal, assuming you know a couple simple tricks. Here are the four key ones.
Buy the best quality cover you can
Many car- and bike-related components have dropped in production quality recently, but replacement seat covers for motorcycles have suffered particularly badly. The race to produce the cheapest cover has made it difficult to find one worth your coin. The colors and markings rarely match OE-spec, even if you’re willing to expand your search to any and all materials. If you can buy a seat cover of good quality, do not be cheap. The fit and finish is worth the money, and it will also likely be easier to work with as you install it.
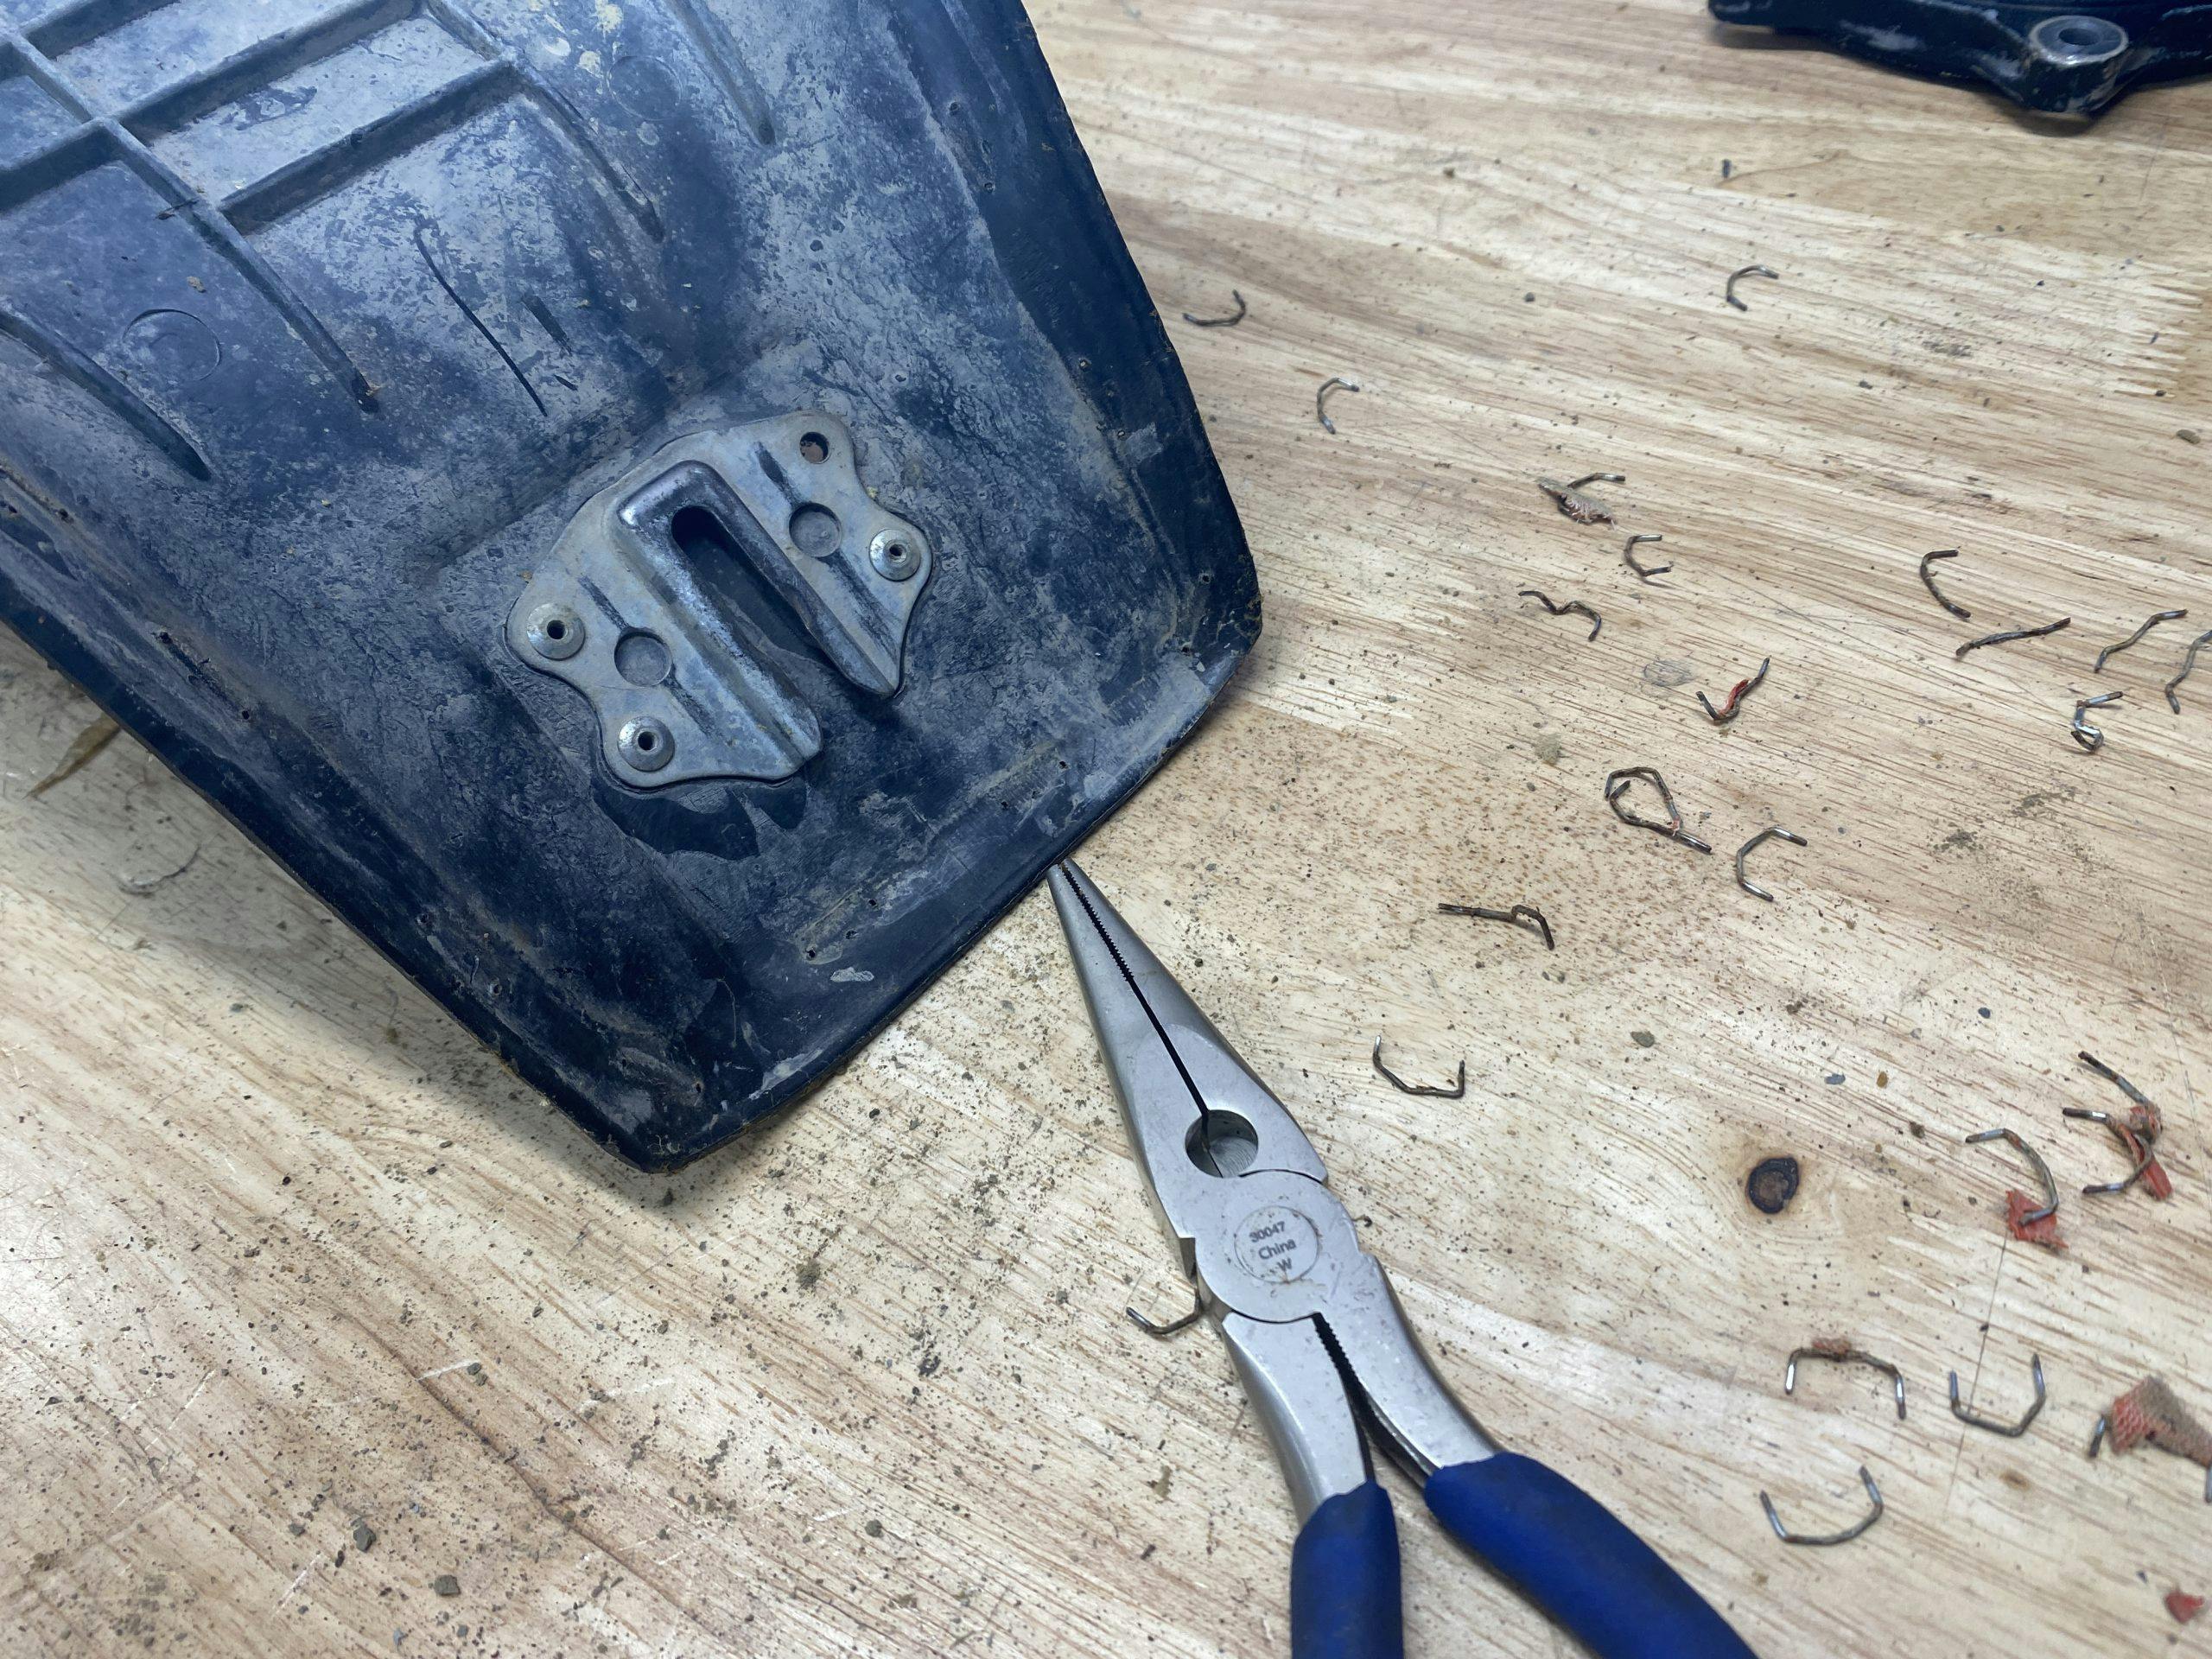
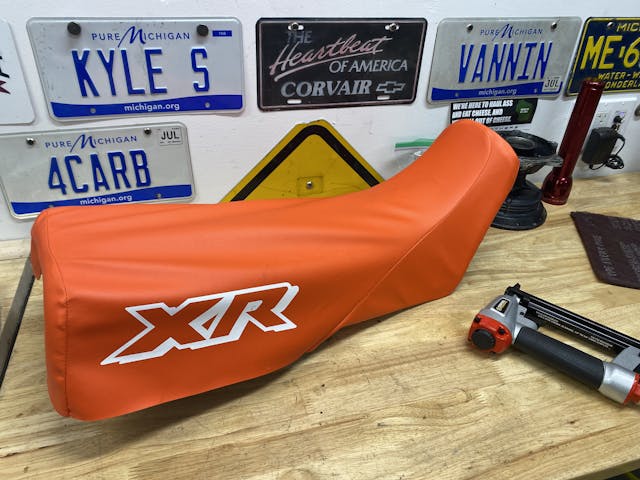
Splurge for an electric or pneumatic stapler

Along the same lines of argument, spend a few bucks and get yourself an electric or pneumatic stapler. In this case, I took a trip to Harbor Freight and bought the wide-crown pneumatic stapler. It’s just over $30 and will perfectly serve my needs. Replacing a seat cover with the right tools will still make you wish for a third hand, but the ability to accurately and quickly place a staple will make the finished result look much cleaner.
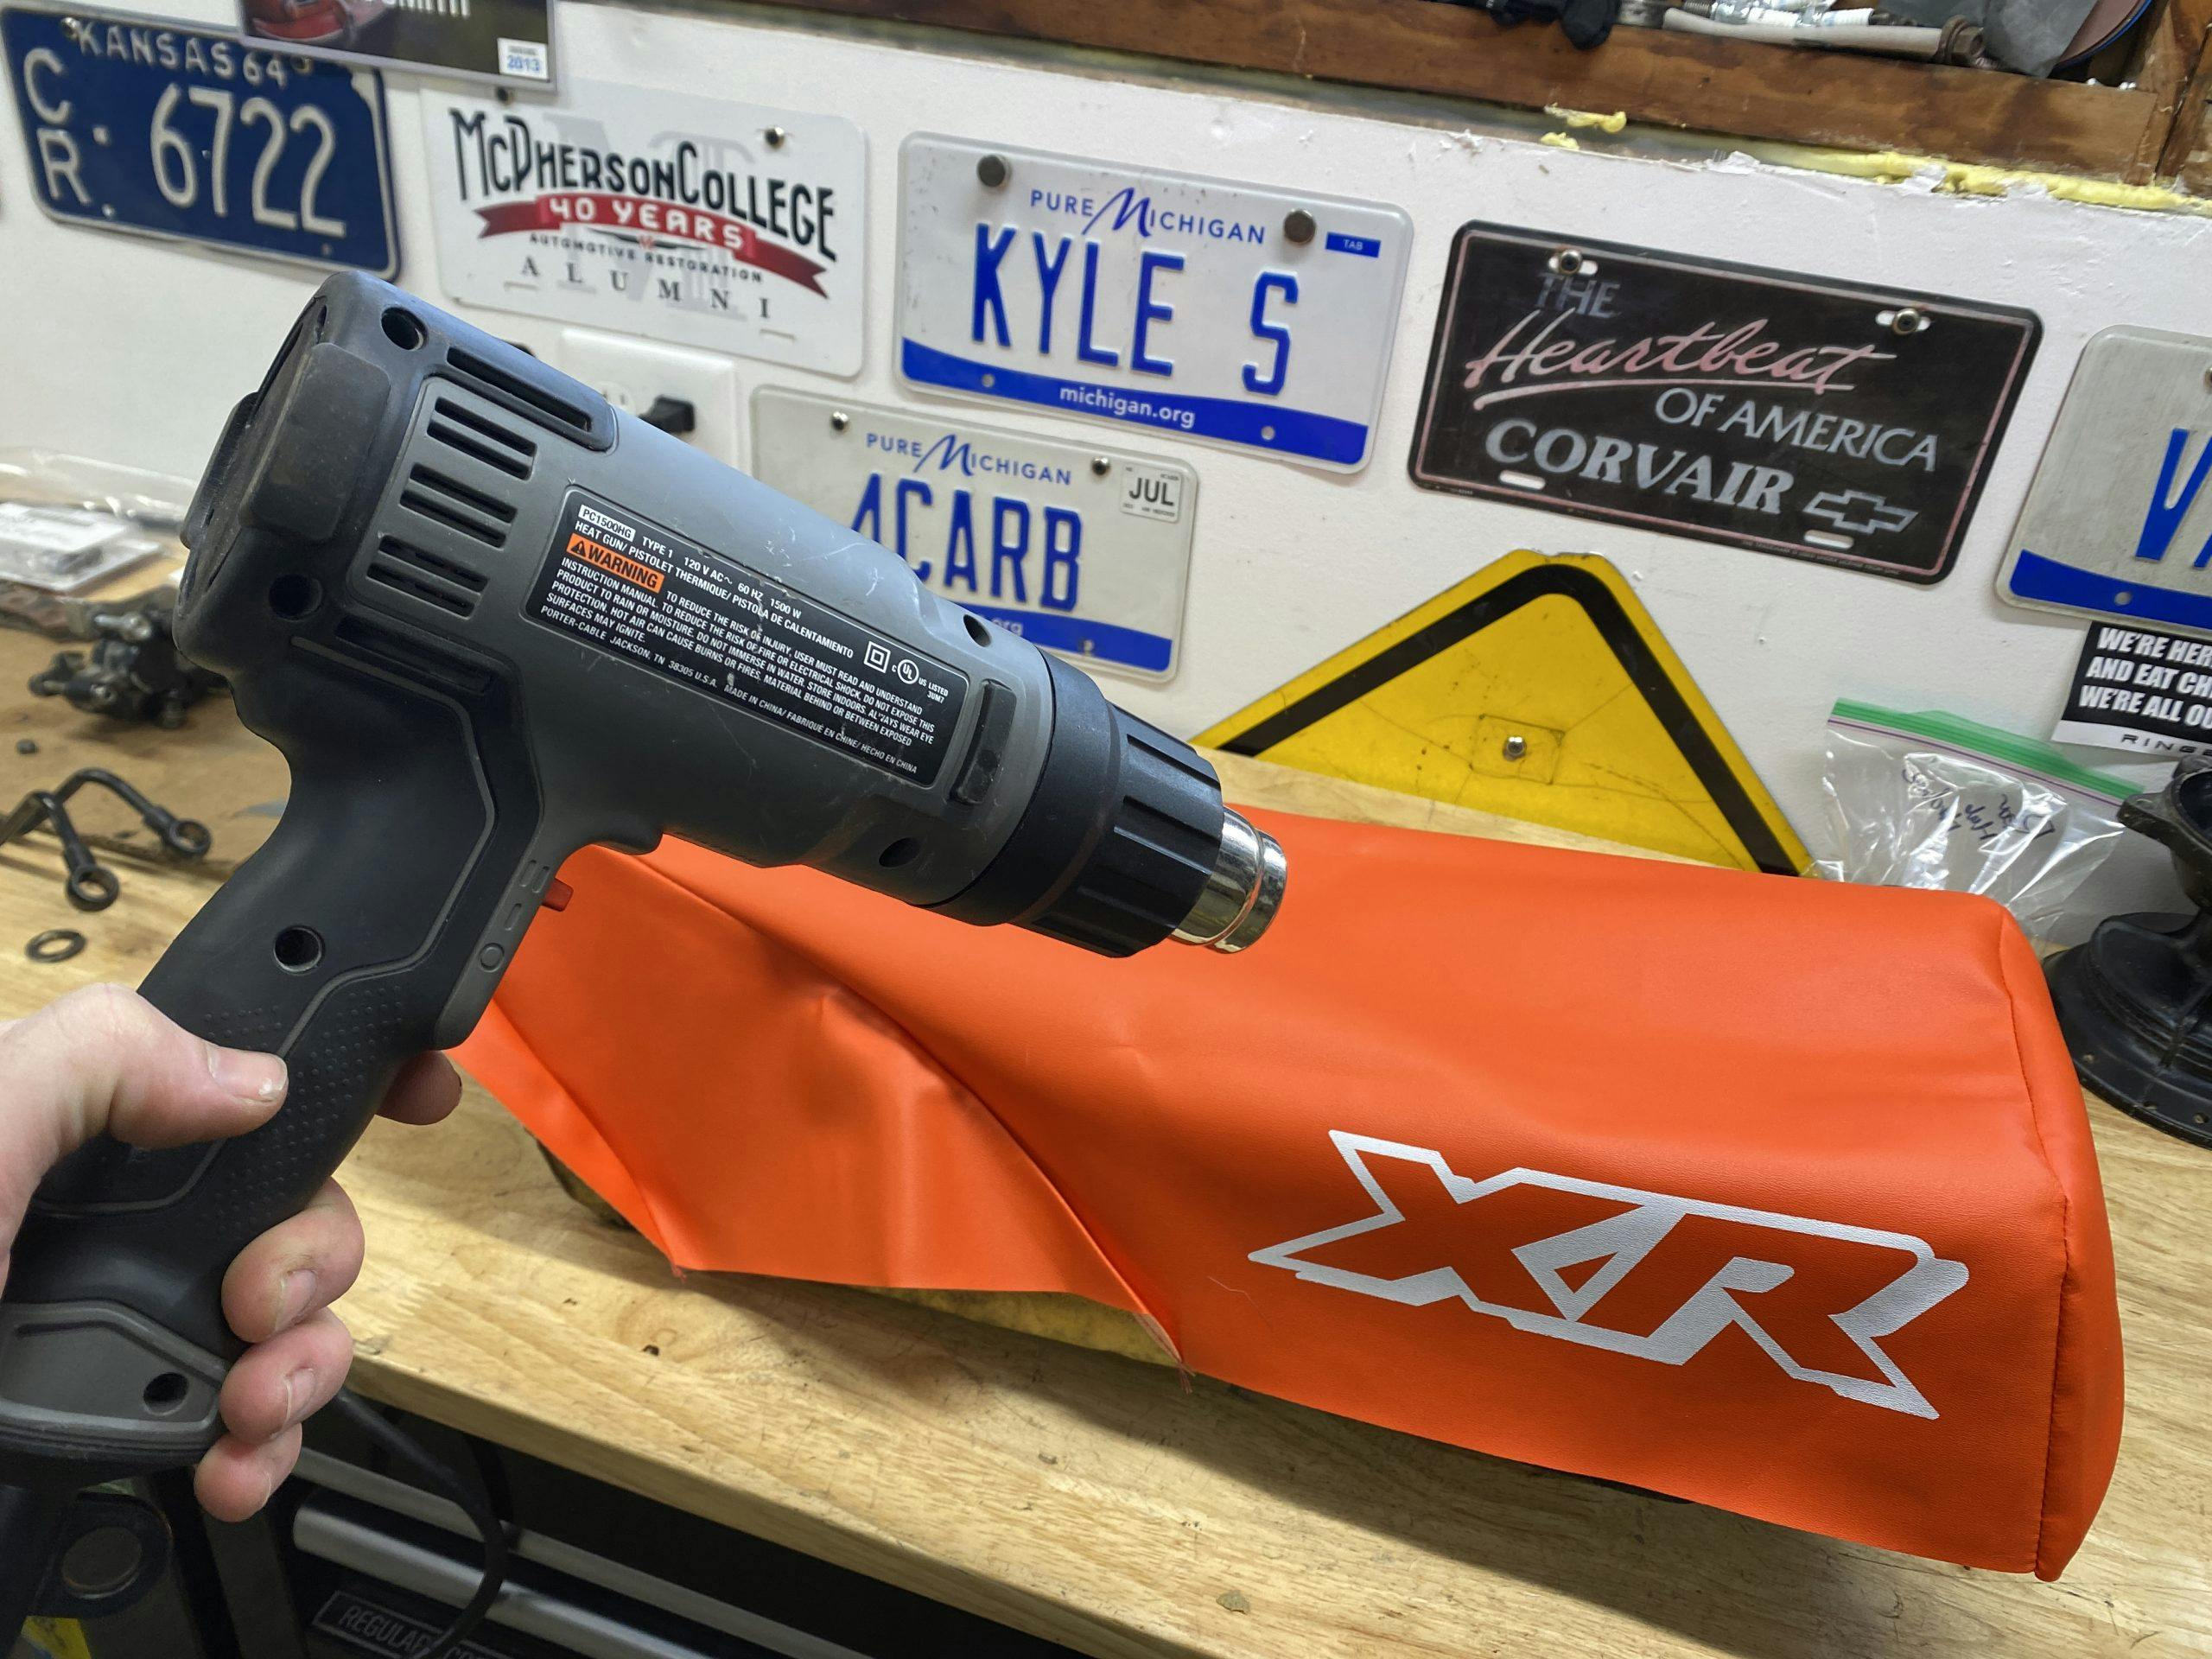
Don’t be scared of the heat

My workspace is heated, but I keep it at just 50 degrees for most of the cold Michigan winter. That is not nearly warm enough to allow the vinyl cover to stretch properly. In a perfect world I would lay out the cover in the warm sun for the morning while I disassemble the seat, and it would be nice and flexible by the afternoon. For this late-January project, the electric heat gun got pressed into service. Careful—and I mean careful—application of heat will make fitting the new cover so much easier. The reason you need to be extra careful is that vinyl, and especially cheap vinyl, doesn’t give you much warning before it melts and becomes quite ugly. Anything above warm to the touch is dangerous, and most decent heat gun will heat thin vinyl up to that point rapidly.
Head to toe, then side to side
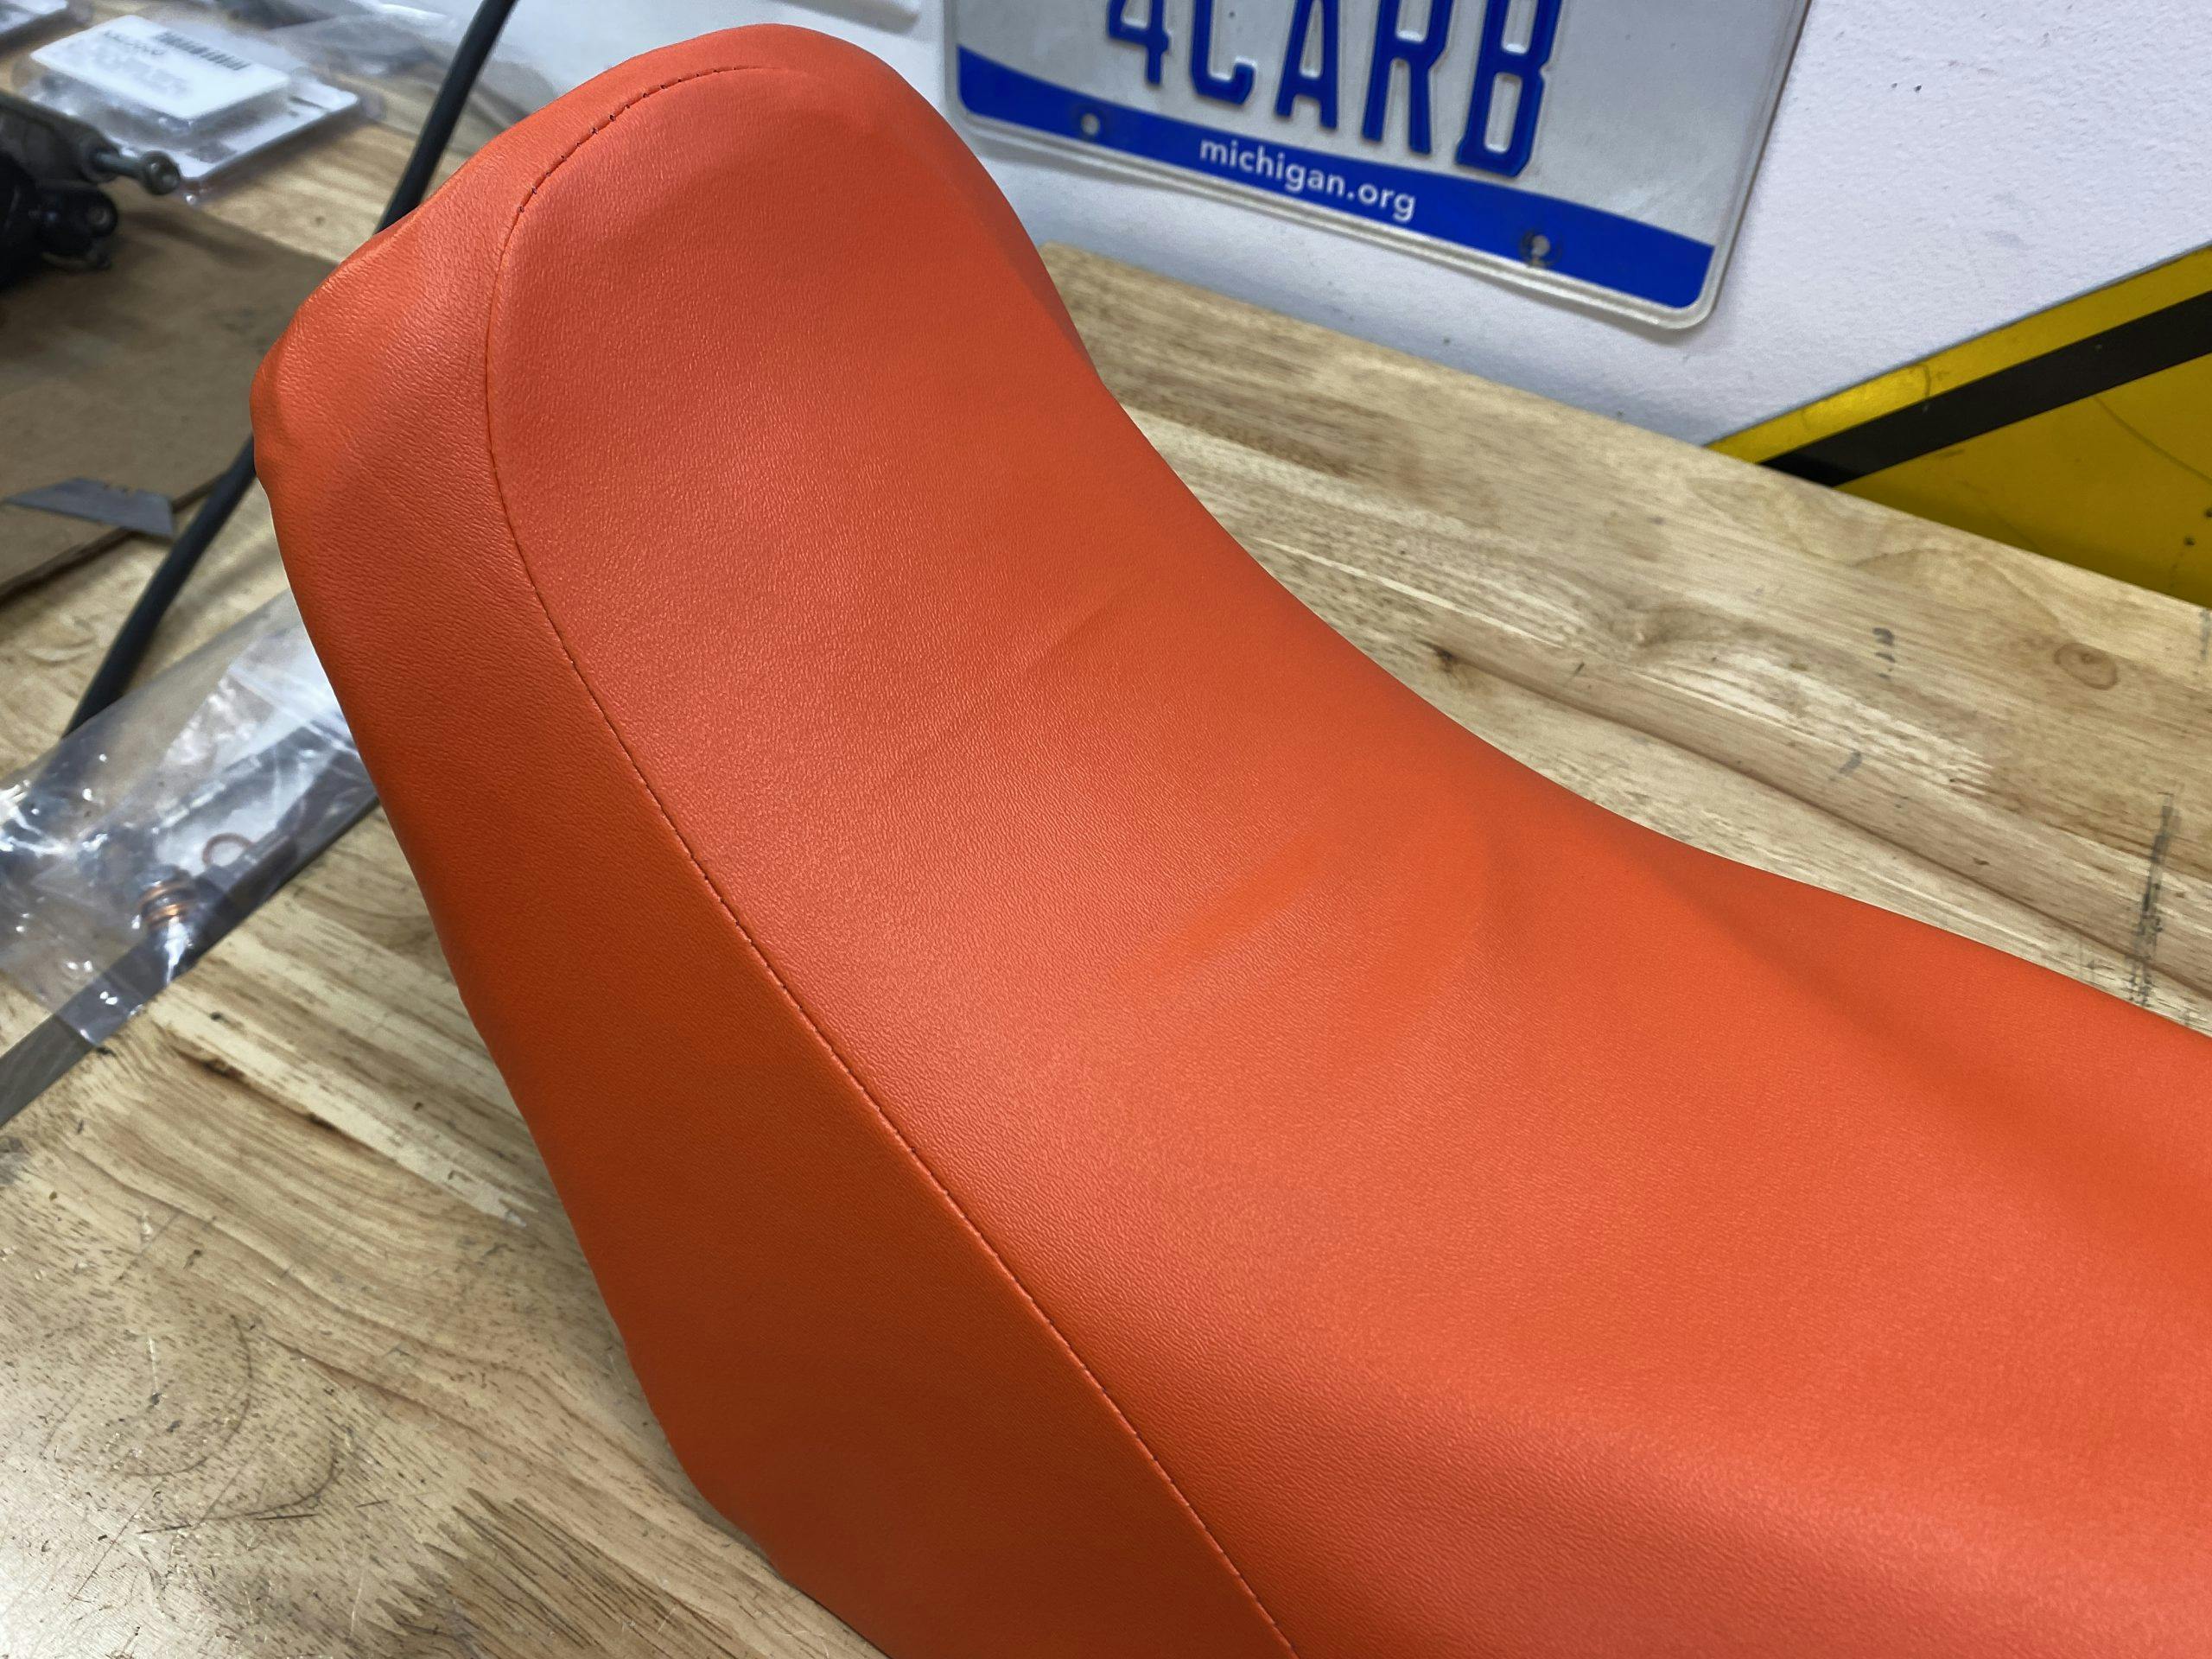
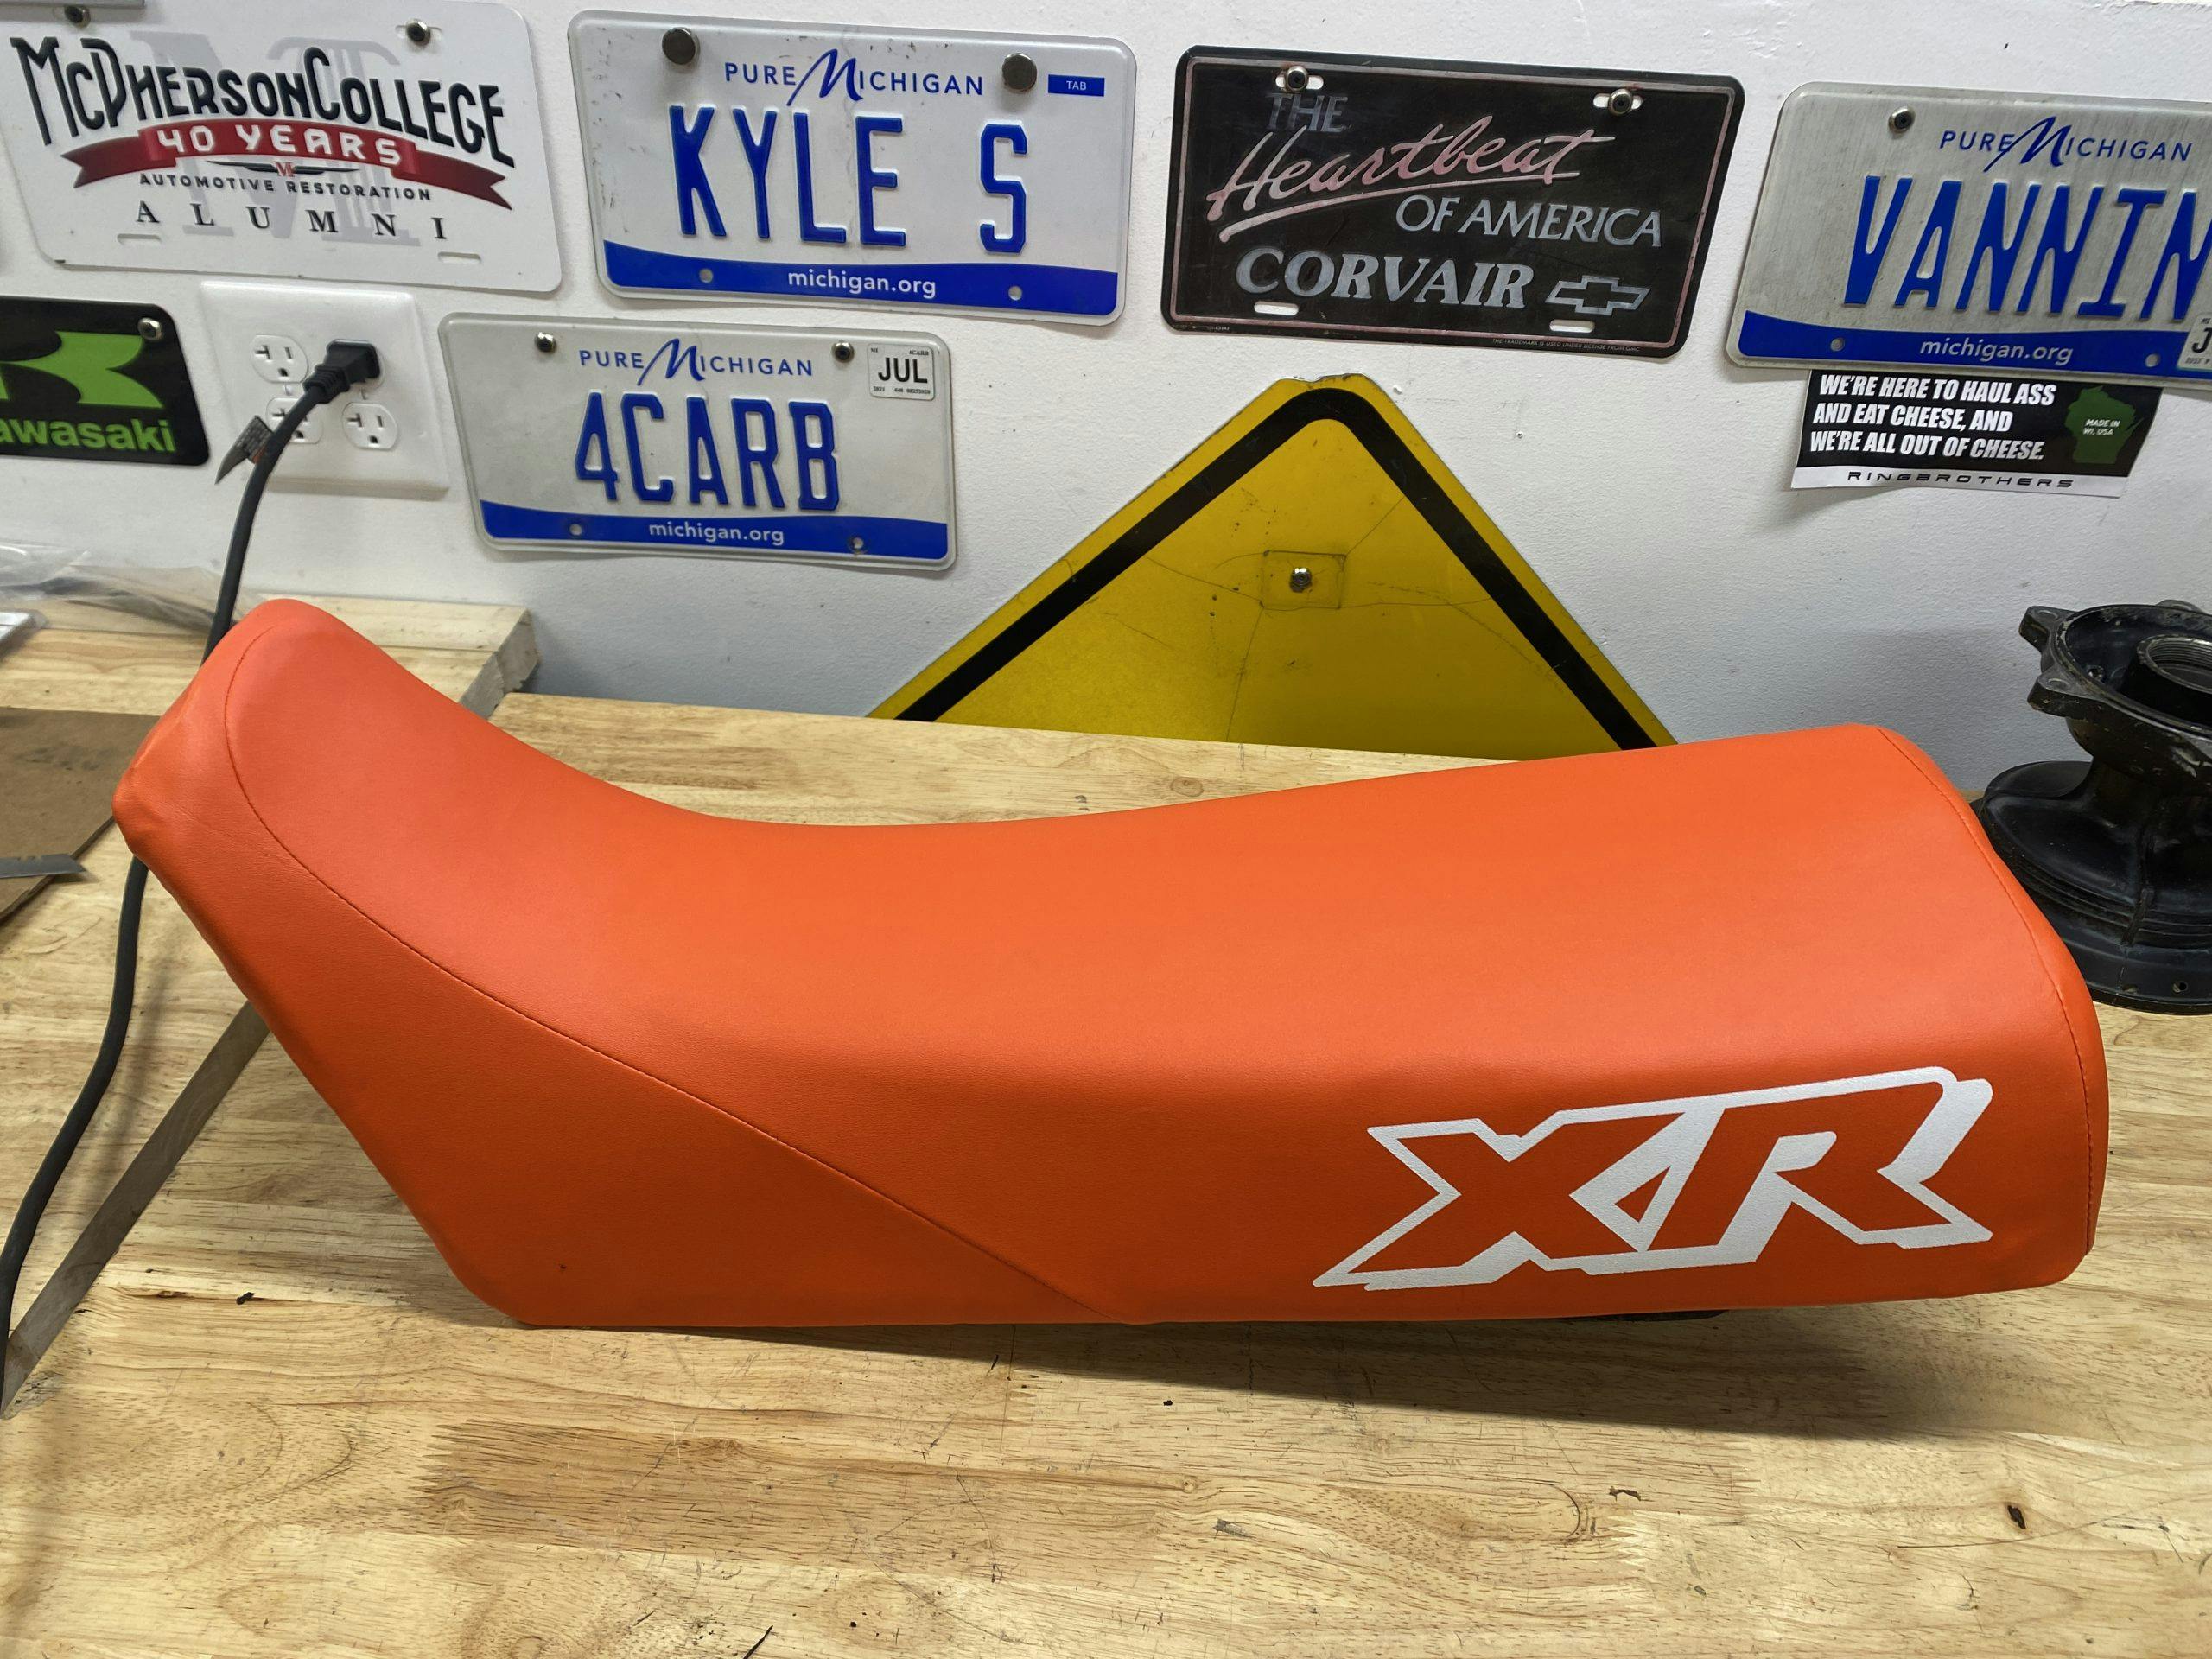
For off-road-type seats like this one, it’s easiest to start with the leading edge (which would sit against the gas tank). Get the material nice and centered and tack it in place with one or two staples. Then move to the rear of the seat, leaving the sides loose. With the cover centered and secured, start at the front and alternate from side to side, stretching and stapling the cover in place to eliminate wrinkles or awkward pulls. Tuck the rear corners nicely, and you are done.
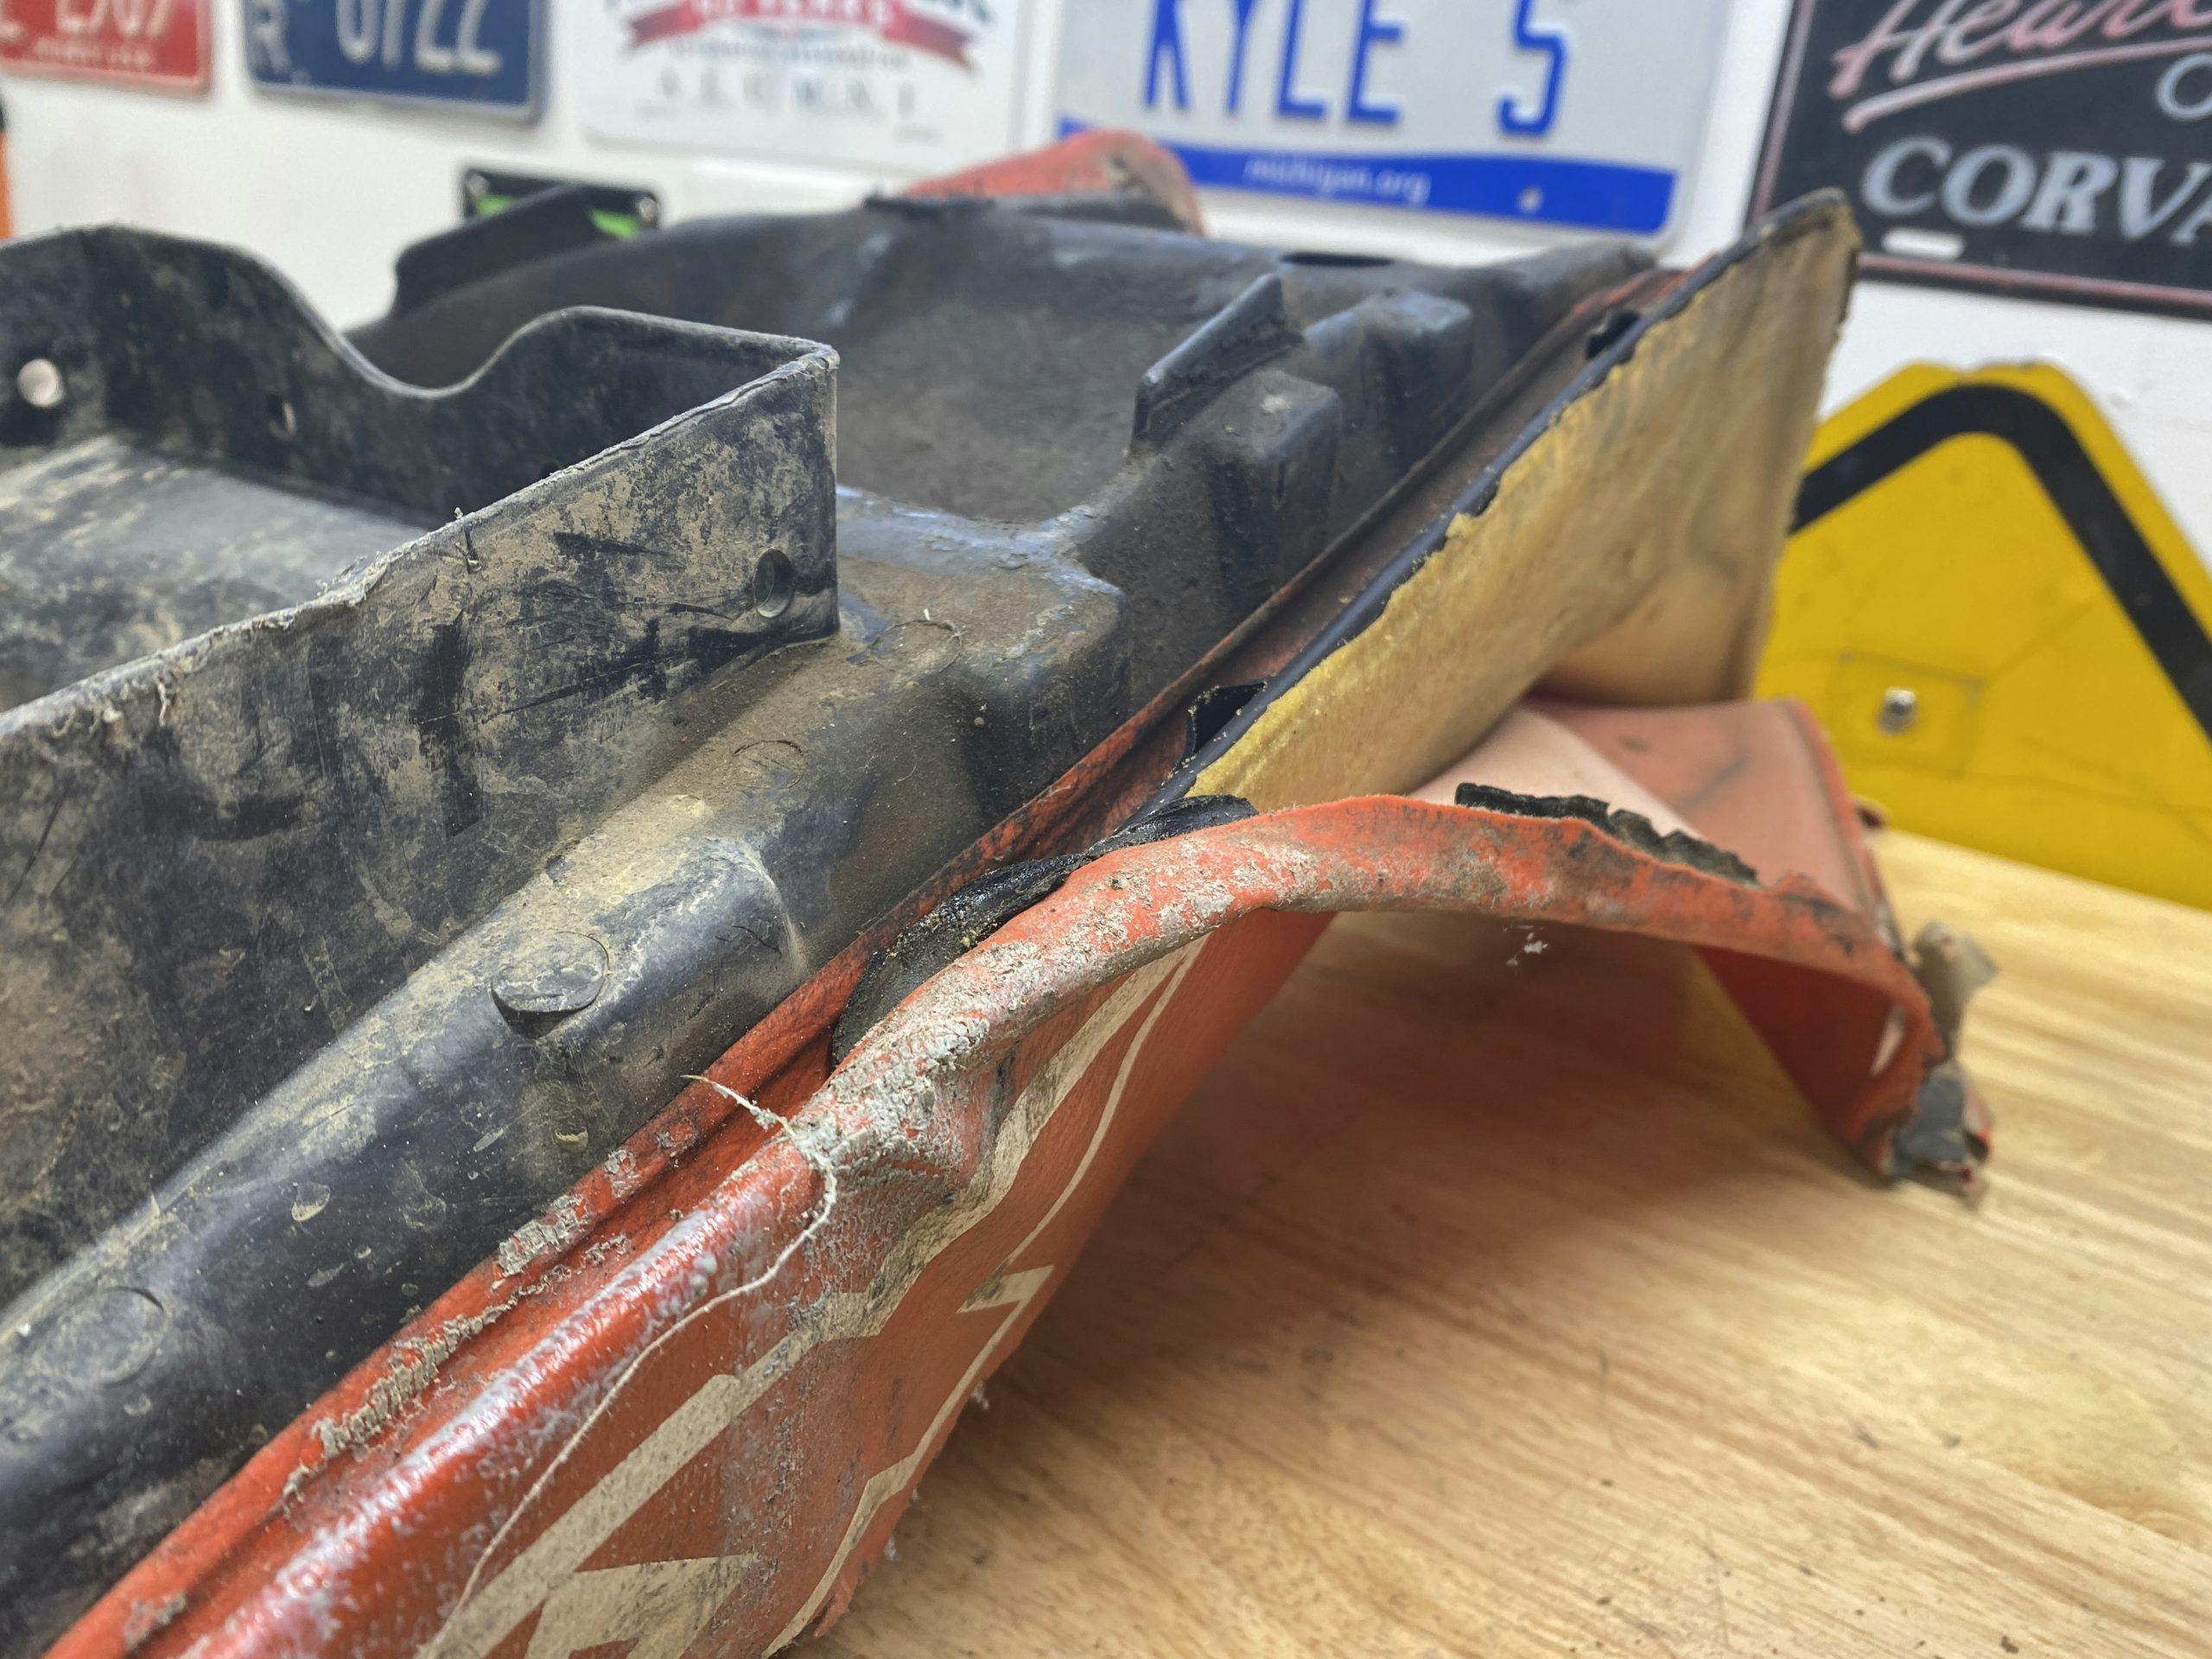
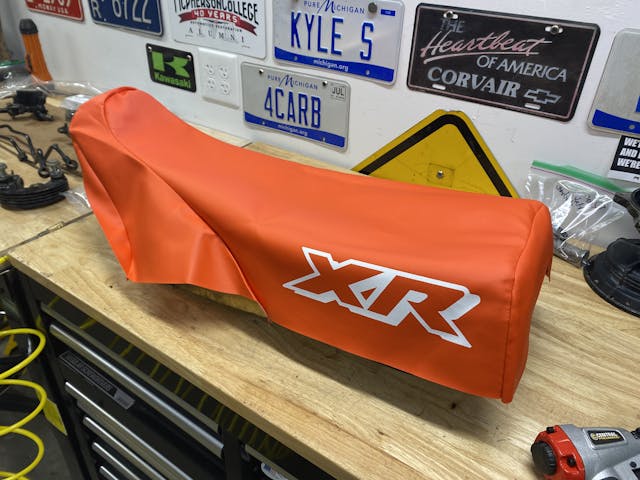
I’ve only outlined a few tips and not the whole process, but in the slideshow below you can see each of my steps in re-covering this particular seat. The finished product is good but not great, which means that it will certainly suffice for the abuse the XR is likely to see this year. I expect to replace this cover again next winter, not because of improper installation, but because of accumulated wear and tear.