3 mistakes I made when painting my project bike—and how you can avoid them
Surely the declaration of “new year, new me” is not unique to the social media world. The mere act of hanging a fresh calendar on the garage wall doesn’t reorient our outlooks or actions, and we can all collectively roll our eyes at the assumption that it does. I plan to be the same person I was in 2020, which means that project motorcycles will soak up most of my time. That said, there are a few incremental changes I should probably make. This weekend I took some big steps in assembling the second Honda XR250R in my fleet—but not before I learned some valuable lessons.
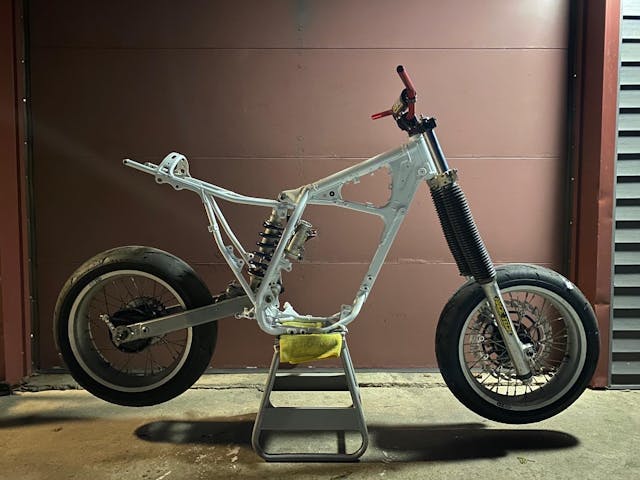
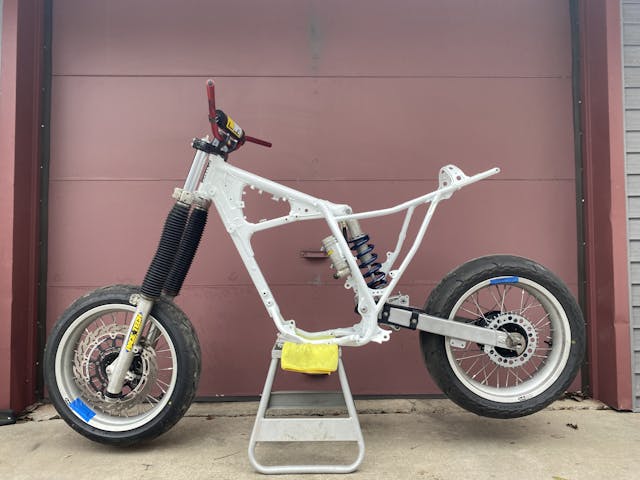
The project is another bare-frame rebuild. Last January held late nights assembling the Honda that has carried me thus far for the Six Ways to Sunday project. This year I’ll be building a second XR—specifically, a road-race bike in motard spec to campaign alongside the first bike, which I’ll keep in dirt trim. This strategy saves me the time of swapping out suspension and wheels (at minimum) when I want to hit the track or the trails. 2022 began with taking a used but solid frame and stripping it down to prepare for a coat of paint and reassembly. It sounds so simple, and it kind of is, but I still managed to make a few mistakes and I want you all to learn from my experience.
It’s all in how you prepare … the space
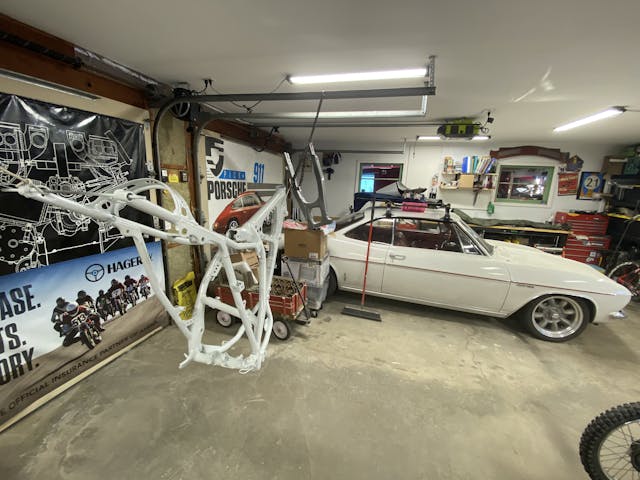
Know that saying about the final product being a reflection of the preparation? That goes for both the thing you are painting and for the space in which you are working. My two-and-half car garage is an awesome shop, but it’s not a paint booth. Like an idiot, I hung up my frame and went to town fogging it with primer. Overspray, I learned, is a cruel mistress.
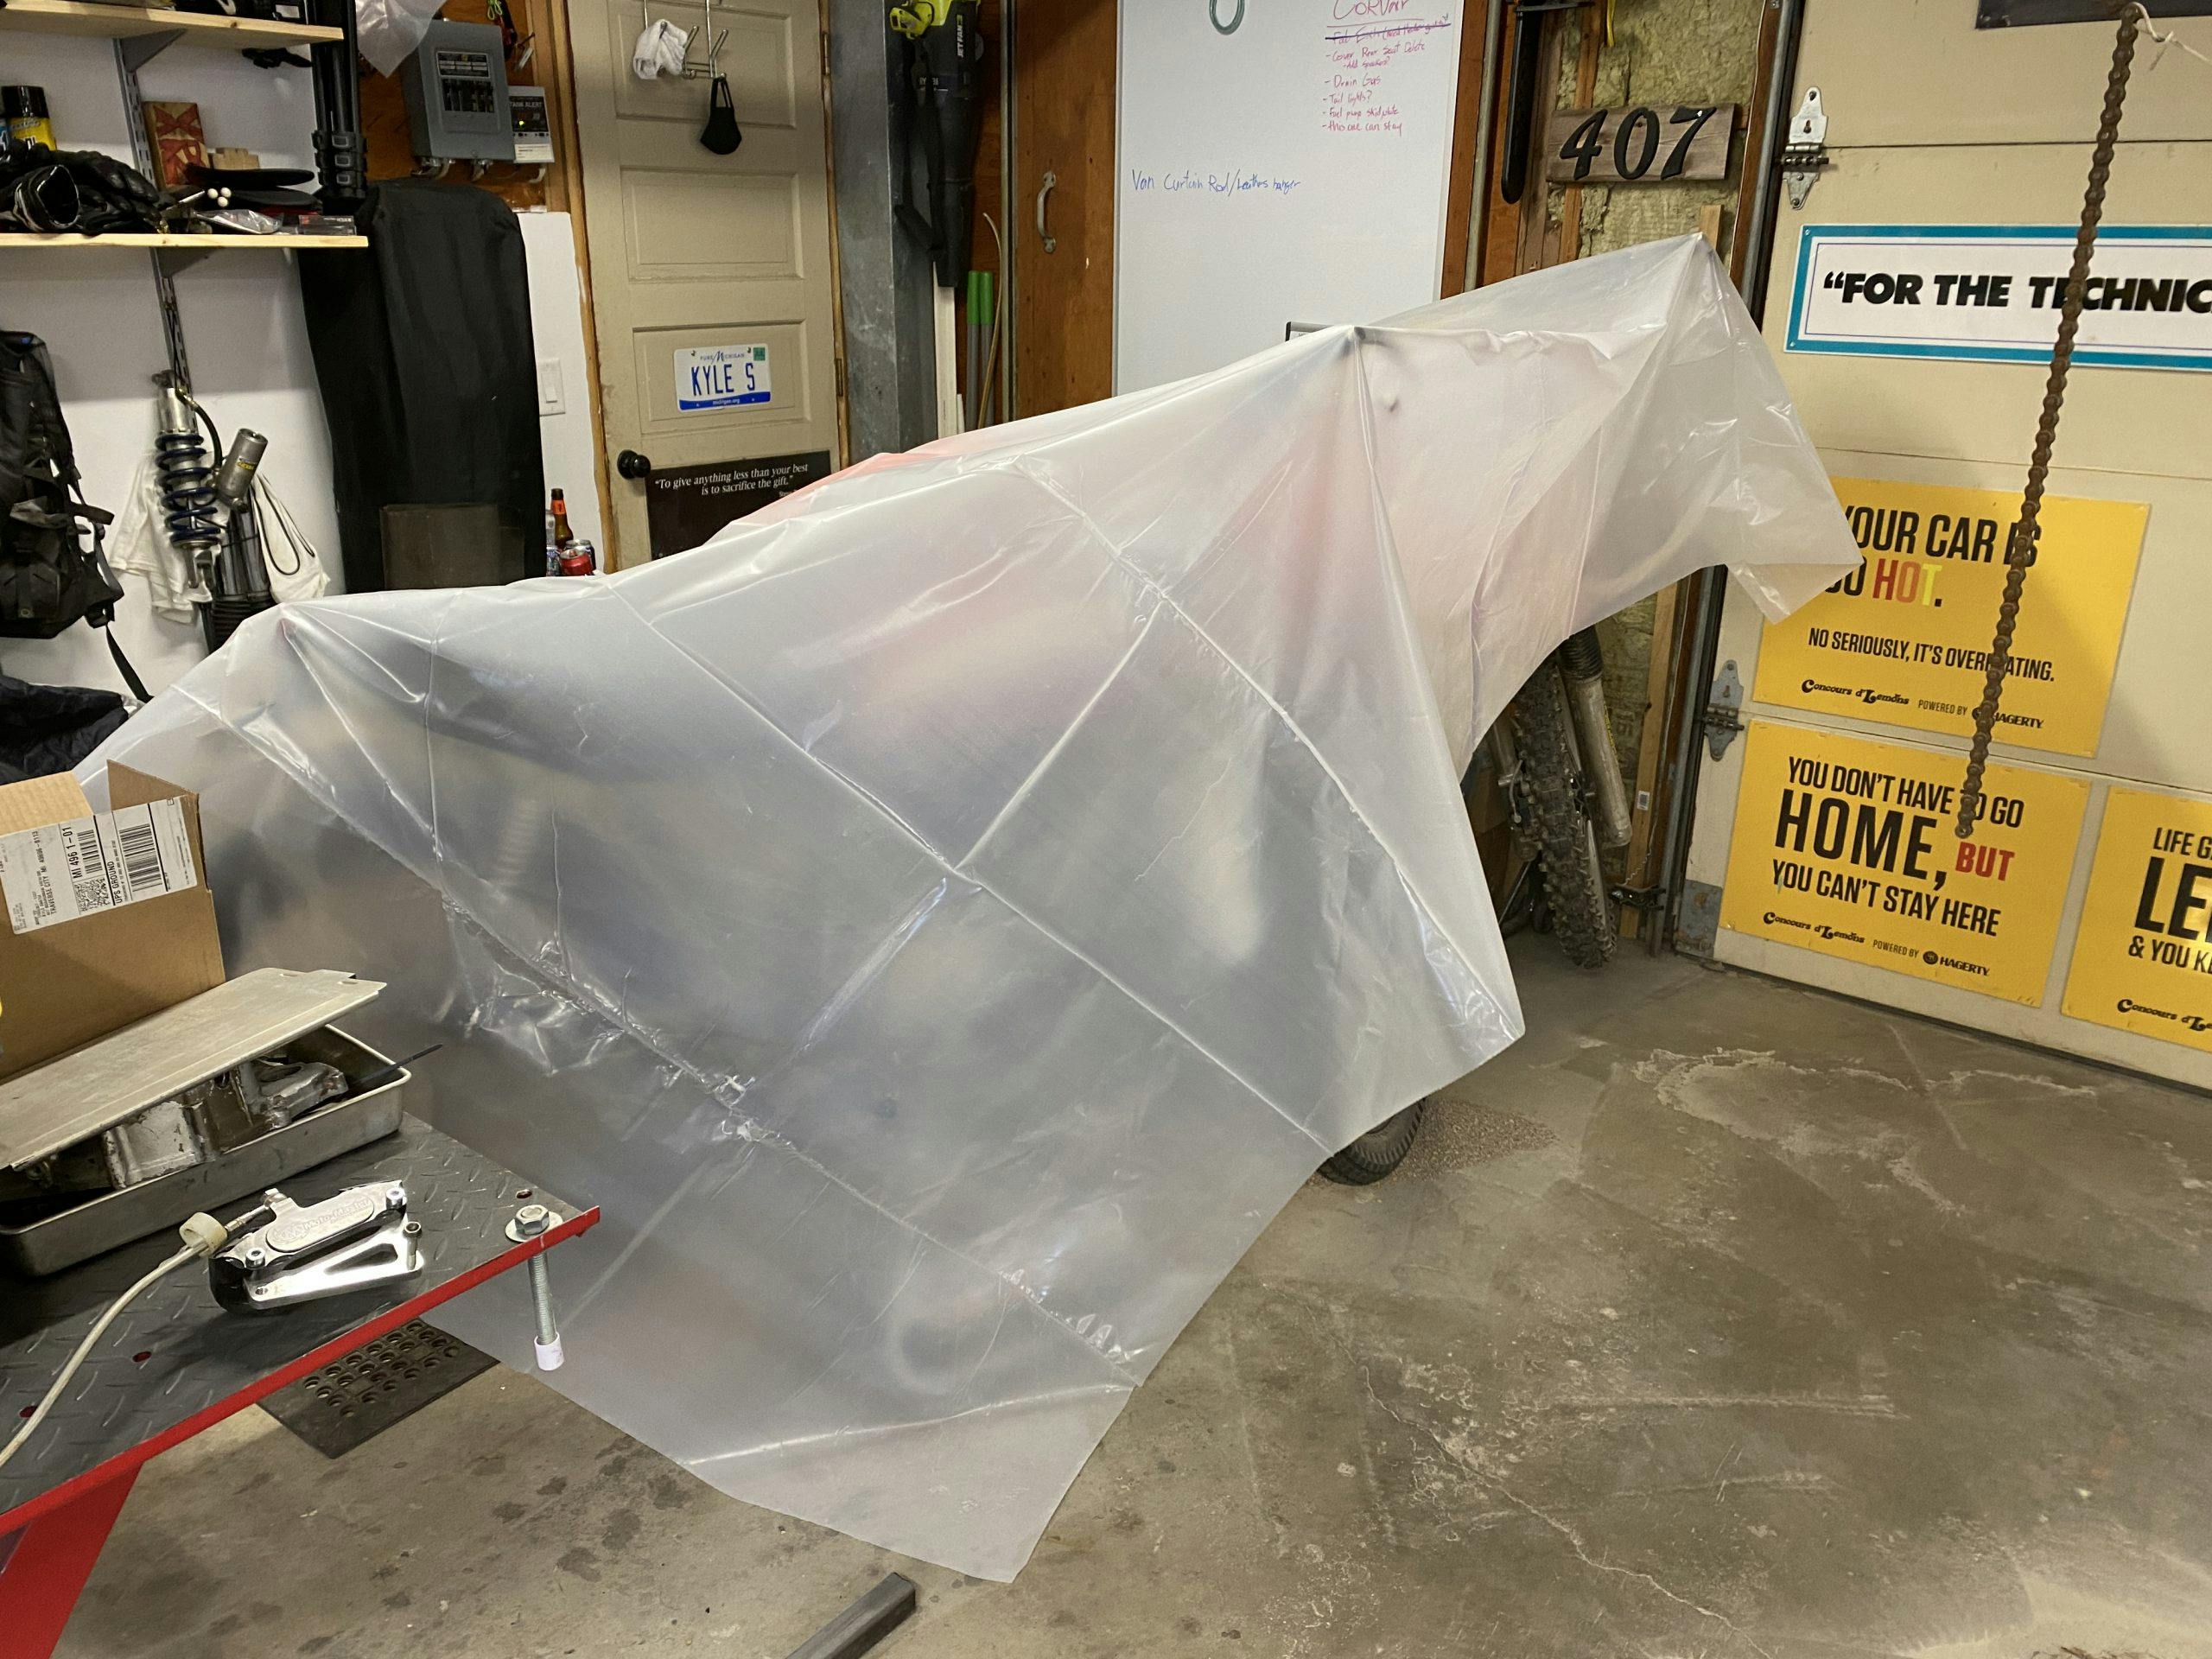
My intentions were to use the garage door tracks to hang plastic sheeting that would drape to the floor. I’d cut out an opening for a box fan to which I would then attach a furnace filter. Voilà, a de-facto down-draft booth. To add that final professional touch, I’d thought of flooding the floor with water to keep dust from kicking up off the floor while I was spraying the paint.
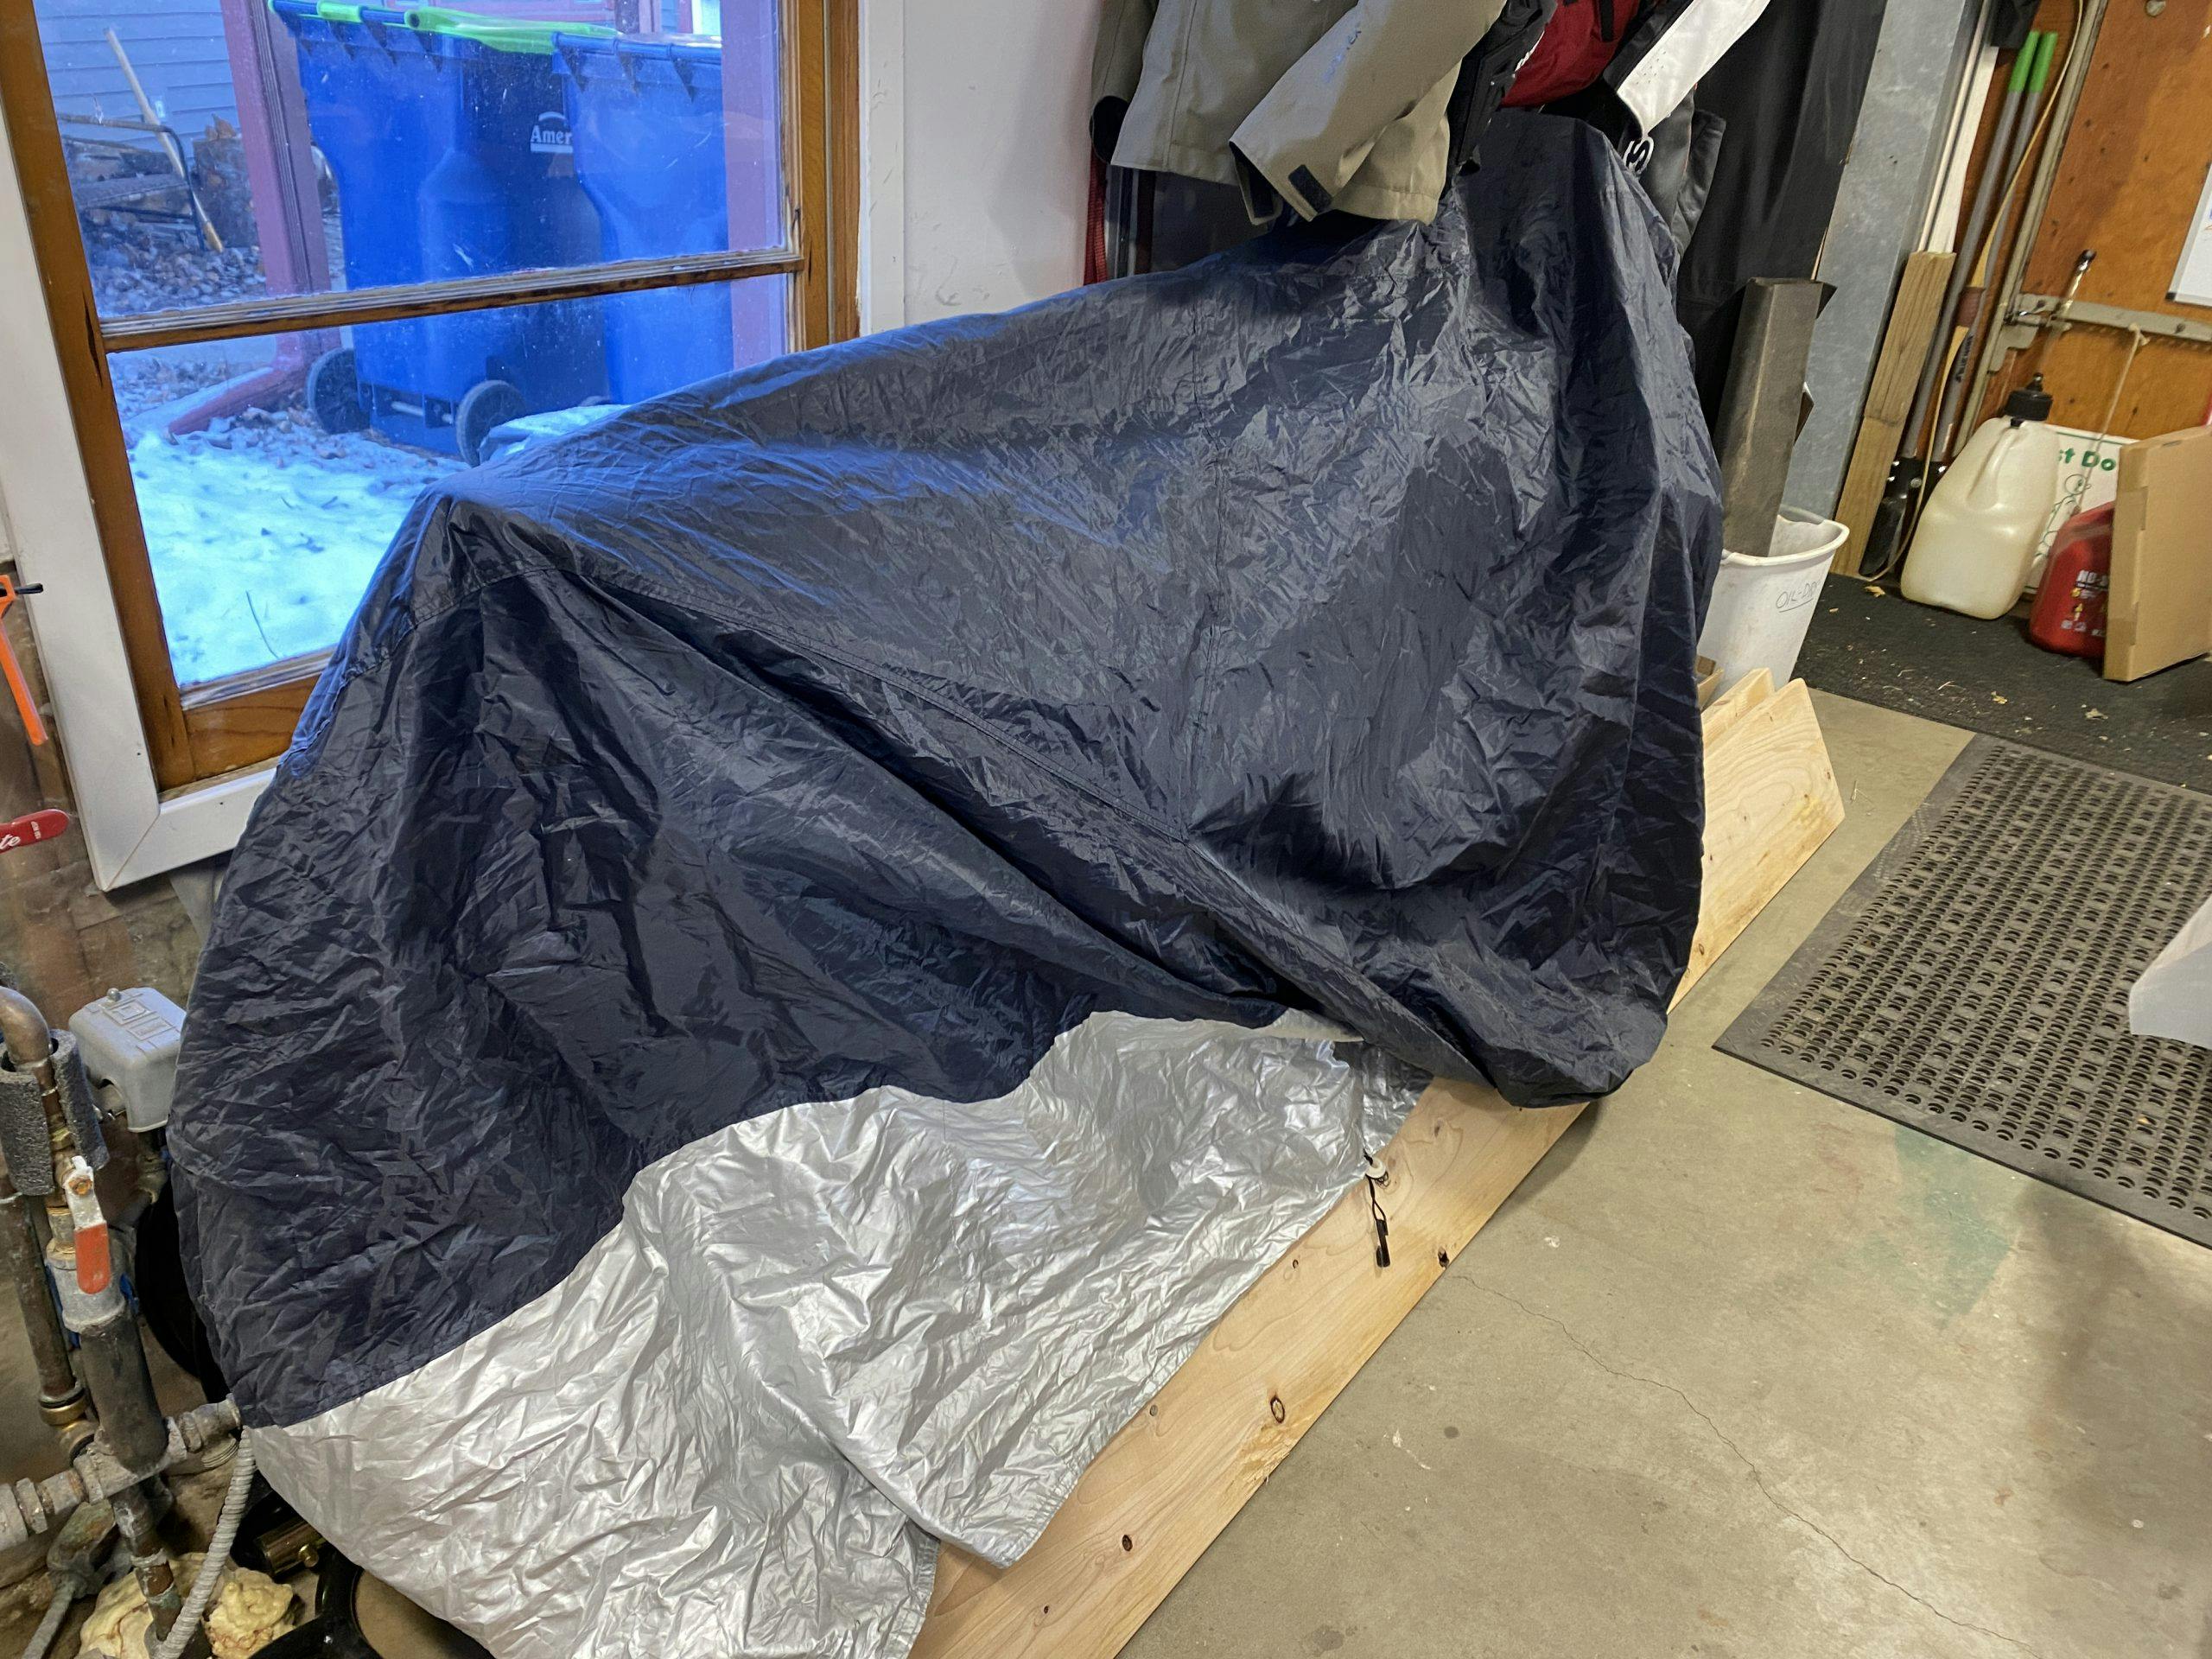
My plan was quickly derailed, however. Pilfering through The Shelf of Random Goodness yielded some plastic sheeting—not nearly enough. I kicked the plan to the side. What a dumb move. Now I need to clean literally anything I care about because all of it is now wearing a fine film of overspray white and clearcoat. I did think to cover the motorcycles, but the Corvair is going to need a really good detail.
Get enough of what you need
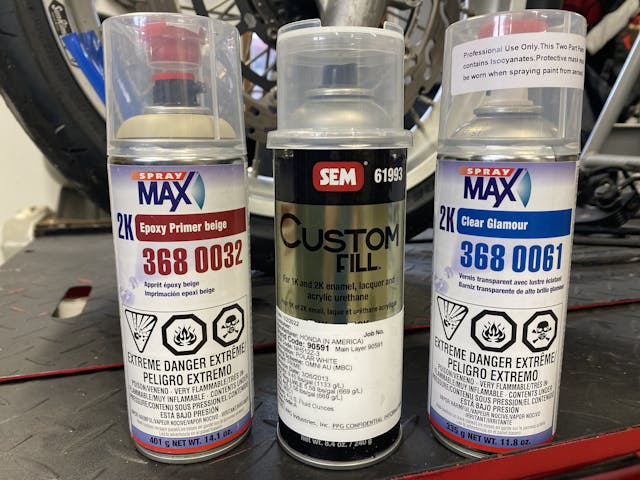
While this paint job is a budget affair in the grand scheme of things, the materials I used were not. I went to Thirlby Automotive’s paint department and put the hard question to the folks who knew the answers. This motorcycle frame will be subject to spilled gas, oil, and other solvents, and thus it will need a durable, urethane paint. That choice required a solid coat of primer on the bare metal, a base coat of color, then clear over top. It also prompted me to purchase a legit respirator.

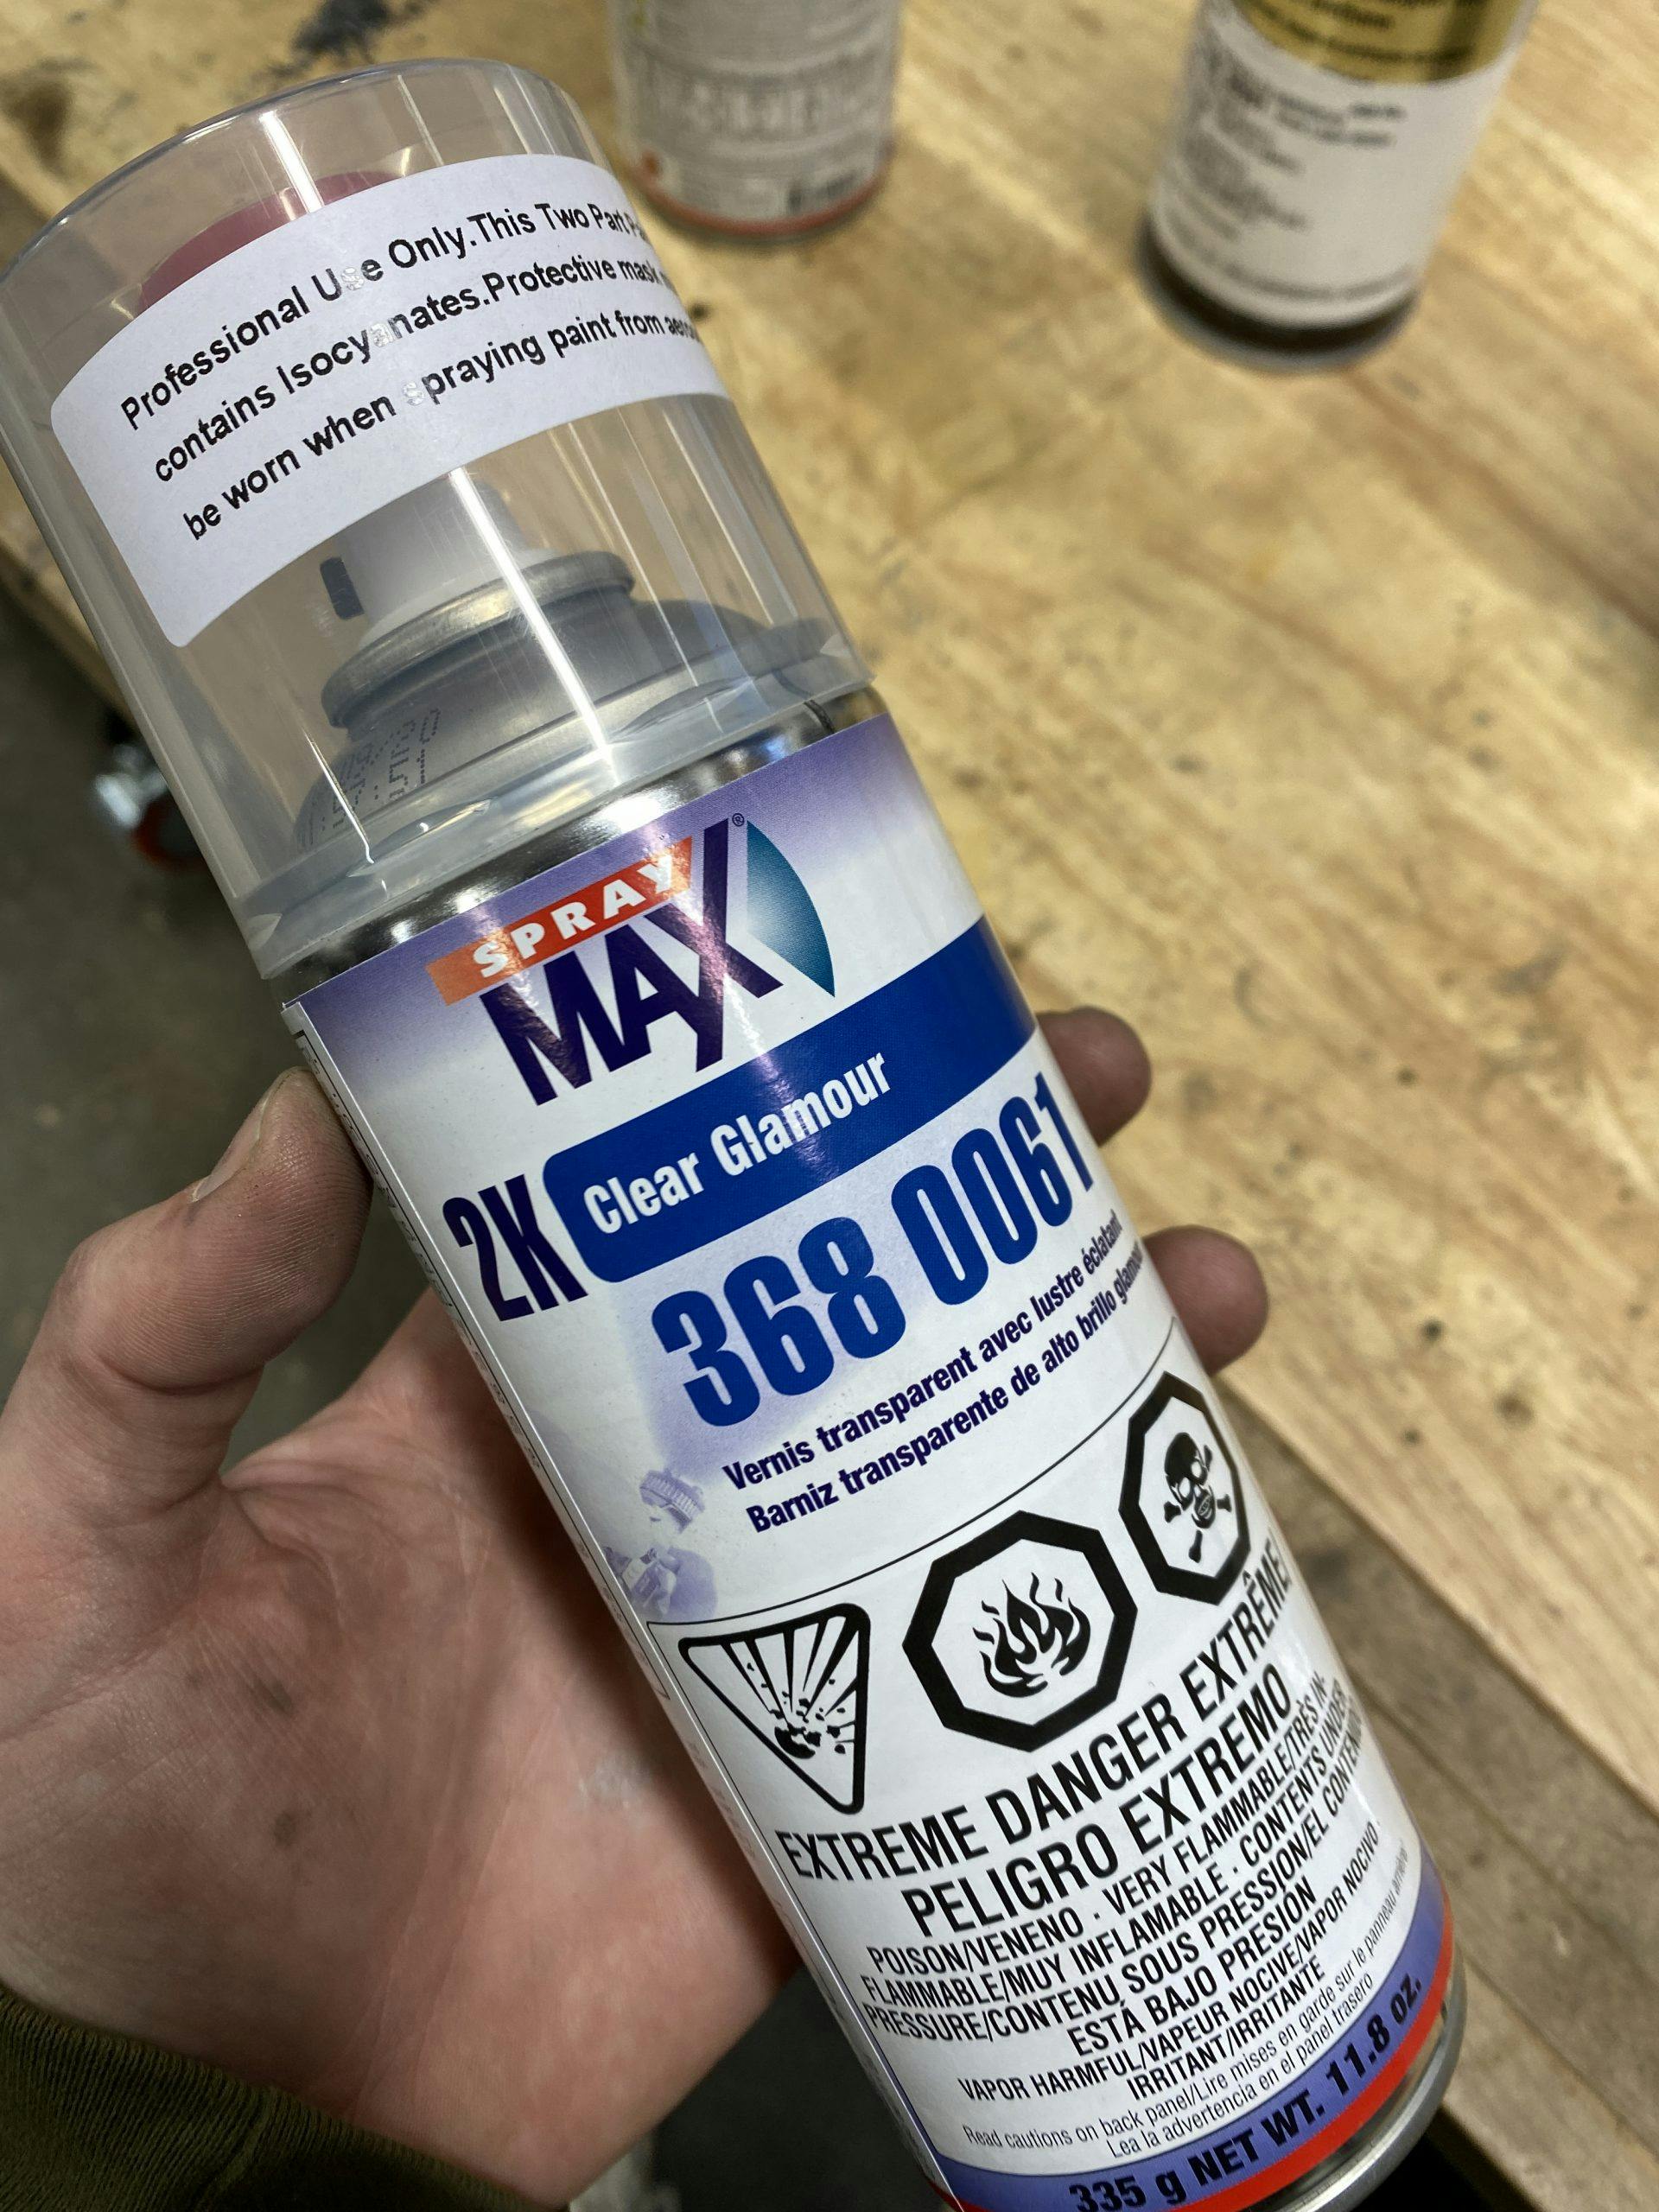
The XR frame is not a large thing. The spindly steel bars don’t add up to much surface area, but I did cut it a little too close in an attempt to save a few bucks. The two-part cans rang up to $27 each at the register, and I was not about to leave one half-empty if I could help it. Once activated with the hardener, these cans have a pot life of just 48 hours, and I only had this one frame to paint. (I did pony up the cash to have Nate behind the counter mix up the perfect white—as close as we could get to the Shasta White in which the frame was originally slathered.)
In my thrifty mindset, I only bought one can of color and it just covered the frame. There are a few thin or dry spots which can likely be traced to my amateur skills in applying without a clear plan. Another can would have made this frame look downright pro, but luckily the thin spots will be covered by the airbox, seat, and side covers.

Tamp down your excitement

I am typically pretty good about self-control in the garage. The freshly painted frame hung and dried a full 24 hours before I moved it to a stand and began to bolt on parts. Seeing the frame morph back into a motorcycle was intoxicating, however, and parts flew out of boxes and got stuck into place. I didn’t slow down and treat the assembly process like the intentional affair it should be.
I bolted things together, giddy with the rapid progress, only to realize I need to go back and properly torque each nut and bolt, along with ensuring that grease got in all the appropriate places on the suspension pivots. This bike is destined for the track, and success there is dependent on doing things right now.
One step forward, two steps back is not a dance I should be doing. I know better. Now, you do too.
It’s not the end of the world. This project is still perfect for what it is and just about everything is a learning experience in one way, shape, or form. Hopefully, you can take these tips to heart and avoid learning them the hard way. We might not want to reinvent ourselves this year, but a little improvement just might be wise.

