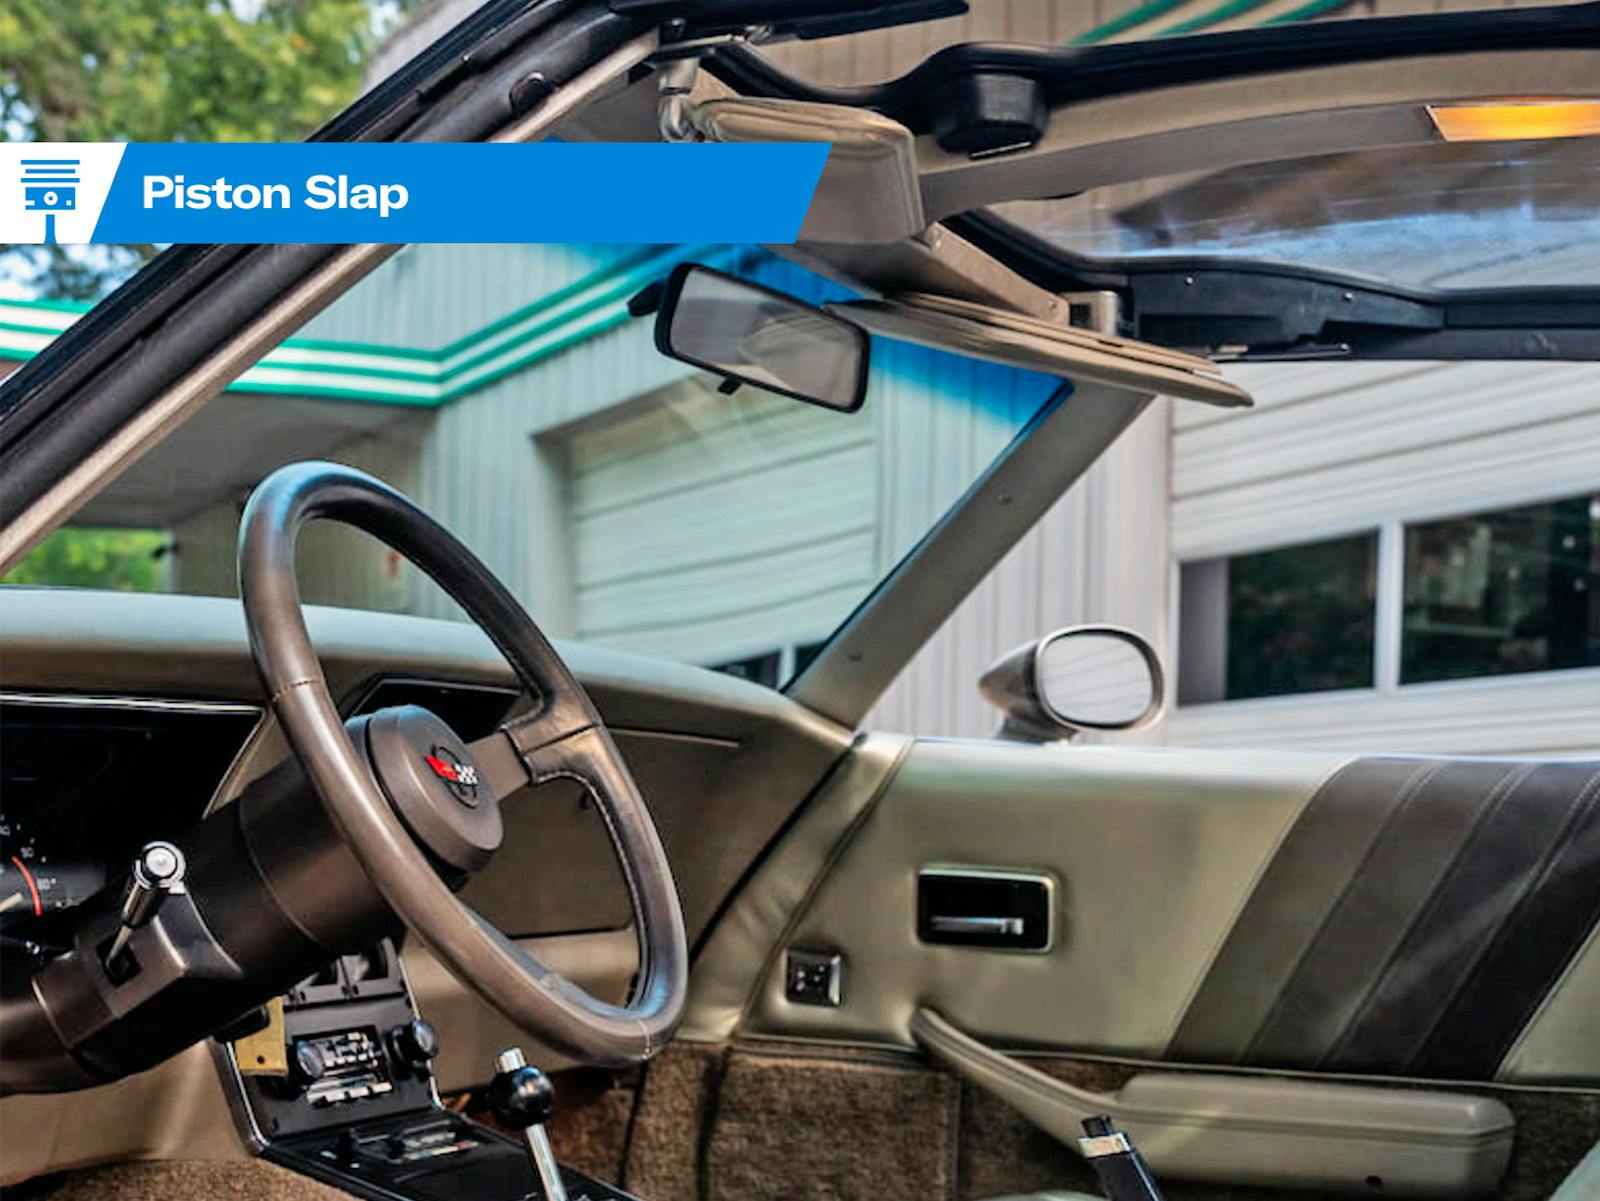
5 Steps to Bring Your Car out of Storage
It’s that time of year again! This article was originally published in 2020, and we’re bringing it back this year to encourage ourselves—and you—to get our treasured cars back on the road with love and care. —Ed.
The snow mounds are receding and the mercury is beginning to rise for much of the U.S., which means that many gearheads are eyeballing their currently tucked-away vintage rides. If you are giddy with anticipation about driving that long-stored vehicle, here are five steps to follow to get your next driving season started off smoothly.
Step #1: Inspect
20180320201127 "removing a car cover")
Even if you put the car away properly, and kept an eye on it over winter, the first thing you should do is go over it with a keen eye. Grab your favorite flashlight (everyone has one, right?) and examine each nook and cranny of your car—bumper to bumper and roofline to contact patch.
Keep an eye out for cracks, evidence of leaks, worn-out bushings, or wiring that needs attention. Despite your best efforts, you might have to evict a rodent. Now is the time, however, before you tear off on the first, triumphant drive and a nest dislodges, causing even more damage. Meticulously taking stock of the car each year is a great way to ensure that deteriorating parts do not cause additional damage.
The most important system to inspect right now is the brakes. I start with a hard/harder test at the pedal. Sit in the driver’s seat and press the brake pedal as if you were coming to a normal stop, and hold the pedal down for 10 seconds or so after the pedal stops moving. Now press even harder on the pedal—more akin to a panic stop—and hold pressure again. The pedal should stay rock solid, not slowly move towards the floor. After this test, inspect the brake system once more, looking for leaks or signs of fluid escaping the system. This is a pass-or-fail exam; now is the time to find any issues, not on the open street.
Step #2: Clean
20180320202414 "Wiping down a car")
Even in storage, dirt and grime accumulate on your beloved ride. Take the time to remove all this damaging debris from both painted and soft surfaces. We have talked about good detailing technique before, and we will always recommend keeping both the interior and exterior of your ride clean.
You can perform this step at the same time as the inspection, but I prefer to keep the tasks separate so I don’t lose my mechanically oriented concentration amid a mist of quick detailer. Treat rubber weather stripping to keep the sealing intact, therefore allowing less dust inside the interior (unless you prefer to go topless). Interior fabrics should get a protectant to start the season off right and make for easier cleaning later on, when you would rather be driving or showing than detailing.
Step #3: Prepare to Start
20180320201420 "dirty engine bay")
20180320201654 "test your belt tension")
20180320201753 "radiator cap")
20180320202031 "before taking your car out of storage make sure to check your battery")
That’s right, we’re slicing this process pretty thin. However, even when properly stored, a dormant engine can benefit from a slow awakening. Ensuring components are ready to move again will go a long way to ensuring your engine has not only a good driving season but a long, healthy life.
Engines drain oil from top to bottom, and after sitting all season there is likely very little—if any—oil at the top end of the engine. If you have the ability and confidence to spin the oil pump before cranking the engine with the start, do that. If not, grab an oil can, remove the valve covers, and oil the top end. This won’t get the main bearings, but it is better than nothing.
Hopefully, your inspection told you that the fuel lines were in good shape (if they weren’t, replace them and come back to this step) so it’s time to get fuel pressure in the system. Be prepared for anything at this point, especially if you stored the car filled with fuel that has ethanol blended into it. An electric fuel pump is great for these situations, since you can pressurize the system rather than cranking the engine for a bit.
If you don’t have an electric pump, disconnect the ignition by pulling the coil wire to the distributor and crank the engine till you see oil and fuel pressures. You’ll know that fuel pressure is adequate on a carbureted engine if the accelerator pump squirts fuel into the intake when the throttle is opened by hand. Replace the coil wire once this process is complete.
Step #4: Start
20180320205502 "turning the key in a classic")
Now the fun part. While it pales in comparison to starting a rebuilt engine for the first time, starting your vintage car for the first time of the season is the pick-me-up most of us could use right now.
A few pumps of the accelerator on a carbureted engine will get some raw fuel in the intake manifold to make starting a bit easier. Fuel-injected engines will only need a turn of the key. Once running, let the engine idle for a few minutes as you look around the engine compartment for any leaks and listen for strange noises. Diagnose anything you find right away.
Step #5: Go for a Short Drive
20180314140508 "Hagerty ride and drive 2018")
You finally made it to the part you have been waiting for this whole time. Put the car in gear and start slowly—a trip around the block or down the street, for example. Pay attention to any noises or vibrations that seem out of the ordinary. Investigate accordingly.
Just like that, you are on the path to another great season of driving. Keep up on the maintenance on your classic and you will be rewarded with miles of enjoyment. Is there an extra step you like to take with your car? Post it in the comments below; you might help another gearhead. For now, though, get out in the garage and get your car ready to cruise at a moment’s notice.
***
Check out the Hagerty Media homepage so you don’t miss a single story, or better yet, bookmark it. To get our best stories delivered right to your inbox, subscribe to our newsletters.

I fire my car up at least one a month and let it run for a while. Just like I do with my boat down at the marina. Shift the trans thru the gears, operate the A/C, windows, etc. Keep it limbered up. Just like your own body!
The link to the detailing guide in step #2 is dead.
Goodluck in starting a SU carburetted engine by only pumping the accelerator.
Foot off the gas, pull out the choke , and turn the key.
My two classics sit in my heated shop so I fire them up once in a while during the winter and even do a spin around the block if roads are dry …mostly disconnect battery and add fuel stabalizer and use premium fuel even in the 283 and flathead when I start them always let them idle for a while being old like their owner they don’t lke to be rushed when getting up ha ha
Nice timely article, inspect tire sidewalls and tread, and inflate to correct.
Also, when inspecting tug on things like steering linkages, wheels, etc, was under my truck and grabbed the exhaust pipe, connection to header was loose, not enough that it sounded different but loose
Get rid of the stupid hat in a convertible.
At my age I have become hair challenged. without my hat I would resemble a red Que ball. Not to mention skin damage/cancer. Yes I agree it looks stupid, especially with a chin strap to keep it on.
Got a 37 Packard, you need a fedora to drive it, like Bogart, or you look stupid!
I take my ‘85 Vette on a short drive at least once a month. I can usually find a good weather/road day here in Colorado
tires, Tires, TIRES! I spent a few years working for a major regional tire retailer. And I was seriously schooled. And we sold a LOT of tires to classic and muscle car owners. Tires, as I learned, were NEVER just “good enough”. NEVER, “OK for their age”. NEVER, “OK for one more season”. Our motto was, “When in doubt, replace”. Of course, proper inflation, yearly rotation, and above all, proper storage in the off season is just a necessary component of “short season” tires. As one engineer said, “When you’re in your $50k classic car, rolling down the open road at 100+, just because you can, and one of your 4-5 year old tires (that are driven a couple/3k miles annually) decides it’s time to fail, the cost of tire replacement earlier that spring will be a faint memory when compared to the tragedy of your car careening off into a tree. Tires, he proclaimed, age, whether you use them or not.”
I am 83 and have a 68 Ford Fairlane 500 bought new. I seldom do much each except check out field mice nests and low tires and fluids.
I like to store my car of the the ground with jack stands so I can run it in gear before leaving storage. Also found it helpful to have a fuel shut off so I can run it out of fuel at the time of storage. I have an auxiliary electric fuel pump to use to get fuel back to the carb. I pretty much agree with the other pre startup measures.
I am fortunate in that I live in a place where I can drive my classic at least once a month, year round. Even though it may get cold, there is always a dry day on which I can take the car out each month. By religiously driving the car monthly all year, I don’t have to “put it away for the Winter” and I never have to worry about anything leaking or seizing up due to inactivity.
I wonder about that idea of overinflating tires during the winter storage, to prevent flat spots, etc. This may be fine for brand new tires on a delivery to a dealer, but is it really good to do it repeatedly for older tires? The stress of over-inflation for all those cold winter months, wouldn’t that actually promote sidewall cracking? Four jackstands to keep the tires just barely off the ground has worked for me. In some cases, chocking of a suspension component might be needed to minimize stress on bushings or axle boots.
It is also good to keep sunlight and UV light away from tires during storage. Given enough time, UV light will break down the rubber. I had an outside stored car once, where the passenger side tires saw the sun, and the others were in the shade. Severe cracking vs. none at all! Apparently, all those RV and trailer folks that shade their wheels with boards are on to something.
Do not crank for extended periods to circulate oil unless you’ve disable the fuel pump. Otherwise you are putting raw gasoline into the cylinders that is washing down the oil film.
+1
Break point: Does the Hard/Harder brake test work with power-assisted brakes if the engine isn’t running?
The test would still work, yes. The pedal will feel firmer than usual though.
Before spring start up on my classic cars , I pull the plugs , put a few squirts of oil into each cylinder , wait a few mins and then with the starter spin the engine (with plugs out ie no compression ) until the oil gauge needle moves. . Then I replace the plugs and fire the car up.