5 Steps to Bring Your Car out of Storage
It’s that time of year again! This article was originally published in 2020, and we’re bringing it back this year to encourage ourselves—and you—to get our treasured cars back on the road with love and care. —Ed.
The snow mounds are receding and the mercury is beginning to rise for much of the U.S., which means that many gearheads are eyeballing their currently tucked-away vintage rides. If you are giddy with anticipation about driving that long-stored vehicle, here are five steps to follow to get your next driving season started off smoothly.
Step #1: Inspect
20180320201127 "removing a car cover")
Even if you put the car away properly, and kept an eye on it over winter, the first thing you should do is go over it with a keen eye. Grab your favorite flashlight (everyone has one, right?) and examine each nook and cranny of your car—bumper to bumper and roofline to contact patch.
Keep an eye out for cracks, evidence of leaks, worn-out bushings, or wiring that needs attention. Despite your best efforts, you might have to evict a rodent. Now is the time, however, before you tear off on the first, triumphant drive and a nest dislodges, causing even more damage. Meticulously taking stock of the car each year is a great way to ensure that deteriorating parts do not cause additional damage.
The most important system to inspect right now is the brakes. I start with a hard/harder test at the pedal. Sit in the driver’s seat and press the brake pedal as if you were coming to a normal stop, and hold the pedal down for 10 seconds or so after the pedal stops moving. Now press even harder on the pedal—more akin to a panic stop—and hold pressure again. The pedal should stay rock solid, not slowly move towards the floor. After this test, inspect the brake system once more, looking for leaks or signs of fluid escaping the system. This is a pass-or-fail exam; now is the time to find any issues, not on the open street.
Step #2: Clean
20180320202414 "Wiping down a car")
Even in storage, dirt and grime accumulate on your beloved ride. Take the time to remove all this damaging debris from both painted and soft surfaces. We have talked about good detailing technique before, and we will always recommend keeping both the interior and exterior of your ride clean.
You can perform this step at the same time as the inspection, but I prefer to keep the tasks separate so I don’t lose my mechanically oriented concentration amid a mist of quick detailer. Treat rubber weather stripping to keep the sealing intact, therefore allowing less dust inside the interior (unless you prefer to go topless). Interior fabrics should get a protectant to start the season off right and make for easier cleaning later on, when you would rather be driving or showing than detailing.
Step #3: Prepare to Start
20180320201420 "dirty engine bay")
20180320201654 "test your belt tension")
20180320201753 "radiator cap")
20180320202031 "before taking your car out of storage make sure to check your battery")
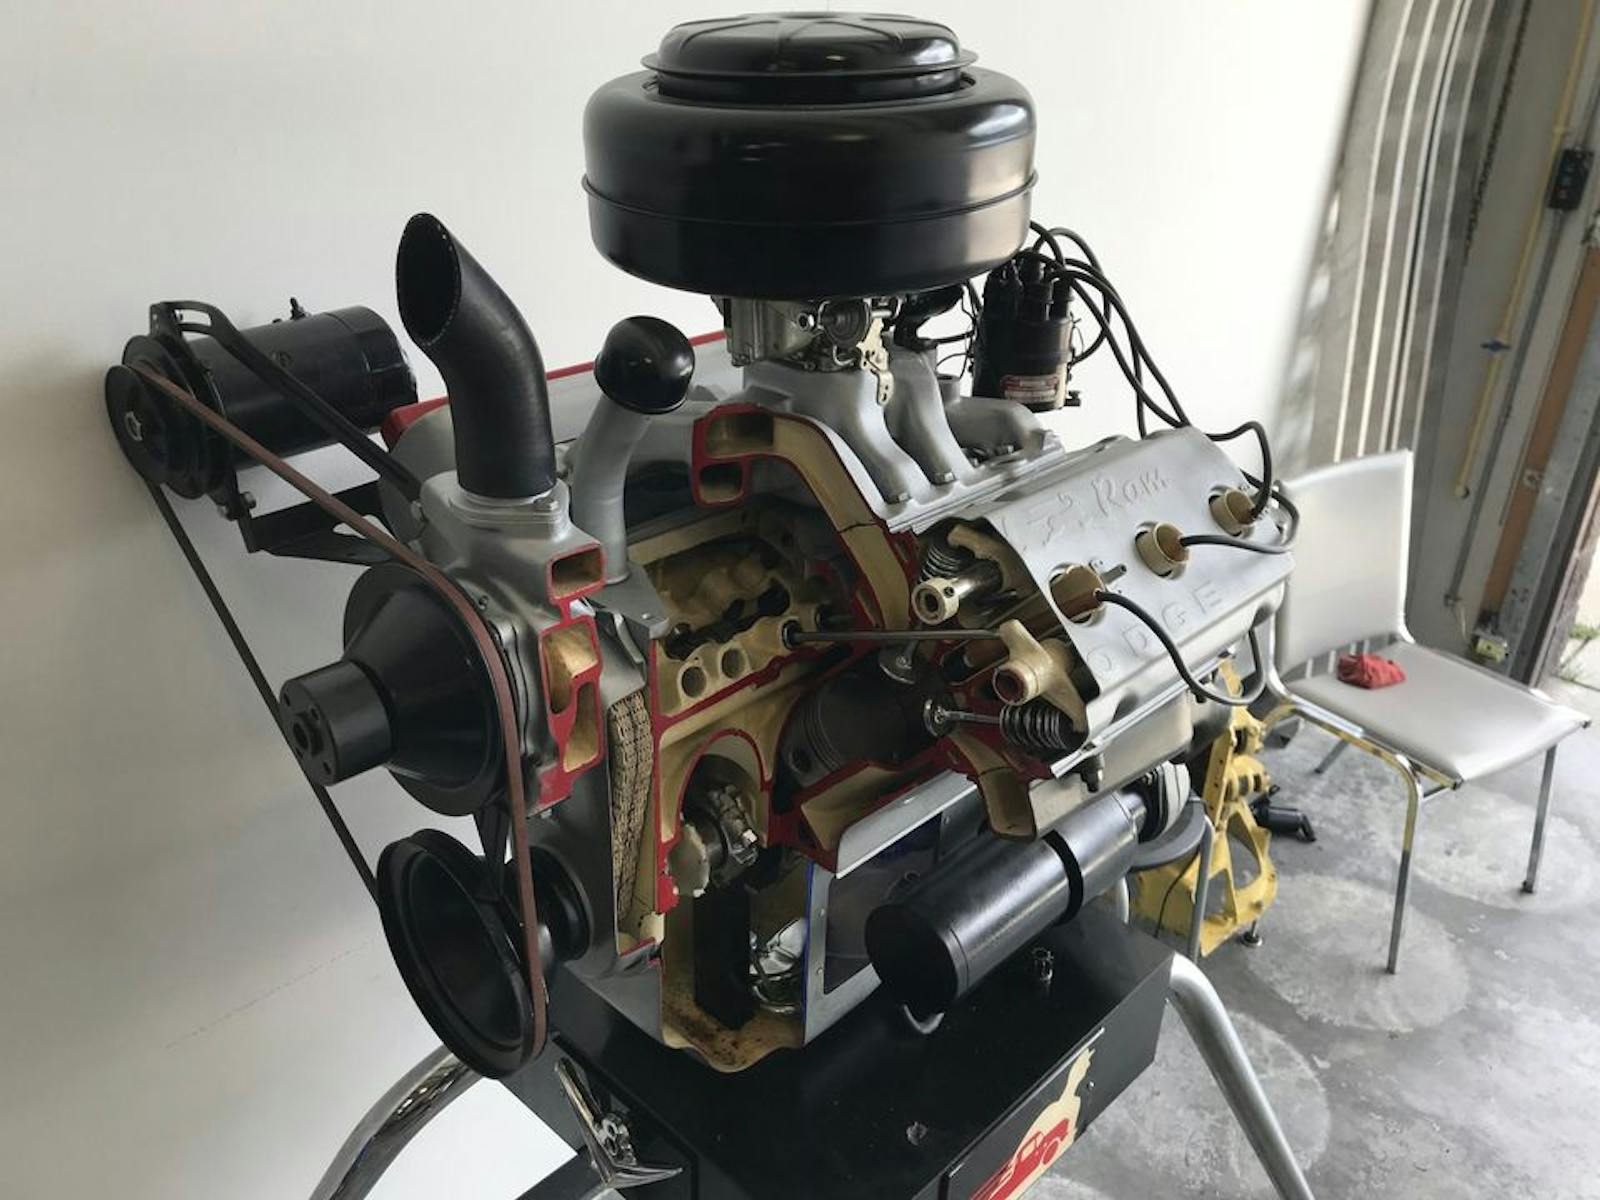
That’s right, we’re slicing this process pretty thin. However, even when properly stored, a dormant engine can benefit from a slow awakening. Ensuring components are ready to move again will go a long way to ensuring your engine has not only a good driving season but a long, healthy life.
Engines drain oil from top to bottom, and after sitting all season there is likely very little—if any—oil at the top end of the engine. If you have the ability and confidence to spin the oil pump before cranking the engine with the start, do that. If not, grab an oil can, remove the valve covers, and oil the top end. This won’t get the main bearings, but it is better than nothing.
Hopefully, your inspection told you that the fuel lines were in good shape (if they weren’t, replace them and come back to this step) so it’s time to get fuel pressure in the system. Be prepared for anything at this point, especially if you stored the car filled with fuel that has ethanol blended into it. An electric fuel pump is great for these situations, since you can pressurize the system rather than cranking the engine for a bit.
If you don’t have an electric pump, disconnect the ignition by pulling the coil wire to the distributor and crank the engine till you see oil and fuel pressures. You’ll know that fuel pressure is adequate on a carbureted engine if the accelerator pump squirts fuel into the intake when the throttle is opened by hand. Replace the coil wire once this process is complete.
Step #4: Start
20180320205502 "turning the key in a classic")
Now the fun part. While it pales in comparison to starting a rebuilt engine for the first time, starting your vintage car for the first time of the season is the pick-me-up most of us could use right now.
A few pumps of the accelerator on a carbureted engine will get some raw fuel in the intake manifold to make starting a bit easier. Fuel-injected engines will only need a turn of the key. Once running, let the engine idle for a few minutes as you look around the engine compartment for any leaks and listen for strange noises. Diagnose anything you find right away.
Step #5: Go for a Short Drive
20180314140508 "Hagerty ride and drive 2018")
You finally made it to the part you have been waiting for this whole time. Put the car in gear and start slowly—a trip around the block or down the street, for example. Pay attention to any noises or vibrations that seem out of the ordinary. Investigate accordingly.
Just like that, you are on the path to another great season of driving. Keep up on the maintenance on your classic and you will be rewarded with miles of enjoyment. Is there an extra step you like to take with your car? Post it in the comments below; you might help another gearhead. For now, though, get out in the garage and get your car ready to cruise at a moment’s notice.
***
Check out the Hagerty Media homepage so you don’t miss a single story, or better yet, bookmark it. To get our best stories delivered right to your inbox, subscribe to our newsletters.
It’s kind of a given, I suppose, but I’d like to put some extra emphasis to inspecting tires. Yes, brake checking is critical, but tires take winter storage especially hard. They can lose some pressure. they can develop flat spots (depending on how you store the vehicle. But possible worst of all – and this has been discussed in other articles – we can lose track of how old tires have become on seldom-driven cars. Check date codes. And look closely for sidewall checking, and hardened, brittle valve stems, which can be a bit hard to spot.
True, it’s always important to take care of your tires. What I like to do on my car is to inflate the tires to the sidewall max before putting the car away for the winter. This way the risk of flat-spotting is reduced (it’s how new cars are shipped to the dealership) and when spring hits, you don’t have to get out the compressor; just bleed off the excess pressure.
Also a reminder to take a look at, and inflate, your spare tire, if you have one and want it to be useful in the event of a flat.
Good idea!
I agree look for flat sotting of the tires. The tire sus[pension shimmy is not a fun experience. Look for bad tire valve seats, Check the stems for cracks, and inspect the tire air caps. They can split and slither down to the valve itself, draining your tires air pressure. Check the water in the fuel system, before firing it up, change oil , oil filter, replace all belts and hoses, look at battery cable ends.
I purchased a partially restored car in Miami springs Fla. some years ago ,that had new unused 10 year old tires . They actually blew out and fell apart loading the car on the trailer. These were high quality tires that you see on a lot
of today,s muscle cars.
That story doesn’t seem credible. I have used 20 year old tires and they haven’t blown out. My Cadillac has 20 year old tires with the sidewalls rotted to the point of 1 inch sidewall cracks and they haven’t given out yet. I call bullshit.
Well, your story doesn’t seem credible either considering you have a sample size of 1 car. Tough to draw any kind of valid conclusion from what amounts to no real information. It also seems reckless to believe that cracked tires are in any way safe.
I agree, been using 10+ yr old tires many times, never had a blowout. Yes there are cracks on the outer sidewalls – most people don’t know jack about tires. I was a technician over 22yrs at GM Dealerships and specialized in front end/suspension and tires. Tires today, a least good known brands are extremely tough – NEVER NEVER had I seen a blowout because tires was too old!!! Not supporting this however, IMO many people see the cracks and panic.
It stinks, but I need to replace perfectly good T/A’s from 1997 on my 72 Skylark this year. My how time flies!!! Did the same with bike tires last year on 80 Suzuki 850. When I read the Leno story about tire age it stuck with me.
Agreed Mike, I replaced the like new T/A’s on my ‘70 Chevelle because they were about 15 years old. I’m aware of a guy who had a blow-out on a set of hardly worn but 12 year old tires. The damage to his car was significant. A new set of tires would’ve been a lot cheaper.
I had 12 year old tires on my 68 Chevelle SS. On the way to a car show the left rear disintegrated and beat the crap out of the wheel well. Ruined my day. But learned a lesson, I just replaced the 10 year old 2000 mile tires on my 71 Corvette. Russian roulette I don’t like to play at 70 mph. 🤪
Check to make sure that brake lights, turn signals, headlights and marker lights are still working properly before taking back out on the roads.
and the horn.
I would also add checking windshield wipers. Even if you have “never driven this car in the rain” before, unexpected events could happen that may require them to be functional.
Never driven in the rain, at night or in the snow can lead to an unexpected issue. I was at a car show a few years back and the sky started to fill with big black clouds. There was no doubt how the climax was going to work out. They put an end to the show and we all went rushing to our cars. I quickly put the top up and it started to rain. I reached up to switch on the wipers and immediately paused. Which switch was for the wipers? I’ve had this car for well over fifty years and can’t remember the last time I used the wipers. Thinking that none of the switches were ever for “self destruct”. I think i found the wiper switch on the third try. And, no, there are no labels on the switches. European manufacturer!
On my fuel injected car I like to take advantage of the “clear flood” mode in order to get oil circulating before the first start. Just push the accelerator to the floor while cranking and the ECU cuts power to the injectors – easier than disconnecting the crank sensor or pulling the injector relay.
Thanks – didn’t know that.
Does that feature apply to the Holley Sniper EFI system? Thanks for the tip.
Does the aftermarket Holly FI units have a clear flood mode as well?
DOES NOT WORK ON ALL CARS
What happened to all the oil clinging to the internals before it was shut down last? It’s not like a fresh start up from a rebuild.
You suggest “Treat rubber weather stripping to keep the sealing intact, therefore allowing less dust inside the interior (unless you prefer to go topless). Interior fabrics should get a protectant…”
What specific products, (or non-branded substances) do you use?
FYI: weatherstripping is one word.
Thank you for all this Great information.
If, like me, you have stuffed something in the exhaust pipes to prevent critters from entering during the winter storage process, make sure you remove them before starting the engine
To reduce weather stripping from cracks I’ve always used transmission fluid before storing and after then spraying with silicone will keep them soft and smooth it works perfectly.
The article states two crank the engine with coil wire disconnected until you have oil pressure. I do this but once I have oil pressure, I stop cranking. Wait a few minutes to let the starter cool and crank again for 10 seconds. Wait and repeat. I do this about three times before I start it.
Do you folks think this is a good idea or is it not needed once I get initial oil pressure?
Good idea David.
I also think about pulling the plugs to perform an oil crank and hit the cylinders with wd 40 or similar stuff.
To go even further I think about the cylinder being canted on a V engine and focus the spray upward with the little straw that’s often on a can….
WD40 (or similar) is not a suitable cylinder lubricant. In fact, it’s likely to remove any remaining engine oil from the cylinder walls. And an engine that’s being cranked with the HT coil wire removed should also have the LT feed wire removed. Otherwise the coil could potentially be damaged because it’s unable to release the spark energy being generated.
*to crank
This is the gold standard method for circulating oil before firing up. If equipped with an electric fuel pump, disconnect its fuse or relay to prevent raw fuel from washing down the cylinder walls.
Just to add one thing for safety, make sure you ground the coil wire if you disconnect it to crank without starting. You do not want a spark anywhere, just in case you do have a fuel leak that shows its ugly side while cranking.
Grounding the coil lead after disconnecting it will also protect the electronic ignition unit. Especially on Porches. This should also be done on compression checks
Dielectric grease is also for seals, doors/windows
These are all excellent ideas. I would add, if the car has been sitting for more than 3 years, take the time to squirt WD40 or transmission fluid into the cylinders. This soaks around the rings and frees them up so they don’t stick to the side and break.
I agree. Then you wouldn’t need to yank the valve cover to oil the value train as described in the article.
Just be careful the little nozzle extension tube doesn’t detach from the nozzle and fly inside the combustion chamber. Can happen in a blink. Don’t ask me now I know.
Sheesh,I have not done any of this in the 31 years I’ve owned my 72 cuda. I put the charged battery in and start it after making sure no mouse nest in the air cleaner since that happened once.let it idle a bit and check the brakes in the driveway before heading out for that first drive.
Sounds about what I do. Have had my 68 Mustang for 16 years.
Same, do that with my 1970 AMX 390 GO-PACK for the past forty seven years. Just make sure the tires are up to proper inflation and no 180 mph on first ride.
uuuuuhhhhh have had my ’66 Vette for 43 years. Never really bothered – just drive it occasionally in the winter. There may be stretches of 5-6 weeks it doesn’t get driven here in Maryland, but keeping it running and driving is much easier than “storing” and “reviving”.
Same thing here – I usually pull the air cleaner lid, dump a little gas, put the lid back on it it starts right up. I have been using fuel stabilizer last few years, had a bad experience with bad gas before. Some of these guys have more time on their hands. Never had an issue with oil pressure/sticking rings and all that crap. I did have a low brake pedal once – one of the rear wheel cylinders gave out but no big deal, costs about $12 in parts, got to love these old cars!
I disagree with the ‘no big deal’ about losing a wheel cylinder. Happened to me on the road in my Charger. If you have a single pot master cylinder, the pedal goes straight to the floor. The parts are cheap to replace but you have to figure out how to stop to swap it out!
I agree. I’ve been driving my 72 Nova SS since 1971 and haven’t done any of these things to start the engine. I just make sure it doesn’t sit more than 5 -6 weeks without driving it and it starts and runs fine (for over 50 years).
I don’t suppose it’s gold with an aftermarket tach on the steering column? Have the build sheet from one I sold off in 87. Would be in suburban Chicago
An oil & filter change using high quality synthetic oil recommended by the car manufacturer for the particular engine is always my first priority after initial startup, along with checking all other fluid levels, coolant temperature capacity, drive belts condition and tightness, tire pressure adjustment with good tire check, wheel balancing and alignment once a year, checking for leaks (although antique vehicles and muscle car era vehicles always leak no matter what you do to prevent them 🙄). Then a good wash and wax and interior clean and protect is a must. I like the dielectric grease idea. This is a new one for me.
Happy motoring all !! 👍👍👍