Wrenchin’ Wednesday: How to remove a hood spring quickly and safely

You can use a simple DIY tool to remove hood springs without any squinting or blast shields. By taking advantage of the spring’s range of motion, it’s possible to trap a tool inside tension-sprung hood hinges and allow the hinge to slip out of the spring, without having to pry on it or otherwise deal with a five-pound missile under a hair trigger.
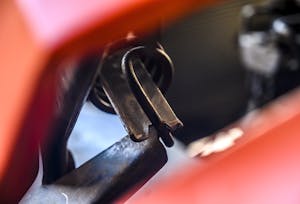
Hood springs come in several unique configurations, but the common idea is to counteract the weight of the hood as you lift it with the feeling of liberation associated with not having to fiddle with a hood prop. For many classic cars, the spring is stretched under tension while the hood is closed and it contracts, pulling the hinge against itself, to support the hood as it’s lifted. This action is what we’ll exploit with today’s trick.
Situations where this would come in handy? When you need to replace the hinge itself or save a set of hinges from self-destruction while a hood is removed. Without the hood to prevent them from twisting, often times the springs can damage the hinges by stressing the riveted joints. By removing the springs before you pull the hood, you can prevent significant damage to an otherwise tight set of hinges. Here are some handy steps:
1. With the hood as low as you can set it while still reaching the hinge, measure the spring from hook to hook. This will be the overall length of the tool so that we know it can slip between the spring’s hooks when we set it up. Round up your measurement here, if it’s too long you can always trim it back down. Having to put metal back on is always tougher.
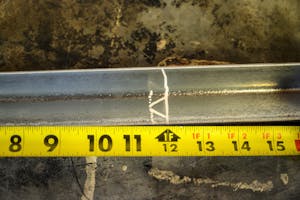
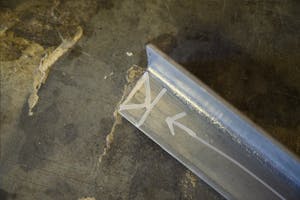
2. Take your measurement for the hood spring and mark it out. Then, mark out a set of notches that big enough for the spring to settle into—a little under a half-inch is fine, there’s no need to be precise as long as the spring can settle into the notch. While we used a piece of angle iron, a piece of flat-stock fits into the spring easier. A good rule of thumb is that if you bend your source material by hand, it’s probably not up to snuff. At a minimum, work with steel that’s at least 1/8th of an inch, but we’ve even made these out of 1/4-inch steel in the past.
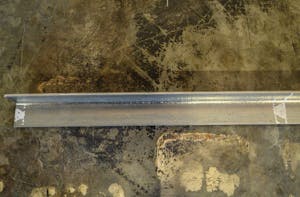
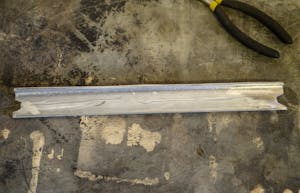
3. A cut-off wheel made the whittling work quick and easy. We elected to trim down one side of the angle-iron to make it slimmer, but retaining the bend does add extra rigidity to the tool. To save yourself some bloodshed, be sure to de-burr the freshly cut edges until they’re smooth enough to safely hold by hand.

4. Lower the hood as far down as possible while still maintaining clear access to the hinge, and slide the tool between the hooks of the spring. Once it’s aligned, lift the hood slowly and allow the spring to settle into the notches on the tool. Once it relaxes and releases from the hinge, it’s safe to remove. Installation is the opposite of removal: lower the hood again, this time a few inches higher than when you removed the spring so that the hooks on the hinge are now closer together. Hang the spring loosely in its perches on the hood hinge. Then lower the hood so that the spring is stretched out of the tool’s notches by the hinge itself. You did it!
Thanks to Joe G. in Texas for the tip!