Wrenchin’ Wednesday: Building a cab lift for the lone wrencher

Solitary wrenching can be its own therapy and personality-developing experience but, practically speaking, bigger jobs can present serious obstacles. For centuries, people have built tools to complete tasks otherwise impossible for a single person, and little about that tenacity changes once you’re in the shop.
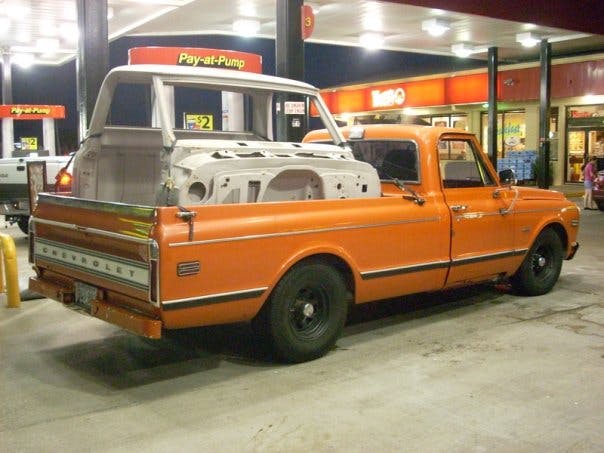
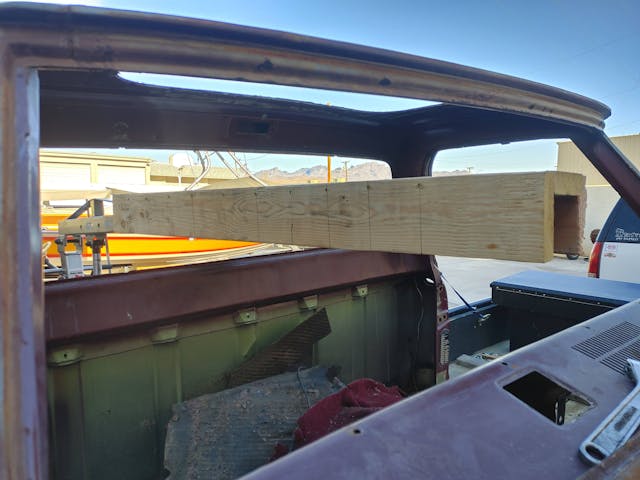
I picked up a new cab for my 1969 Chevrolet CST/10 this week and needed a way to unload and roll the cab around until I could build a caster-wheel jig for it. These cabs aren’t terribly heavy, but they are difficult to handle without at least three people—and two of us barely got it onto the trailer without banging it up too badly. With an engine hoist and a few boards and screws, relocating the cab became a trivial matter. For today’s Wrenchin’ Wednesday, a DIY cab lift is on the agenda.

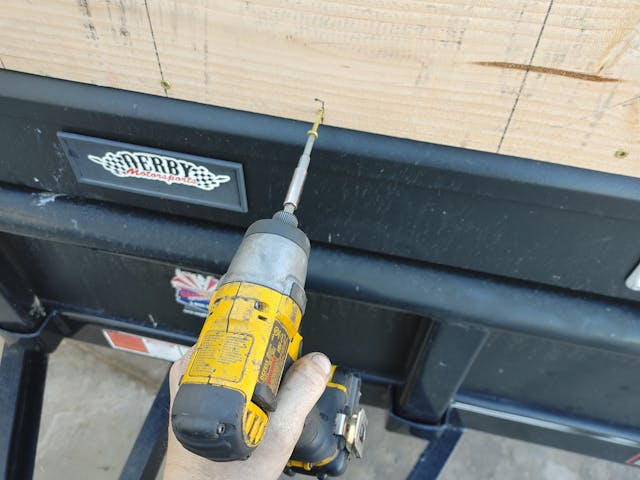
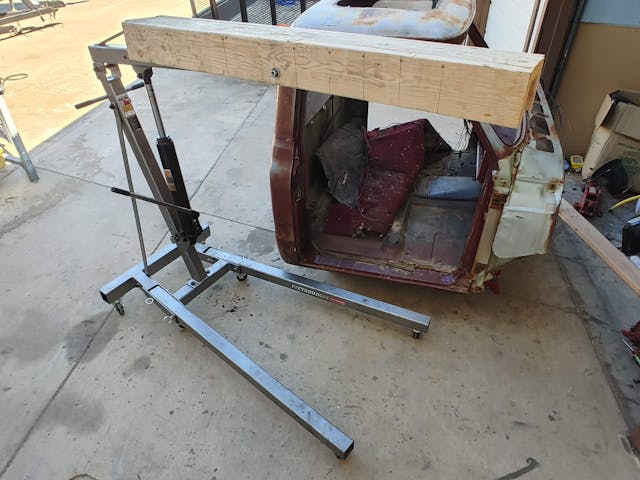
First, I cut a pair of 10-foot-long, 2×6-inch boards into 5-foot lengths so that the cab lift could be used either from the side, through the door openings, or from the front and back, through the windshield openings. You’ll need three pieces to build the cab lift, so select the less-worse of your cuts and grab some wood screws (around 3 inches long should do fine). I just spaced them evenly across the board—the more the merrier here. You’re building a wooden C-channel, effectively.
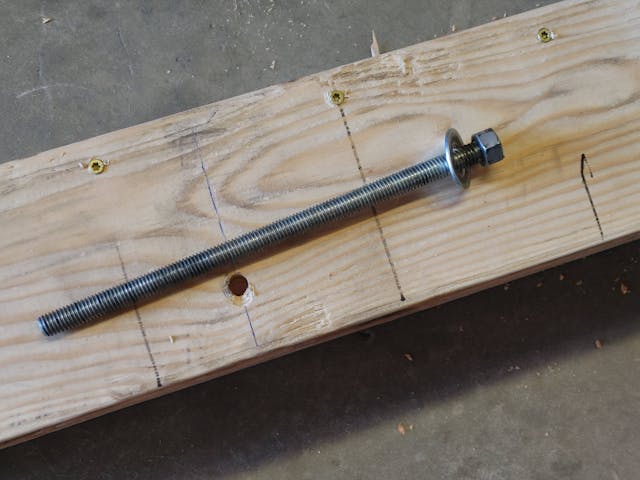
Once all three boards were screwed together, I found the center of balance with the cab lift mocked in place to ensure it could still reach the edges of the cab. Then, I marked and drilled the hole. Our old pal all-thread comes in handy here, because the cab lift will probably be wider than the length of any bolt you can readily buy.
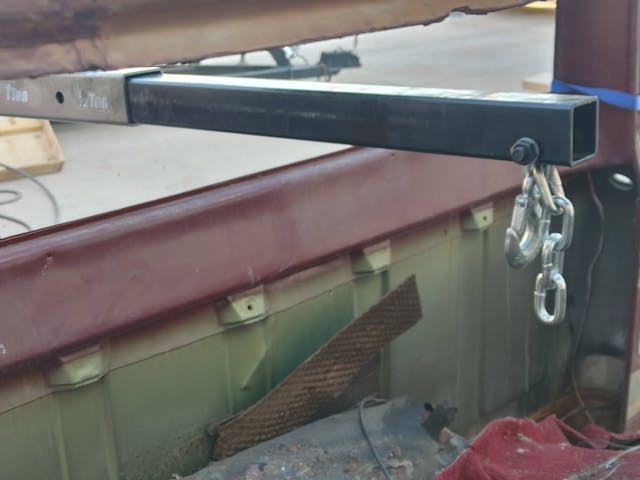
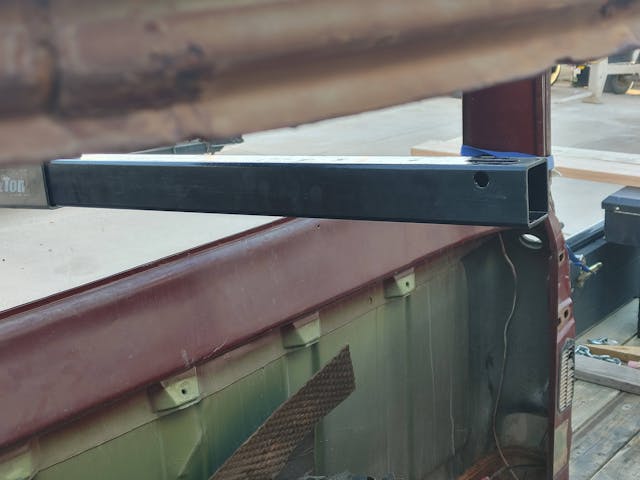
I chose to exploit the hole for the chain’s cross-bolt for the cab lift’s mount and self-leveling hinge action, so I flipped over the hoist’s extension to put the opening top-side.
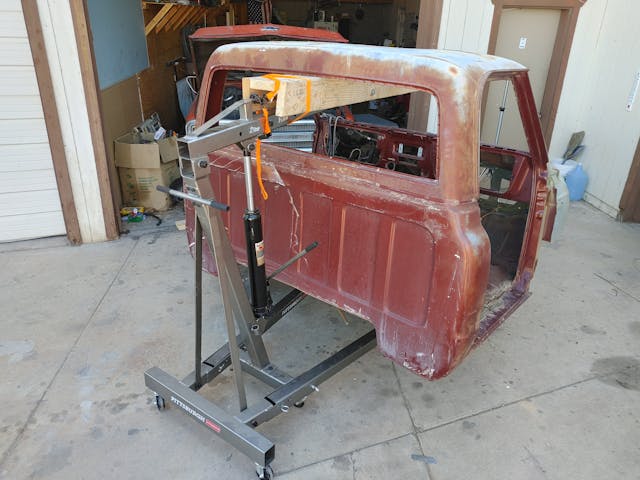
Assembly took less than 30 minutes, even with a hand saw to cut the boards. Build cost was $20 with two boards and a box of screws—the all-thread was left over from a prior project, but sticks range around $5. The lift made getting the cab off the trailer as easy as hoisting it up and driving the trailer out from underneath it, and the process was much safer than trying to use a dolly or even a couple helping hands to get it up and off the trailer.

My CST/10 and I are just thankful to have a fresh cab. I’ve owned this truck for nearly 15 years, and when I bought it, it had been sitting covered in pine needles for some time in rainy Houston, so the drip rails had begun to rust. The red iron of doom crept into the A-pillar and across the upper windshield frame and eventually became a cause of genuine concern.
About 10 years ago, I went on a kamikaze round trip to Dallas to pick up a $100 cab that had been body-worked already with new rockers and corners and was ready to go in primer; but while it was in storage, someone broke into the unit my dad and I had. The cab was stolen along with our family’s 1950 Chevrolet Styleline Delux and an endless list of tools, drivelines, parts, and irreplaceable keepsakes. I never thought I’d come across another affordable cab because of the ballooning prices on clean ’67–72 sheetmetal, but Arizona’s deserts never cease to unearth killer deals on rust-free junk.