Making your own gasket is easier than you think
A missing gasket can stop a project in its tracks, and an unscheduled trip to the local auto parts store for a replacement is often frustrating—especially if your classic isn’t as common as a ‘60s Mustang. Before you start swearing at that dried-up tube of RTV, remember that making a flat gasket can be quick and easy.
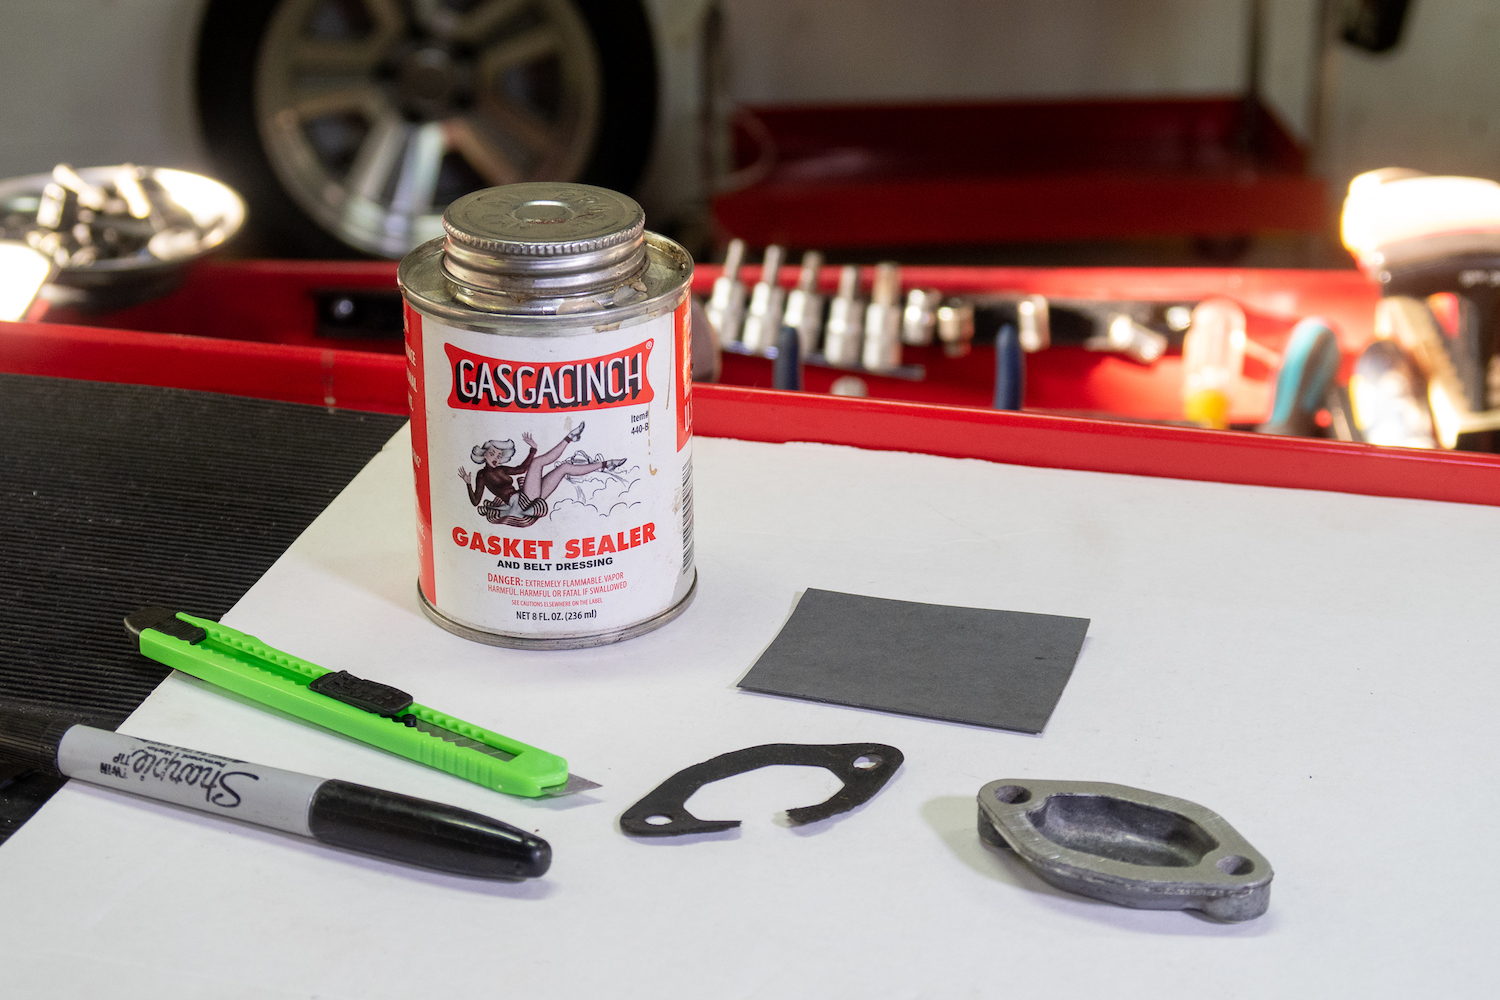
A sheet of gasket material, sharp knife, marker, and some Gasgacinch or similar is all you need to make a new gasket in a few minutes. A tube of silicone or a gasket-in-a-can that spreads around like Cheez Whiz might tide you over for the present moment but guarantees you’ll soon need to scrape it back off.
Material decision
Start with the right material for the job. Some gasket materials are suited for oil and fuels, others made specifically for use with coolant. New cork can stop leaks and keep that factory look if tradition or originality is a concern. A few sheets of gasket material are often less expensive than a single tube of silicone or gasket maker, and a can of Gasgacinch is good to have around for all sorts of uses, one of which is gasket contact cement. Flat gasket material is not a substitute for o-ring type seals or molded rubber, so paper, cork, and glue won’t cut it if you need a formed seal.
Trim to fit

1) Set the part on the gasket material and trace an outline with a Sharpie marker or pencil. The line doesn’t need to be super precise. Cut out a hole if an impeller or anything else interrupts the flat plane. Lining up any straight sections of the part with the factory edge of the material can save time on future cutting and trimming.

2) Spread Gasgacinch on both surfaces and allow it to dry. This tiny timing chain adjustment bolt access cover requires removal every 12,000 miles, so the gasket needs to stay on the removable part. Mate up the gasket material and part on a flat surface. Hold pressure for a minute or so to create a bond.


3) Snap the dull end off a disposable knife or install a new blade in an X-Acto knife. Put the part and gasket on some backing board or wood and cut the gasket material around the perimeter. The back of a legal pad is an excellent cutting surface. If the part doesn’t sit flat, then cut around the outside edge like peeling an apple.

4) Cut around the inside edge of the mating surface using the part itself as a cutting template. Make a rough cut first and then trim out any tight sections. Use a hole punch, knife, or similar to cut out the bolt holes, then trim away any stragglers. That’s it! Install at will and shelve the materials for the next time around. No need for silicone unless the manual calls for it.

5) An optional step is to coat the mounting surface of the gasket with a thin film of motor oil to keep the gasket from sticking to whatever it’s bolted up to. Maintenance parts like this cover plate can be removed and installed without having to replace the gasket. Remove and replace parts like a water pump come out with the old gasket attached to the spent part instead of the engine block or timing cover. Less scraping is better than more.

Happy sealing!