Clearance issues pour cold water on Lotus pump replacement

When last we left my 1974 Lotus Europa Twin-Cam Special, it was Christmas Eve and the cartridge-style water pump kit I’d waited over a year for had finally arrived. Oh boy! (He says, rubbing his hands together like a kid.)
As I explained a few weeks ago, Lotus-Ford Twin-Cam engines are unlike most other water-cooled engines in that the water pump components are press-fit into the front timing cover. Thus, you have to remove the timing cover to change the water pump (which requires pulling the head—which, on a Europa, requires pulling the engine). If you don’t want to be faced with that—and I certainly didn’t—you need to purchase an aftermarket kit consisting of a new front outer and inner timing cover, both of which are machined to receive a cartridge-style water pump that can be removed with the engine in the car. Several places make these for the twin-cam engine in the Lotus Elan, but because the Europa is a mid-engine design, the water routing is unique, and only Dave Bean Enterprises makes a Europa version of the cartridge pump and cover kit. Unfortunately the kit was out of stock for about 18 months. Thus, when it arrived I was not only stoked, I was, um, pumped.
I ran into trouble right off the bat. What would’ve been a 15-minute operation on one of the BMWs I’m familiar with turned into a week of agony in Lotusland. And I’m not out of it yet.
The first thing I did was try to execute the simple step of seating the front main crank seal in the front timing cover. I’m used to German cars where the seal beds against a stepped lip, you tap it with a right-sized socket until it seats, and you’re done in 30 seconds. That was not the case on the Lotus front cover. There is no lip. To be clear, this had nothing to do with the new cover; the old cover was the same way. I stopped and read the manual (yes, yes, I know), and learned that you need to heat the cover, smear some sealant on the outside of the seal, and gently press it in by hand. But even doing that, getting the seal to seat was next to impossible; it kept springing up and twisting its way out like dumplings in boiling water. Eventually I learned that there’s an extra-wide seal you can buy, and that clamping it in place with a vise or a C-clamp is an effective way to get it to sit still while the adhesive sets. While I was in the zone, I did the same on the rear main seal. Two small steps down.

Before I began assembling the front of the motor like a kid given his first red Radio Flyer wagon, I had some reading to do. Not only is the water pump arrangement odd, the sealing is odd as well. There is a thin paper gasket between the block and the inner cover that provides the water seal (there’s also an o-ring behind the impeller). In contrast, there is no gasket at all between the outer and inner covers that provides the oil seal for the timing chain; it’s just a metal-on-metal interface that you coat with sealant. Thus, the alignment and sealing of the block-to-inner-cover and inner-to-outer-cover are crucial to building a leak-free engine.
Unfortunately, in the two manuals I’m relying on, I see two different recommendations on the kind of sealant to use. The Lotus Europa factory manual calls for no sealant at all on the paper gasket between the block and the inner cover (yeesh), and blue Hylomar between the inner and outer covers. Hylomar is a never-drying adhesive that has its fans because it makes it easy to pull the pieces apart. However, the other book I was using, Miles Wilkins’ Lotus Twin-Cam Engine, calls for a thin coating of Wellseal on the paper gasket, and RTV between the covers.
I posted the question on several Lotus forums. Other than everyone agreeing that care must be taken not to lay down caterpillar-sized beads of sealant lest they squeeze out and clog the oil screen, there was little consensus. Some folks absolutely rave about Yamabond4, a silicon-based product originally used for sealing motorcycle cases. Others are passionate supporters of anaerobic RTV that only hardens in the absence of air. I recalled that the machinist who did the head and the block for me recommended silicone on the cover surfaces.
So I did what I’ve done repeatedly on this project: I sought the guidance of The Lotus Engine God (TLEG). TLEG does have a real name—he’s Bill McCurdy at Williams Racing. Bill replied that he uses what he referred to as “silastic.” I had to look this one up. It’s a mix of silicone and rubber. What’s more, TLEG advised using a silastic-specific primer on the surfaces to help it to adhere. This seemed to tip the balance toward a silicone-based adhesive of some sort. I already had Hylomar, Wellseal, and anaerobic RTV, so I ordered a tube of Yamabond4 to have it around when assembly began for real.
But the subject of the adhesive rapidly moved into the background, because TLEG then said the sort of thing that makes him, well, TLEG. “You know, especially with those new covers, you need to test-fit everything, right? Before you even open up a tube of sealant, test-install the inner cover, the timing chain, the chain guide, and the outer cover, and make sure there’s clearance for the chain. Then put the head and its cam sprockets and chain tensioner on and do the same thing. These covers have never been on this engine. Who knows what kind of work they’ll need? I’ve never seen a new timing cover, whether from Bean or anyone else, that doesn’t require some kind of fettling to get it to fit correctly.” (“Fettling.” Had to look that one up.)
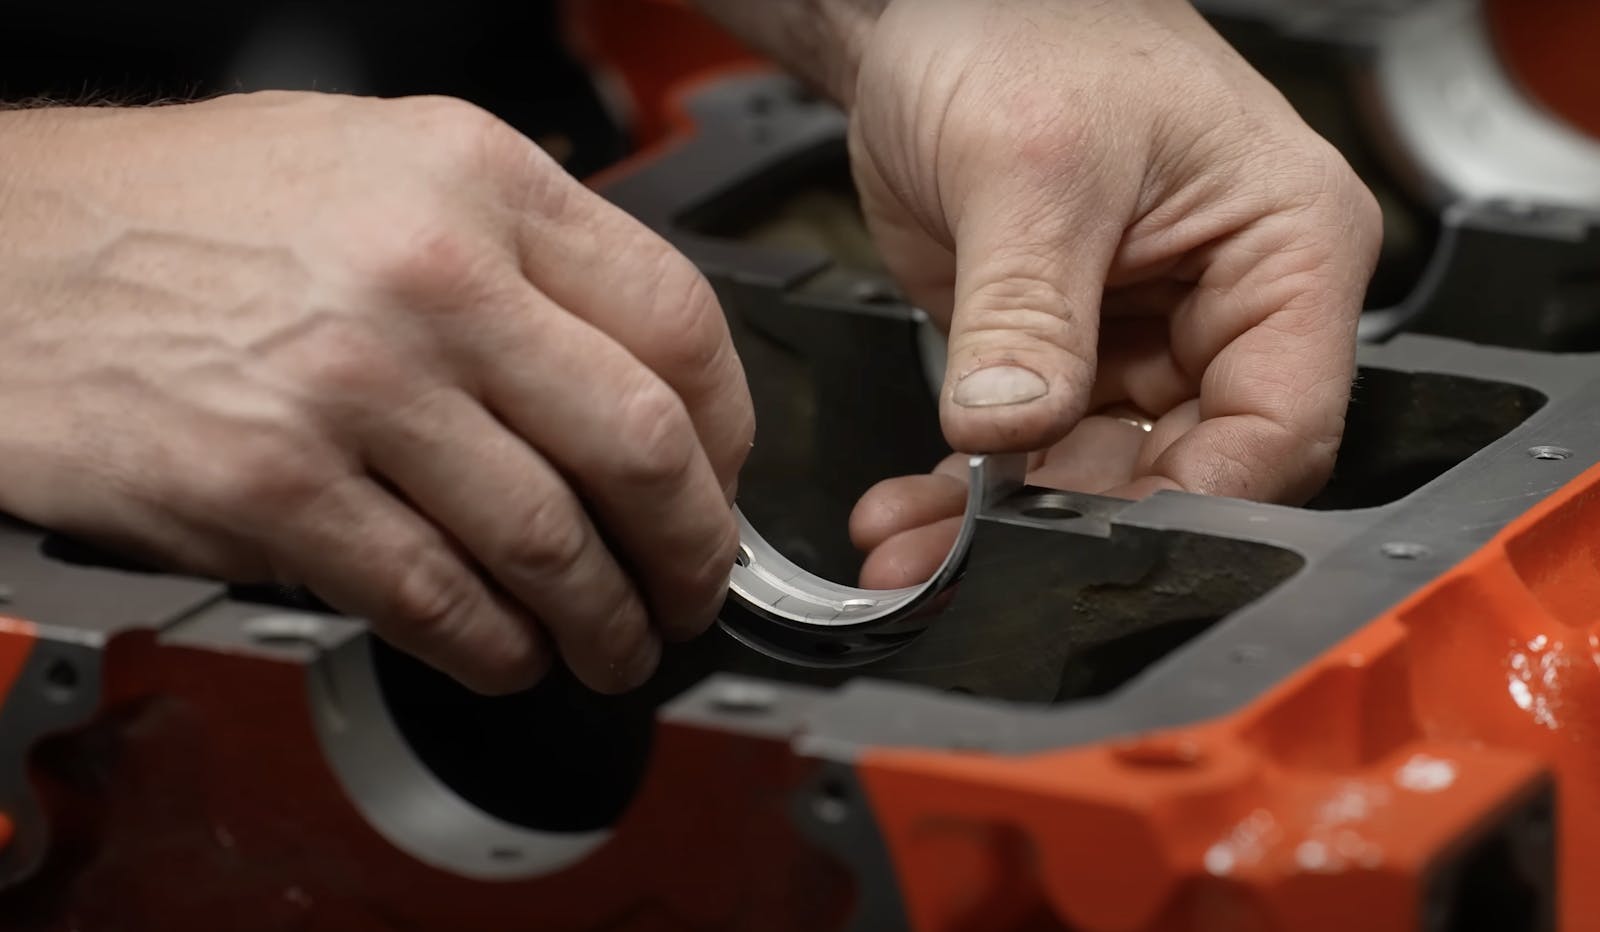
Now, when someone with this kind of expertise tells you that you need to test-fit everything, you do it, but you don’t really expect to find a problem, at least I don’t. On went the inner cover and the bolt holding it to the block, installed finger-snug. On went the timing chain and the oil slinger. On went the chain guide and its hard rubbery coating onto the outer cover. On went the outer cover and all the bolts running through the inner cover. Unlike the BMW engines I’m used to, there are no dowel pins aligning the cover to the block, so it’s free to twist slightly about the play in the bolt holes. It’s important to verify that the upper surface of both covers can sit slightly below the block surface, because if they can’t, the head won’t seat correctly. It’s also important to make sure that the impeller on the back of the water pump turns freely and isn’t hitting anything. This is all true whether the stock water pump or a new cartridge-style one is being used. I had a difficult time getting the three o-rings on the outside of the new cartridge-style pump squeezed through the bores in the new covers, but I got it most of the way in and didn’t see any clearance issues.

And then I looked at the timing chain. As viewed from the top, I found that there was a troubling clearance issue between the chain guide on one side and I couldn’t tell what on the other side.

I pulled everything apart, laid the outer cover on the table, slid the chain in place next to the guide, and immediately saw the problem. There simply wasn’t enough room between the chain guide and the cast-in boss—the big hole for the water pump—for the chain to pass without hitting.

When I A/B’d the original and new covers, each with their chain guides attached, I could see that some of the difference was due to wear in the hard rubber surface of the original chain guide, but by far the larger component was due to the fact that the boss surrounding the hole for the new water pump was thicker—in fact, too thick.


I sent the photos to Ken Gray at Dave Bean Engineering. My phone rang within a matter of minutes. Ken said he was surprised at the problem, apologized profusely, and offered to send me out another cover. Not wanting to slow down the process, I sent the photos to TLEG as well, and asked if I could come over to get his opinion.
The next day I drove to Williams Racing with the covers and the pump. TLEG inspected the zero-clearance gap for the timing chain, and to my surprise, didn’t really think it was a big deal. “Yeah, it’s tight. You can rout it out with a Dremel tool, or just a file. All of these aftermarket covers require a little adaption. But even if you didn’t, really, it’ll self-clearance—it’ll just wear into the hard rubber of the chain guide, and maybe a little bit into the soft aluminum.”
He was more concerned about the lack of clearance for the o-rings, and recommended that two of the hard 90-degree steps in the cover be chamfered to allow the o-rings to slip past them without the risk of the hard edges cutting them.
I then had a lengthy conversation with both Ken and his Dave Bean-cohort Daren Stone. By the end of the conversation, they said that they’d not only send me a new outer cover that was clearanced and chamfered, but that they were giving a machine shop pass to all of the covers they had in stock.
The new cover arrived a few days ago. The timing chain area is beautifully clearanced—it looks much nicer than if I’d had at it with a Dremel. There is a slight chamfering to the outer o-ring step as requested.


The only downside of all of this was that my momentum ground to a halt. As I write this, a polar vortex has descended upon much of the country, with 5 degree temperatures in Boston. I’ll get back out to the garage and complete the test-fitting as soon as I don’t risk my fingers being like that kid’s tongue on the flagpole in A Christmas Story.
***
Rob Siegel has been writing the column The Hack Mechanic™ for BMW CCA Roundel magazine for 30 years. His most recent book, Just Needs a Recharge: The Hack Mechanic™ Guide to Vintage Air Conditioning, is available on Amazon (as are his previous books). You can also order personally inscribed copies here.