How I failed my way to success building a wiring harness, from schematic to bundle
Initially, I assumed that taking the time to sketch out a new wiring harness would be the hard part. The rest was just connections and lengths of wire; it couldn’t be that hard, right?
That kind of confidence can get people in trouble, but somehow, I conquered the electrical nightmare of my latest motorcycle project. In the process I learned a few lessons worth sharing, or in some cases repeating, to hopefully save you from your next project languishing half-finished.
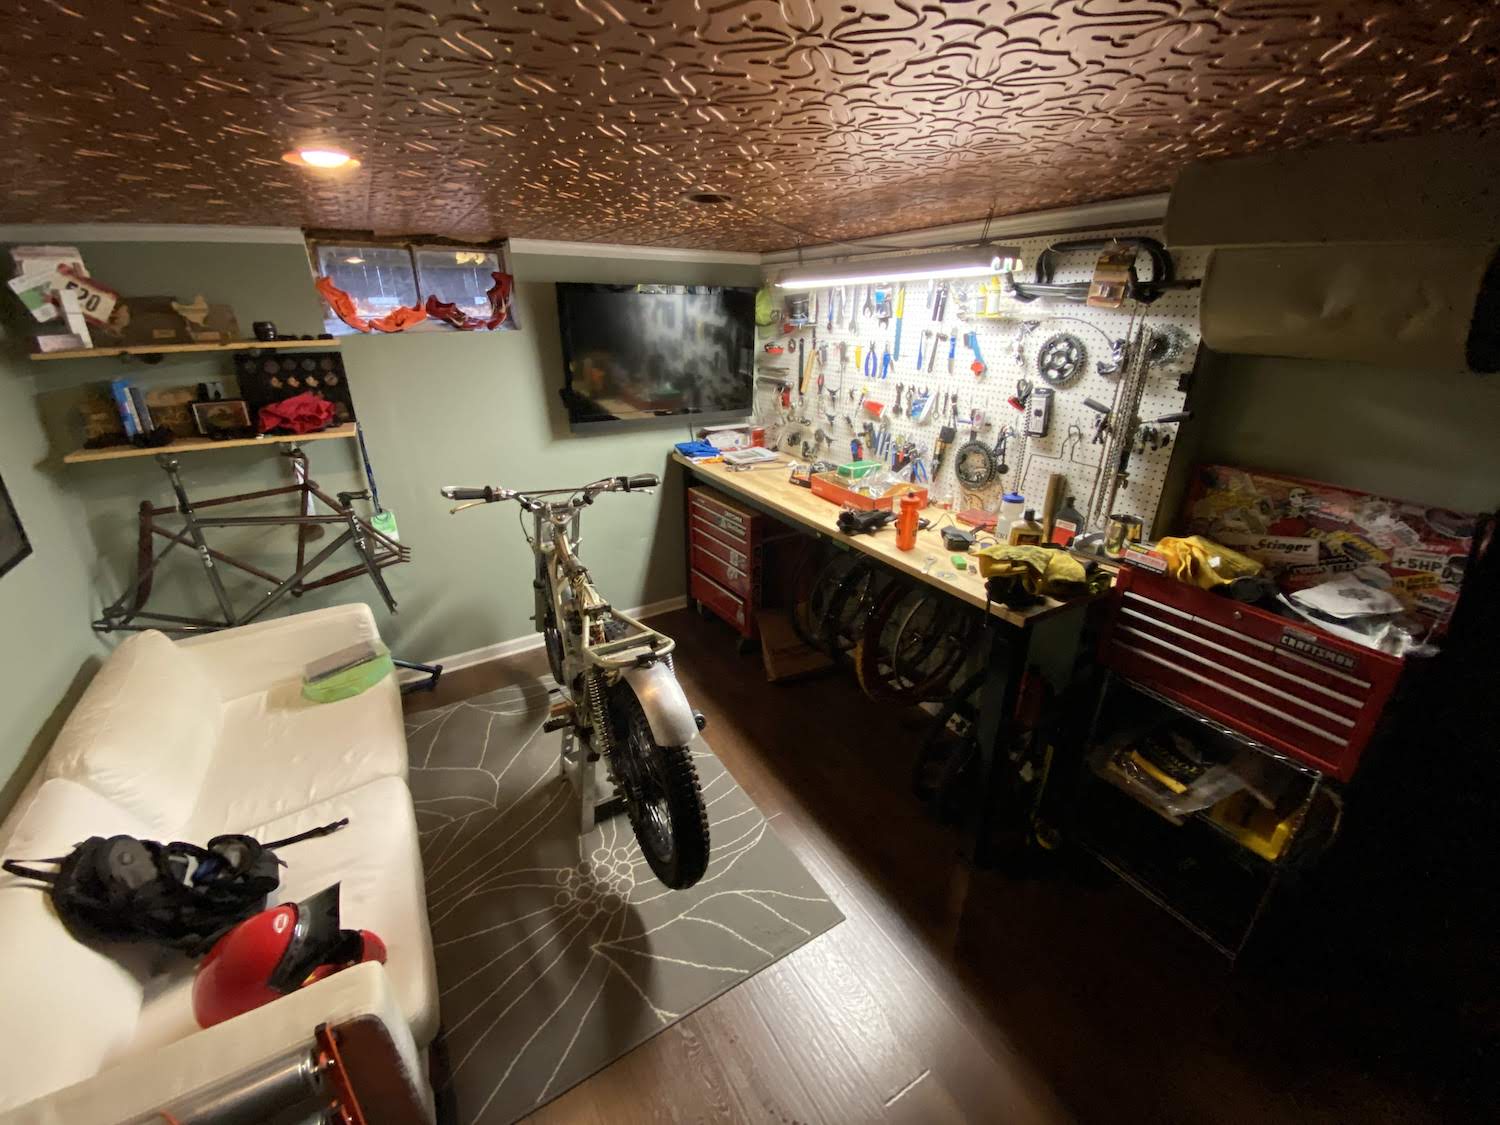
My grand plan to overhaul this SL125 from a basic running bike to a cool custom was ambitious, but the wiring harness was the most significant hurdle, so that’s where I began. The location of this surgery was in my basement workshop, where I’d brought the patient—my 1972 Honda SL125—a little over a month ago. This proved to be a great idea. The temperature is mild down there, making the space much more inviting than a cold, detached garage. After all, I am not planning on taking the bike out again until spring, when the road salt is gone and the sun is once more in the sky longer than the workday.
My budget was unrealistic
Playing with old cars and motorcycles does not add zeros to my bank account—it only removes them. Even with careful planning, attempts to minimize the hit often go awry. I laid everything out in the schematic, thinking this would prevent me from overspending.

Boy, was I wrong. It was death by a thousand cuts. Though each individual part was less than $12, it all totaled up to over $120. (There is a bit of an asterisk next to that number, since multiple items can be used on the next project, like the leftover wire and heat shrink.)
The learning was real
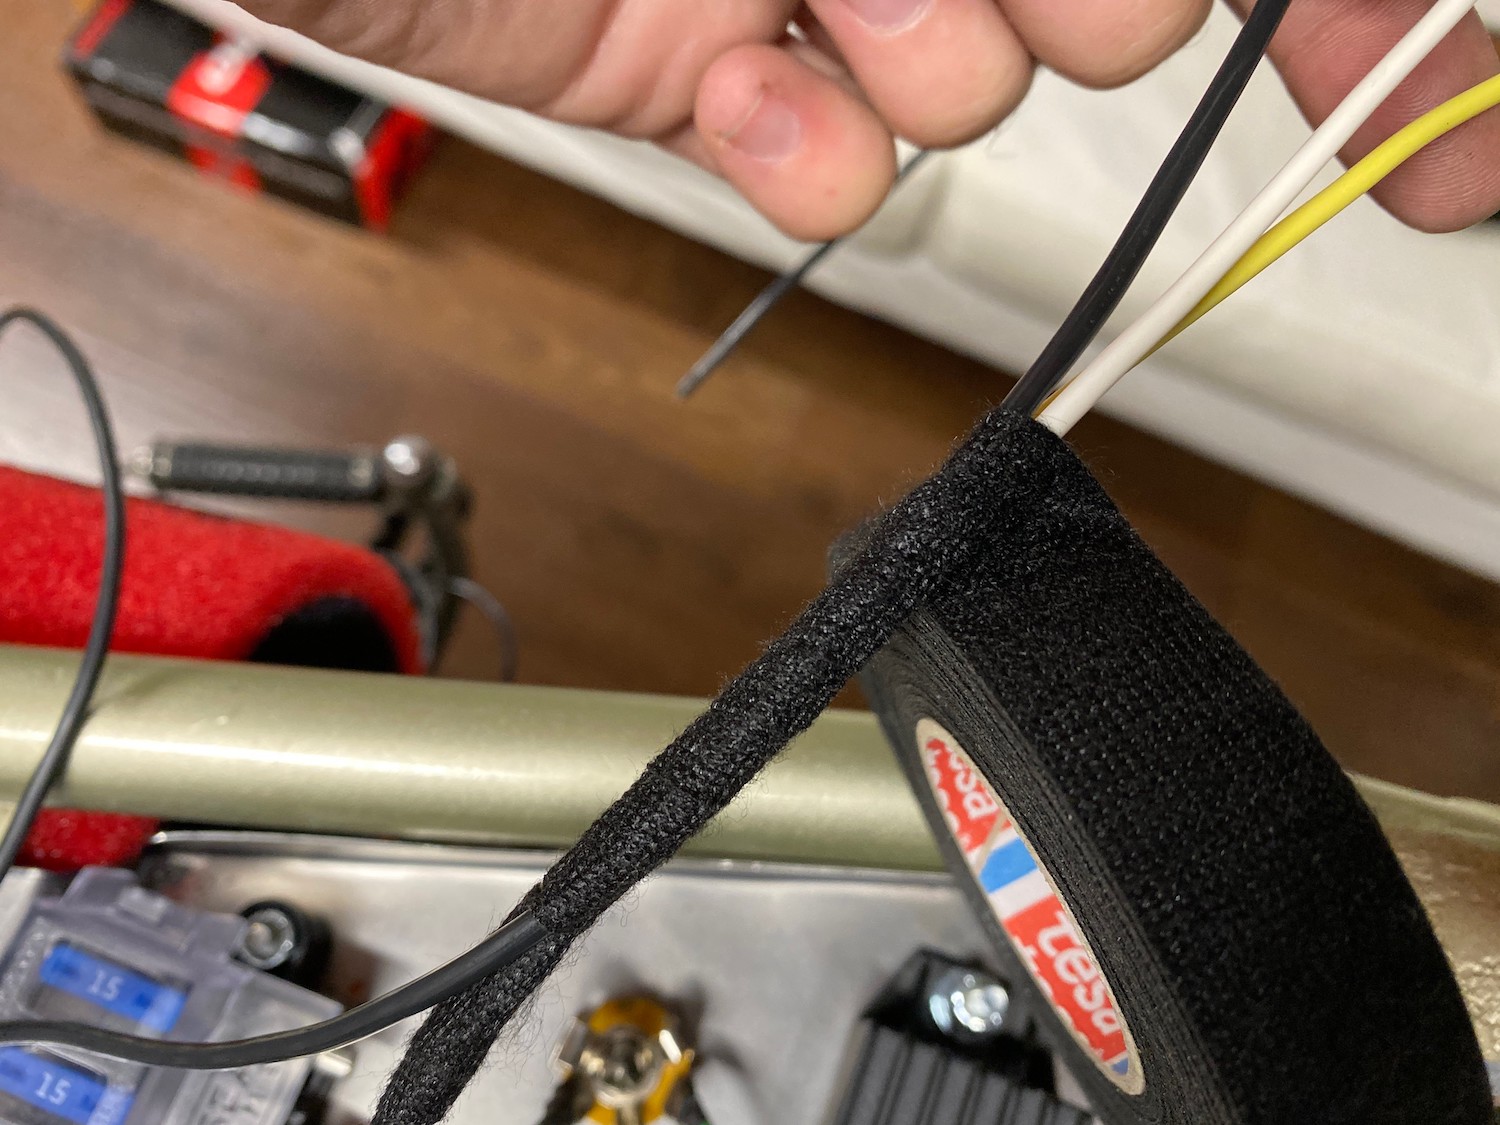
Still, and yes, it’s a cliché, but you can’t put a price on education. I learned a lot from creating this harness from scratch. For example, using Tesa cloth tape produces a much nicer finished product than random zip ties, and you shouldn’t wrap anything in that tape until you have finished the whole harness. After finishing the power feed to the coil and headlight, I proudly wrapped everything up for that sweet finished look—then turned around and the kill switch for the handlebars was staring me straight in the face. I had to take the tape off and add the wiring for that kill switch before repeating my work.
That was part of the goal for this machine, though. I picked it up because it looked cool and had potential. The goal was to use it to learn a few things and practice some items before building a future mild custom. I know with each attempt I get better, meaning the next time I attempt these processes and projects, the results will match my expectations. Or at least be presentable.
Creating this “simple” harness required learning a bit about how motorcycle stators work, alternating current vs. direct current electrics, and how to lay out the system on paper. There were a few audible calls that broke from the playbook I wrote, but the final product doesn’t show those changes—like how I decided to go with a keyed ignition rather than no security at all.
The final product was worth it
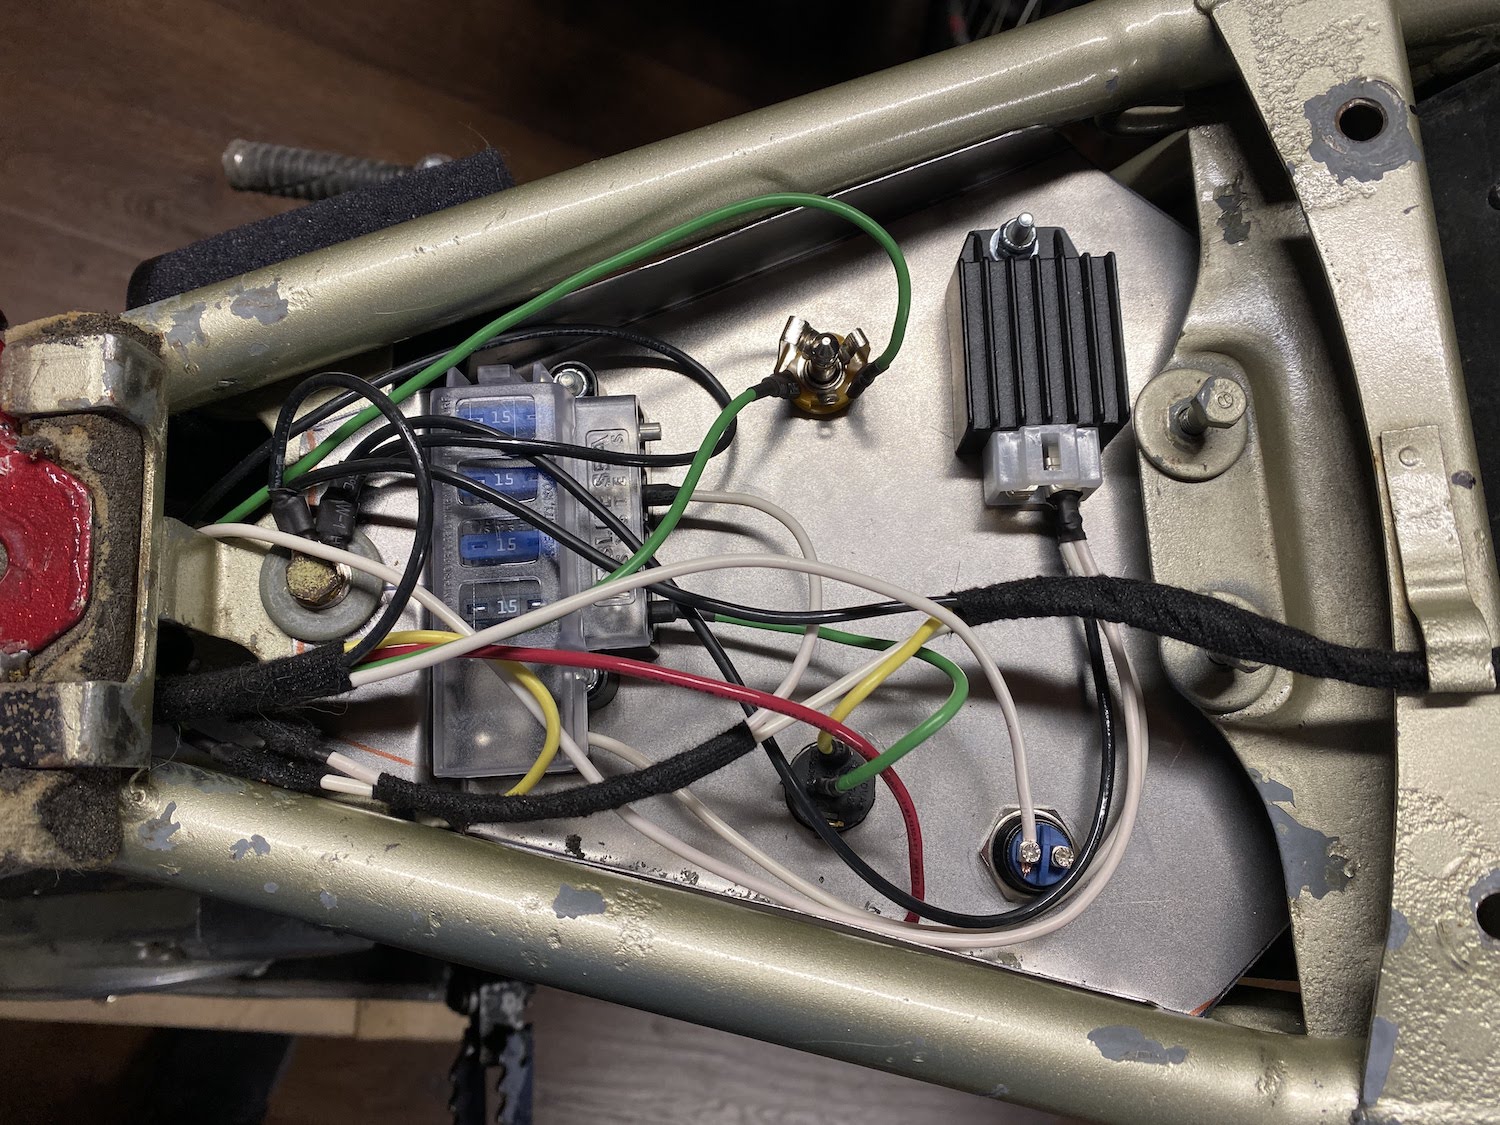
I have all but concluded this SL125 will be my commuter motorcycle come spring, so though this wiring harness didn’t come out exactly as planned, the fact remains that it will do the job. There will be no version 2.0 on this machine, which means when I’m done with it I will send this bike off to a new owner and start from scratch again on another two-wheeled project.

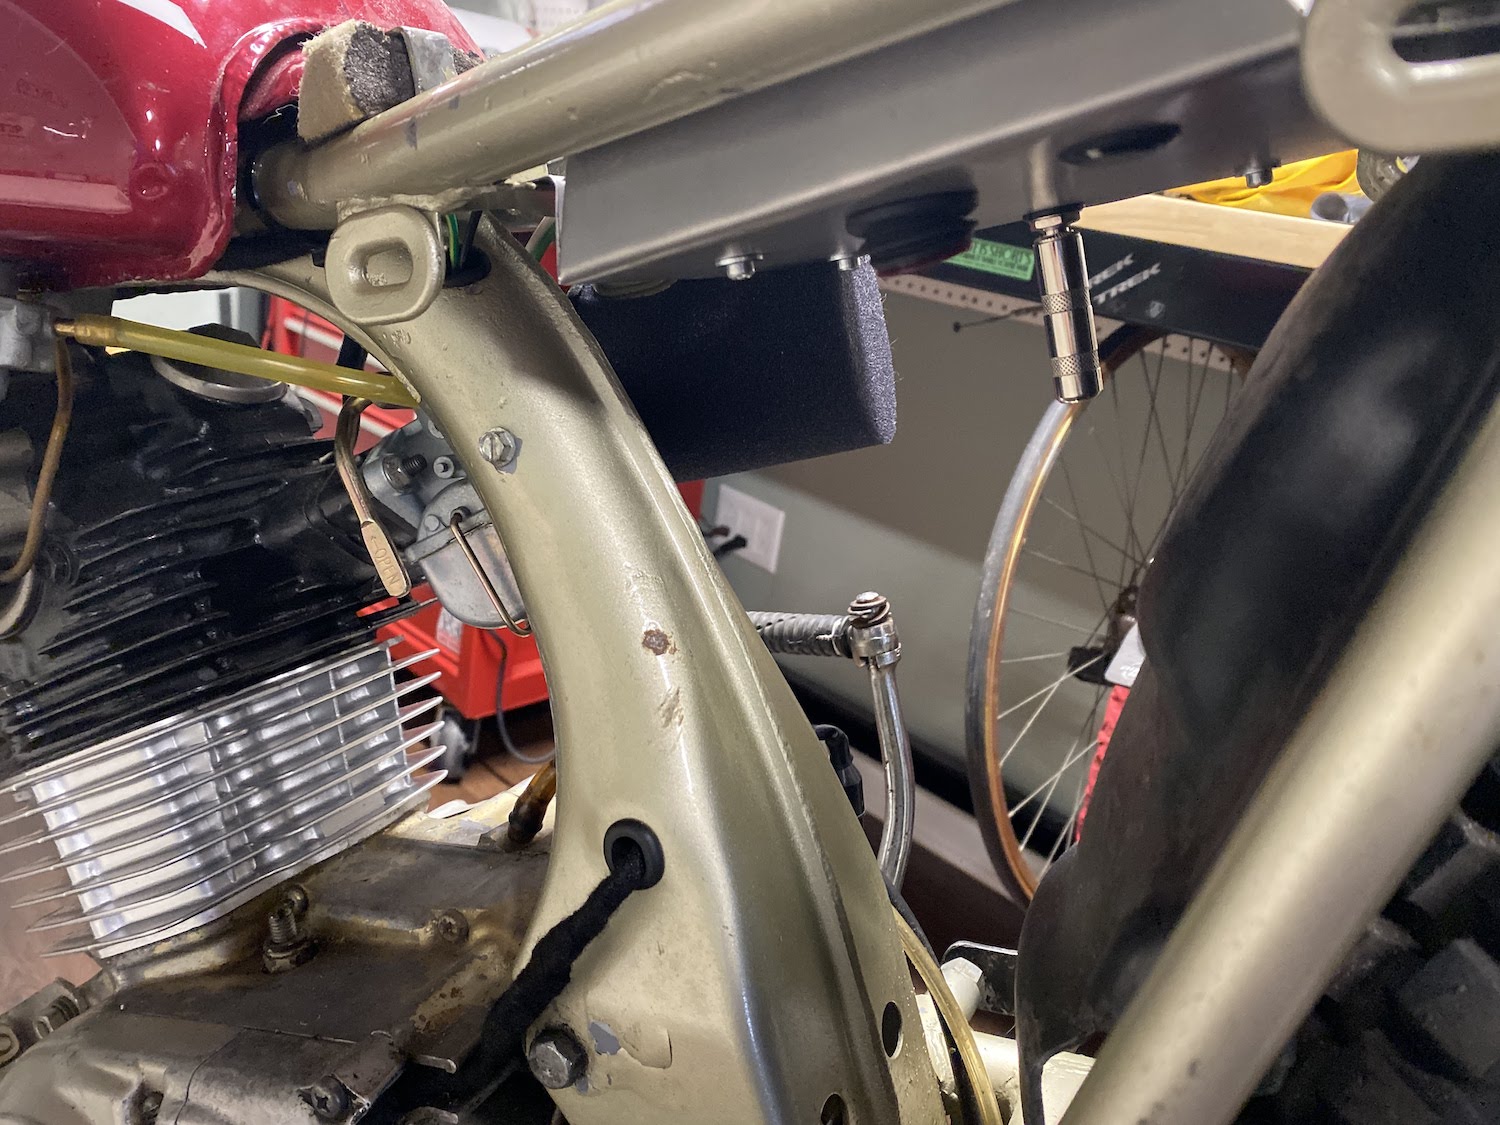
Even with the blown budget and finished product that doesn’t quite live up to expectations, the new wiring harness is better than what I started with—a toggle switch on some scrap flooring trim. Now I have a keyed ignition, lights, and a horn. The license plate is already mounted, but now it is actually legal, right as winter is setting in for real. There’s still a suspension rebuild, engine cleaning, and exhaust fabrication to do before I would be seen in public on this Honda. Plenty enough to fill the long Michigan winter.
20191205213217)
