5 ways to bleed your brakes
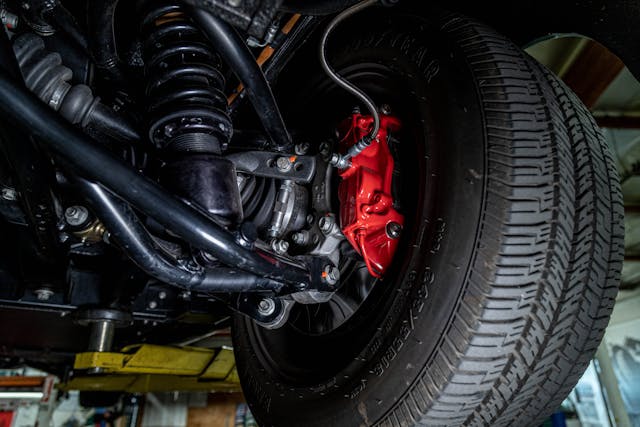
Releasing the air trapped in your car’s hydraulic brake system is crucial. Brake systems rely on a master cylinder to push fluid through the lines, and the fluid then imparts force on the piston (or pistons) in an individual wheel’s brake cylinders or calipers. The piston squeezes the brake drum or rotor, using friction to turn speed into heat and bringing the vehicle to a halt. The fluid is very efficient at activating the cylinder/caliper because it is nearly incompressible.
On the other hand, air is compressible; when it’s trapped in your brake lines, air can result in a spongy pedal and an ineffective stopping system. (Modern braking systems also use an electronically controlled distribution block for antilock- and traction-control systems, and the blocks are sensitive to air and to degraded fluid.)
So we agree that you want to keep air out of the system, but on the off chance that a few bubbles sneak in during a project, how remove you do them from the vehicle’s brake lines? There are multiple ways to bleed a brake system, and understanding each method is important so that you can decide the best approach for your project.
Gravity
Let’s start with the easiest of all the options: Doing nothing. Well, almost nothing. The concept here is simple. By filling the master cylinder and opening the bleeder screws at each wheel, gravity will gradually force the fluid through the lines and push out the air bubbles.
This method requires the appropriate tools to catch the fluid as it drips out of the bleeders. In addition, you must ensure the reservoir for the master cylinder never runs dry. Letting it run dry reintroduces air into the system, and you’ll have to drain all the fluid and start from scratch.
What sounds like the simplest method is actually one that’s very situationally dependent. Simple brake systems like those found on early hydraulic-brake-equipped cars can possibly be finished after a gravity bleed, but more often than not, the gravity approach is just the first step of bleeding a system. One of the following processes is usually needed to finish the job.
Pump and pass

Rather than leave the dirty work to gravity alone, sometimes it’s best to make the system work for you. That means using brake pressure to push fluid through the lines. You’ve likely performed this method before: Use a friend to pump the brake pedal three to four times to build up pressure, and then tell them to hold their foot on the pedal while you open the bleeder screw at one wheel. This allows the system to burp fluid—and, hopefully, air bubbles. Close the bleeder before your helper releases the brake pedal and repeat the process until no more air bubbles exit when the bleeder screw is opened.
There are a couple of things that make this pumping method more effective than gravity bleeding. For one, the fluid moves faster, making it more likely to force out any trapped air. Then there’s the fact that building pressure in the system shrinks the air bubbles—because the air compresses—so it condenses large bubbles and speeds their evacuation.
The pump-and-pass method can help when your brake lines have multiple unions, bends, or valves. Each of those tends to allow air pockets to hang around, causing frustration if you stick with just gravity bleeding.
Check valve
The pump-and-pass method is the most popular, but it can be tiring or annoying for the person helping inside the vehicle. Luckily there is a way to eliminate the need for a helper, and it doesn’t require fancy tools.
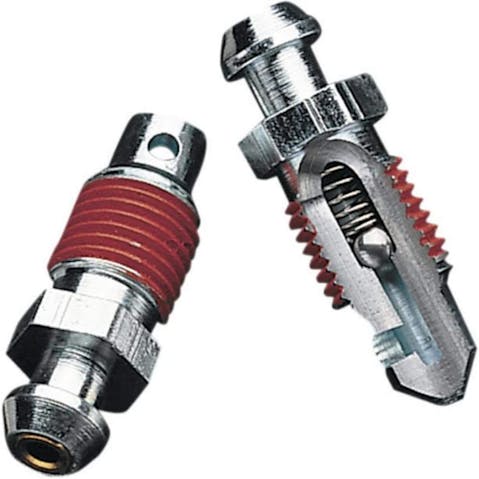
The first option is Speed Bleeders. These replace the bleeder screw at each wheel with one equipped with a small check ball and spring, making the screw a one-way valve when the check ball is loosened. Connect a hose to the bleeder, open the screw, pump the pedal until no more air is being pushed out, then tighten the bleeder and move to the next wheel. The method is pretty simple, but it does require changing out the bleeder screws.
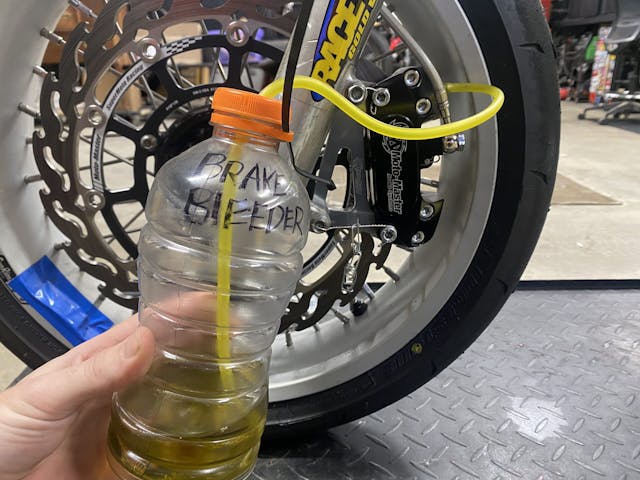
If you want to accomplish the same task without buying bleeder screws, use a simple bottle and a hose. An empty brake-fluid bottle is often best, but you can create these devices with any number of containers.
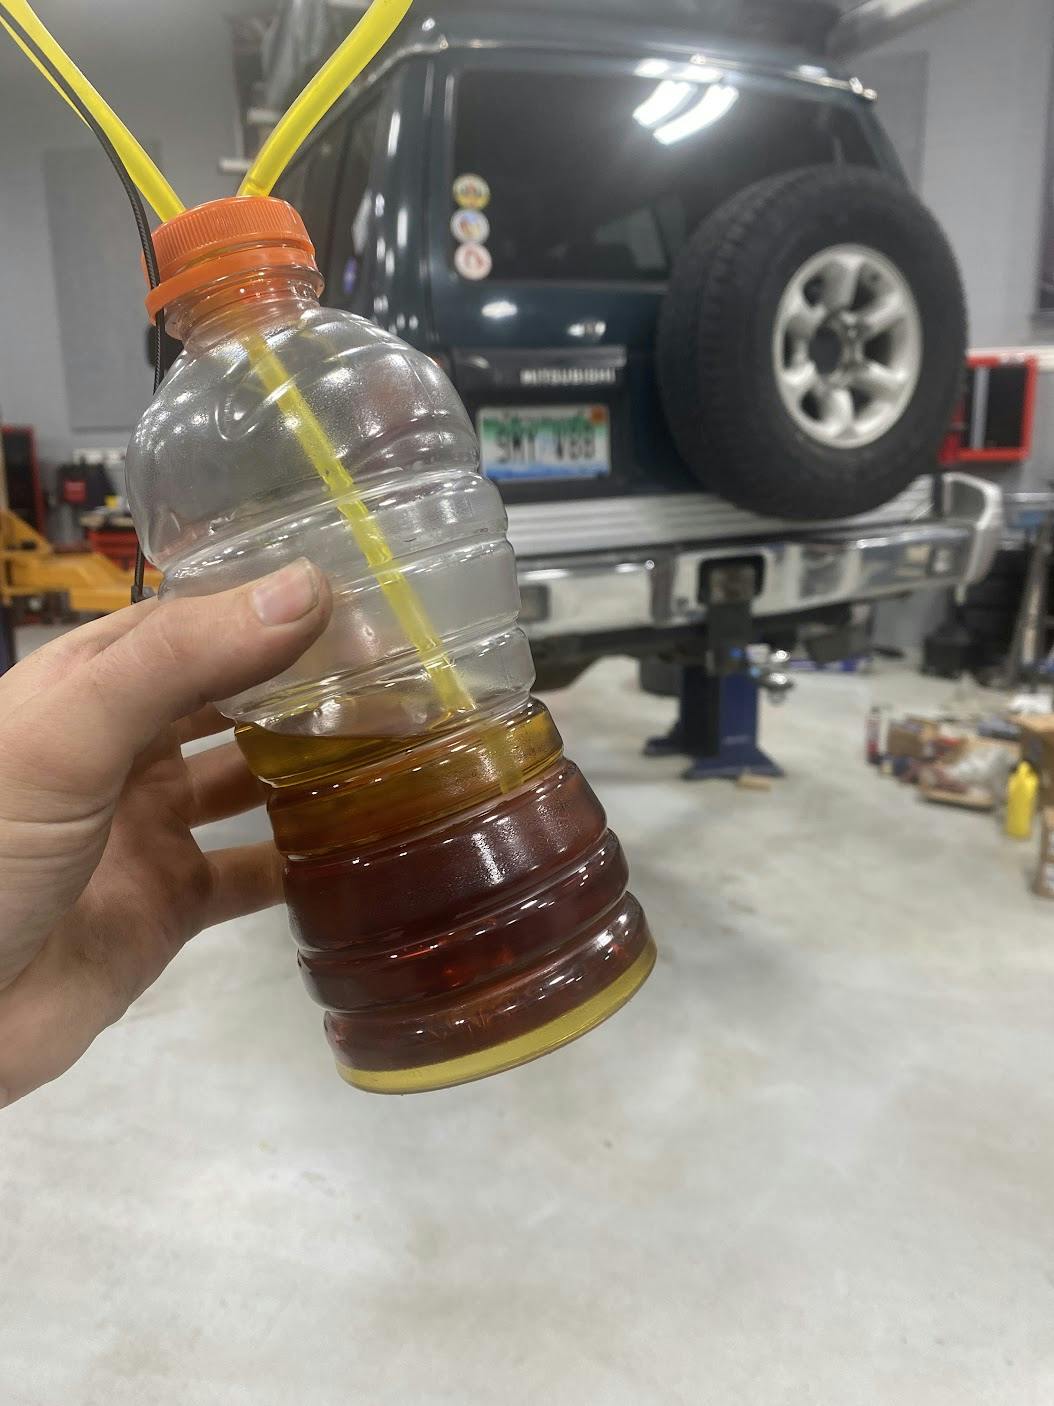
Start by pouring a small amount of clean brake fluid into the bottle, then insert a hose, making sure the end will stay submerged in the clean fluid. Then connect the loose end of the hose to the bleeder screw. Open the bleeder screw and pump the pedal slowly to push the fluid and those pesky air bubbles through the system. The bottle will slowly fill as the fluid is pushed out, and since the end of the hose is submerged, it will prevent any air from being pulled back into the brake system.
To make the process even easier, add a zip tie or piece of string to hold your new bleeding apparatus above the brake caliper or wheel cylinder, an orientation which encourages the trapped air to rise up the hose. Cut a hole in the upper part of the bottle so that air you’ve expelled from the system can also escape the bottle and not cause unwanted pressure inside that as well.
Pressure

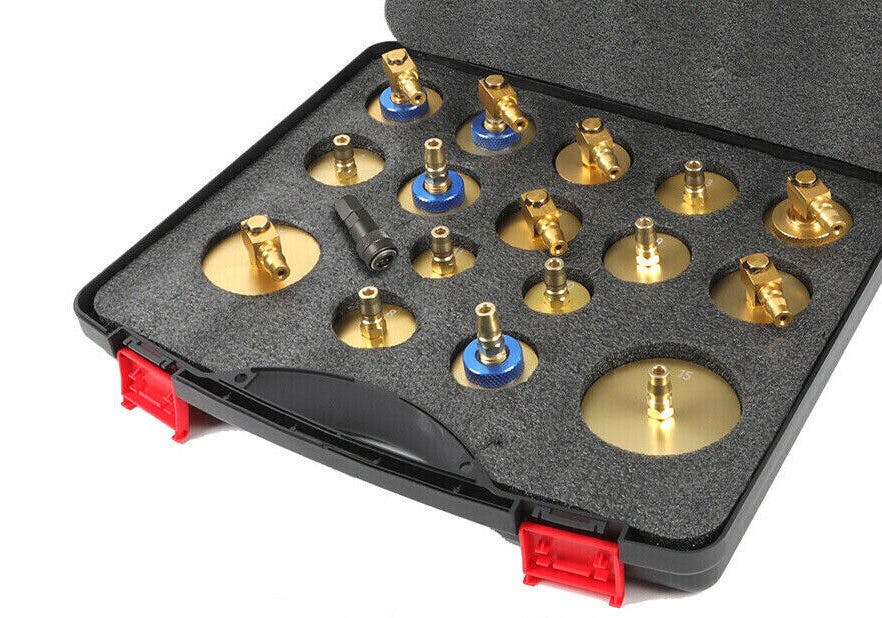
Sure, the options above are various ways to apply pressure, but they all use the brake system to create the fluid’s push. Another method uses an external tool to place pressure on the brake master cylinder without someone operating the pedal.
The system of tools pictured above creates a steady pressure that keeps air bubbles moving, preventing them from getting stuck in little pockets like proportioning valves or distribution blocks.
Using one of these makes the bleeding process easier, but it also requires extra care when setting up and when topping off the fluid during the bleeding process. Since the master-cylinder reservoir is under pressure while this system is in use, there’s a risk that the outer gasket of the tool leaks while you’re forcing pressure through the brake lines or when you take the tool off to top up the reservoir. Since most brake fluids easily strip paint, don’t take this risk lightly.
Vacuum
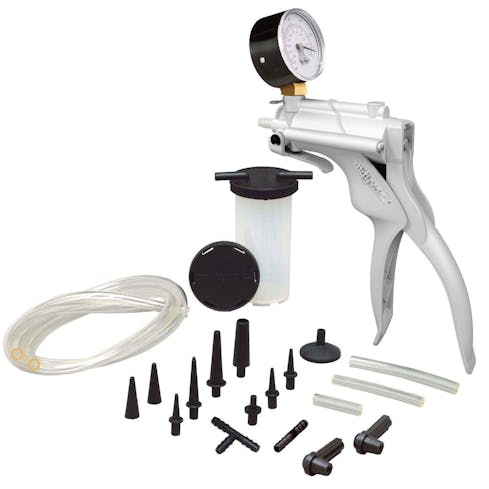
Maybe those methods are too pressurizing for you. Luckily, this option is the opposite. We are talking about negative pressure—vacuum, to be precise.
Rather than using the master cylinder to push fluid through, this vacuum tool pulls fluid through the system from the bleeder screw. Vacuum tools make quick work of bleeding a brake system that is dry, or one in which many parts have been replaced (in such a situation, you’ll need to draw fluid over a larger distance).
Products like the MityVac use a hand pump to create the vacuum, but other options are connected to a compressed-air source to pull a vacuum without the need for manual labor.
These tools can be a decent investment if you are bleeding brakes regularly, but if you’re only doing this once or twice a year, the extra effort needed for the other tool-less methods might be worth the savings.
No matter how you decide to bleed your brakes, use the proper fluid and follow the process to ensure you have safe and predictable stoppers. Have a tip? Leave a comment below.
Check out the Hagerty Media homepage so you don’t miss a single story, or better yet, bookmark it.
Made my own vacuum bleeder. To get around the big issue of high demand on compressed air, I put a check valve between the venturi suction port and the catch bottle. As long as the hose stays connected to the bleeder screw, only needs about 30 seconds of compressed air to do each wheel.
Ironically the check valve I chose is the same as the one used between the brake booster and the intake manifold. Picked up at the bone yard for 25 cents.
Ball check valves- put a dab of silicon grease in a bleeder valve cap and install.
Small hammer- tap junction blocks or high spots to move air bubbles and bleed as usual.
Vac. Bleeding- put a neat wrap of Teflon tape on the threads only of the bleeder valve. It stops air leak and prevents the valve from rusting in caliper or wheel cylinder
Just invested in a pressure bleeder this past year. Wish I had gotten one years ago- works great! I was looking at Motiv but got the Orion because of the quick disconnect (same fitting as Milton V-style, btw, so you can make your own M/C adapters/ caps) AND pressure relief valve (not sure why Motiv doesn’t do that). Great being able to bleed brakes without an assistant. Much faster too.
I never had good luck with vacuum method using a Mity-Vac.
I always keep a small bottle of water at the MC and one at the brake when bleeding. It effectively dilutes any spillage minimizing paint damage.
Some clutch slave cylinders don’t have a return spring, (hello, Mazda). This rules out the “get a helper to pump the pedal” method. On my Mazda hydraulic clutch I use the vacuum bleeder. Quick and easy.
Then there is the way I learned when I was going to school for aircraft.
There they introduce fluid from the wheels up to the master cylinder.
Haven’t seen this done on cars, but it does force the air out through the master
When manually bleeding using the brake pedal, do not let the stroke of the pedal go all the way to the floor. In fact try to use maybe half a pedal. If the master cylinder stroke goes past where it normally operates, you’ll likely damage the O rings in the master cylinder because there is a build up of trash and/or a normal wear lip. Learned this the hard way, also worked in a shop where many “mechanics” did not consider this, so we sold many new master cylinders due to “wear”.
I bought a reverse bleeder and it works great. It has a hand-powered pump that essentially squirts brake fluid from a clean new bottle back up the brake line through the bleeder screw. Very simple one-man project. All you have to do is pause to remove the dirty backwash from the MC every few squeezes.
I have tried various fancy bleeding gadgets over the years but settled on the bottle and hose method. Efficient and quick.
I purchased a Motive pressure bleeder but sent it back to Amazon when the cap did not fit my reservoir. I ended up gravity bleeding my 1972 Volkswagen Super Beetle when I replaced the 50 year old mater cylinder, front brake pipes, flexible pressure hoses, fittings and pipe clips. It was supposed to have been done while it was in Germany prior to coming to the USA after a 39 year sleep. The flexible hoses were the originals installed in May 1972 based on the date stamp on the hoses.
I used Motul 5.1 synthetic brake fluid because it has a lower viscosity and a higher boiling point than other glycol based fluids. The reservoir is above the master cylinder and gravity bleeding worked very well. I also made sure to allow for the proper amount of free pedal to ensure that the fluid would return to the master cylinder. I suspect that this is one of the reasons why bench bleeding is done, but in 54 years I have never found it to be necessary.
Gravity bleeding can also be done with the master cylinder below the wheel cylinders; just put the refill above the master cylinder using an old master cylinder cap and hose. That is what I used when bleeding the master cylinder and wheel cylinders in my 1951 Studebaker.
Don’t draw too high of a vacuum on the bleeder screw if you’re bleeding drum brakes. You don’t need much. The cup/lip seals are designed to seal more tightly as pressure builds during braking and if you have too high a vacuum in the wheel cylinder, you might pull air into the cylinder past the cup seal. The seals are not designed to seal a vacuum in the wheel cylinder.
A lot of heat is generated by friction at each wheel cylinder which eventually breaks down the brake fluid.
I like to bleed that fluid off at least yearly. Brake fluid is cheap. And also if I have to bleed off any air after a leak is repaired or a master cylinder change, I always bleed the longest tubing run first and finish with the shortest. I’ve never had a problem yet in 60 years.
Seems reverse bleeding (pushing new brake fluid from the wheel to the master cylinder) would be pushing dirty broken down fluid into the bore of the MC. In modern cars that would include contaminating the antilock brake unit.
Don’t know why they left out the sixth method that I have used by myself with no special tools. Pump the pedal a few times then wedge a strip of wood between the seat and the brake pedal. If you are worried about the seat material, put a piece of wood vertically against the seat and then the wood strip against that. Carefully get out of the car and bleed the wheel you are working on. You will have to repeat this for each wheel.
For bleeding after maintenance, I also use Jay’s method. Just a note not to leave the pedal depressed to the floor too long as correctly pointed out by Robert Payne, you can damage the master cylinder, especially if it is of a certain age.
For simply changing the fluid every two or three years, I use gravity since there should not be any air in the system.
For those in the rust belt who want to make sure the bleeder valves don’t plug or otherwise seize up with corrosion, I cover the bleeder valves with some regular grease then I put a rubber vacuum cap on the bleeder valve. Cut the cap to size to cover the entire valve not just the top of it, if you cover it all, the threads will stay in good shape as well. The grease will eventually deteriorate the rubber of the cap, you can simply change them as required after the next fluid change or put a simple small piece of kitchen plastic wrap on the grease before you put the cap on so the grease is not in constant contact with the rubber of the cap.
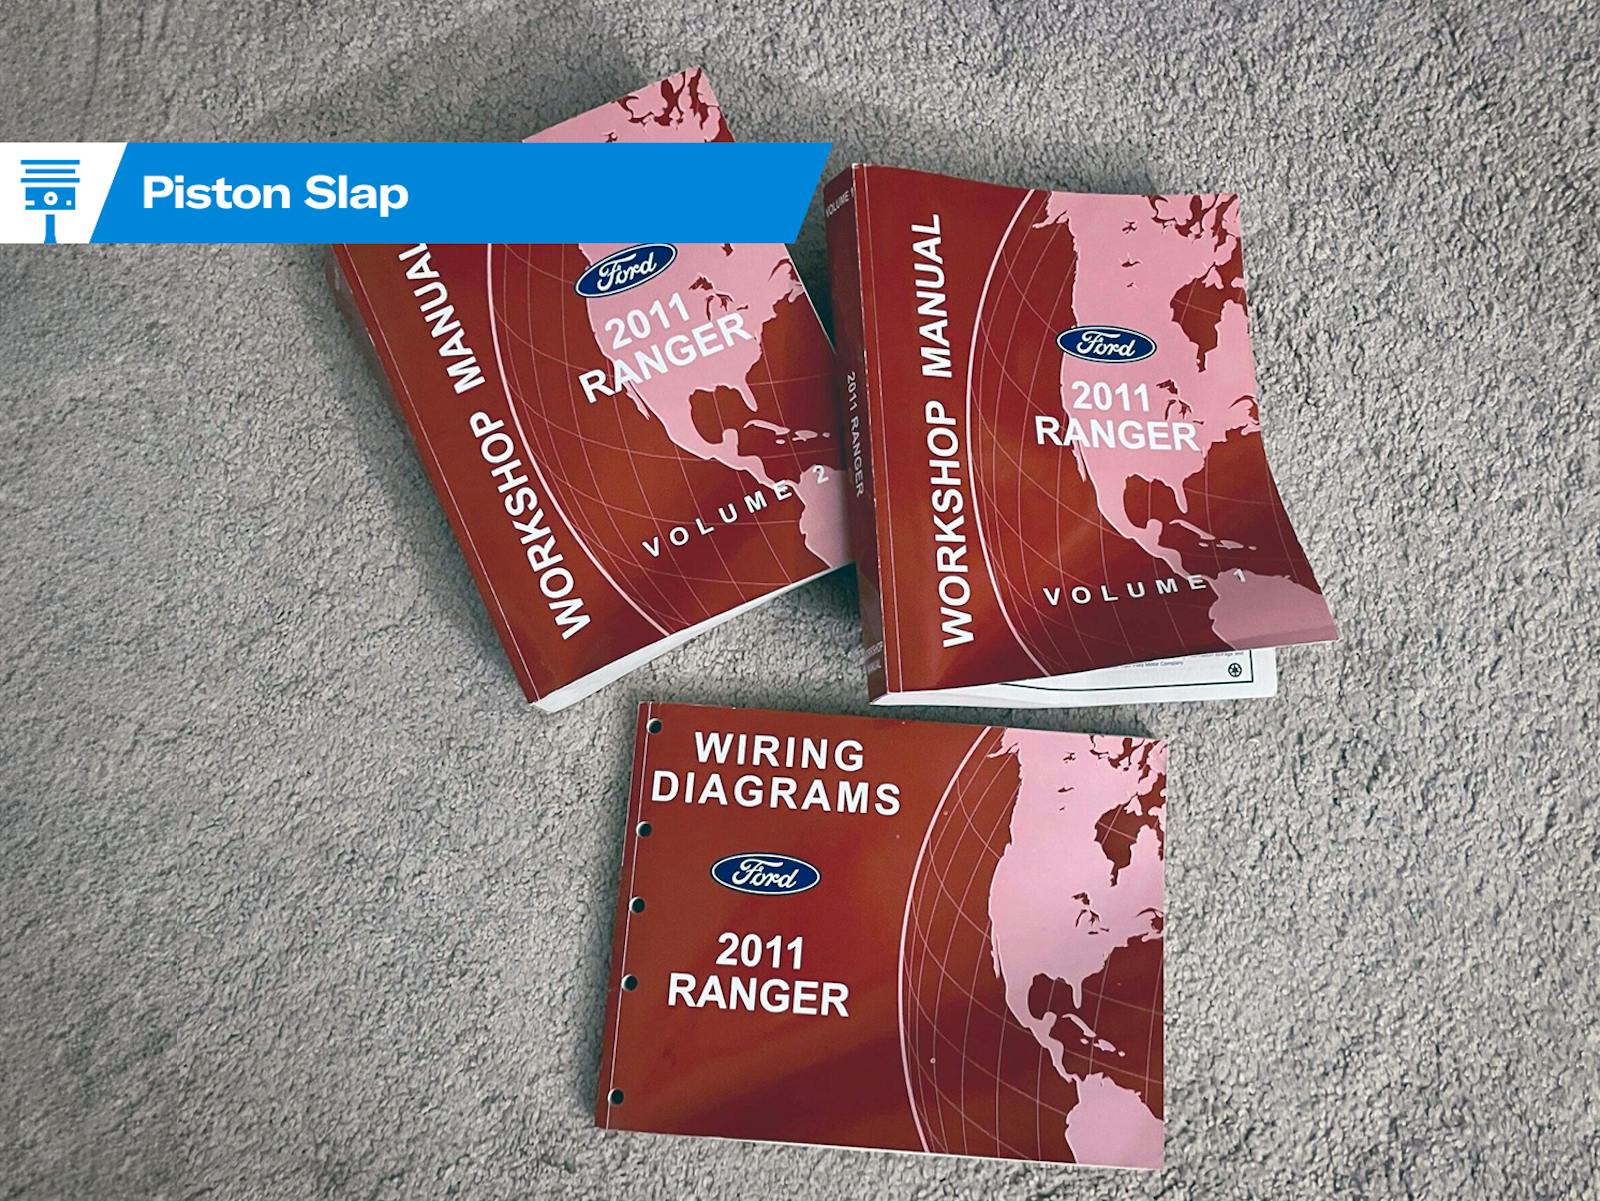
For bleeding sequence, consult the manual for the particular vehicle. In my case, the sequence is not the same across my fleet of vehicles.
I operated a re[air and restoration shop for older vehicles, and we did dozens of brake overhauls every year. If using the pedal pumping method, it’s important NOT to pump the pedal quickly, generally a pump every 5 seconds works well. Doing it too fast results in the air & fluid rushing back & forth, causing the air to foam.
The hand vacuum systems work well if the cylinders & bleeders are new, but older cylinders with the original bleeder screws often don’t seal around the threaded area, especially if the cylinder was glass beaded in the threaded area [a no-no!].
The ball-type bleeder is a great addition when performing a brake job, however as it was pointed by another commenter, they can become corroded inside. This is easy to overcome, as it’s easy to find little flexible covers to seal the end of the bleeder. Just remove the covers & bleed, but don’t forget to replace the cover back on the bleeder!
Pressure systems work well with firewall located master cylinders, but can be very hard to use if the master is under the floor. For some of the car makes we worked with on a regular basis, we took an extra master cylinder cap, drilled a hole in the center & installed a pressure fitting in the cap. This made it easy to use the pressure system.
Some cars, like the Rolls-Royce Silver Shadow [and it’s newer variants] require a combination of methods, and it’s best to refer to the repair manual.